Learning Objectives:
• Understand how mark-making can be used to create variations of tone in drawing
• Explore how mark-making can be used to add texture to a drawing
• Creatively explore different forms of mark-making and consider when different marks might be used
• Explore how mark-making can be used to add texture to a drawing
• Creatively explore different forms of mark-making and consider when different marks might be used
Introduction:
Mark-making in art is like the secret handshake of creativity. It’s the funky dance moves you bust out with your paintbrush, pencil, or whatever tool you’ve got handy, to leave your mark on the canvas.
Just like how every superhero has their signature move, every artist has their own unique style of mark-making, their artistic fingerprint, if you will.
So, let’s dive into the lively chaos of creativity, where even the wonkiest lines and the goofiest splatters can turn into masterpieces!
Your Task:
1. Watch the video demo below.
2. Have a go at creating your own textures in a similar grid, following the worksheet below the video.
2. Have a go at creating your own textures in a similar grid, following the worksheet below the video.
What you will need:
Sketching paper (or your sketchbook), a soft pencil (preferably 2B or 4B), ruler, eraser, pencil sharpener and a black fineliner pen.
If you would like to trace the outlines for the boxes, you can download a template by clicking on the button to the right.
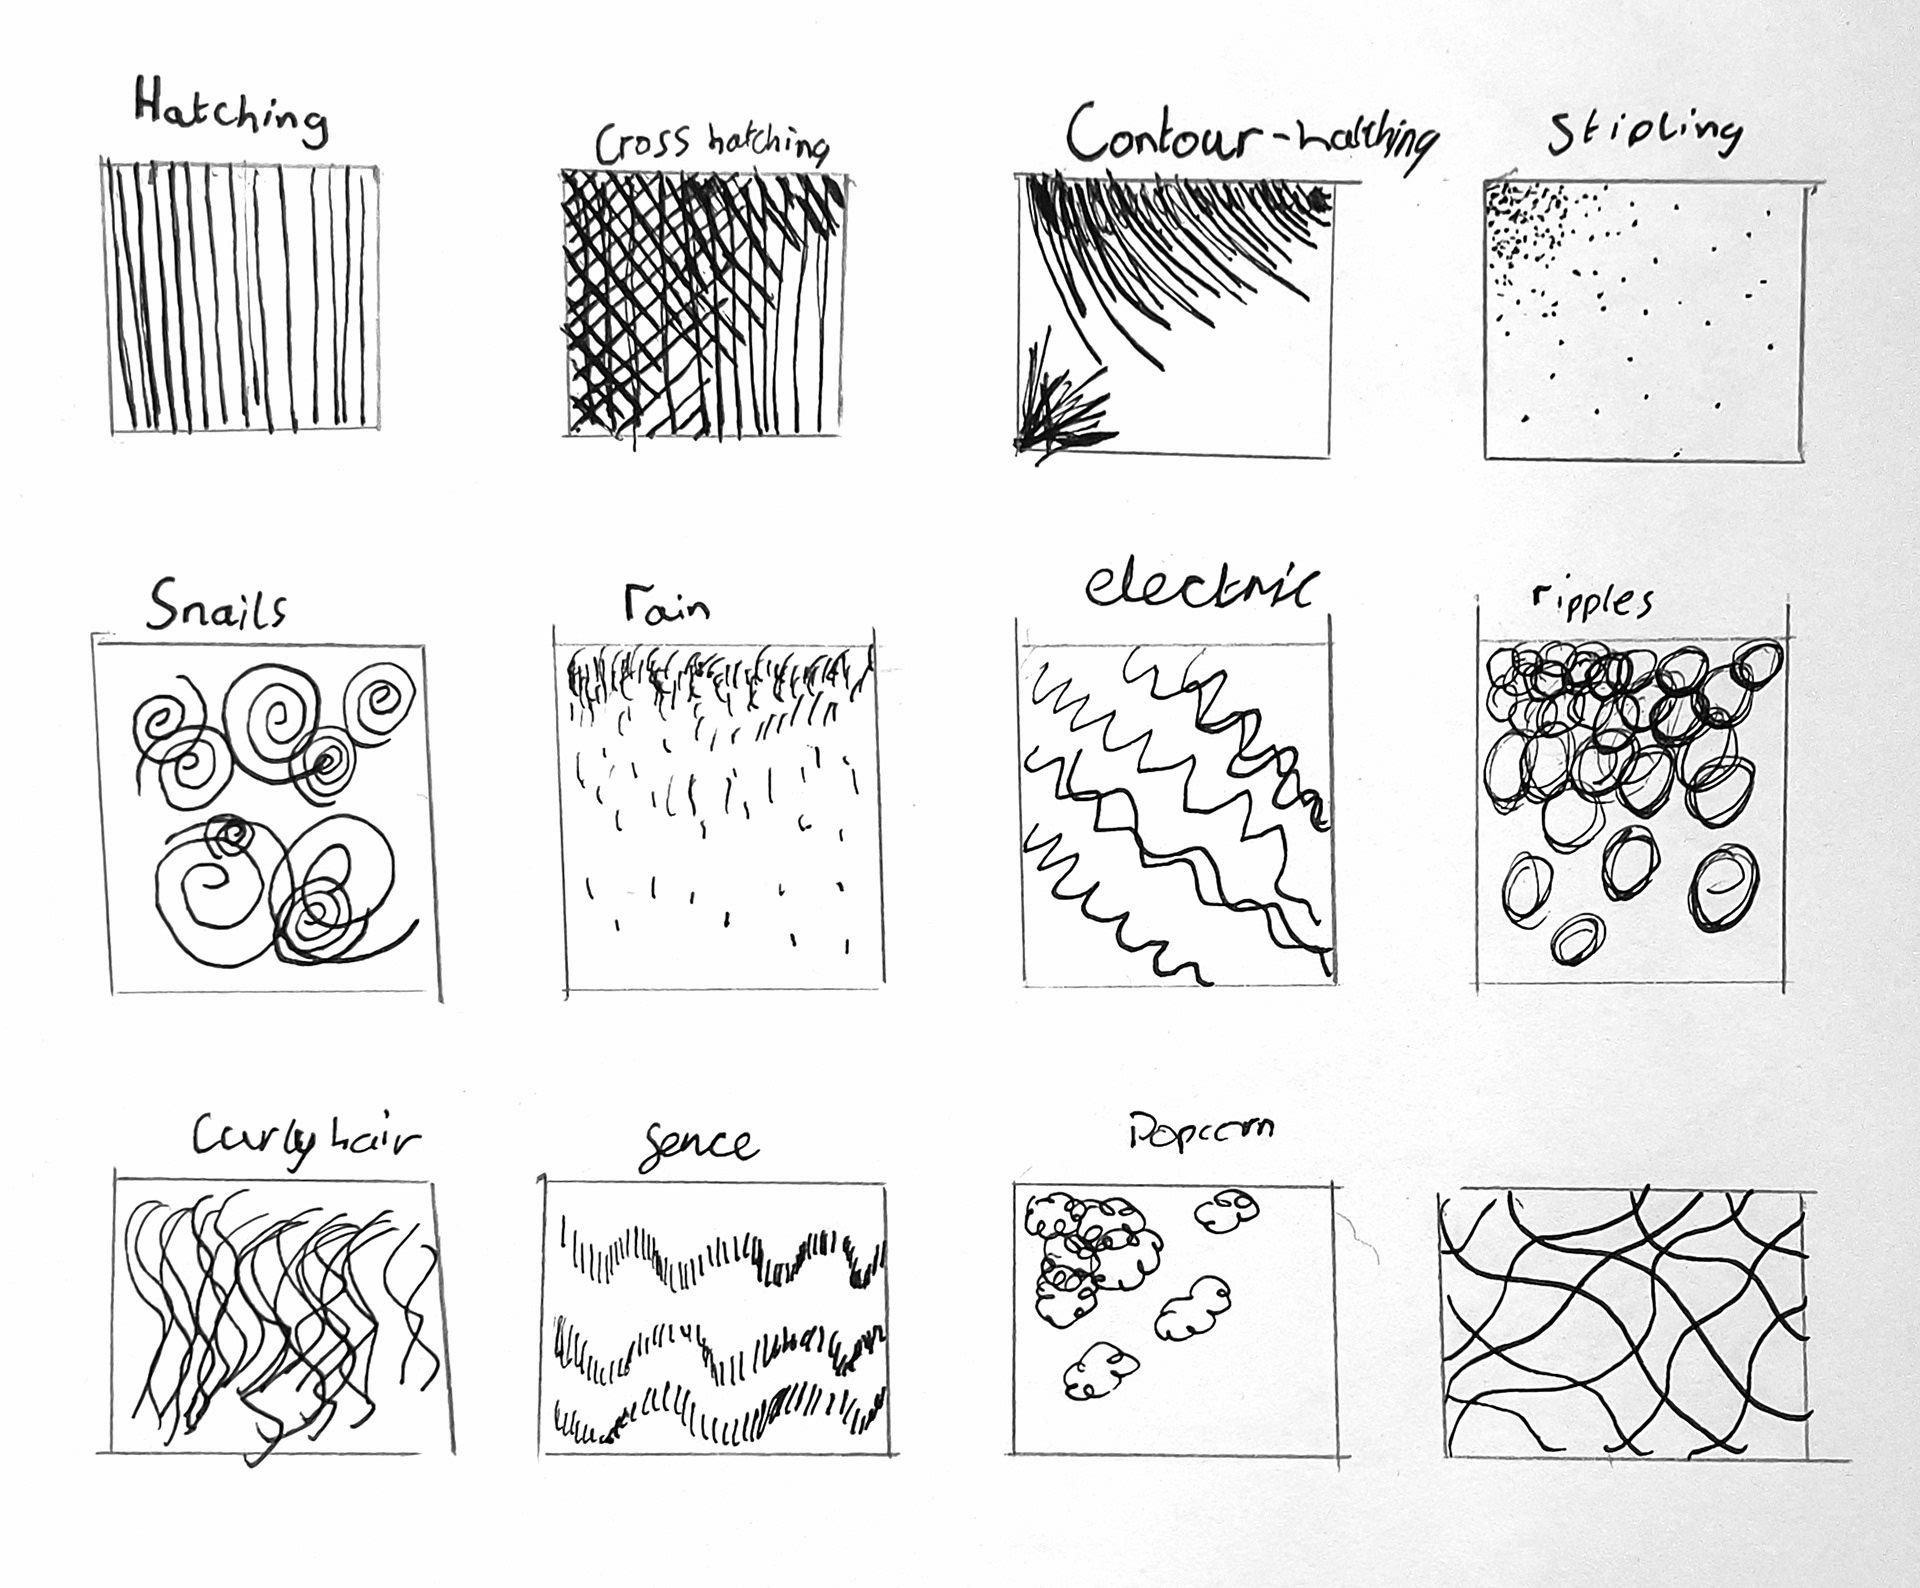
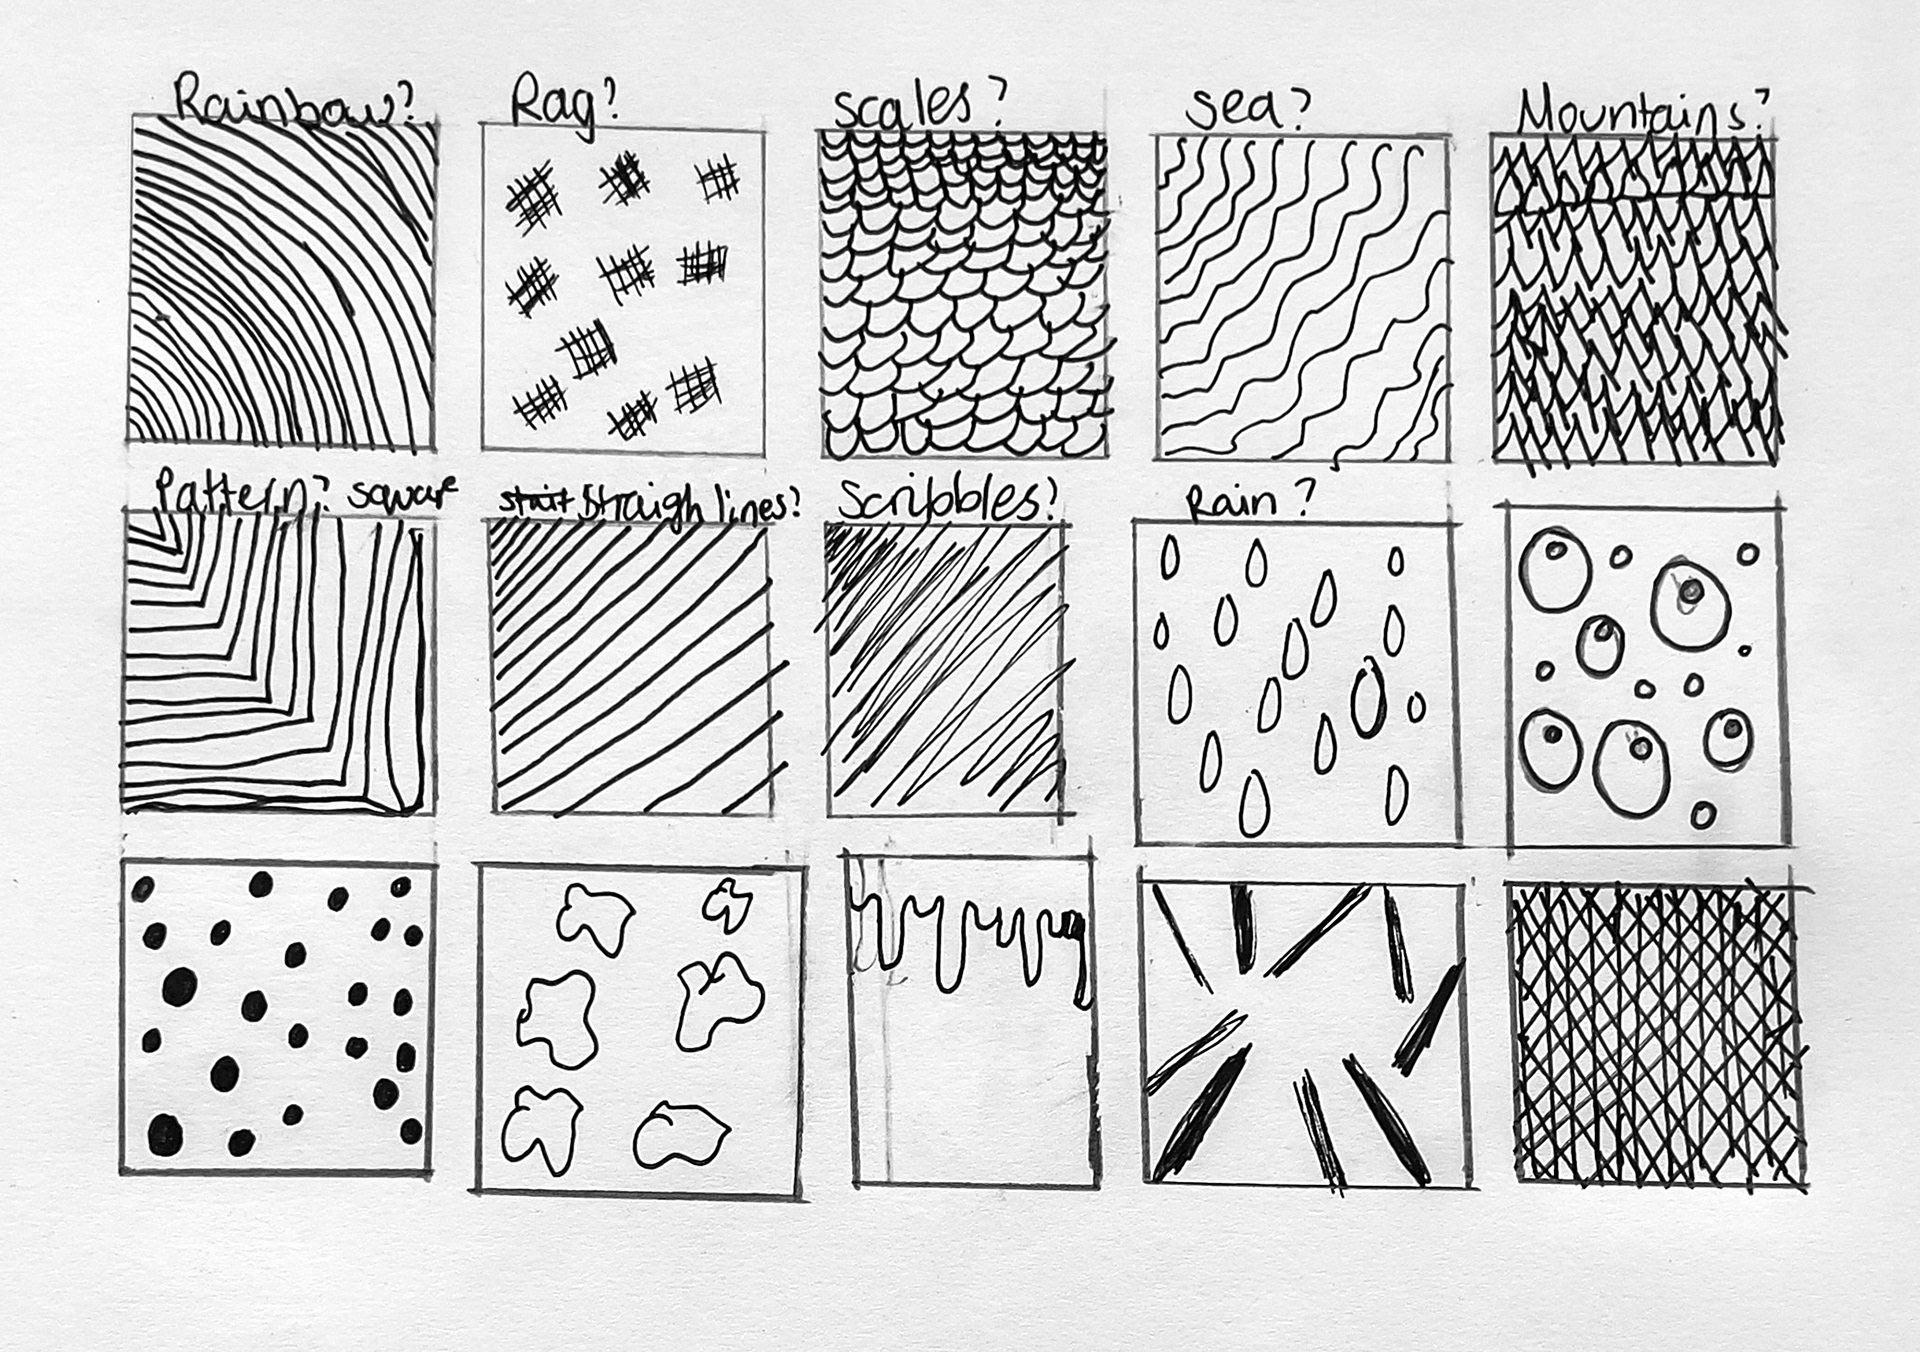
Mark-Making Worksheet
Extension Activity
• Use your imagination to invent some new unique marks that are very different to all of the others.
• Imagine drawing a particular object and then draw all of the appropriate marks to draw it, e.g. bark, rocks or fish scales.
• Imagine drawing a particular object and then draw all of the appropriate marks to draw it, e.g. bark, rocks or fish scales.
Top Tips
• Consider how marks that are close together will make objects look darker than marks that are further apart
• Avoid drawing pictures, but instead try to keep your marks abstract. They will look less abstract when you use them as a small part of a much larger drawing
• Think about when you might use each mark-making technique in your work
• Avoid drawing pictures, but instead try to keep your marks abstract. They will look less abstract when you use them as a small part of a much larger drawing
• Think about when you might use each mark-making technique in your work
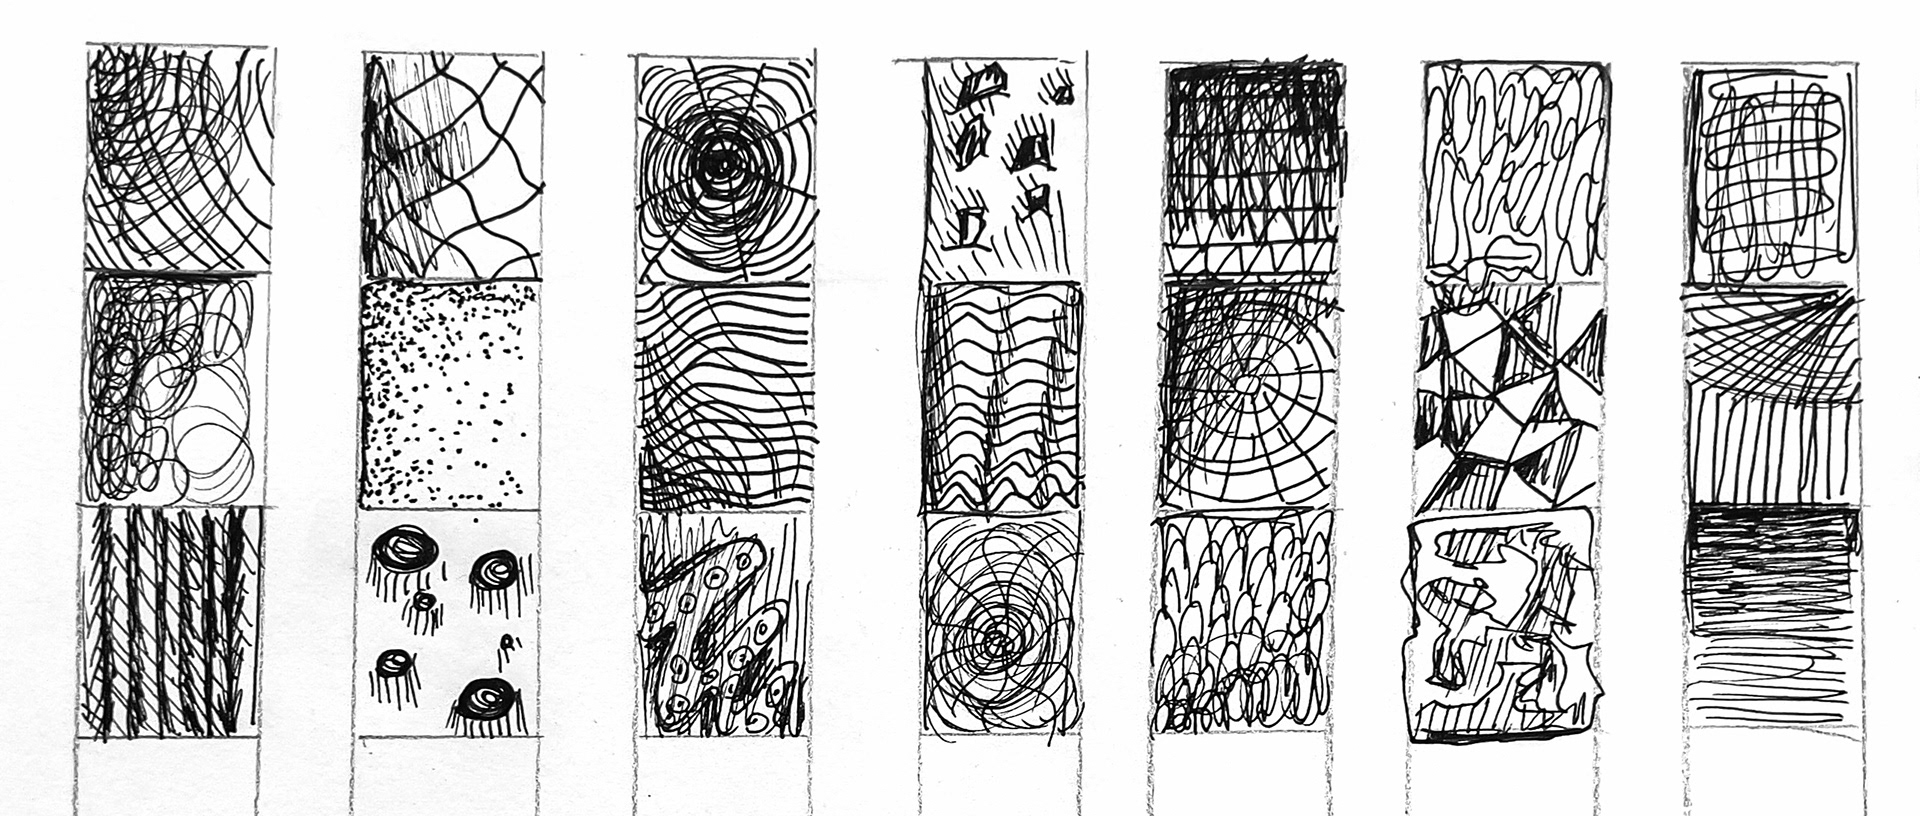
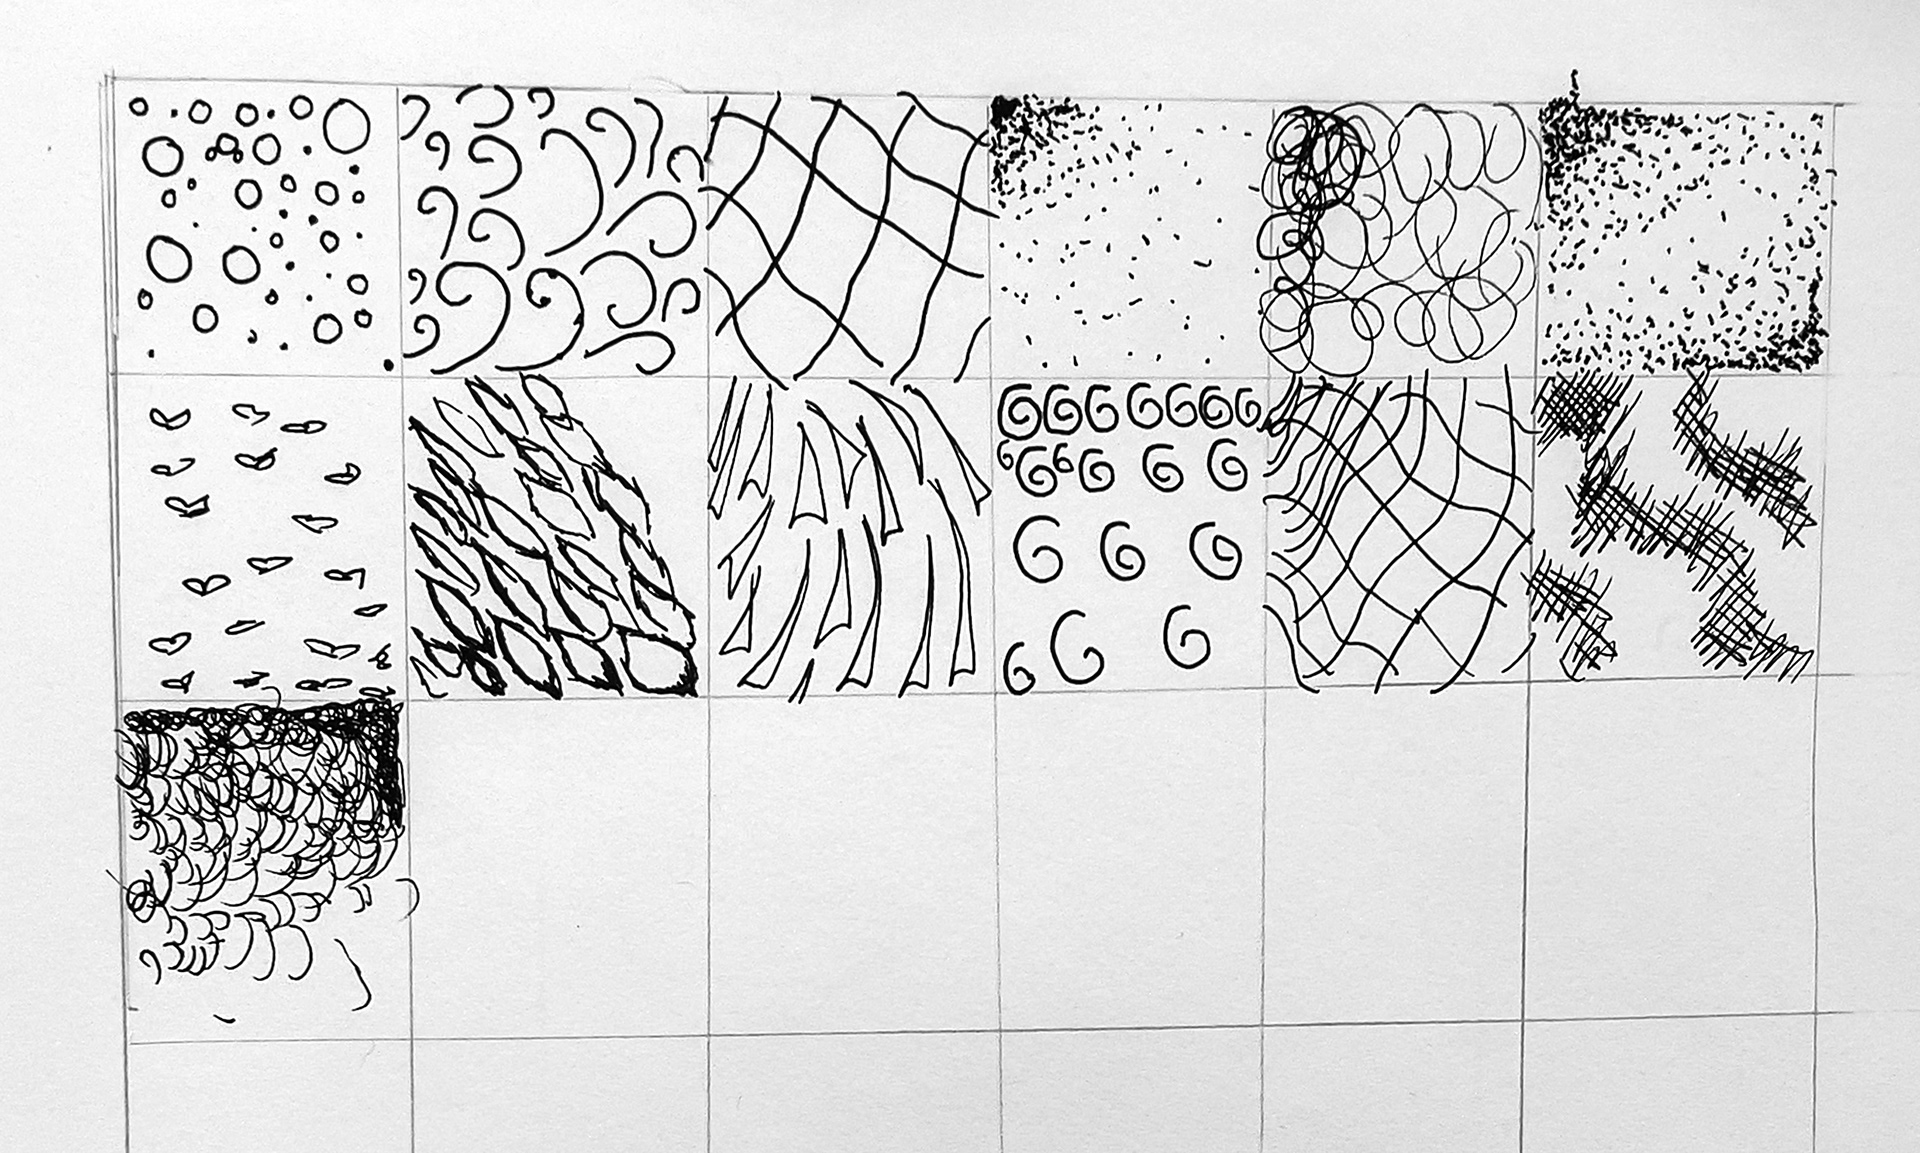
Examples of previous students' mark-making experiments:
What do you think they have done well and what might they have done to improve?
What tends to go wrong?
Here are the top 5 common beginner mistakes with mark-making, and some advice to avoid them:
Drawing pictures instead of abstract marks
- Focus on lines, dots, and patterns—not recognisable shapes. Keep it purely about texture.
- Focus on lines, dots, and patterns—not recognisable shapes. Keep it purely about texture.
Using the same pressure or angle of your pencil or pen
- Vary your pencil pressure and angle to create contrast in tone and line quality.
- Vary your pencil pressure and angle to create contrast in tone and line quality.
Rushing or making random marks
- Slow down and make marks with intention. Think of each one as part of a texture, not a doodle.
- Slow down and make marks with intention. Think of each one as part of a texture, not a doodle.
Not filling the whole box (or shape)
- Cover the entire space to properly explore how the marks work together.
- Cover the entire space to properly explore how the marks work together.
Repeating the same types of marks
- Experiment! Try unusual movements, both hands, or rotate your paper to discover new textures.
- Experiment! Try unusual movements, both hands, or rotate your paper to discover new textures.