Learning Objectives:
• Learn how to use mark-making techniques to create texture and variations of tone in a drawing
• Experiment with new and creative mark-making techniques
• Review and refine work as it develops
• Experiment with new and creative mark-making techniques
• Review and refine work as it develops
Introduction:
Last lesson, you invented your own marks, such as dots, dashes, scribbles, and hatching, and saw how much personality a line can have. Today’s challenge: can you make your marks dance like Vincent van Gogh’s brushstrokes?
Instead of paint, we’ll use our pens and pencils to translate his bold brushstrokes into expressive marks. Think of it like drawing with the same energy and movement he painted with. By the end, your page will be buzzing with life – just like Van Gogh’s!
What you will need:
Your Task (Step 1):
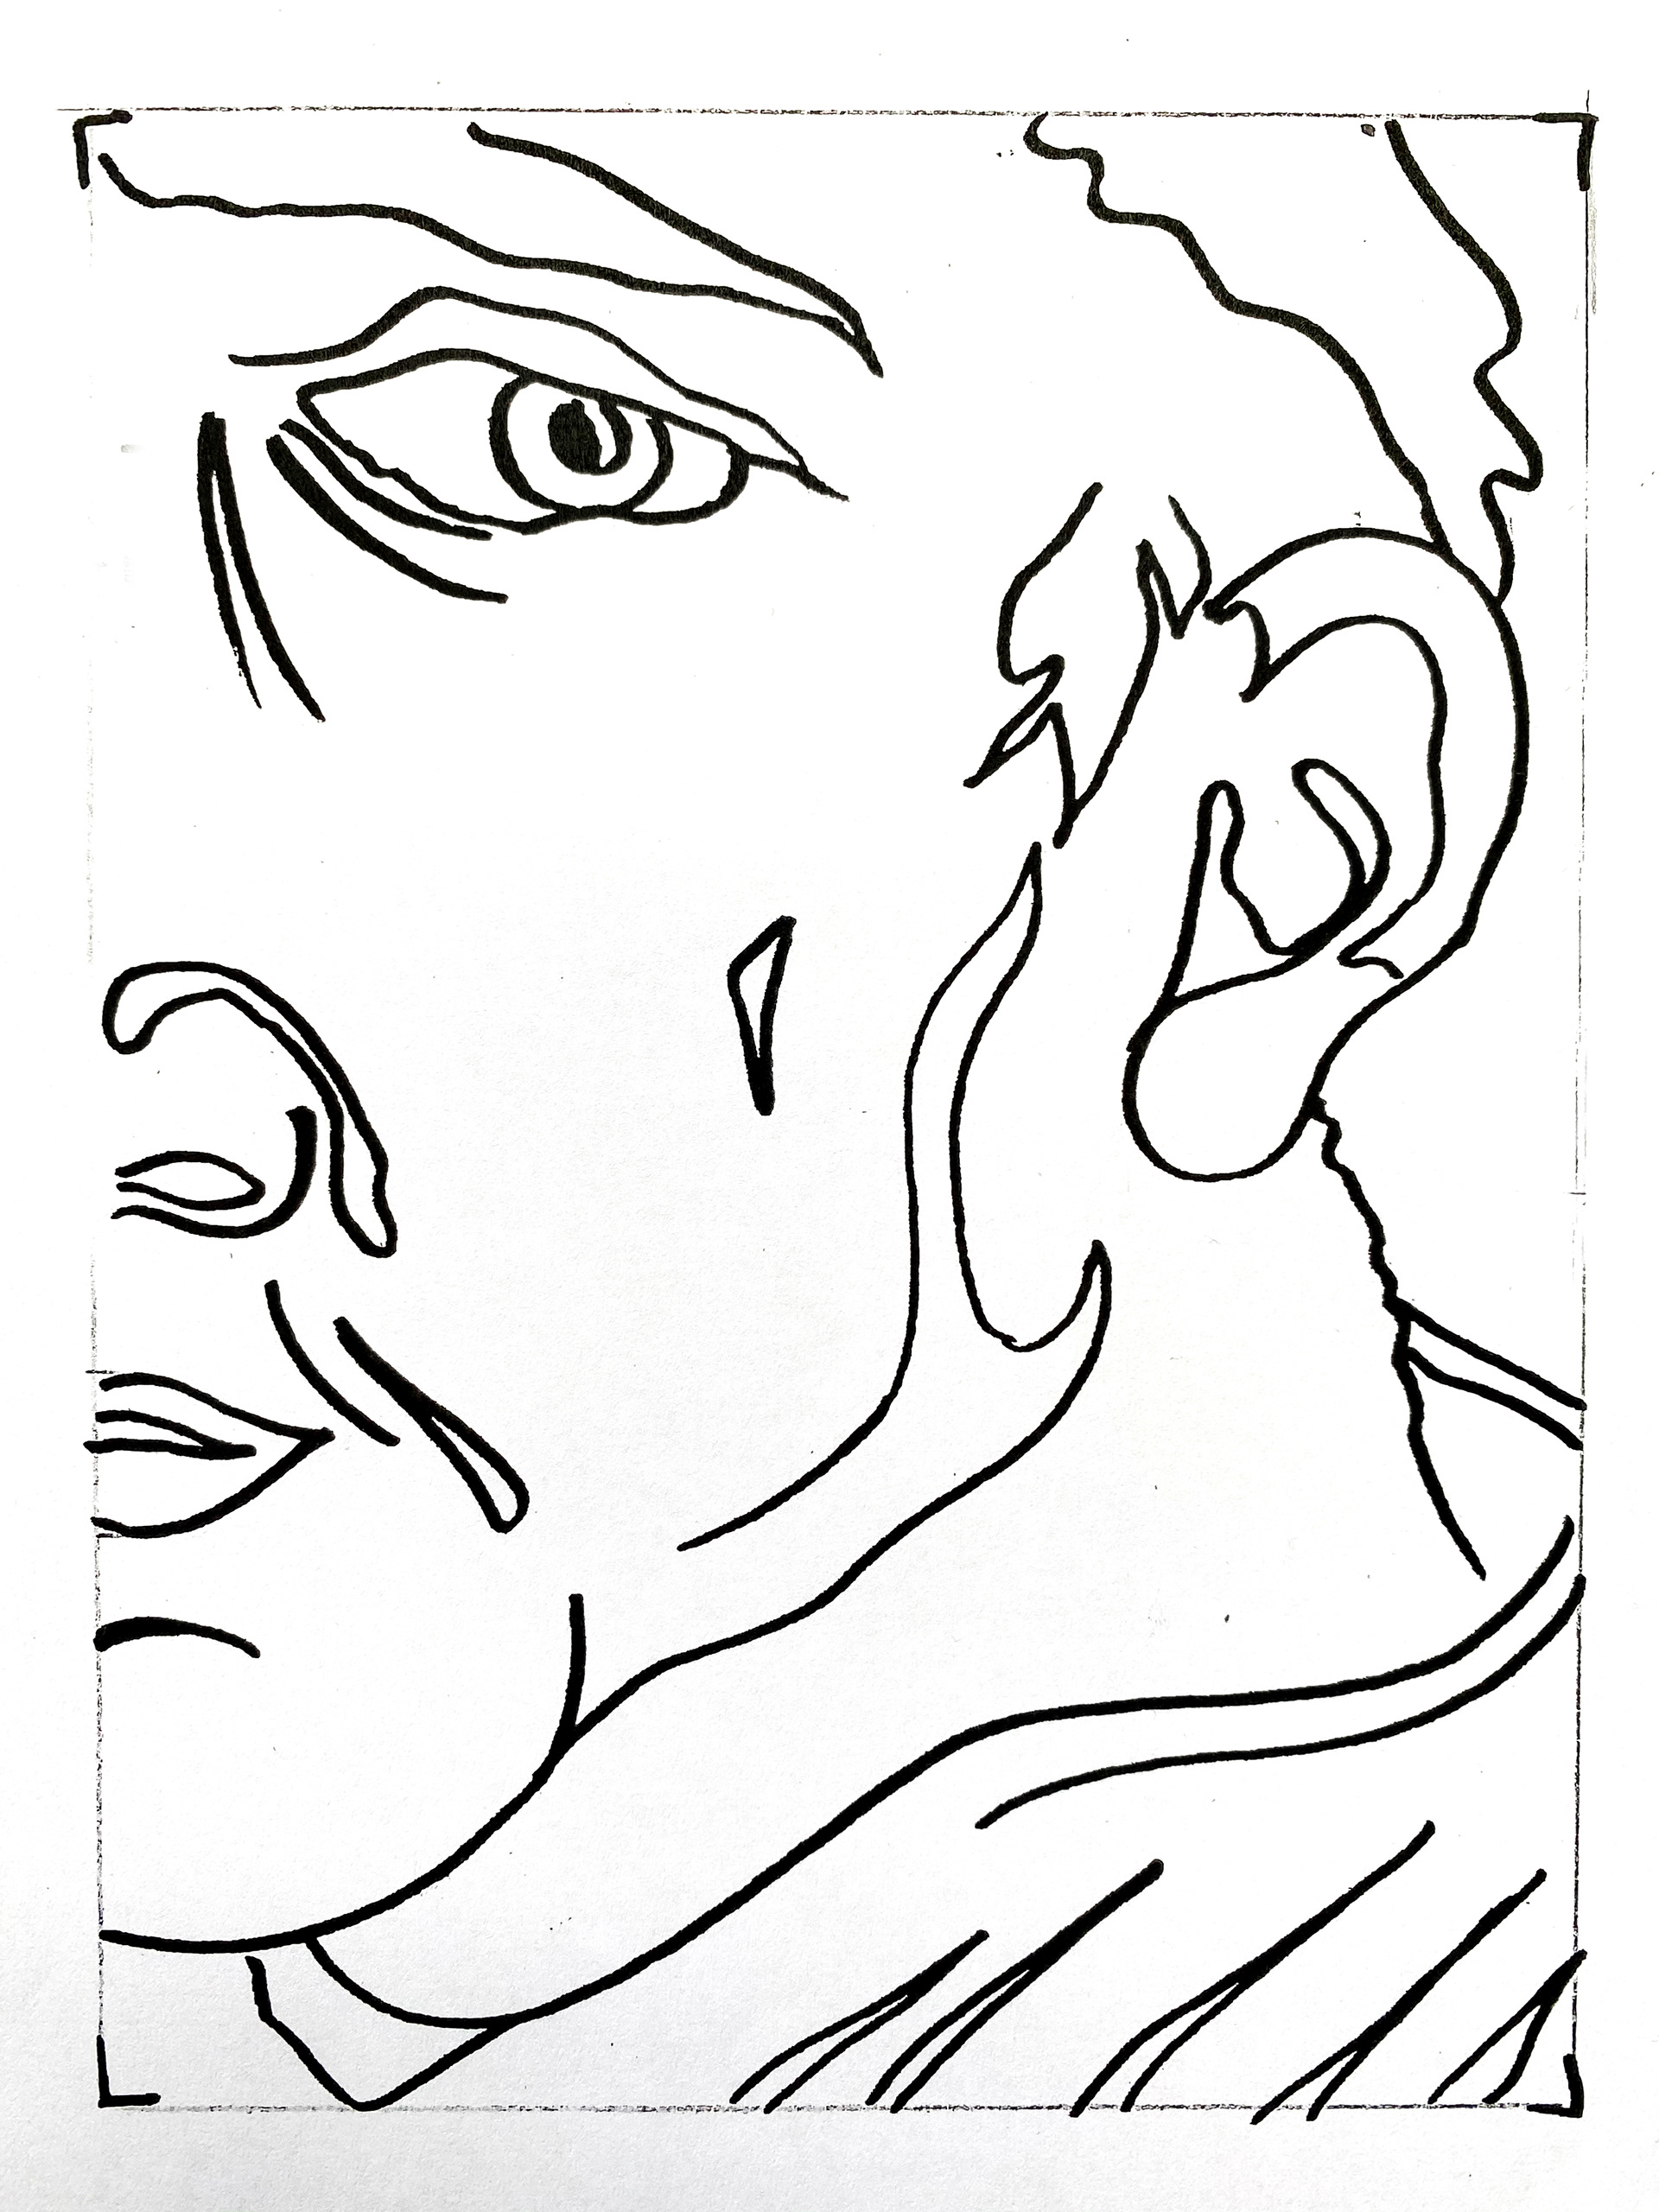
Before we get to the creative part, we need some outlines! Start by measuring the width/height of each section/shape as shown in the video below as you plot out a basic sketch.
Demo
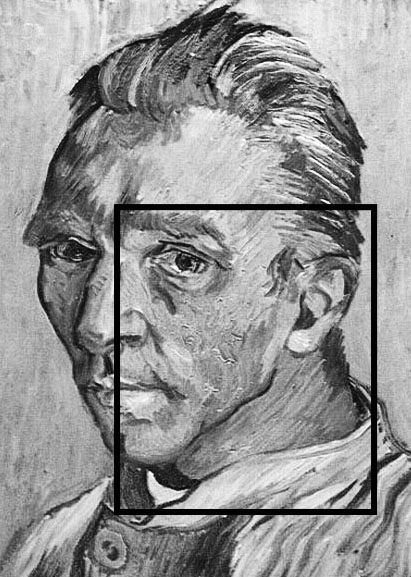
Outlines & Reference Image:
Your Task (Part 2):
Add marks to your sketch to create textures and variations of tone, thinking carefully about how dense or sparse your marks should be. Feel free to get a bit playful and experimental with your marks, but do think about which marks are most appropriate for each section or texture.
Which marks would you use for the smooth parts, and how would you do the rough, textured elements?
Erase any pencil guidelines at the end if needed.
Erase any pencil guidelines at the end if needed.
Extension Task:
Try drawing the whole of Vincent Van Gogh's portrait using the same techniques. You can download it here...
Top Tips
• Think carefully about which marks would be most suitable for the section you are about to do
• Layer up your marks slowly, as you cannot erase pen lines
• Look for the shapes of the shadows and highlights, rather than the shapes of the facial features.
• Don't outline shapes that don't need outlining
• Press harder with the fineliner pen for thicker lines and lighter for thinner lines
• Layer up your marks slowly, as you cannot erase pen lines
• Look for the shapes of the shadows and highlights, rather than the shapes of the facial features.
• Don't outline shapes that don't need outlining
• Press harder with the fineliner pen for thicker lines and lighter for thinner lines
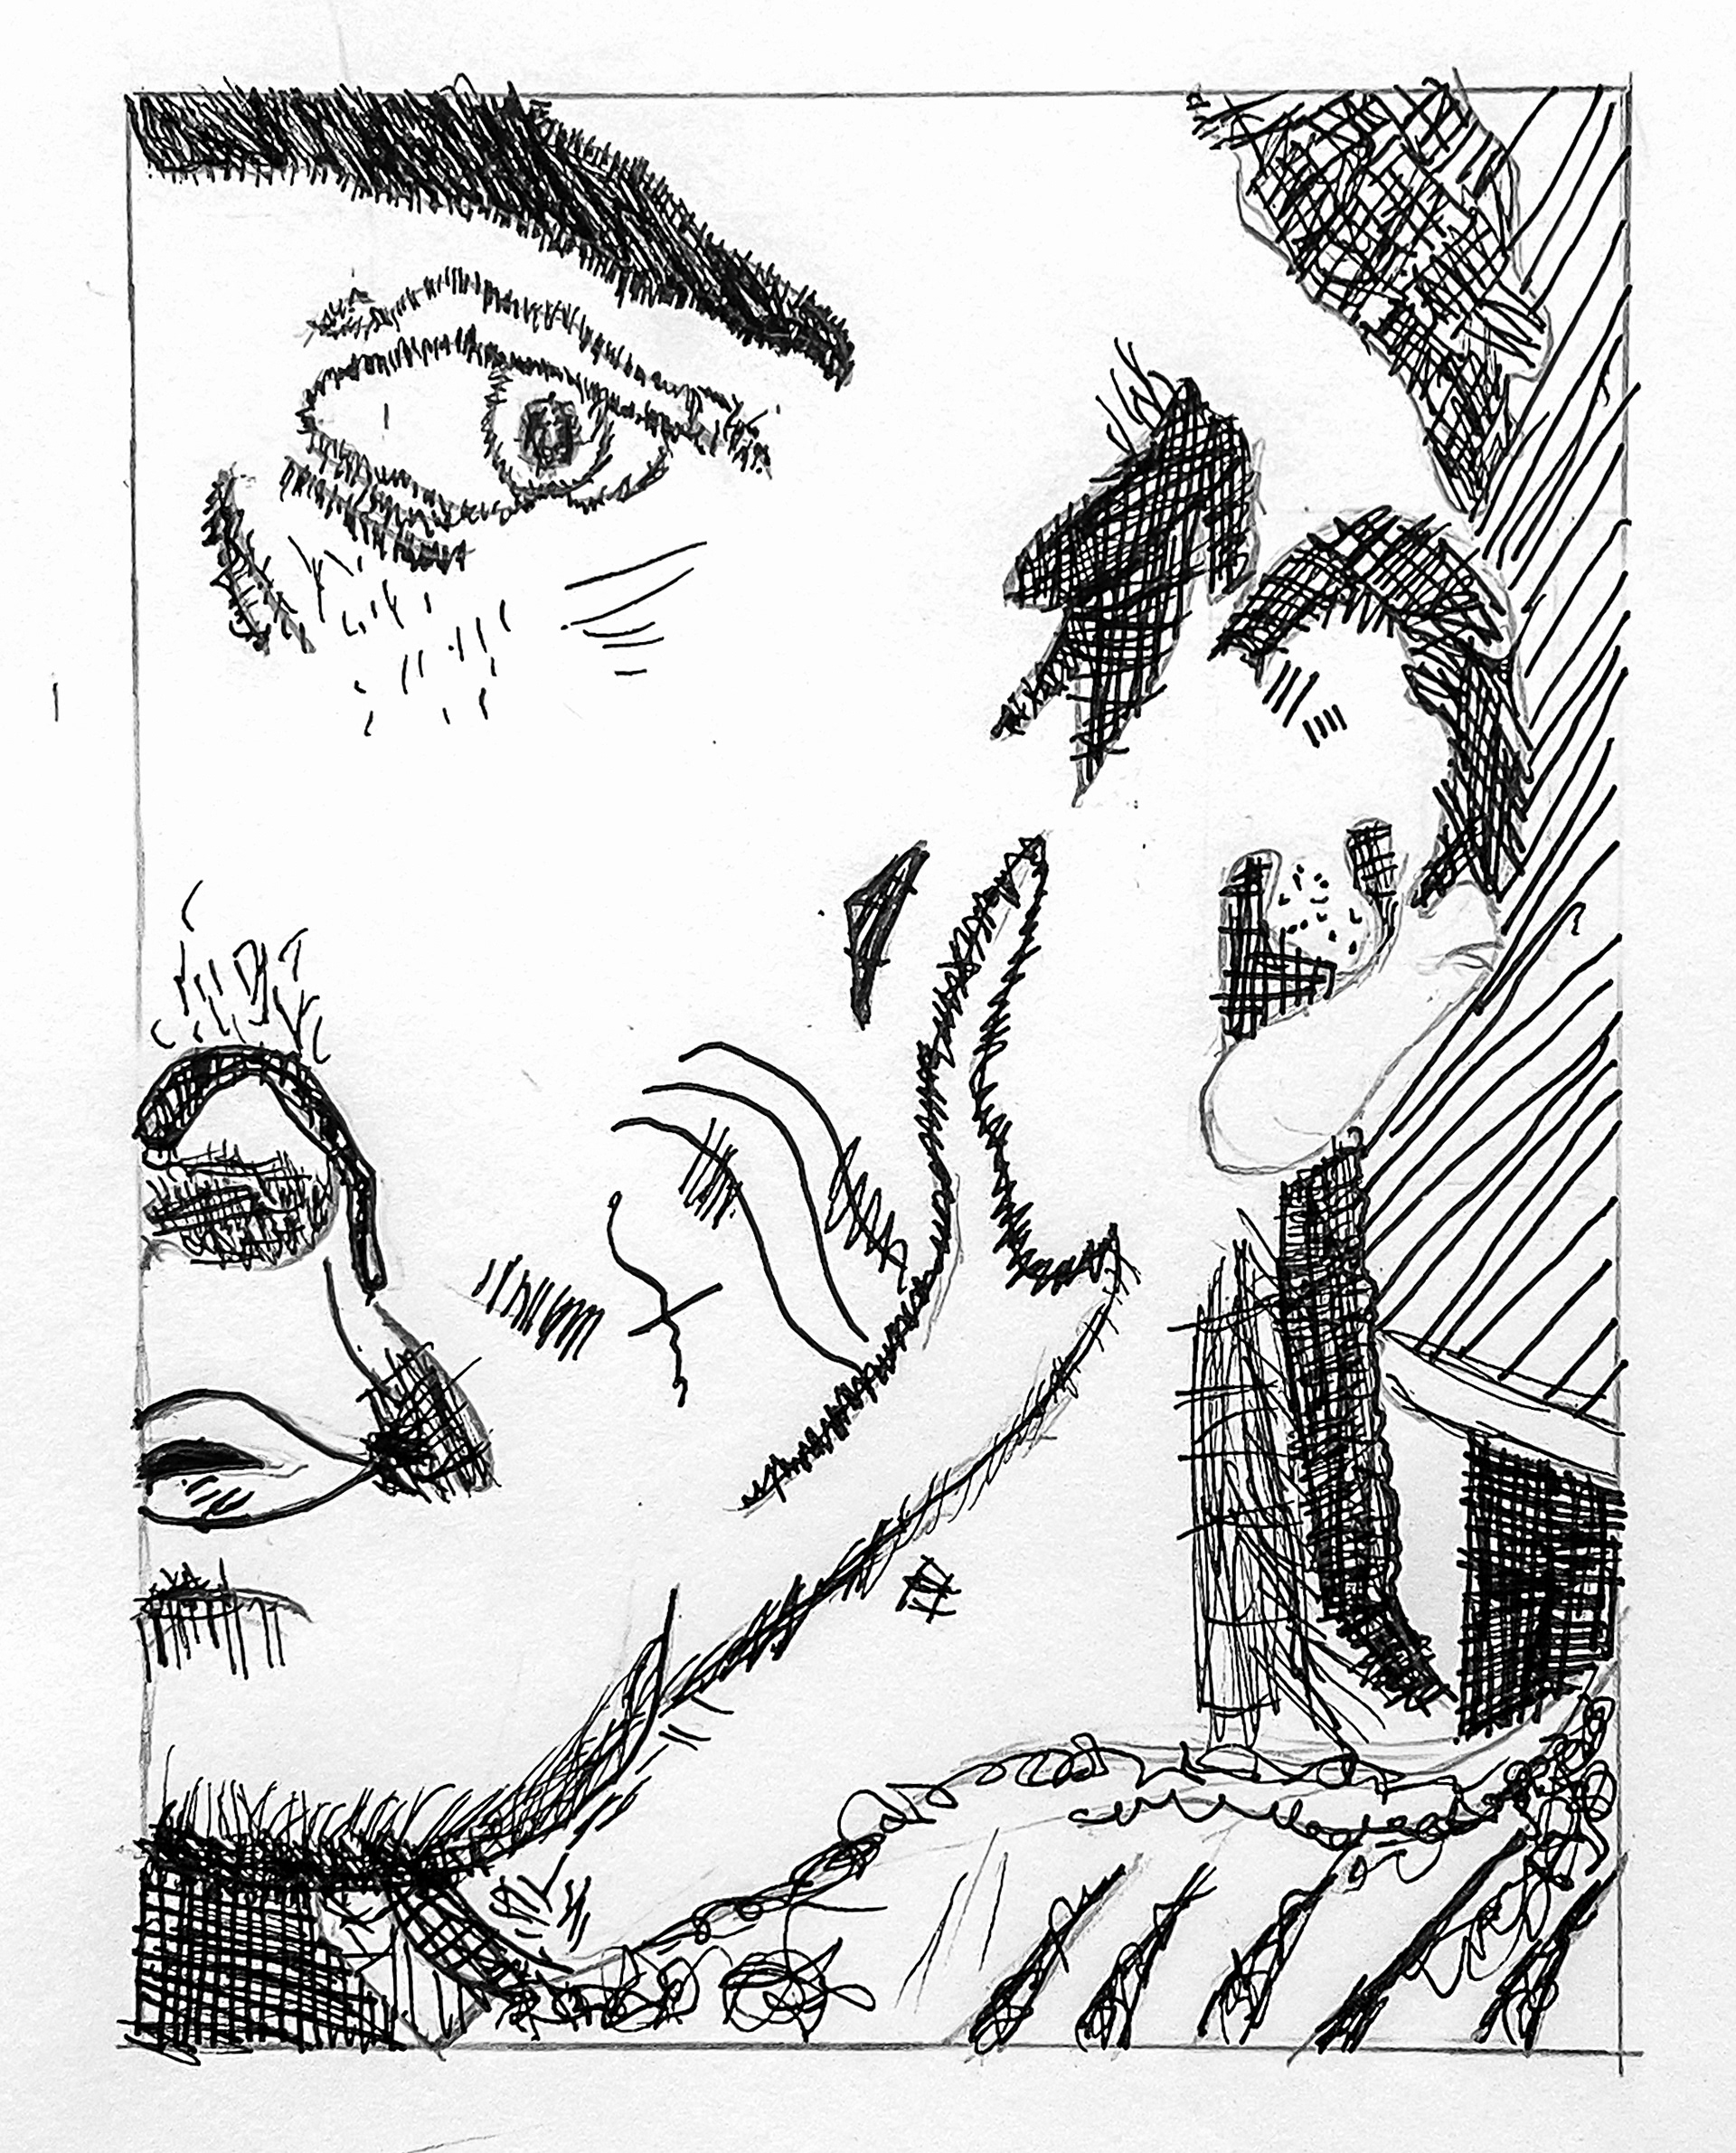
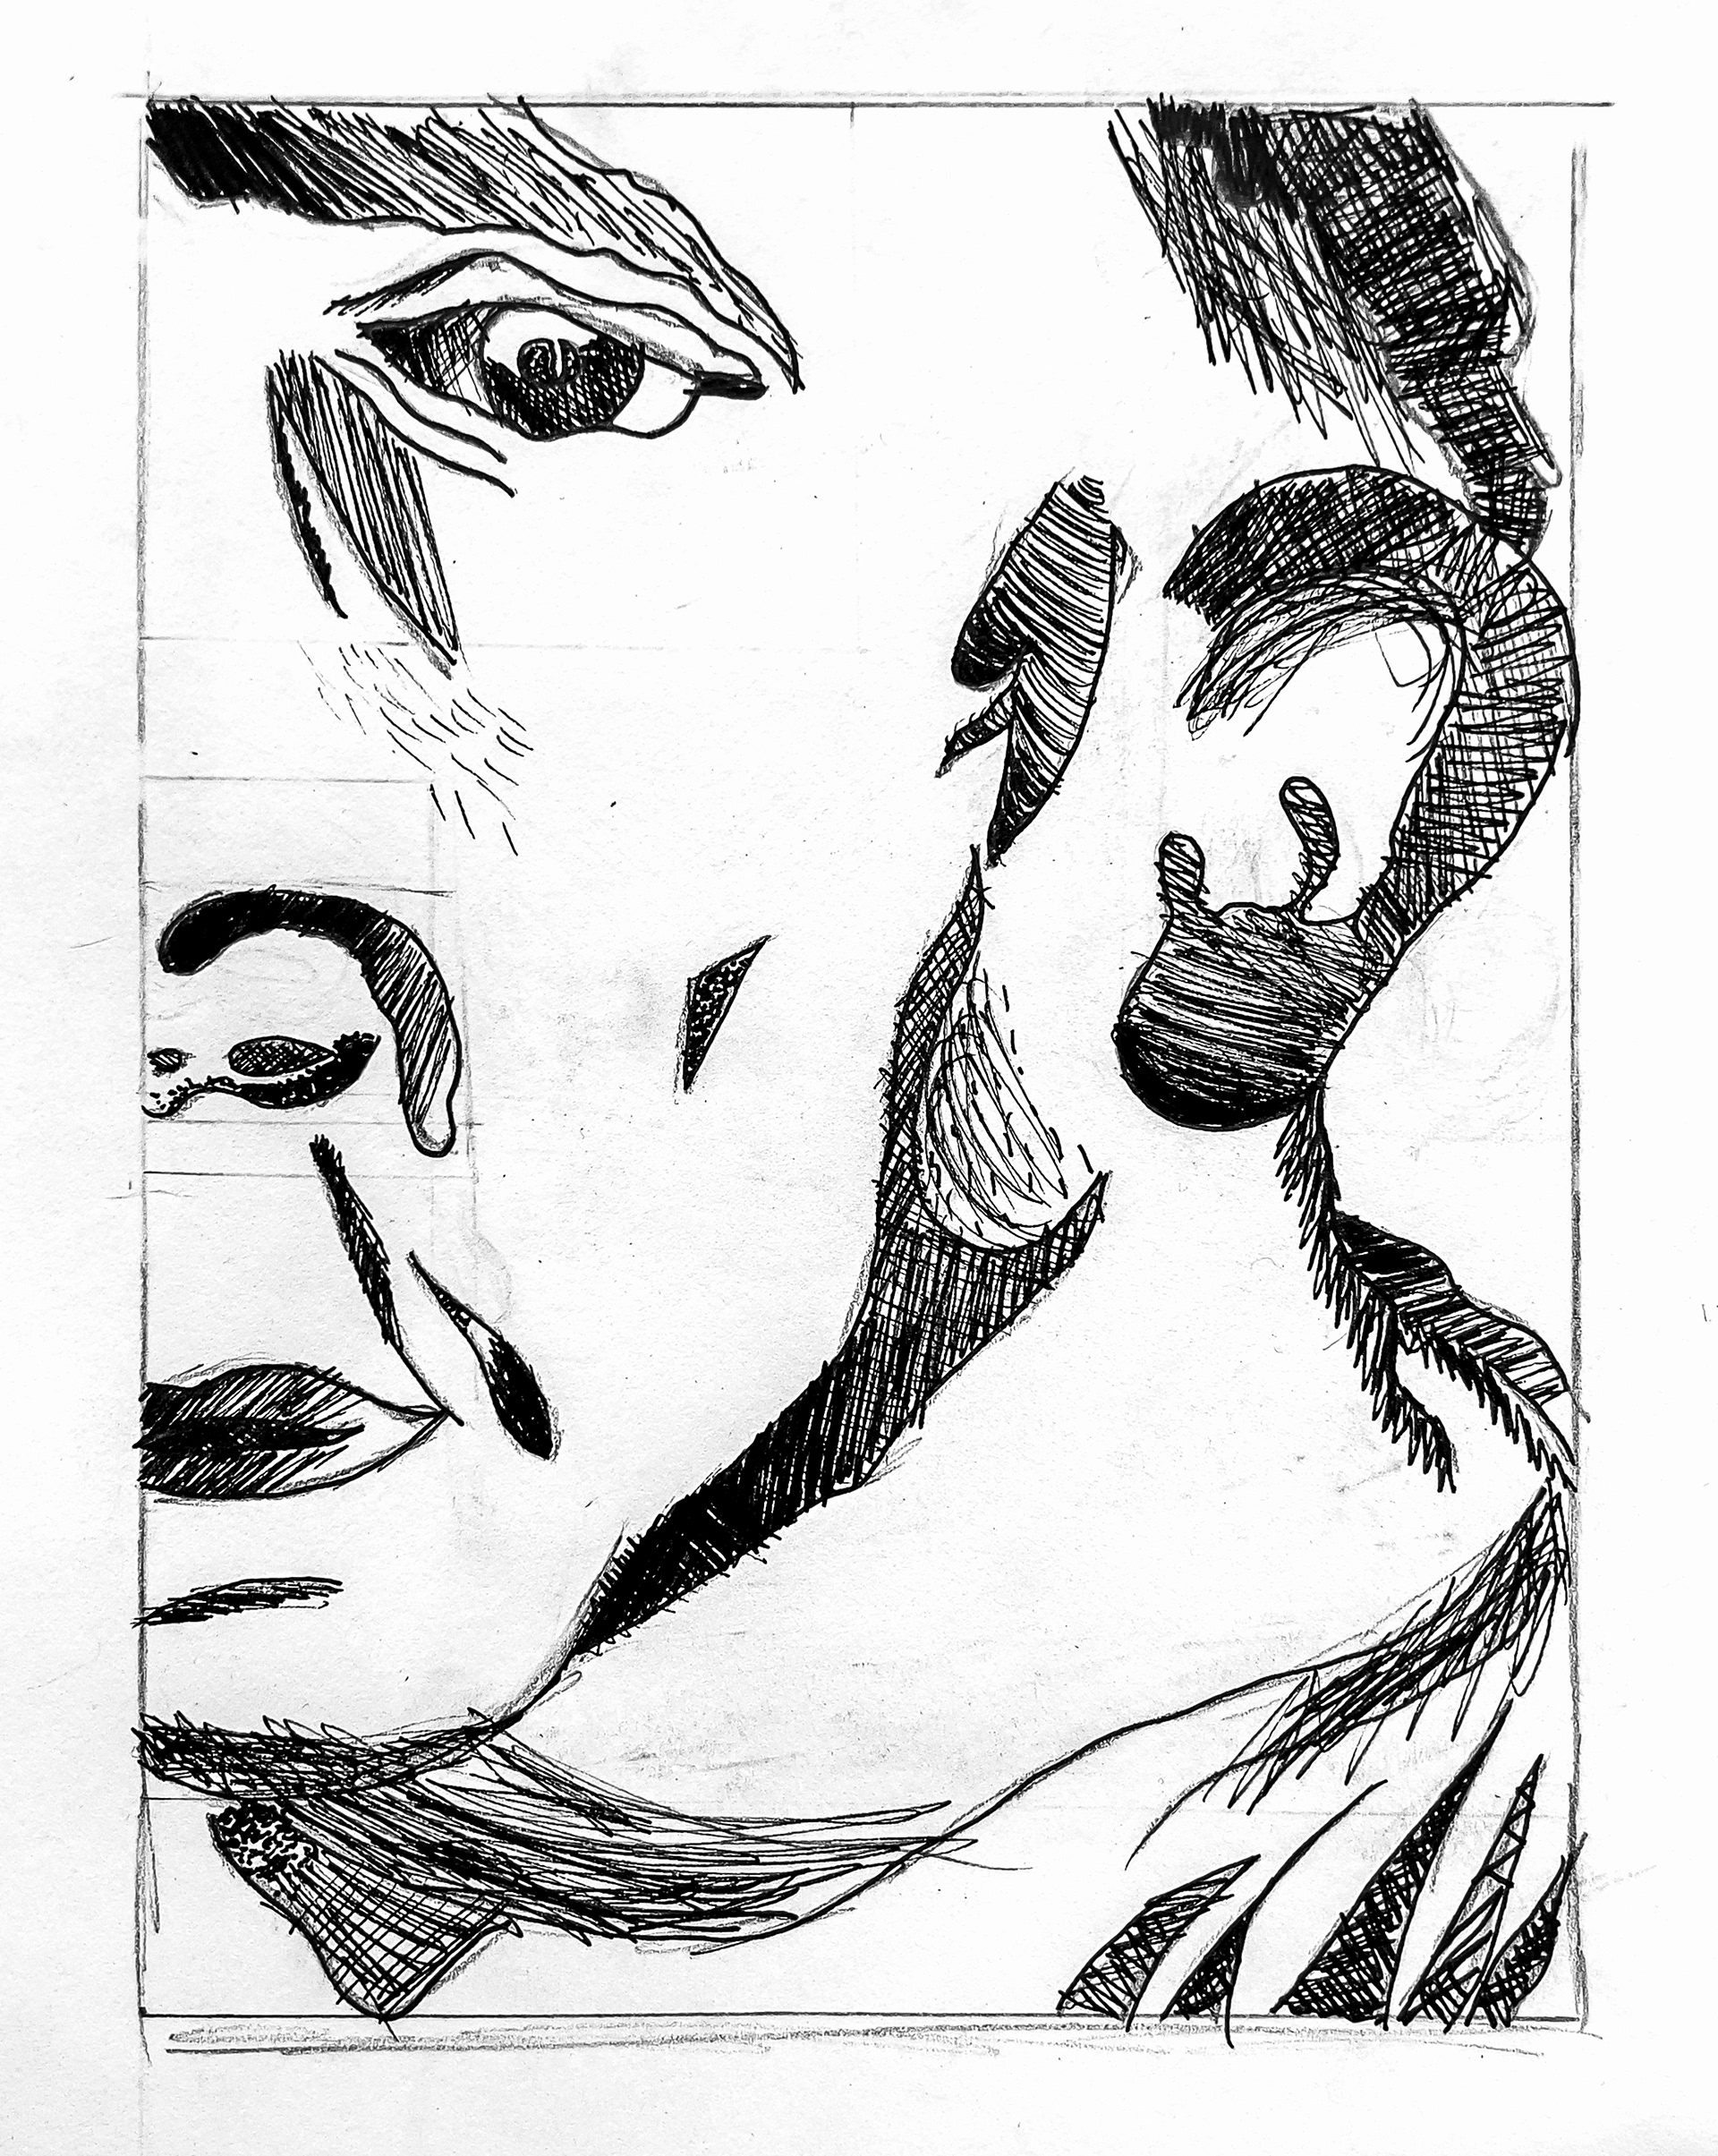
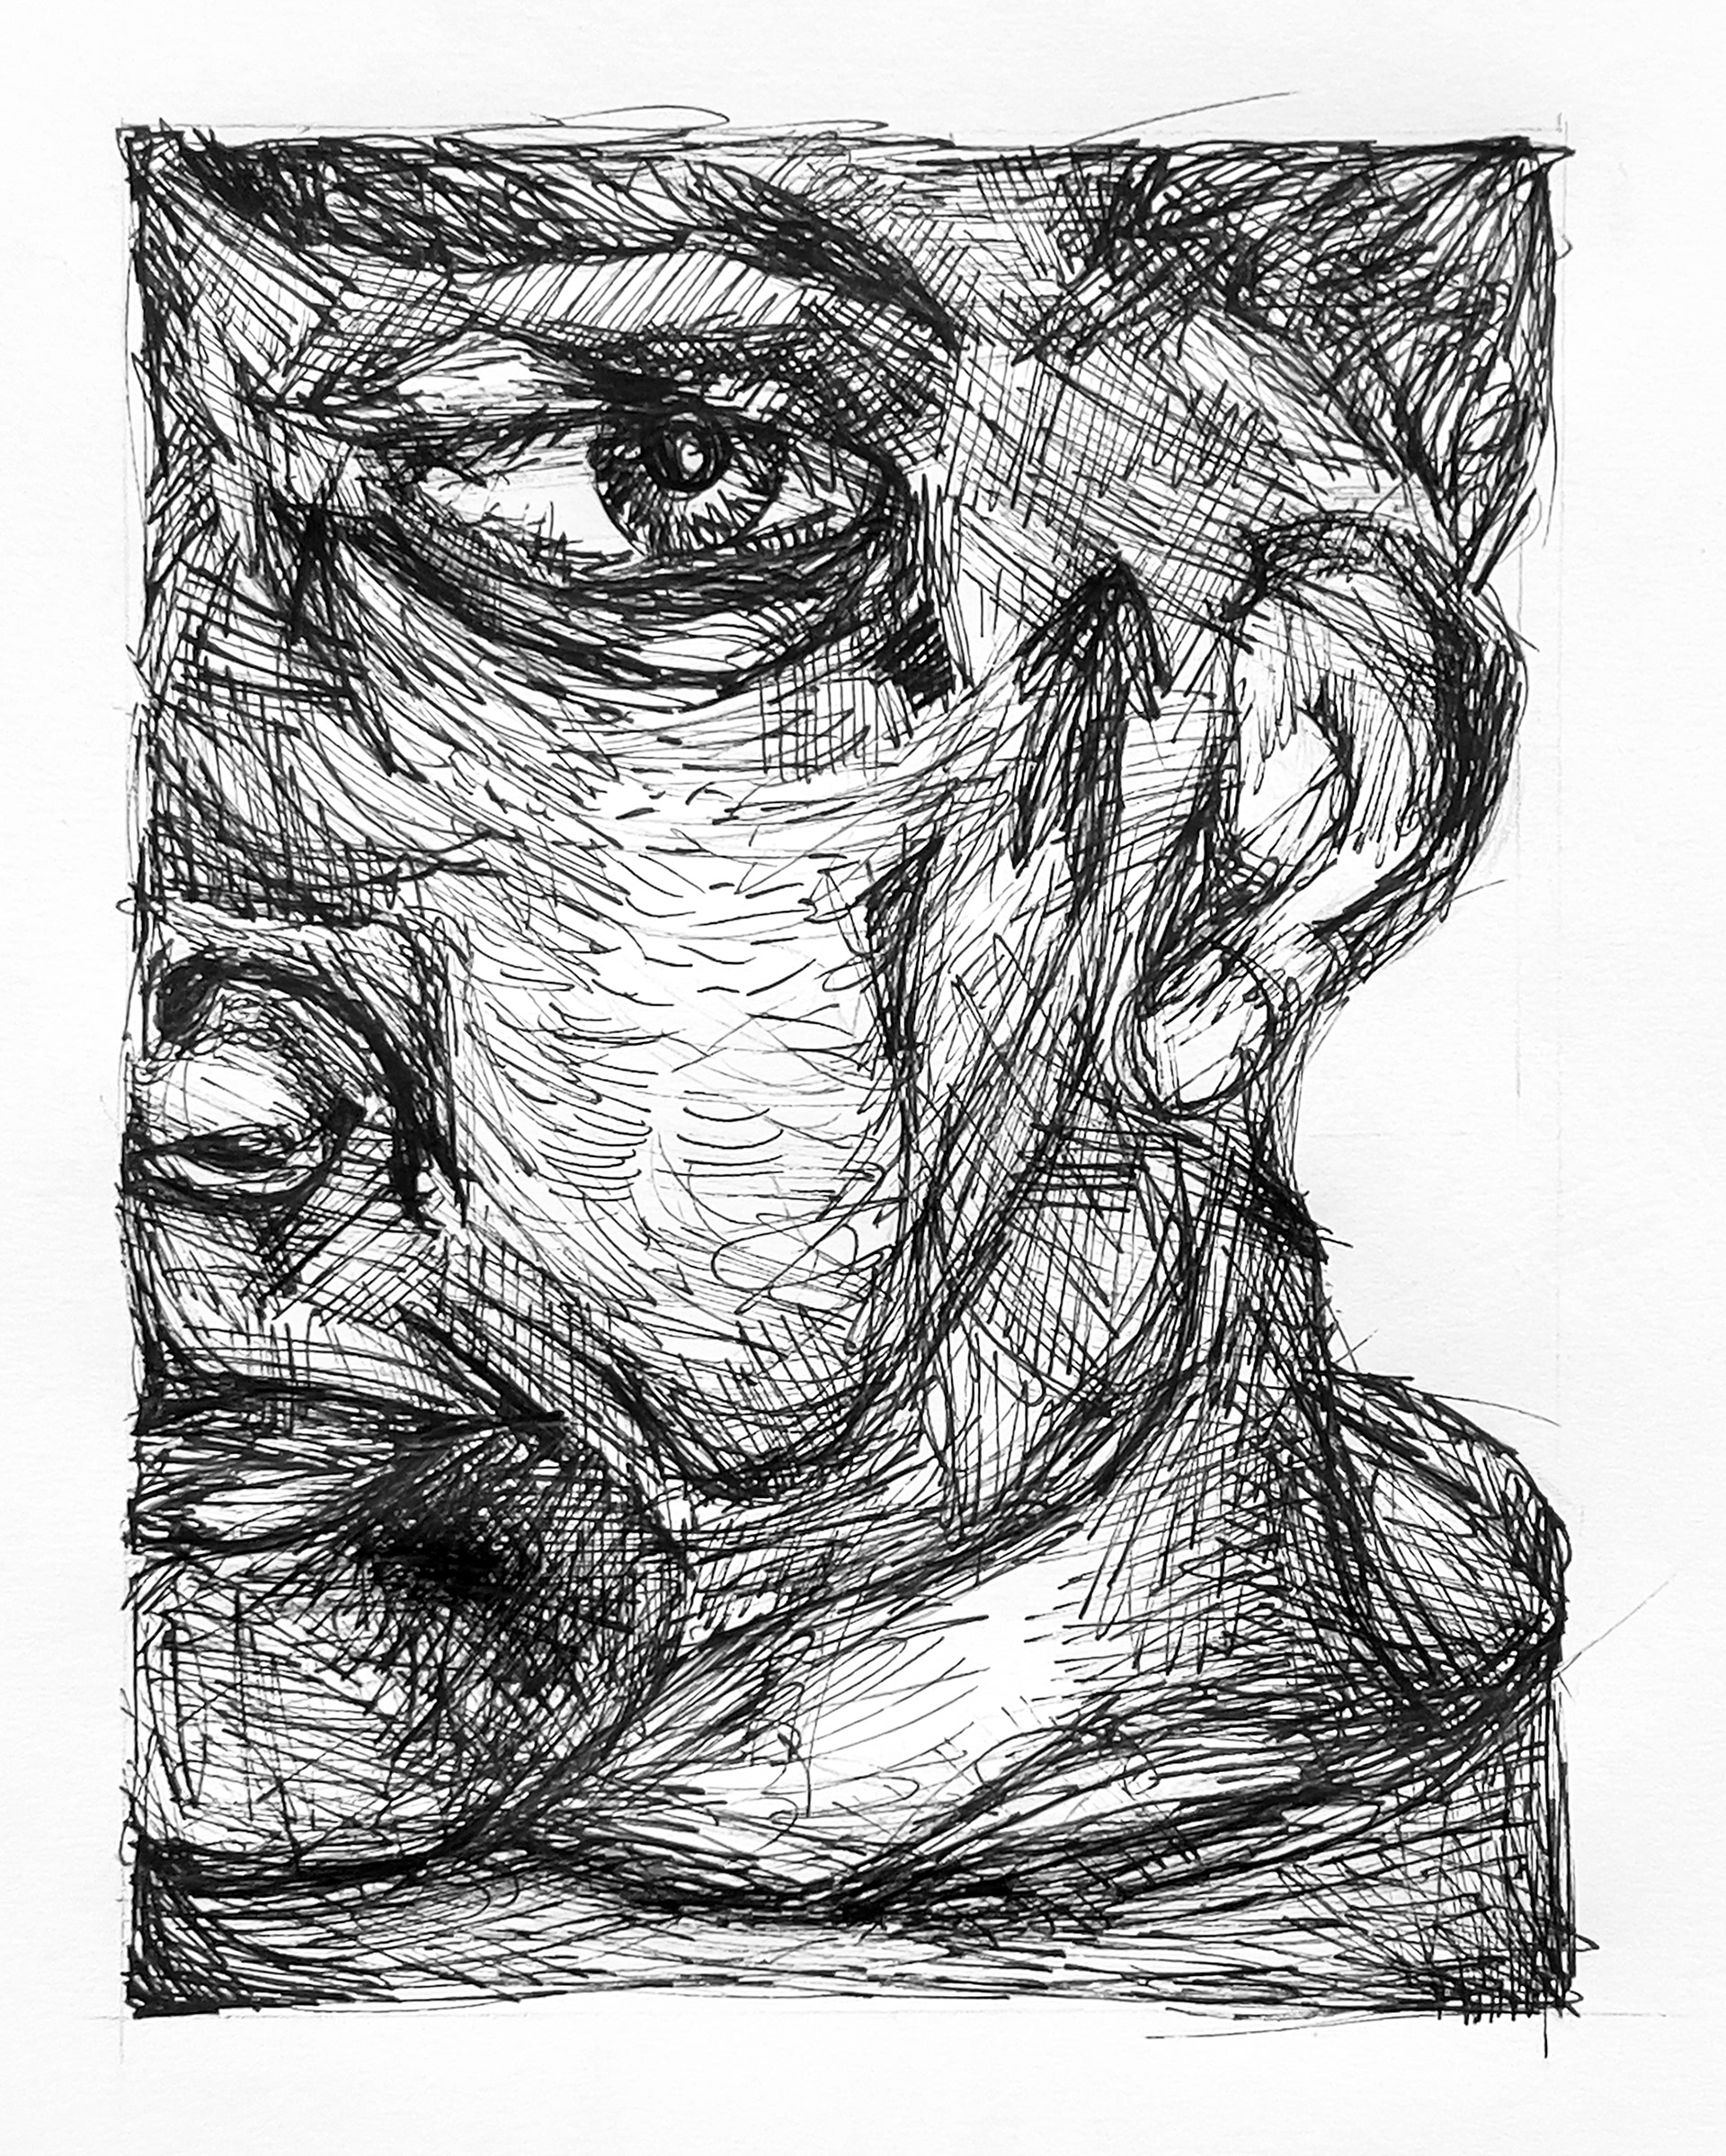
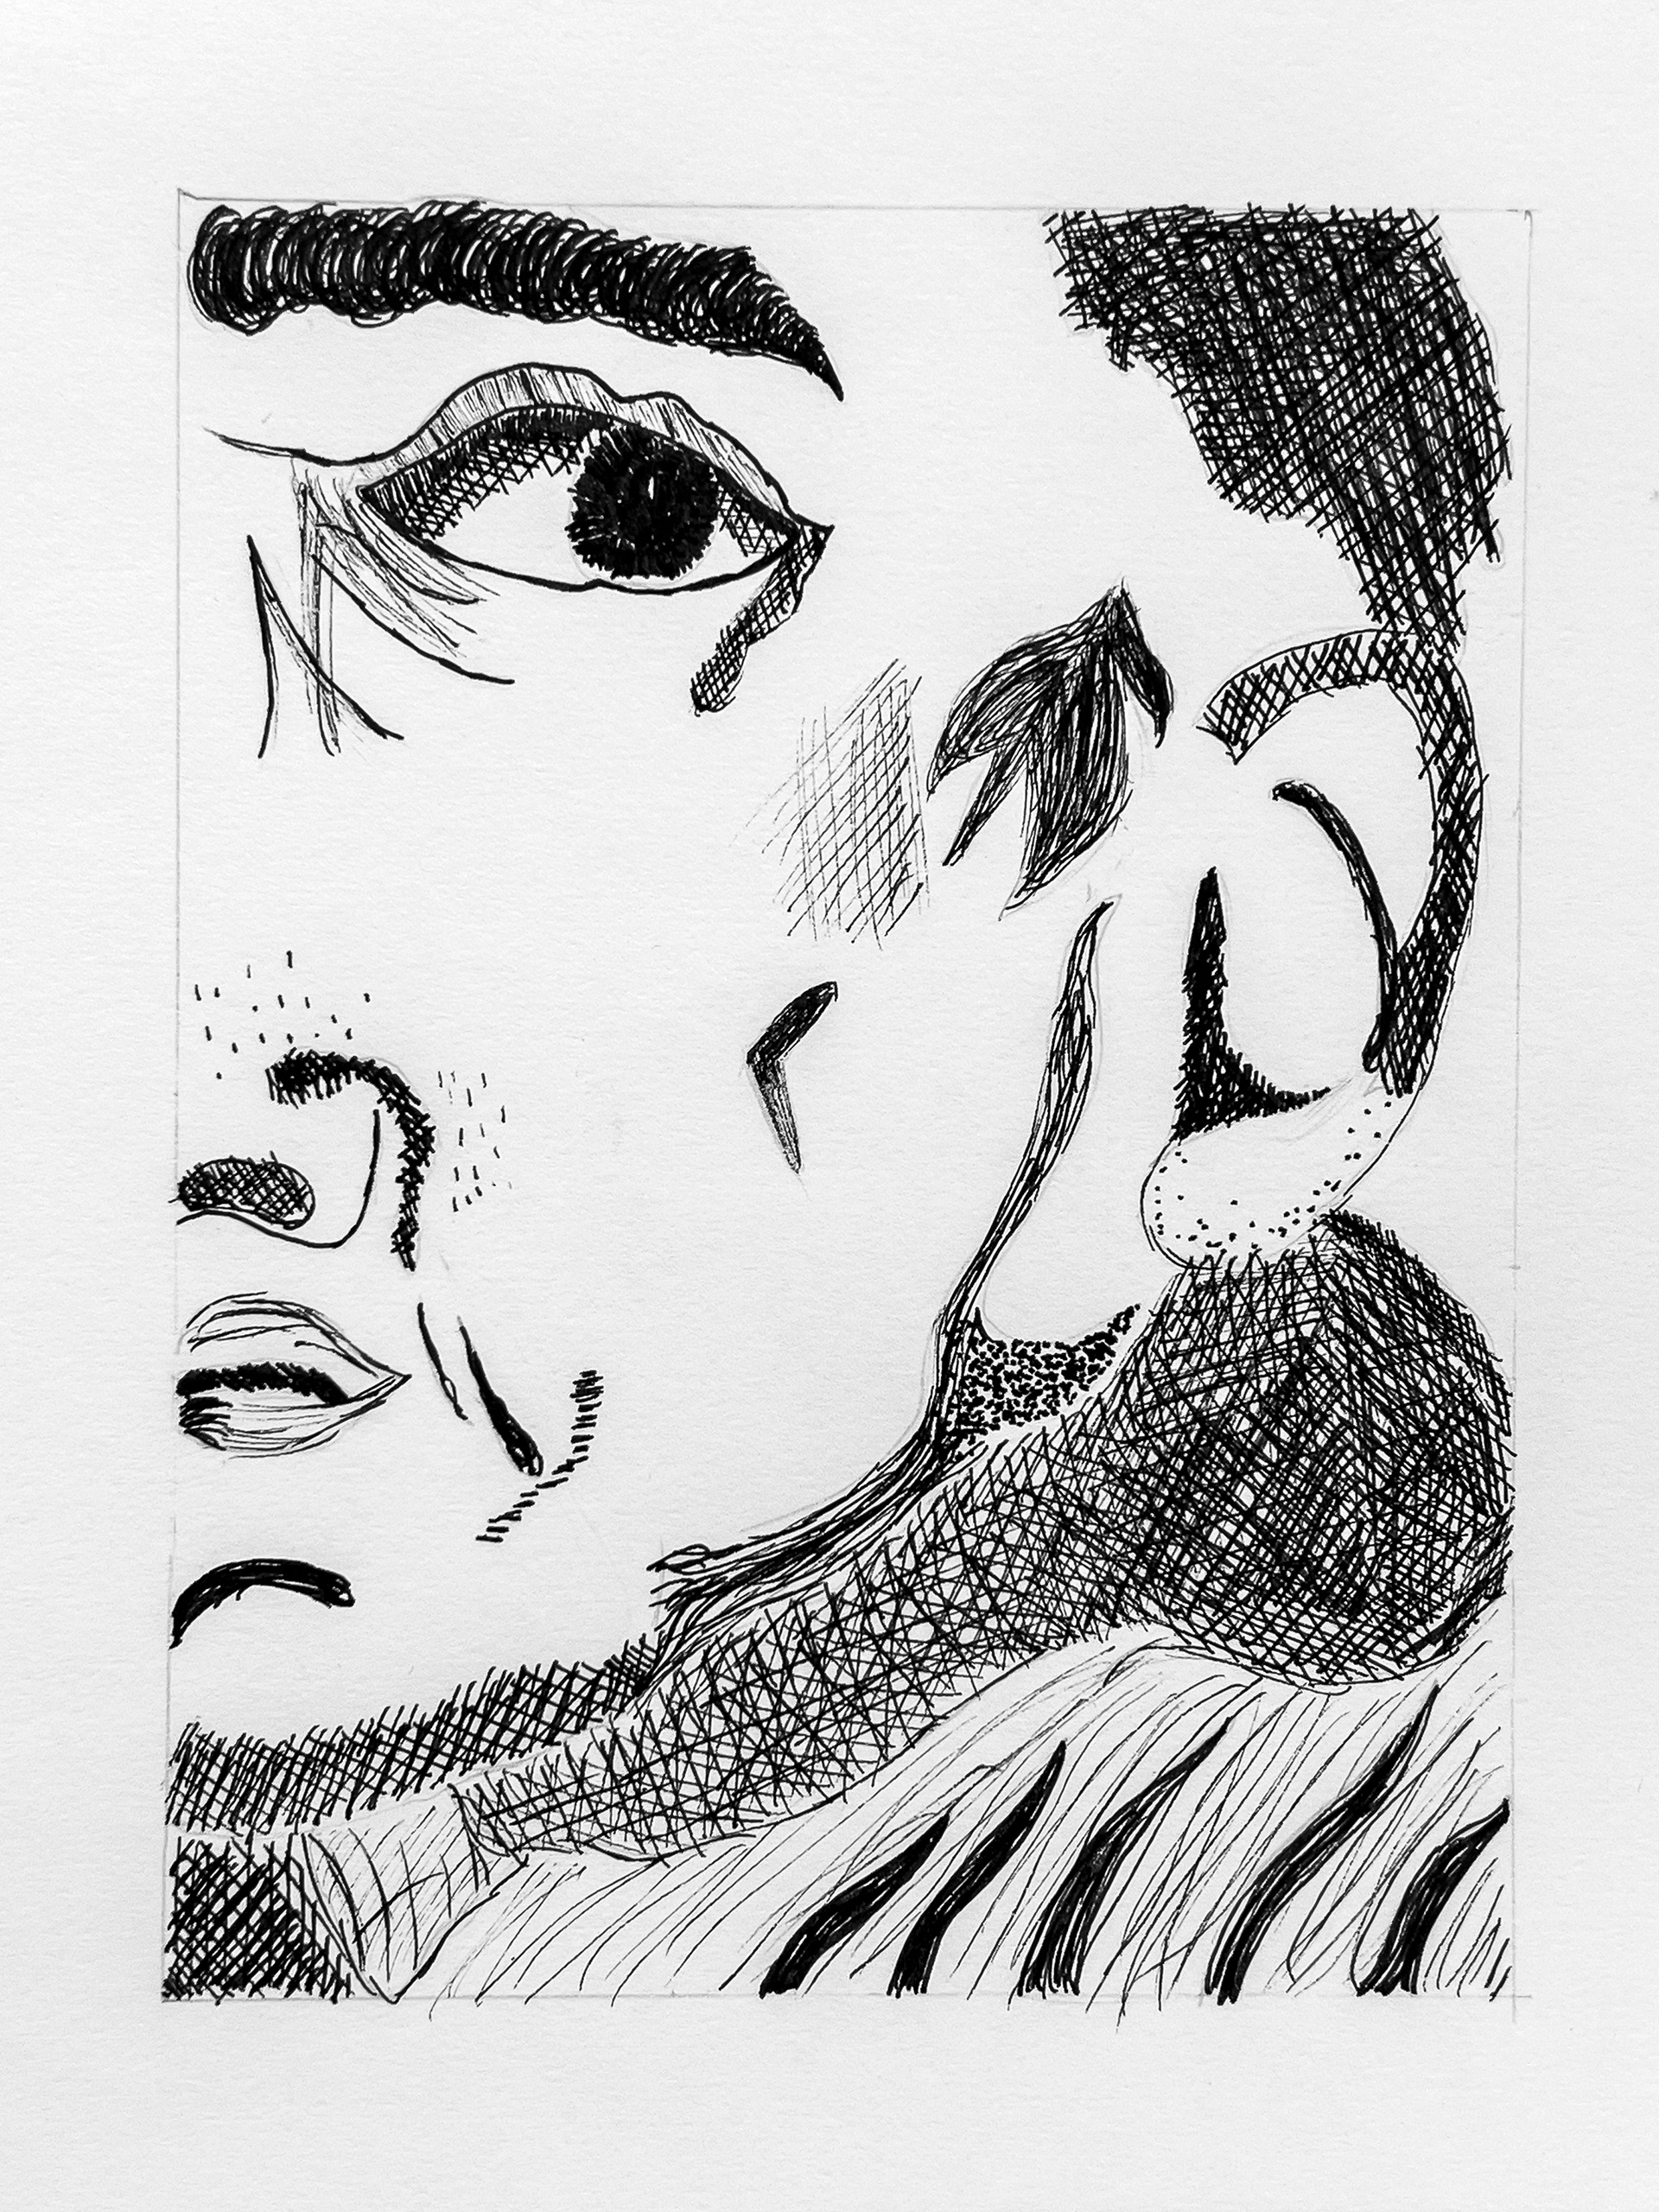
Examples of previous students' drawings:
What do you think they did well and what might they have looked to improve?

What tends to go wrong?
Here are the top 5 common beginner mistakes with mark-making, and some advice to avoid them:
Going too dark
- Think carefully about how many marks you add and how close together they are so that you can contrast the shadows from the highlights
Placing the lights and darks in the wrong places
- Look closely at the reference image to help you decide which sections need to be light and which need to be dark.
Forgetting to add gradients
- Sometimes we do an 'all or nothing' approach where things are really light or really dark, with little in between. Try creating gradual gradients by gradually spreading your marks out.
- Sometimes we do an 'all or nothing' approach where things are really light or really dark, with little in between. Try creating gradual gradients by gradually spreading your marks out.
Choosing the wrong marks for the texture
- Sometimes it's good to practise your marks on a spare piece of paper before committing them to the page. That way, you can decide which marks are best for the textures you're trying to create.
- Sometimes it's good to practise your marks on a spare piece of paper before committing them to the page. That way, you can decide which marks are best for the textures you're trying to create.
Rushing your marks
- Mark-making is all about being expressive and gestural with your marks, but there comes a point when being a bit overly expressive just results in it looking rushed.
- Mark-making is all about being expressive and gestural with your marks, but there comes a point when being a bit overly expressive just results in it looking rushed.