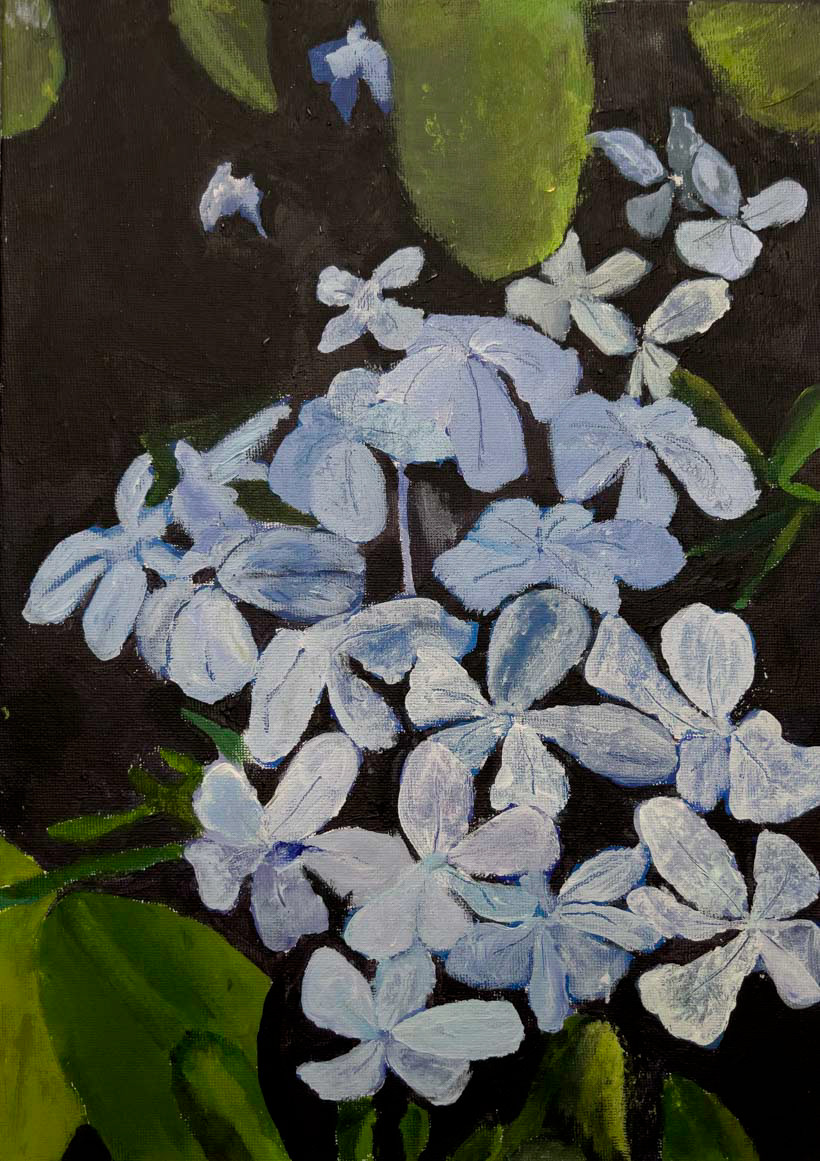
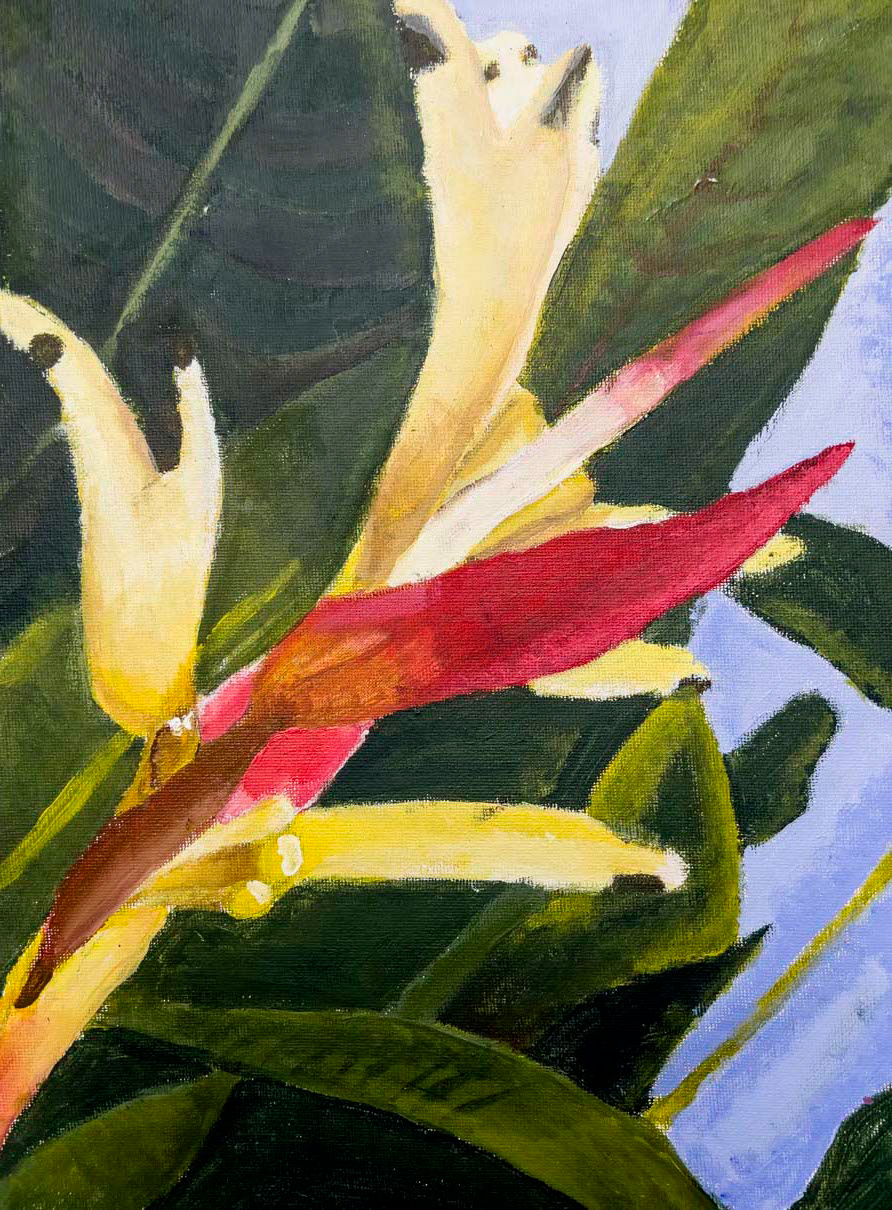
Learning Objectives:
• Familiarise yourself with the life and work of Marianne North and study her style closely
• Learn how to design your own painting, working from a photograph you took, considering the styles of artists like Marianne North
• Experiment with different paint application techniques and colour combinations, working with acrylic paints
Your task:
Read through the PowerPoint about Marianne North to learn about her life and work. Look especially at her painting style - the colours she used, the detail and colour in the shadows and how she 'collaged' different plants together to create interesting compositions.
Working from the photo you took on the trip to Kew Gardens, produce a painting in acrylics.
You may paint in your own style, but try to consider how you might take influence from Marianne North or other artists you have come across.
What you will need:
Photographs taken at Kew Gardens (in digital form, not printed) and a computer with Photoshop CS5 (or above) or Photopea.com.
Extension Task Option:
• When selecting an image to paint, consider how a more ambitious image (in terms of composition, lighting, colours, textures or detail) might offer you more opportunities to stretch and challenge yourself.
• Consider taking influence from two or three artists as you 'design' your own painting.
• Work to a larger scale so you can fit in more detail and variation of tone.
Marianne North:
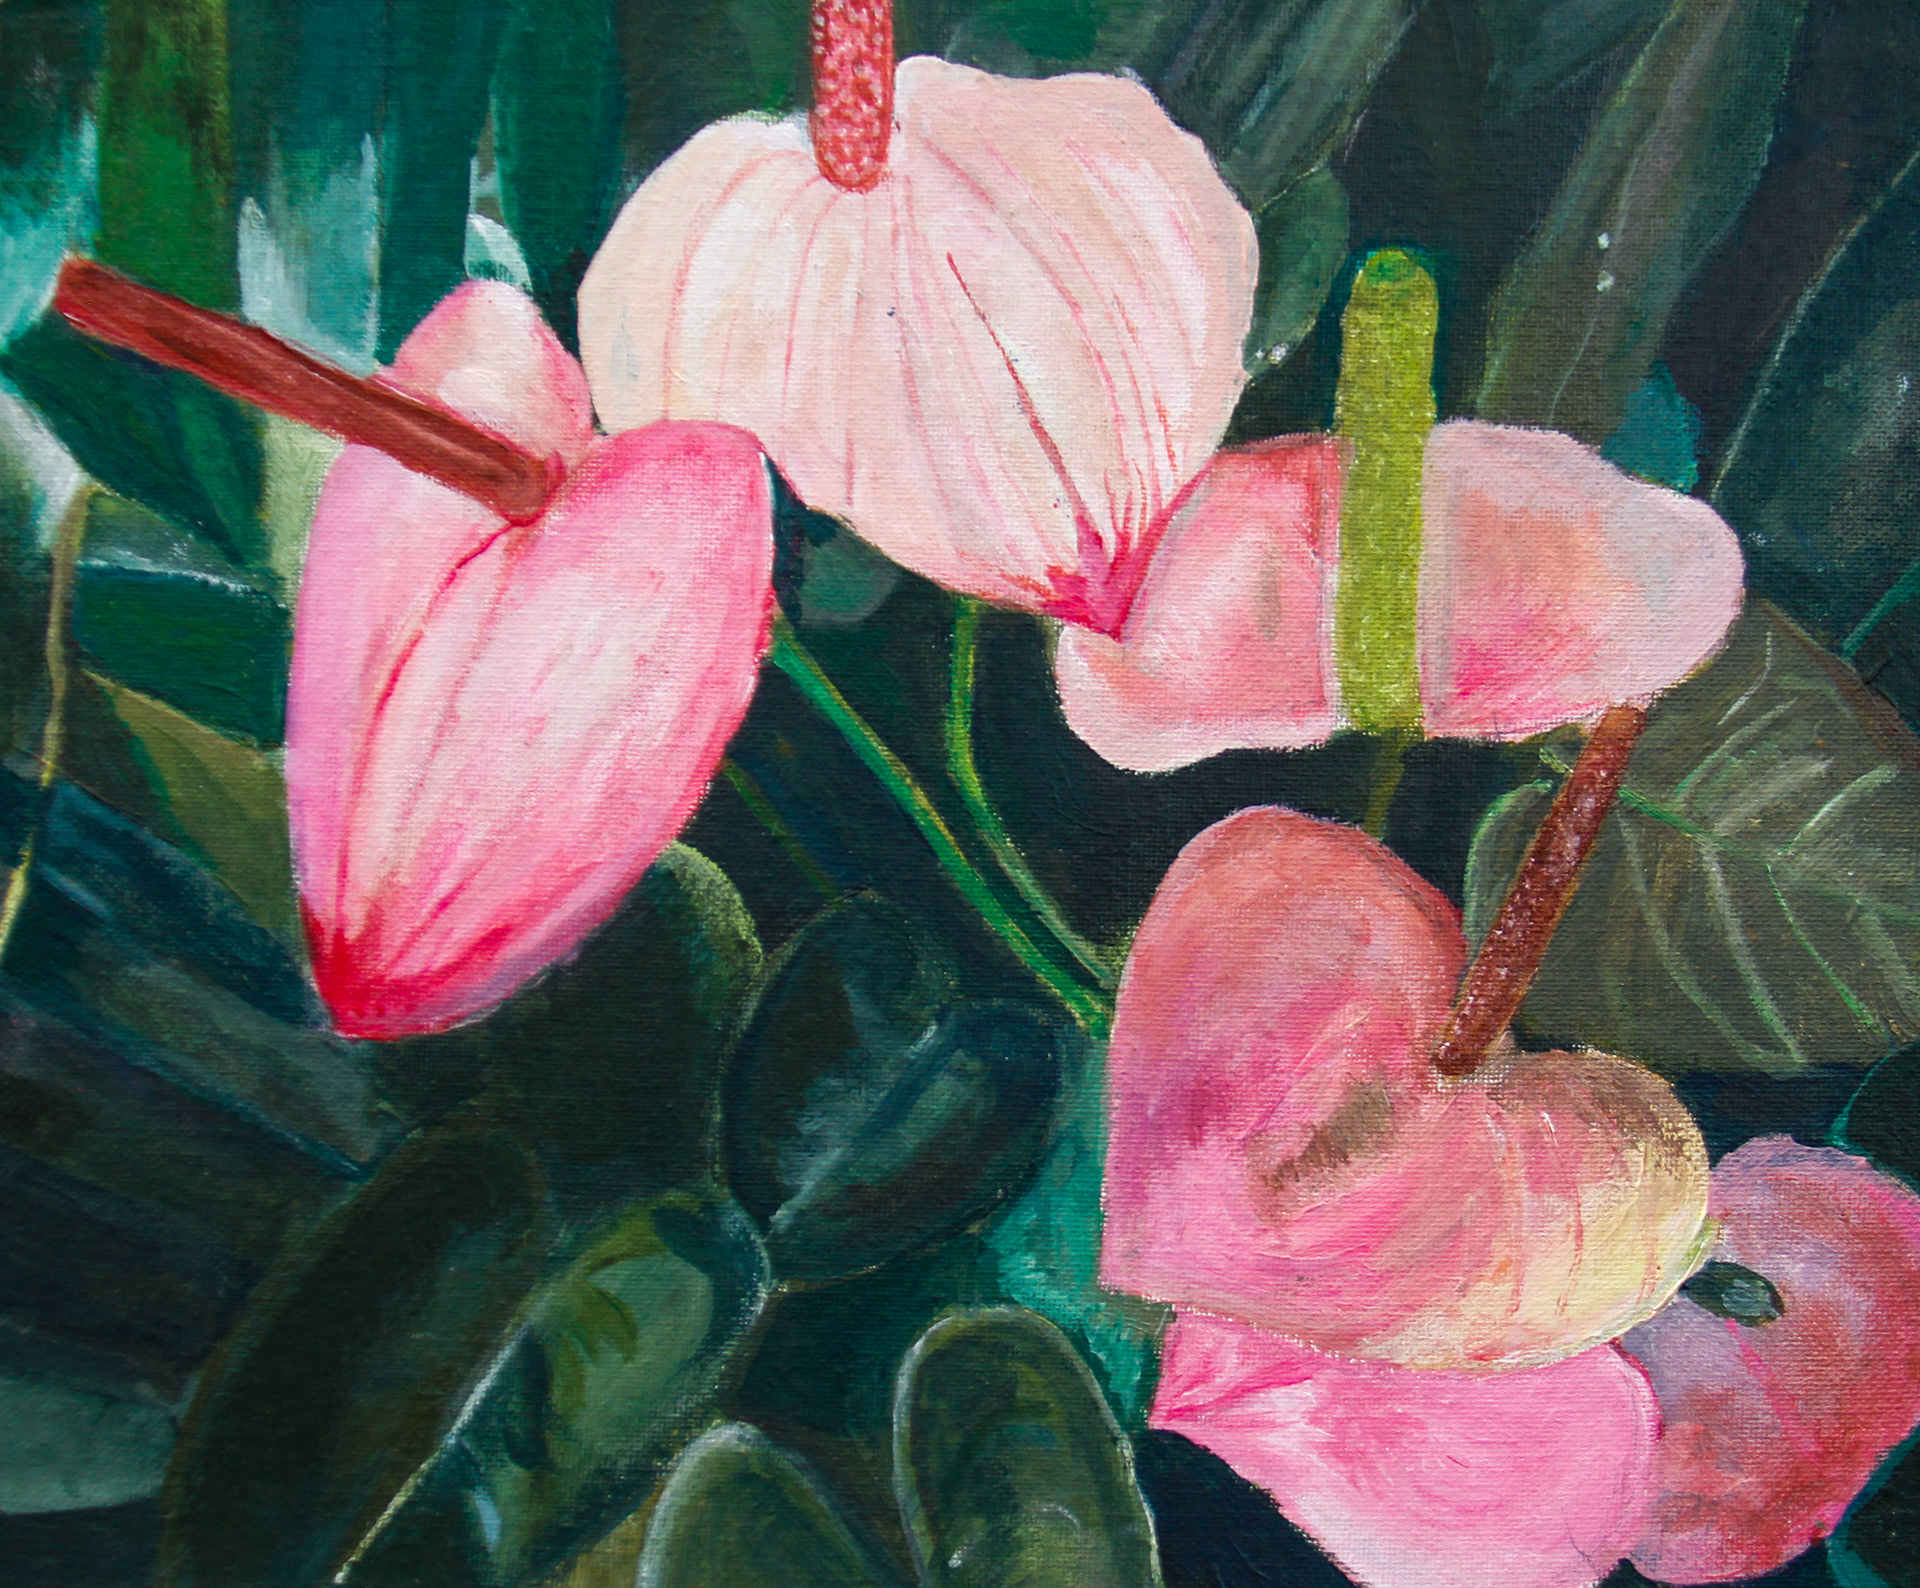
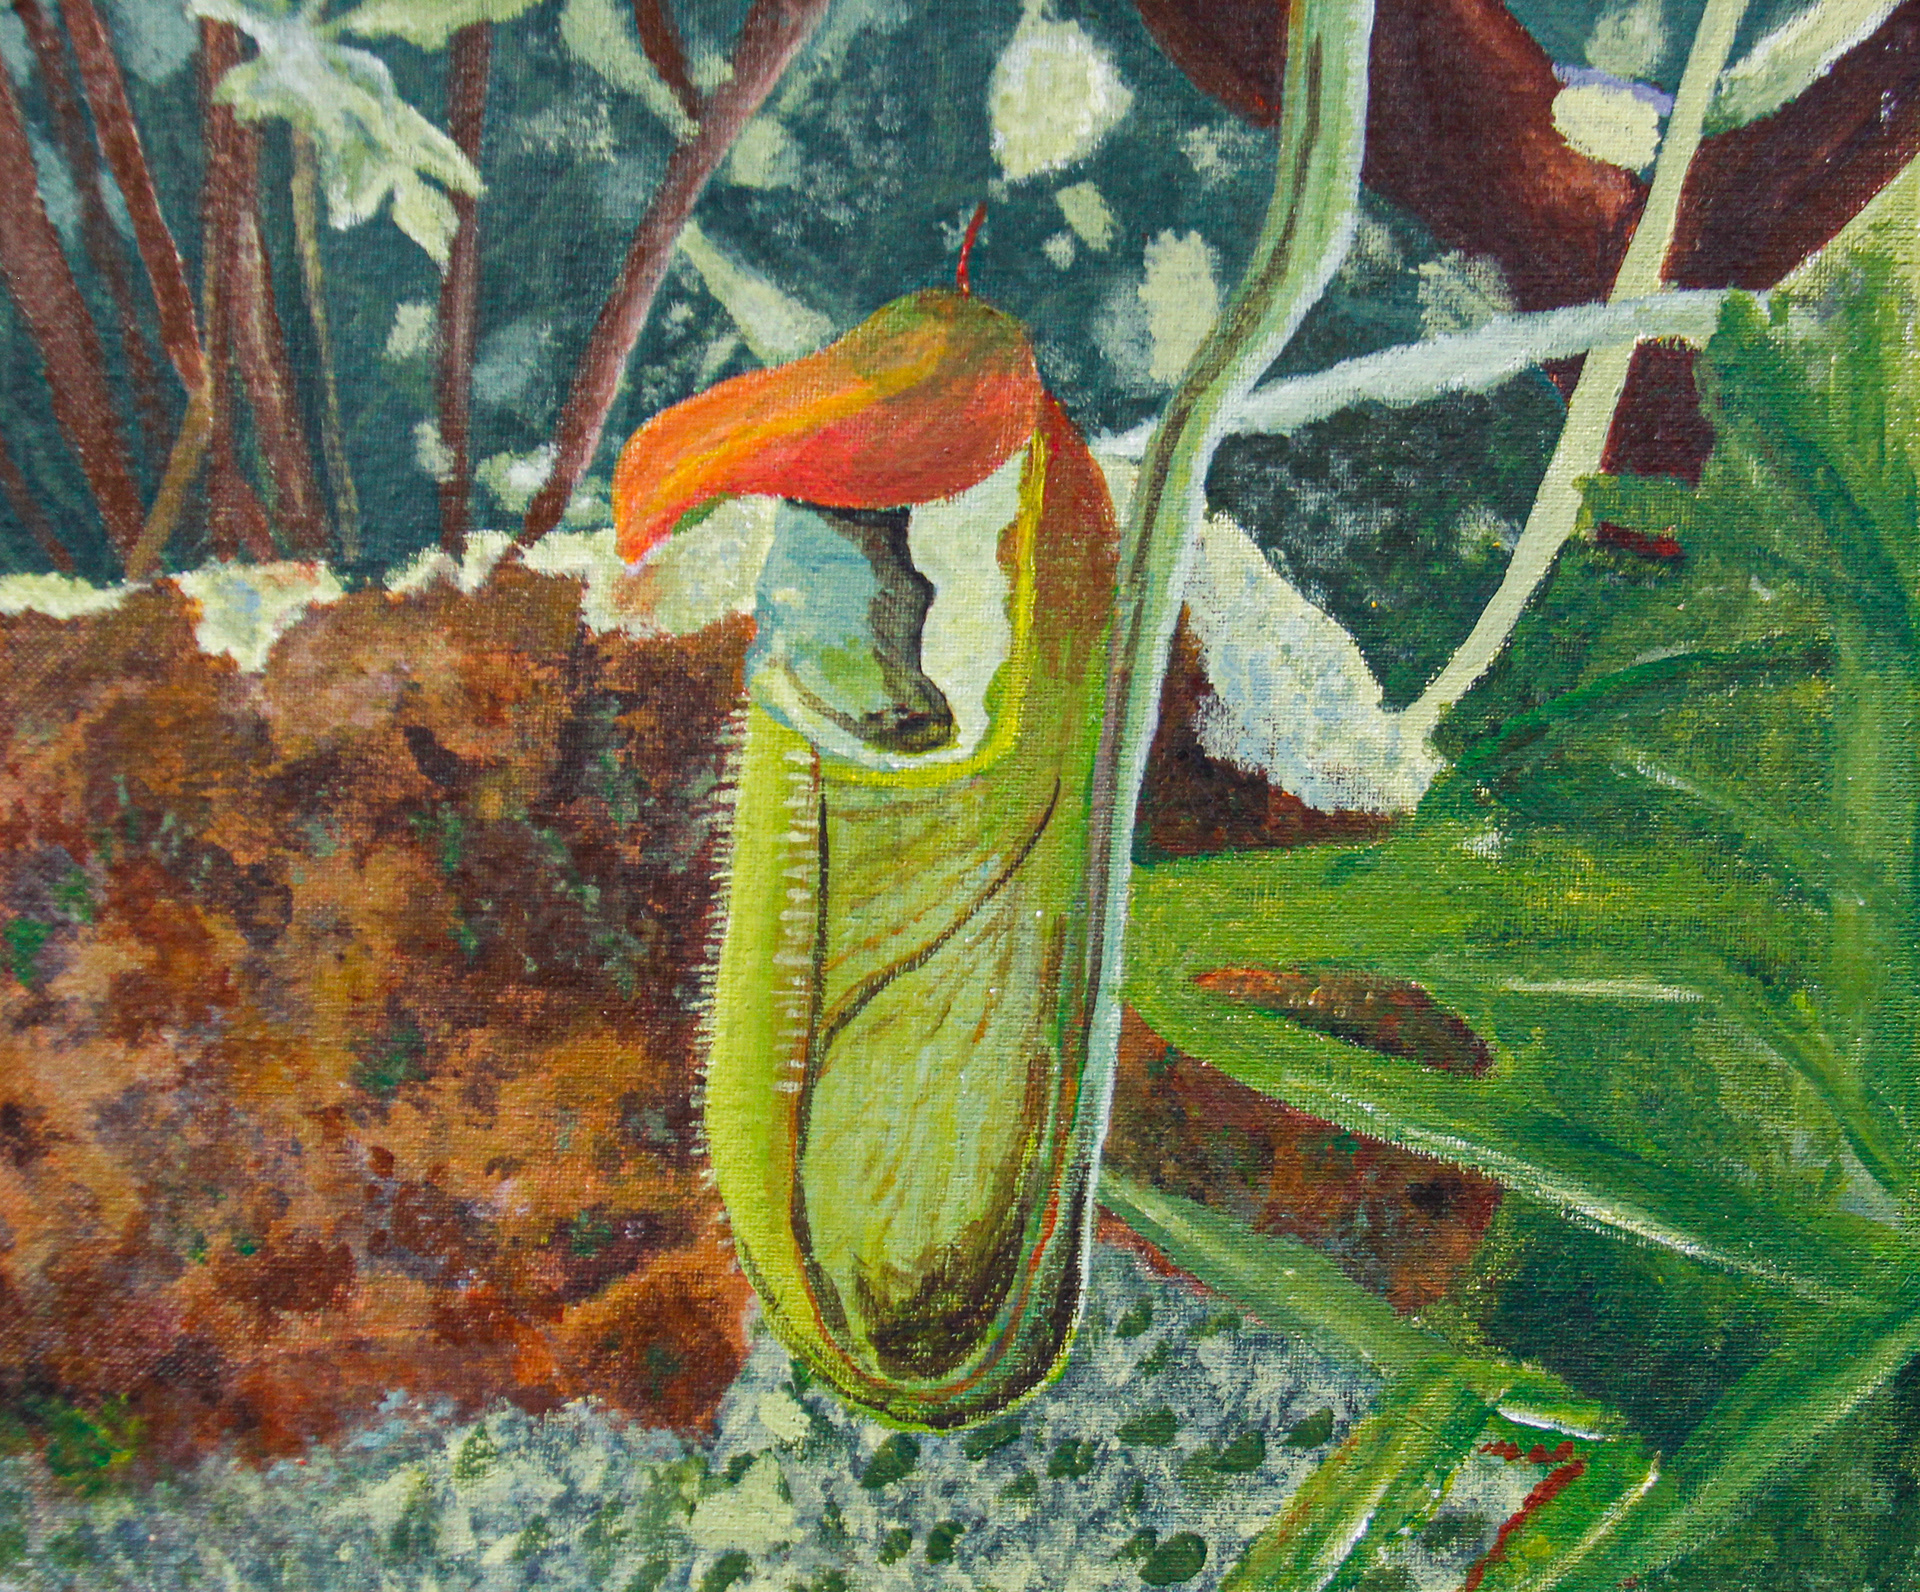
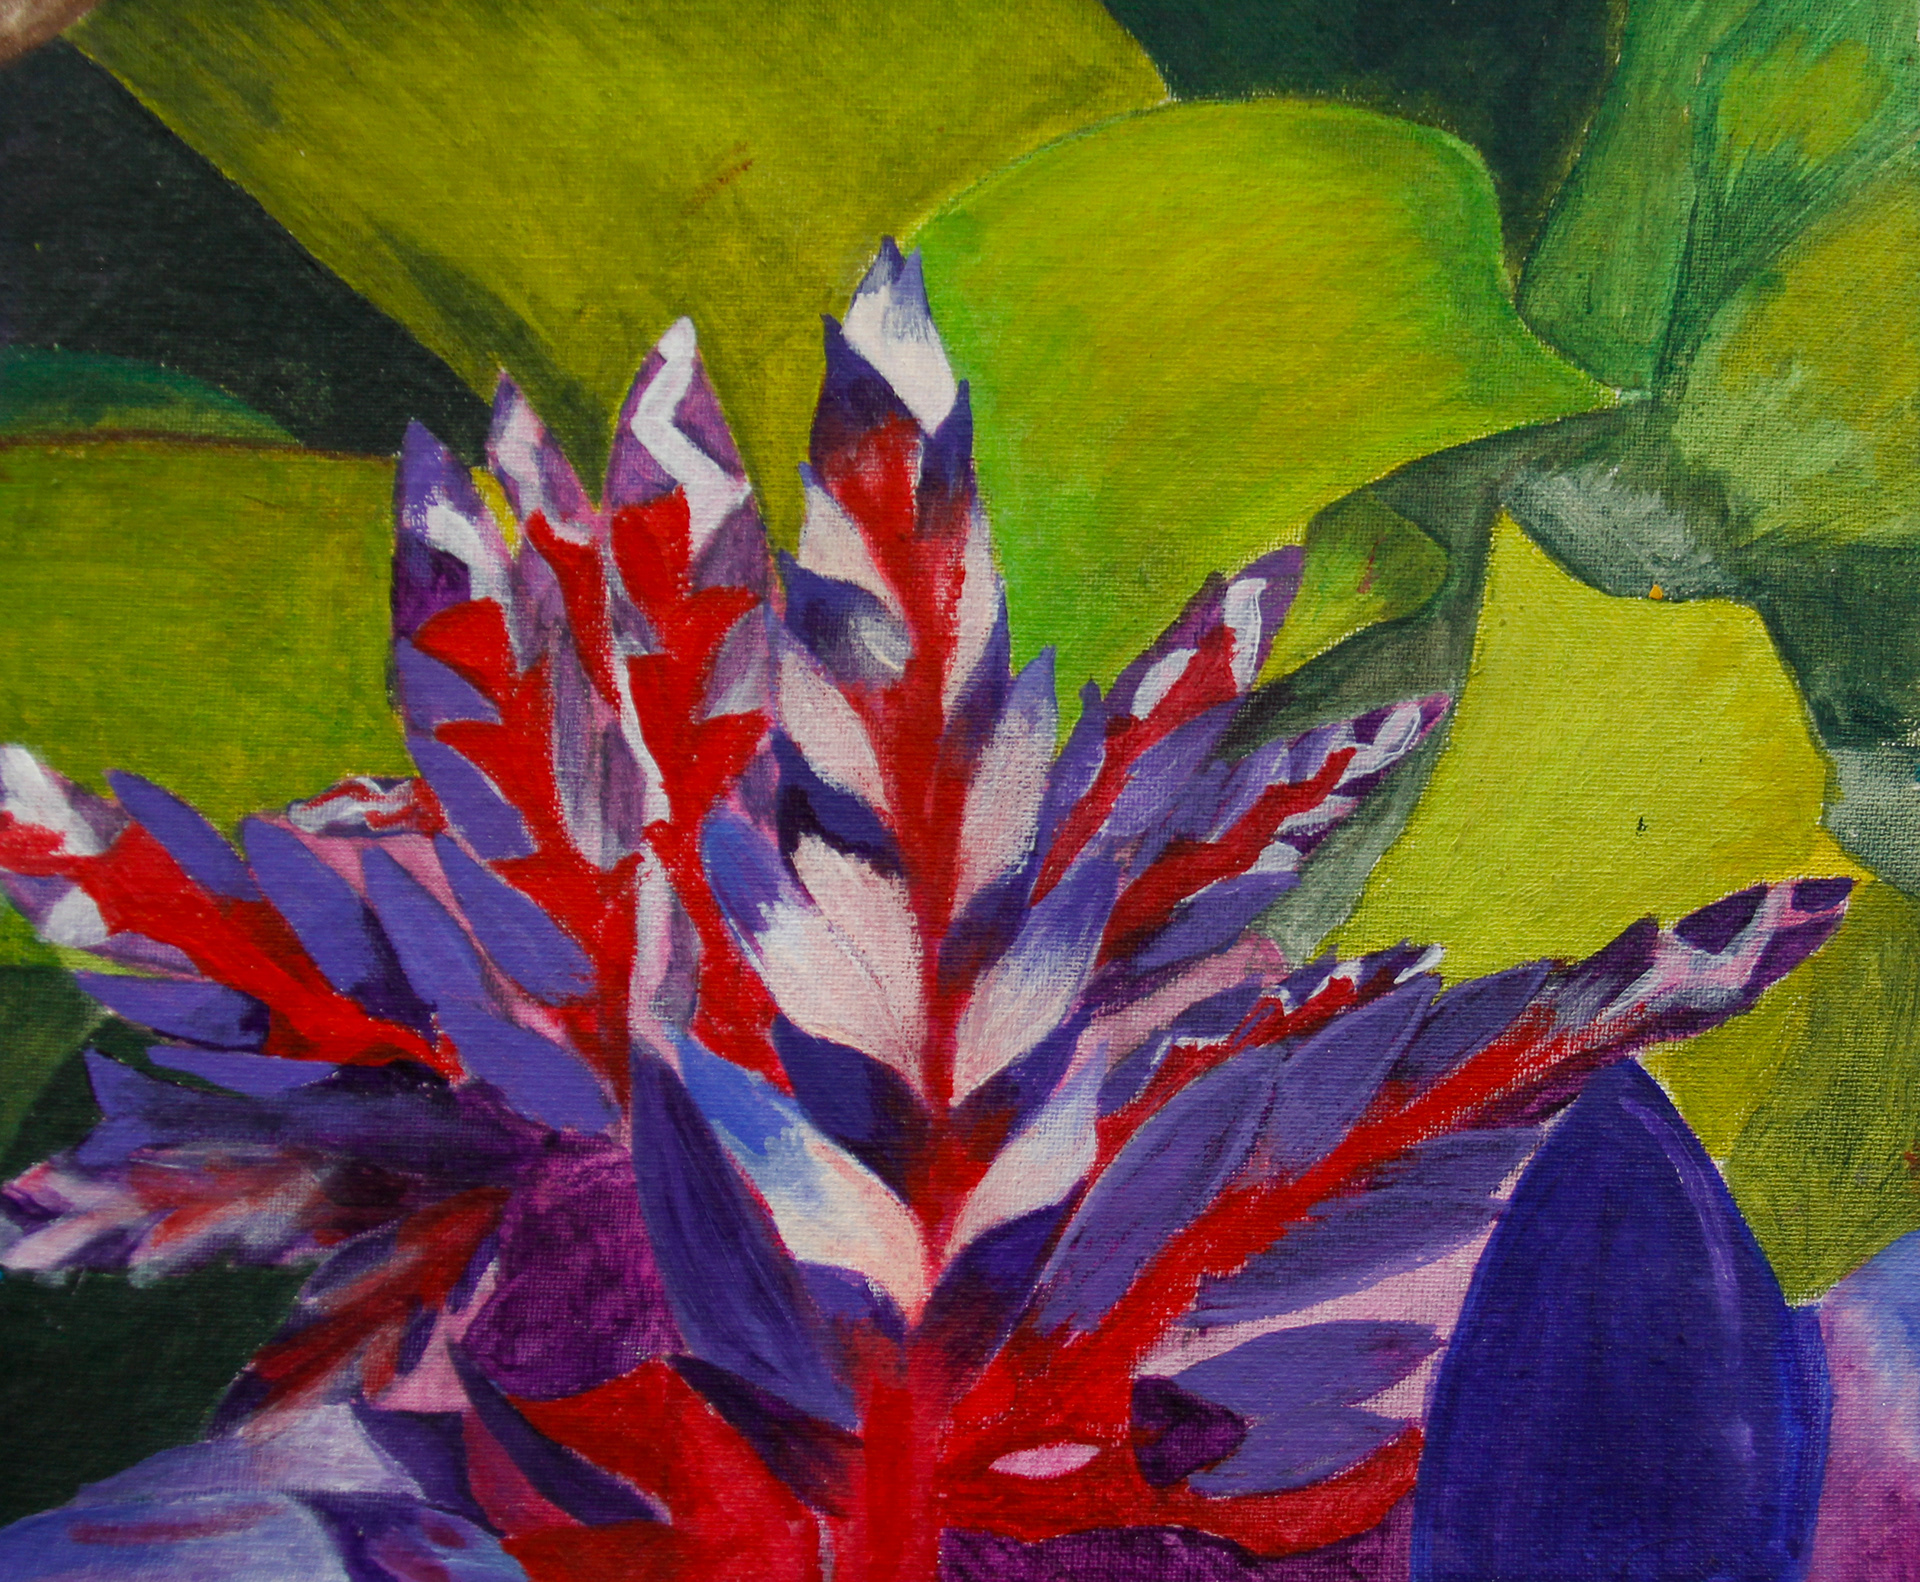
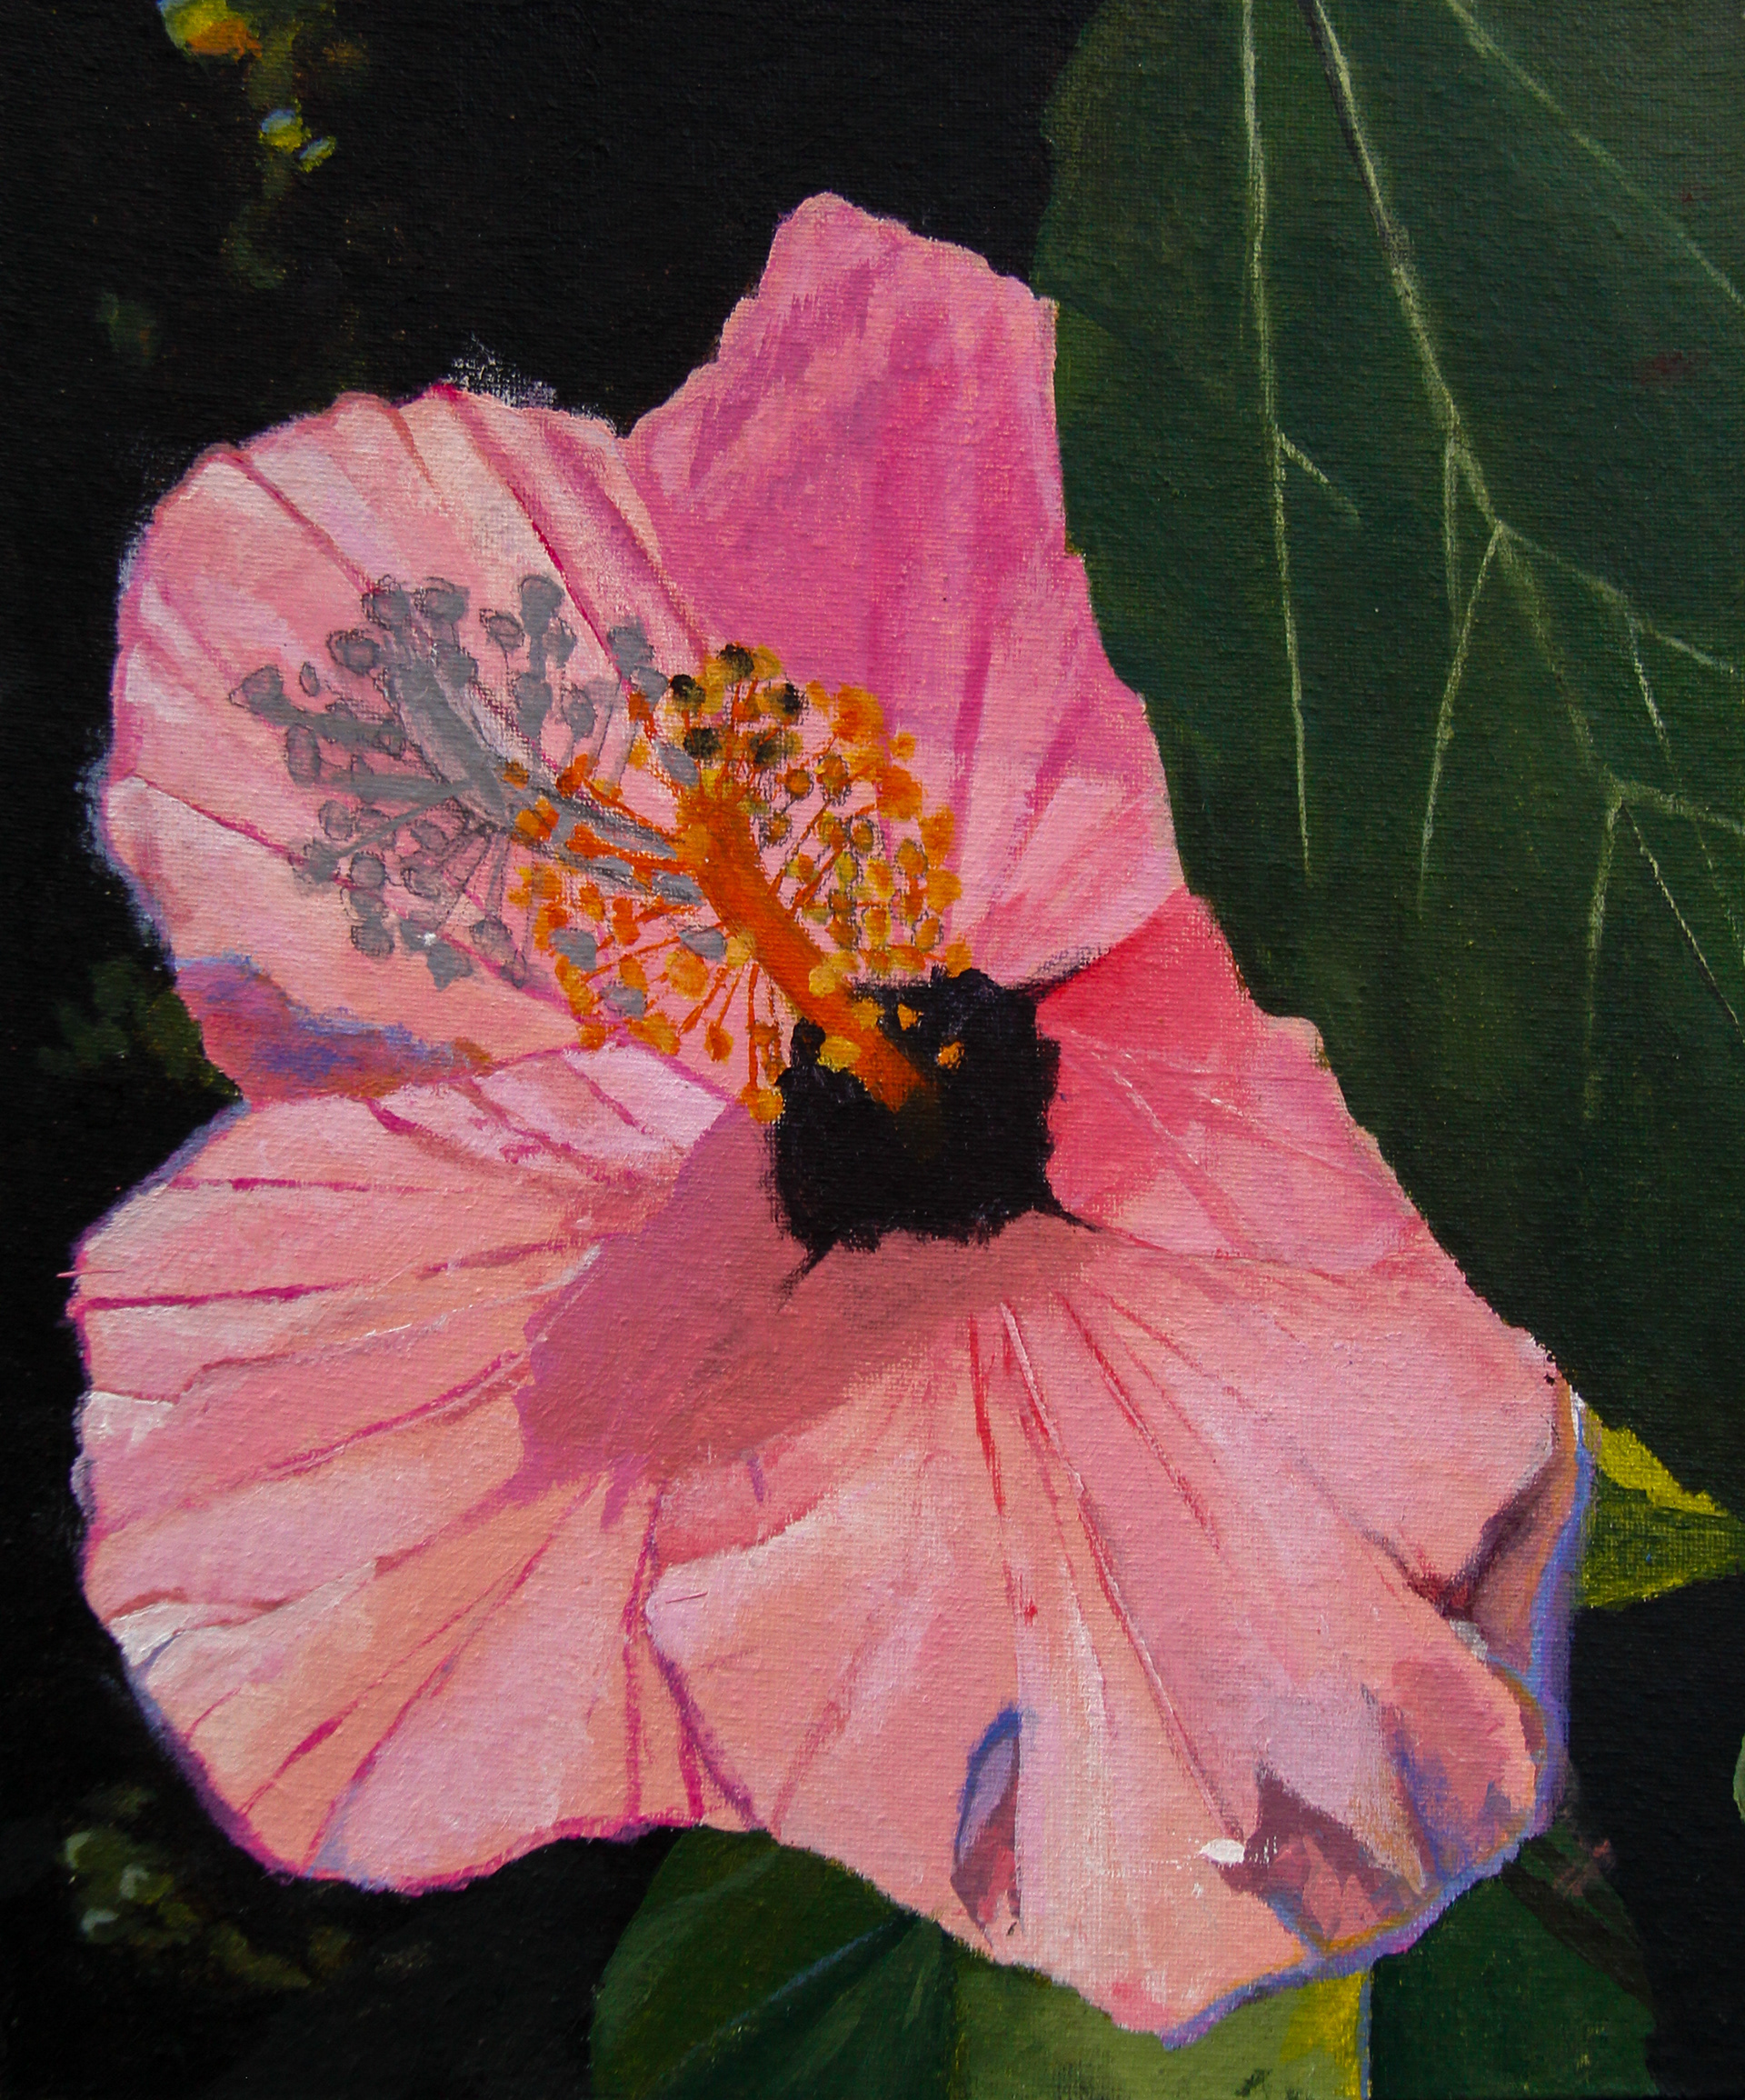
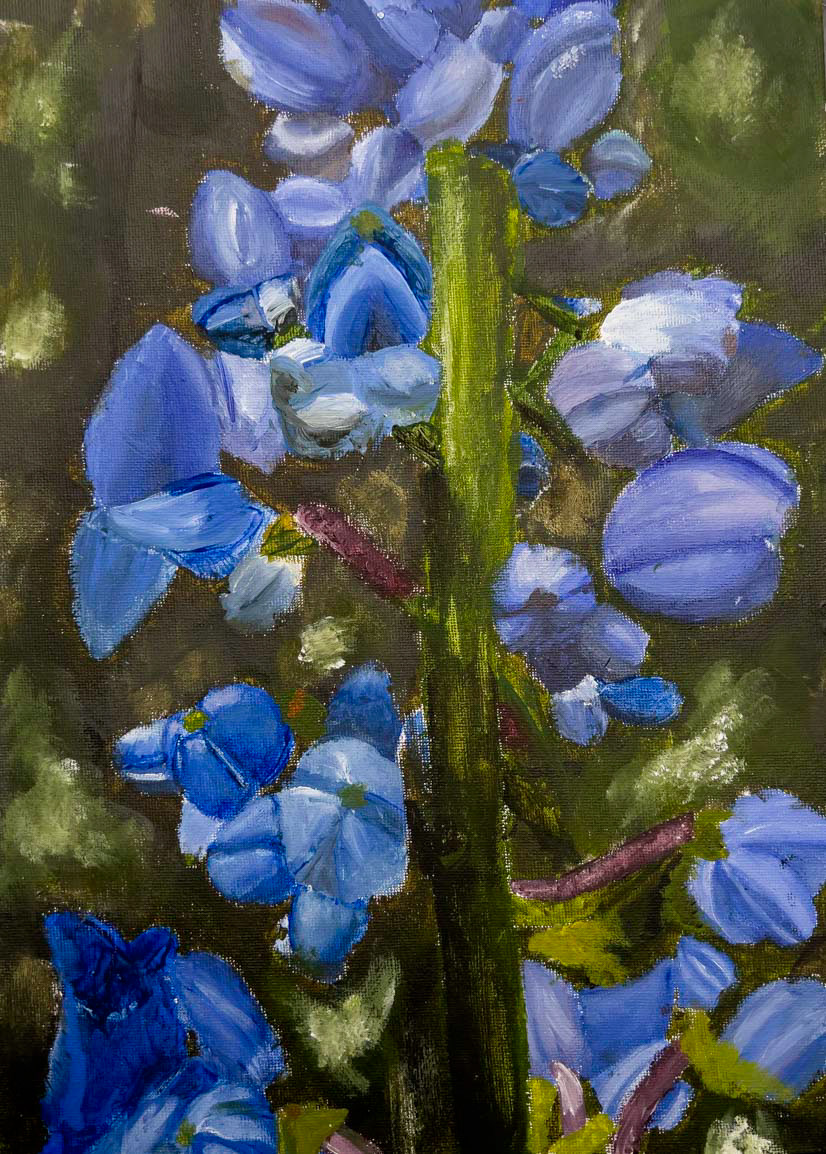
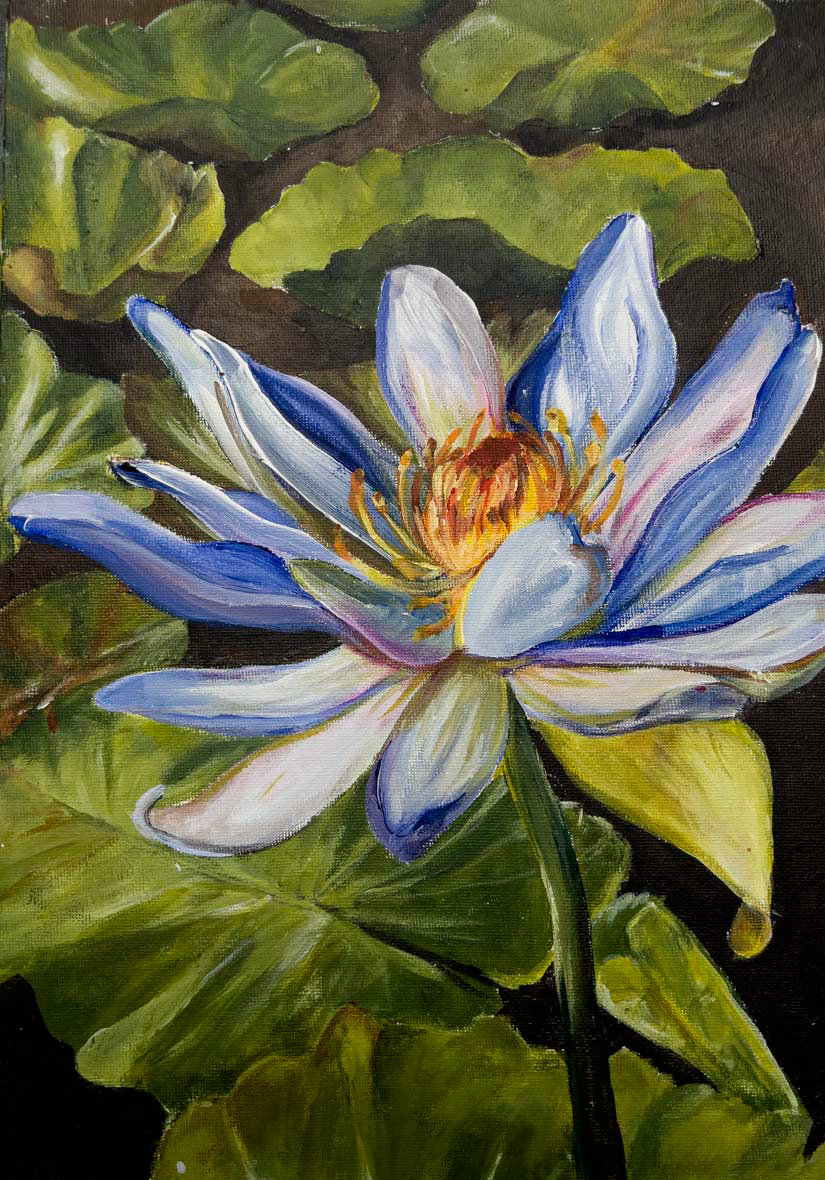
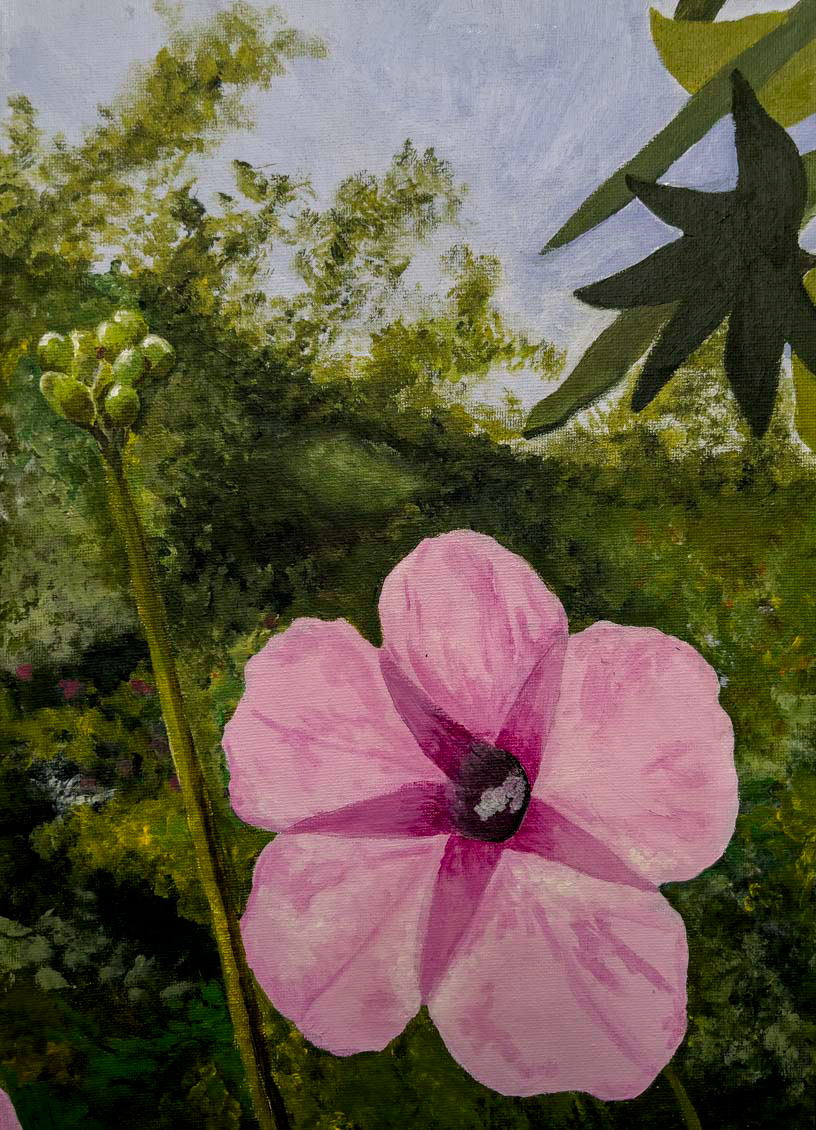
Mr Lax's examples (sections of larger paintings):
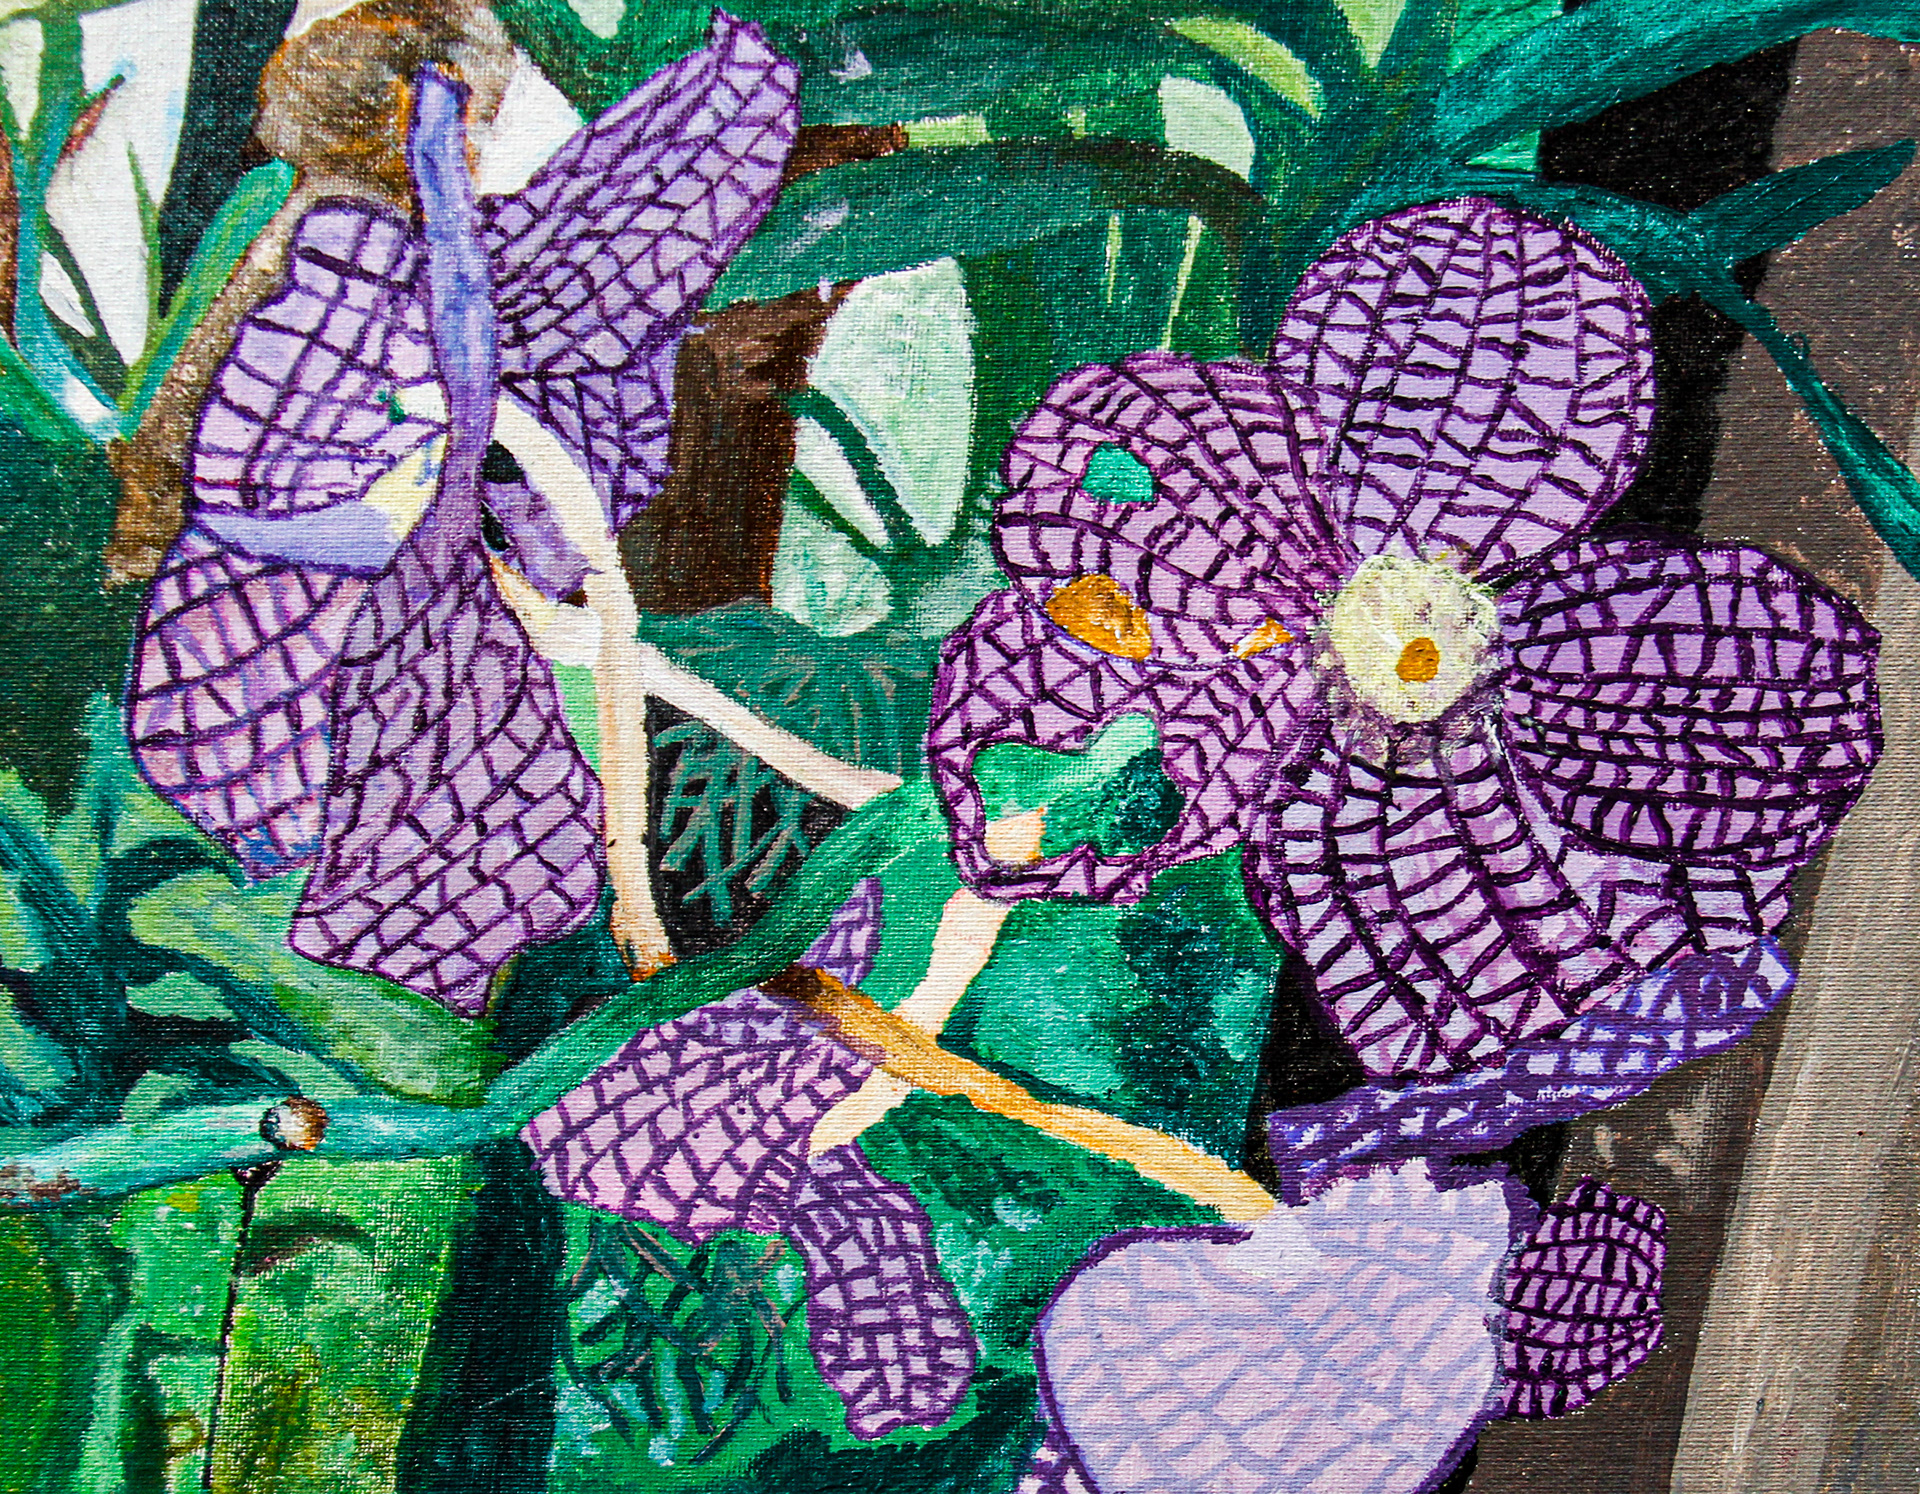
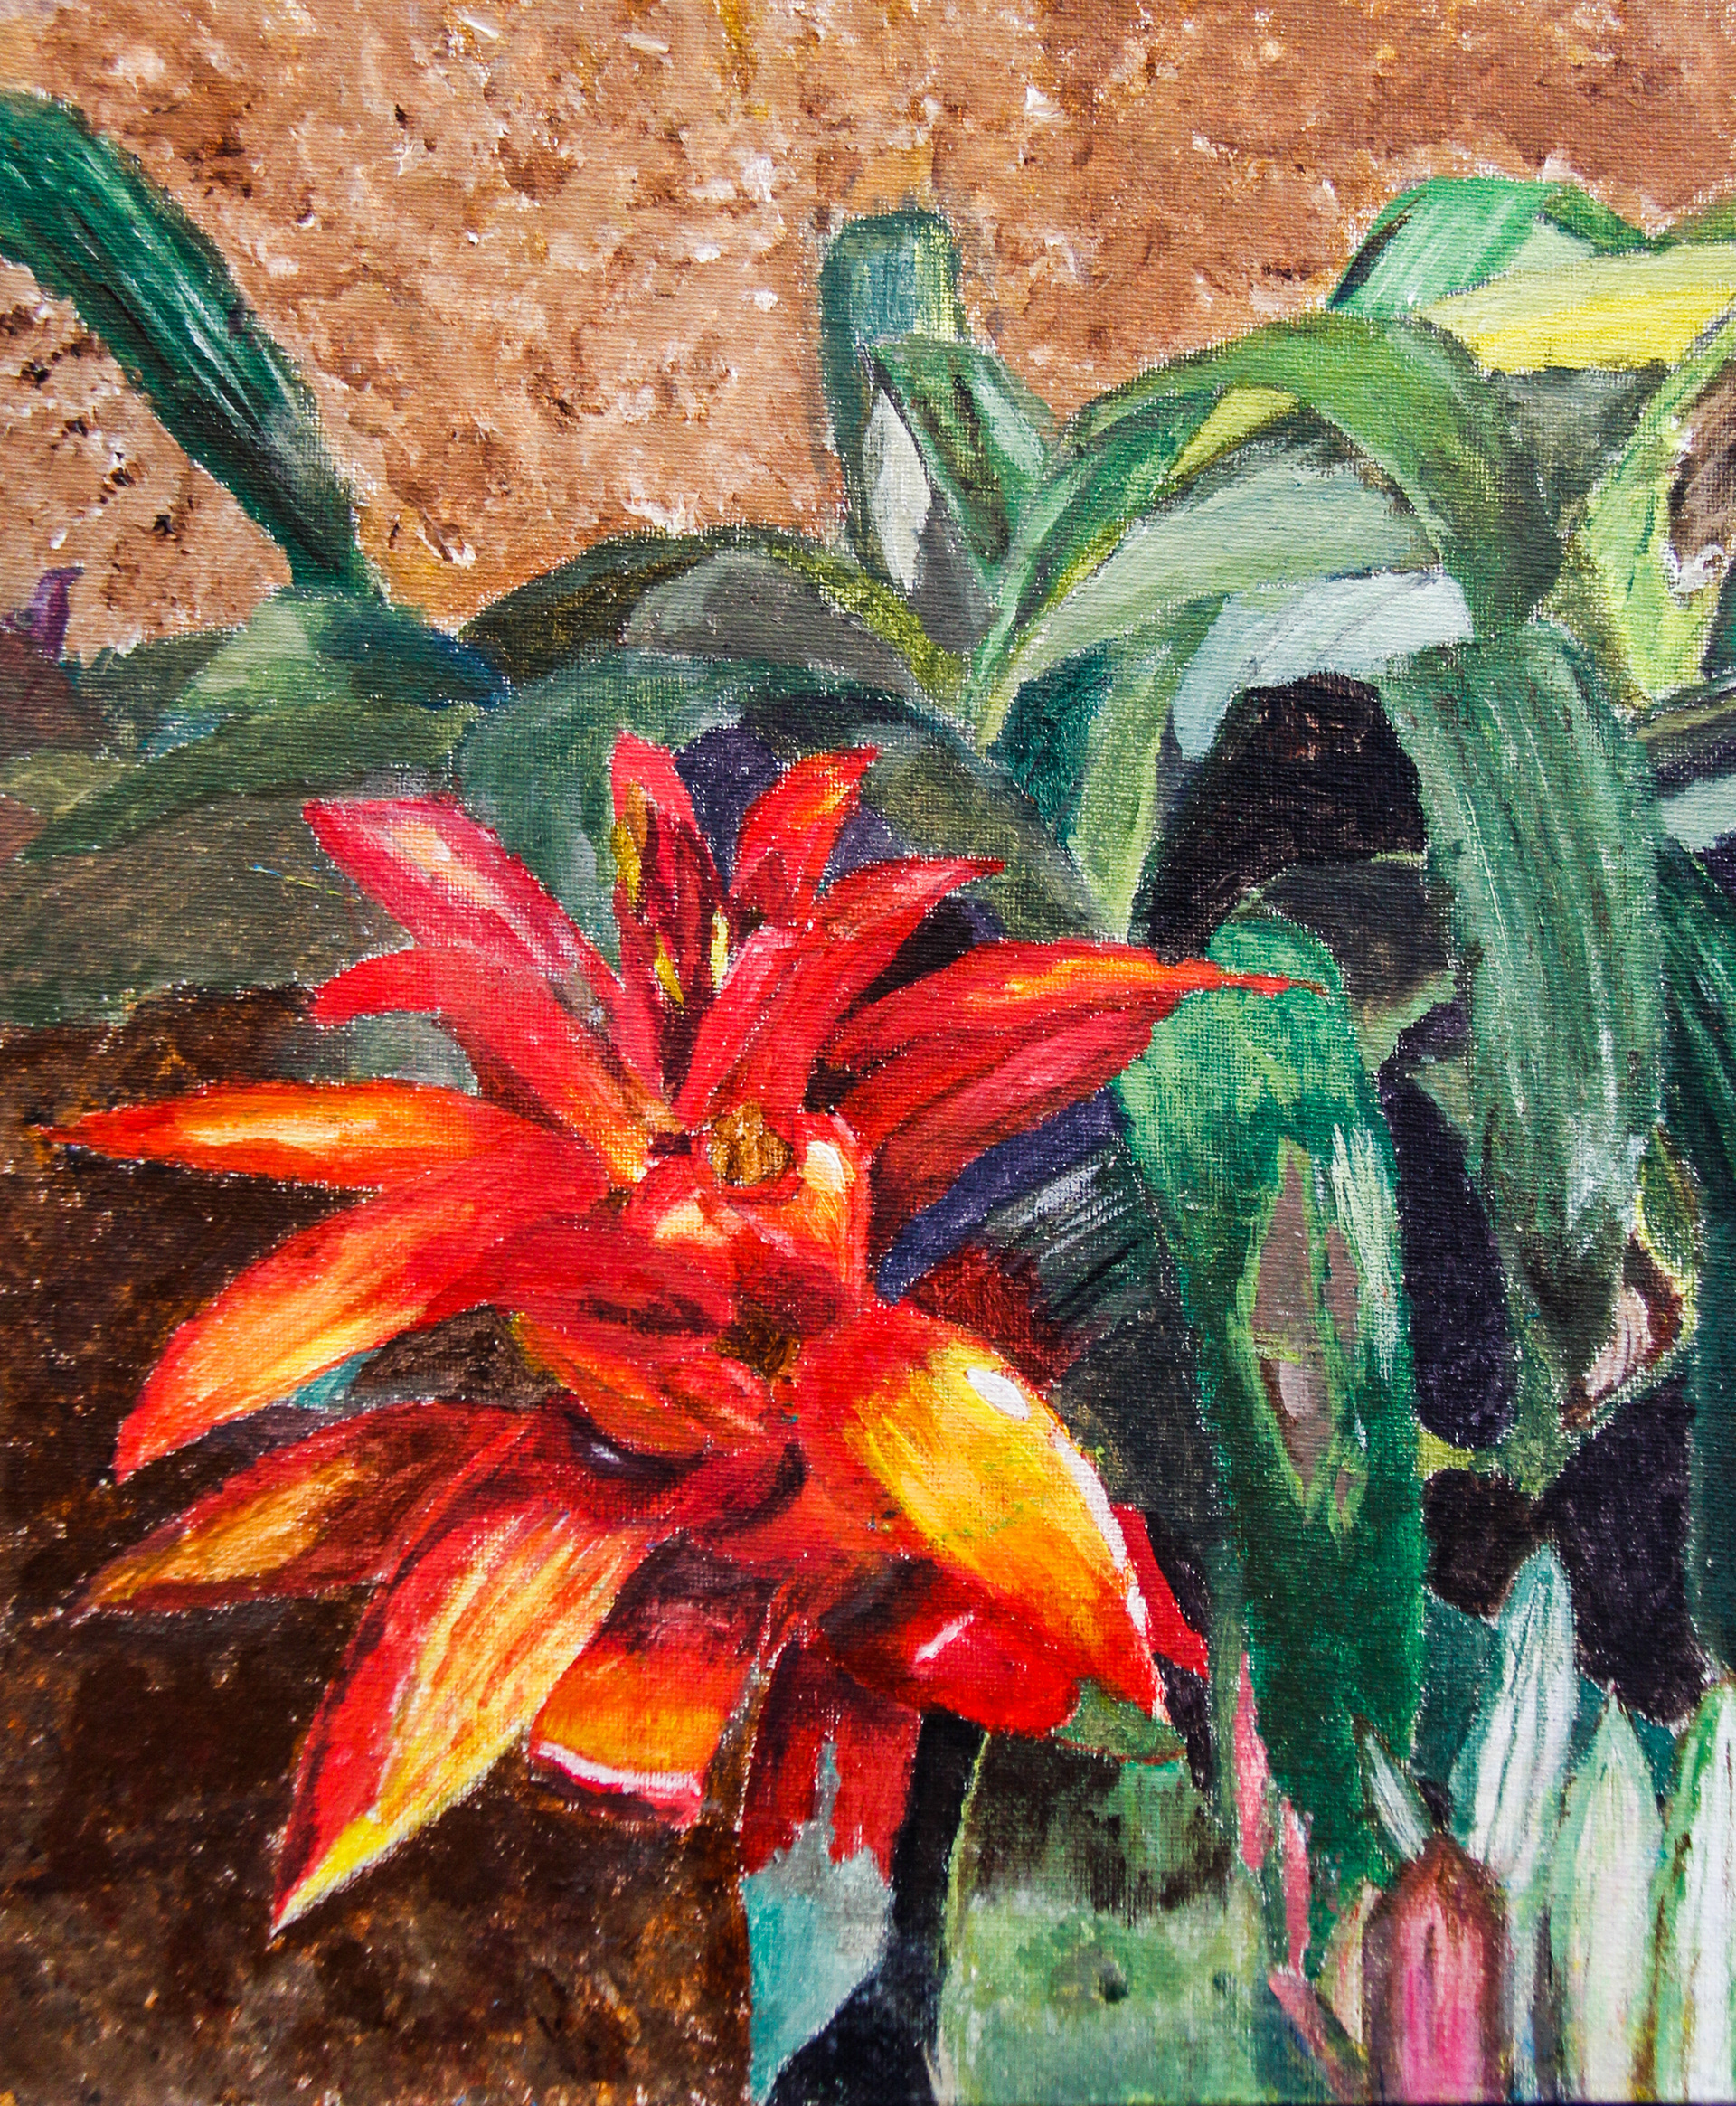
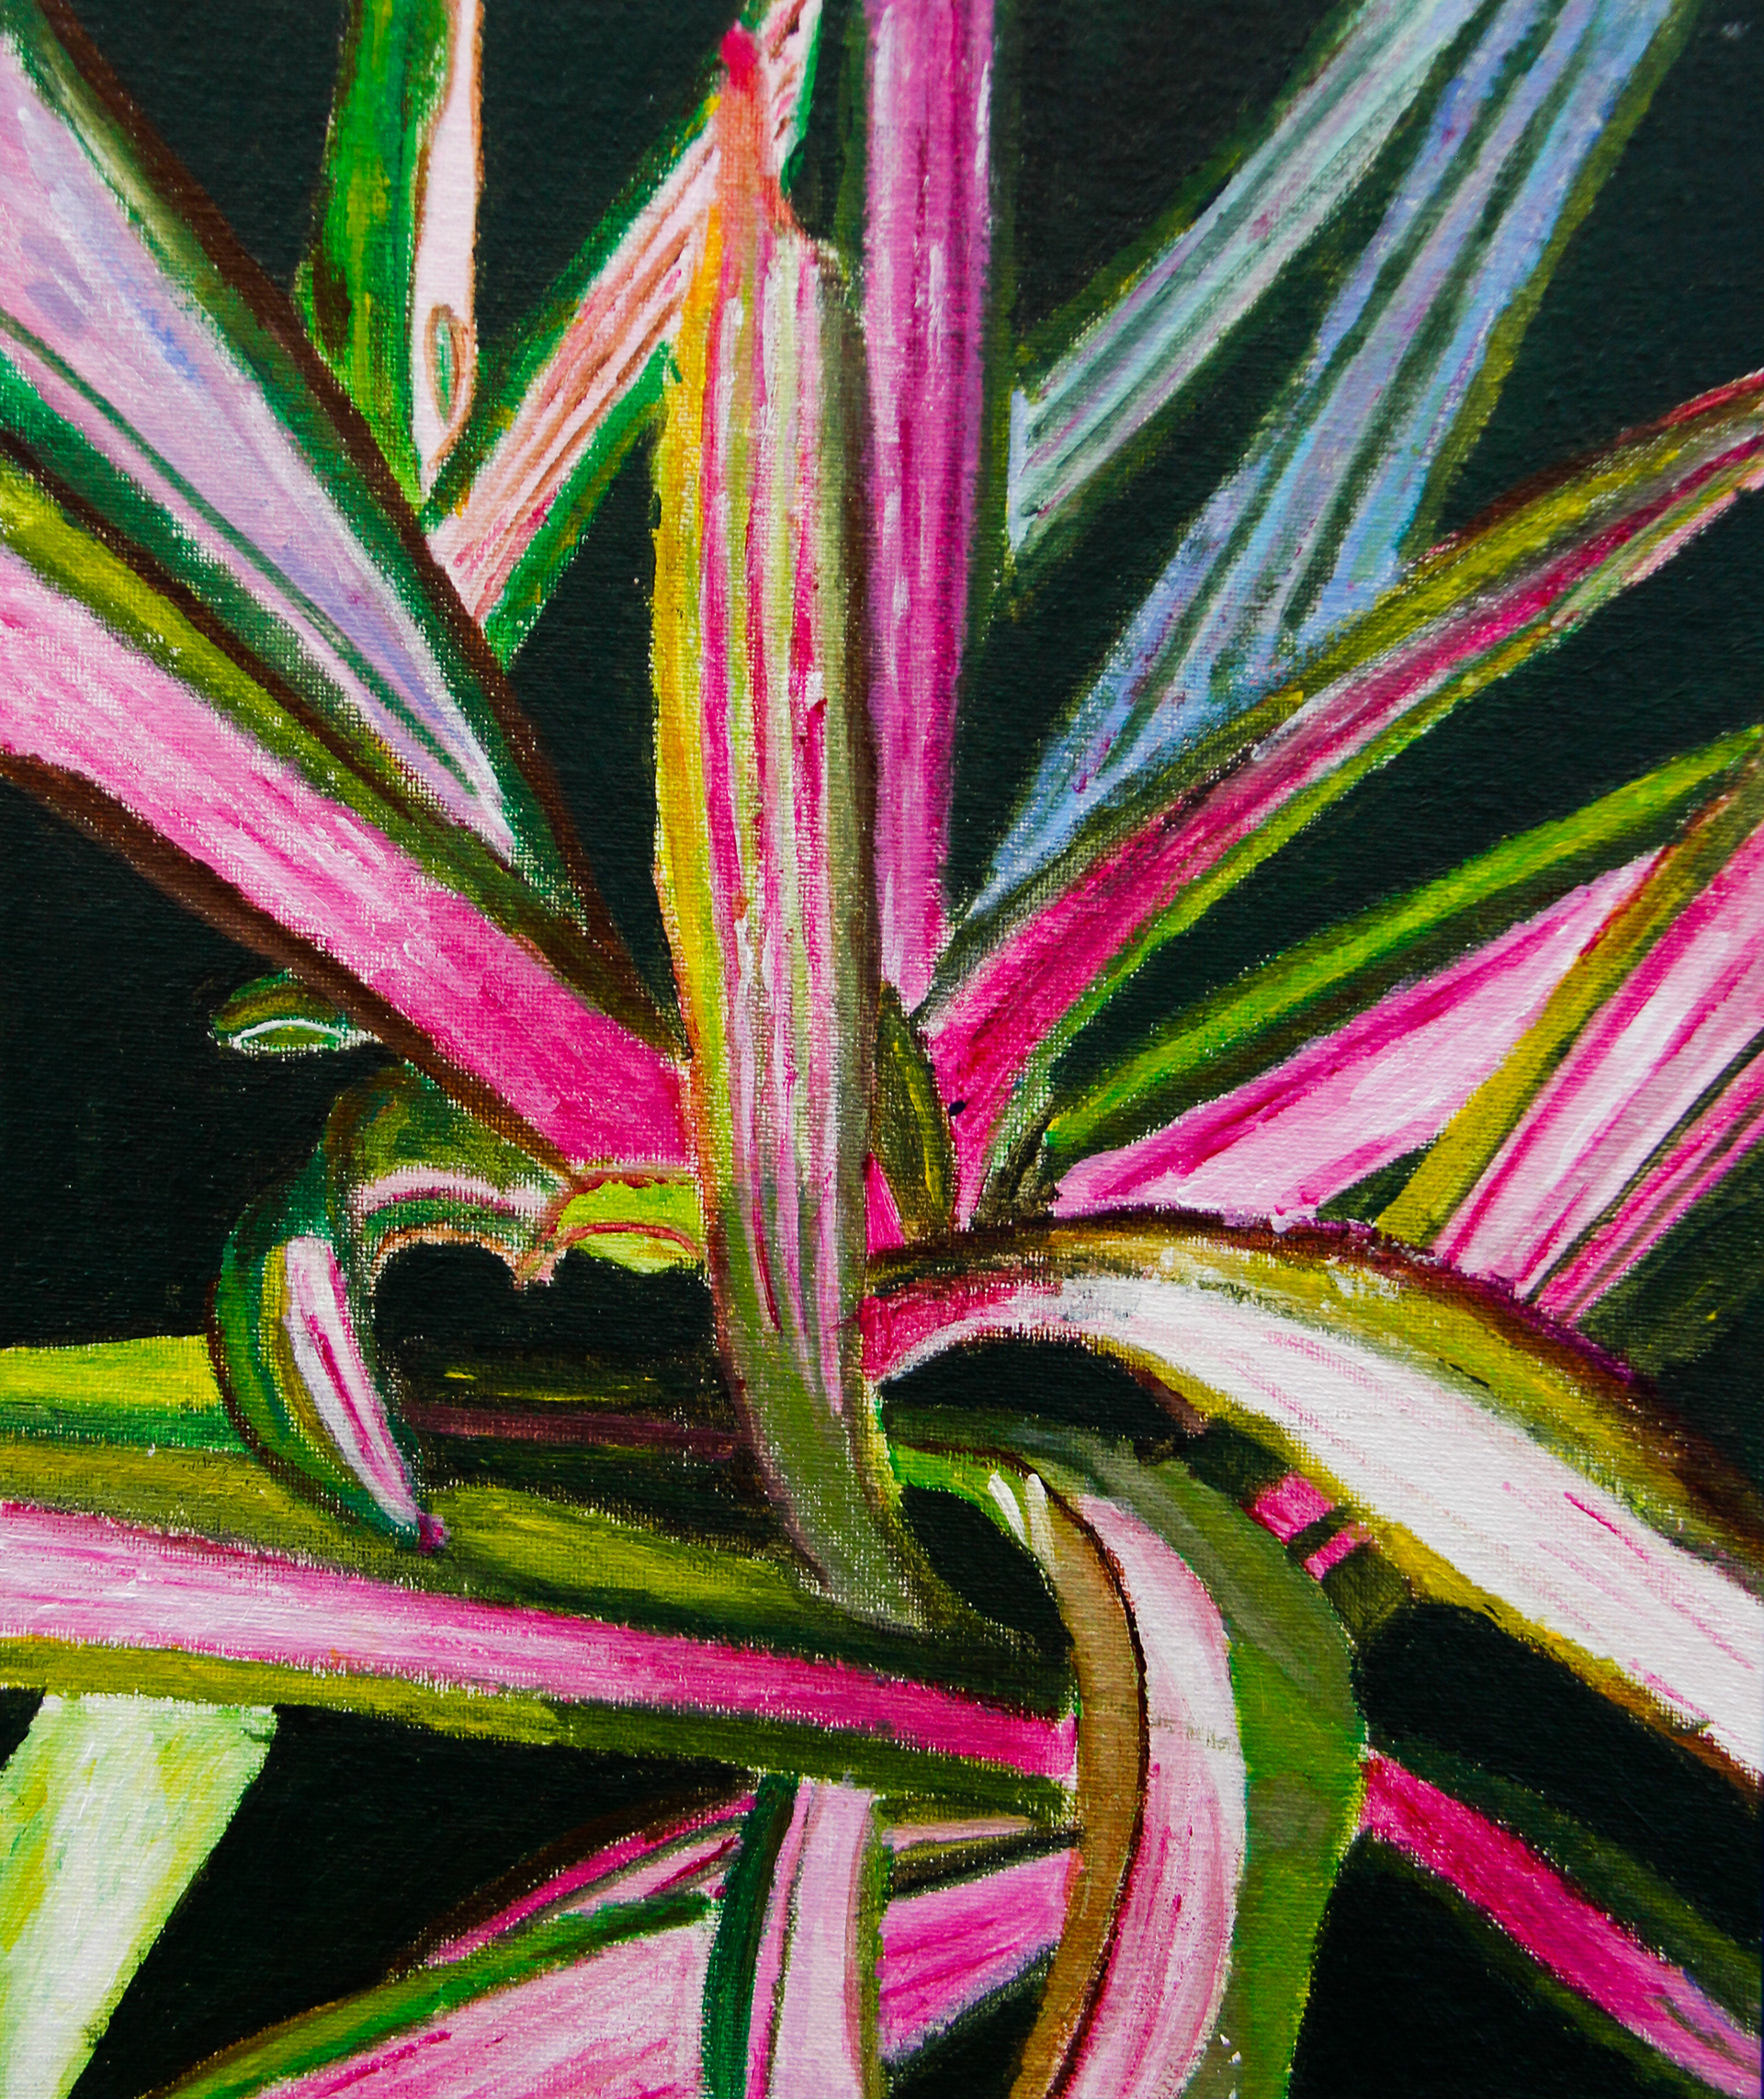
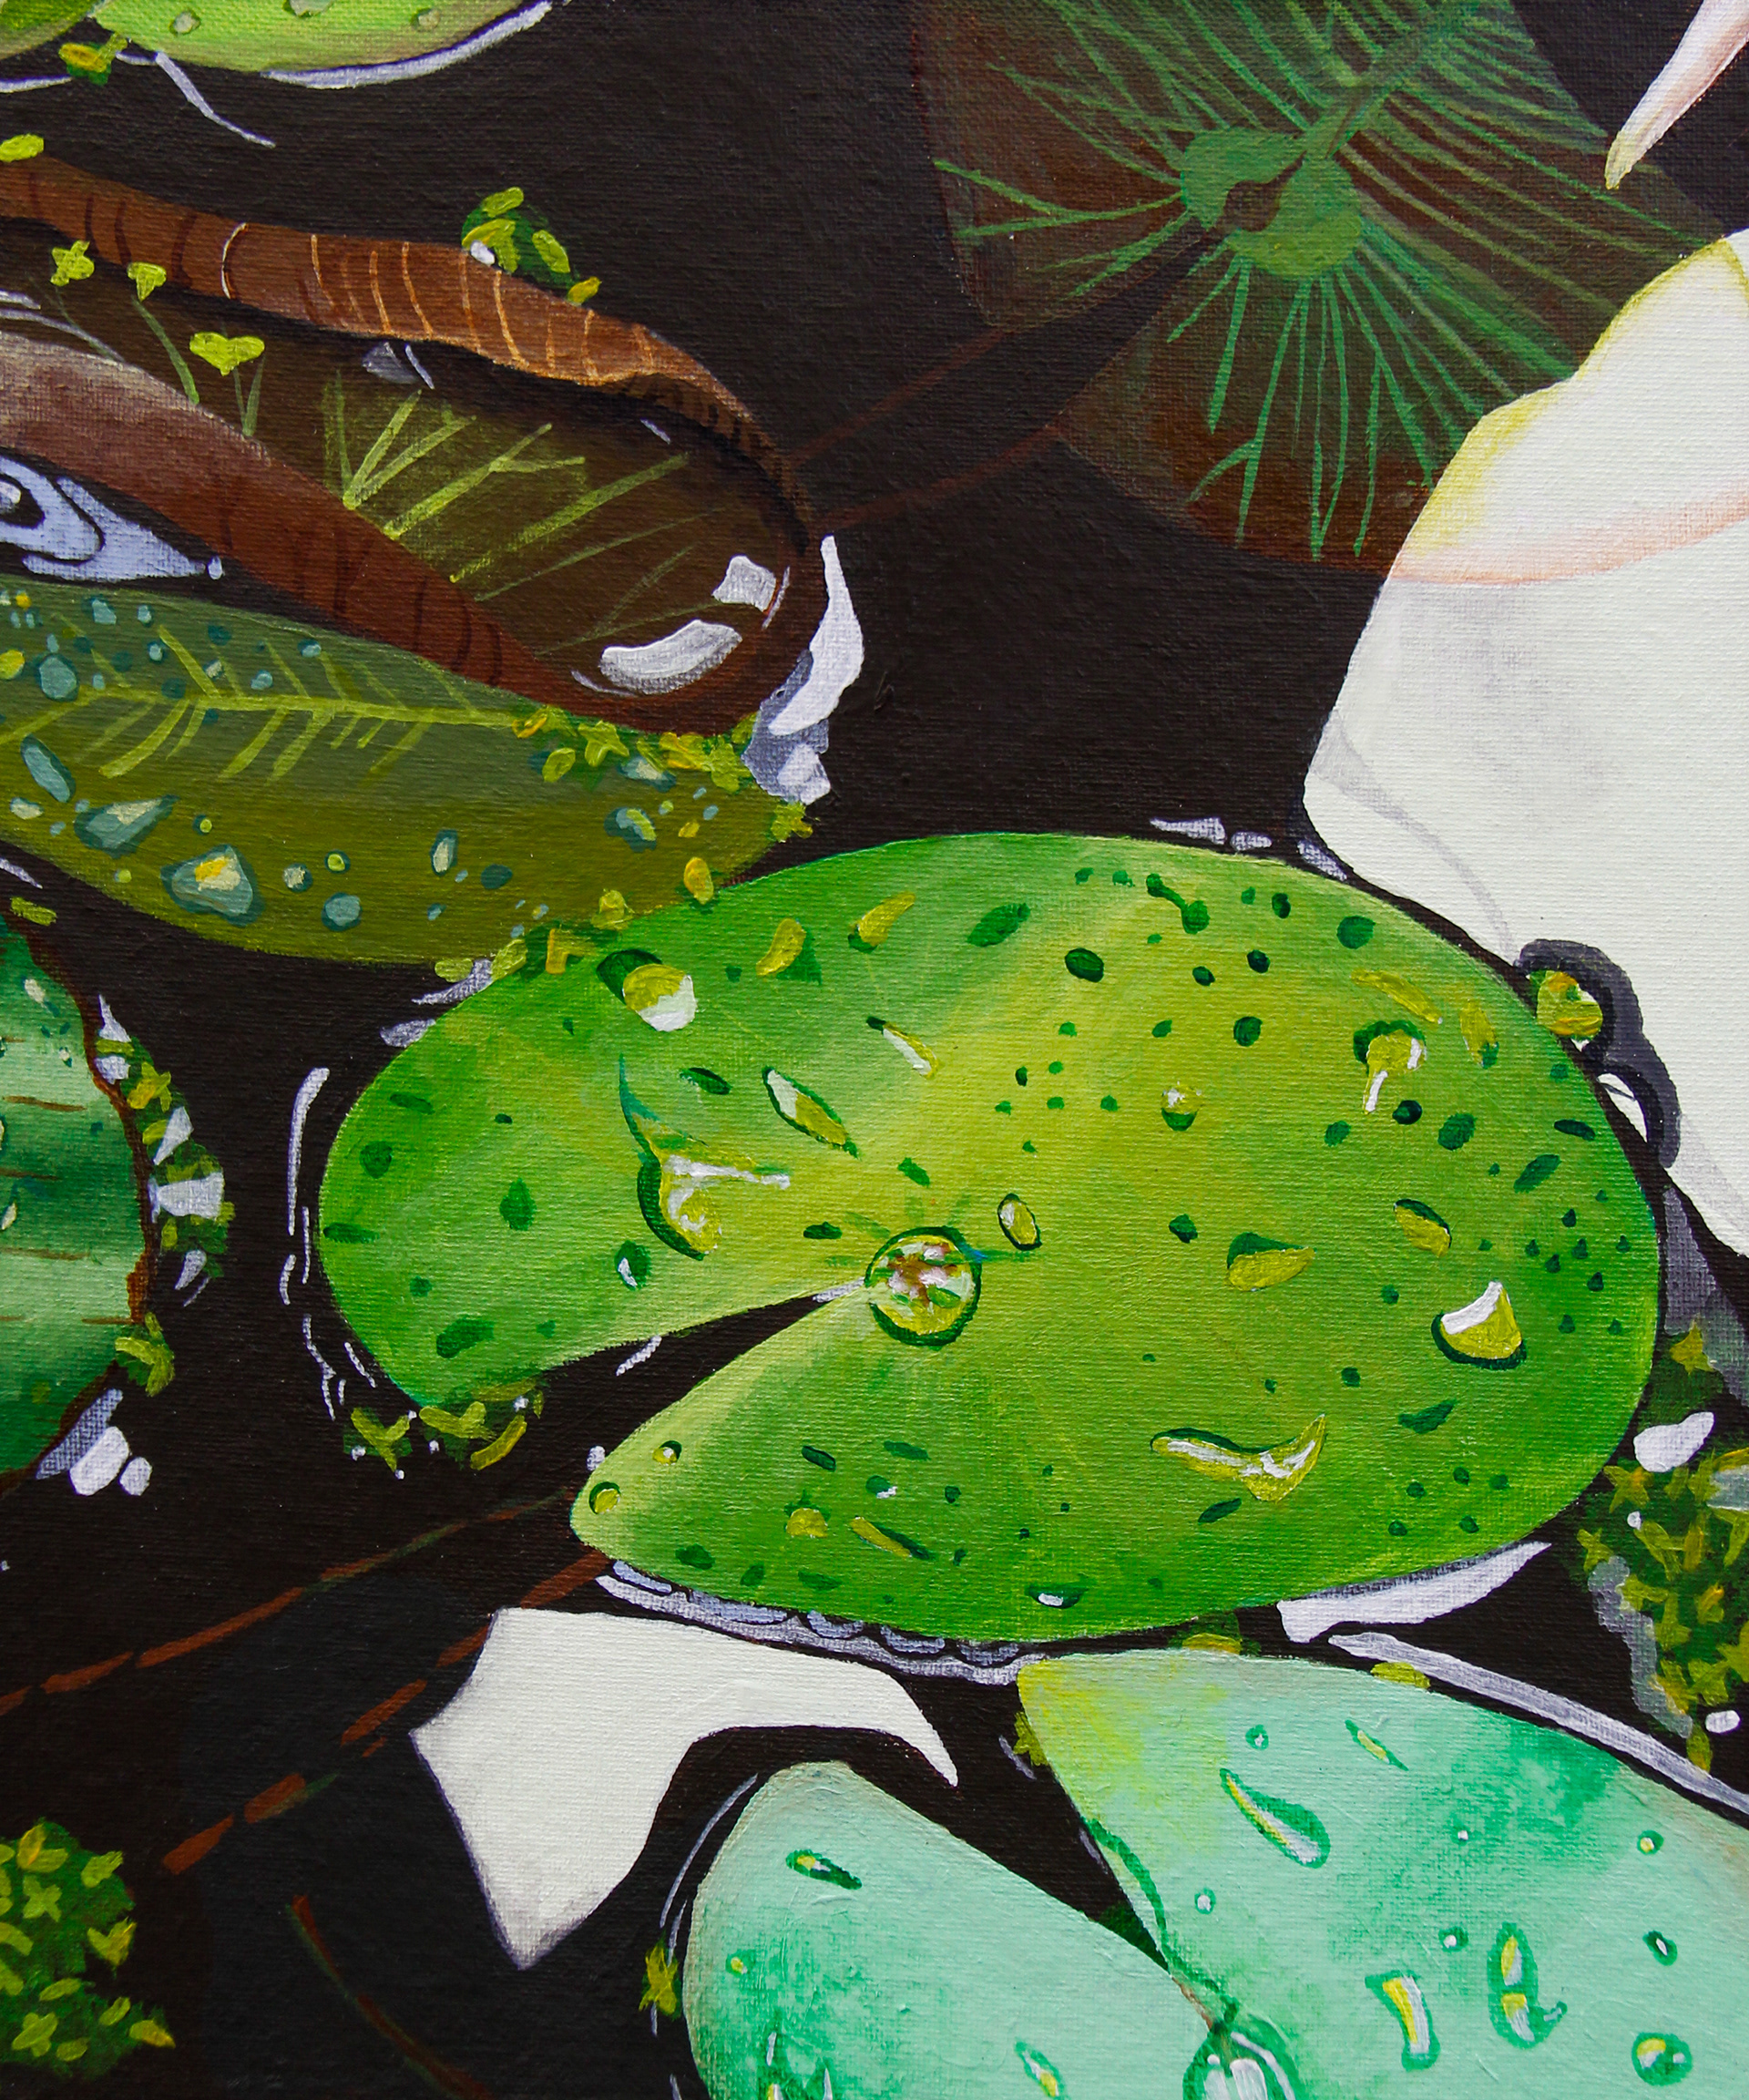
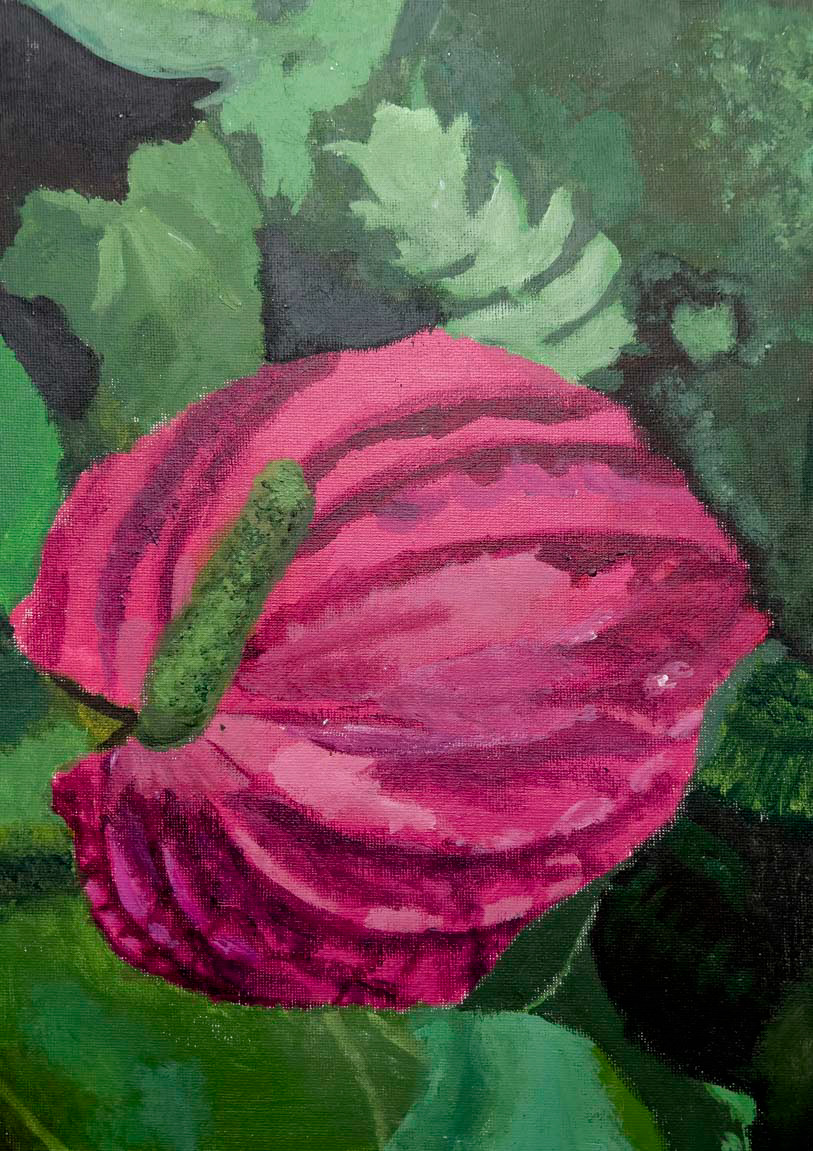
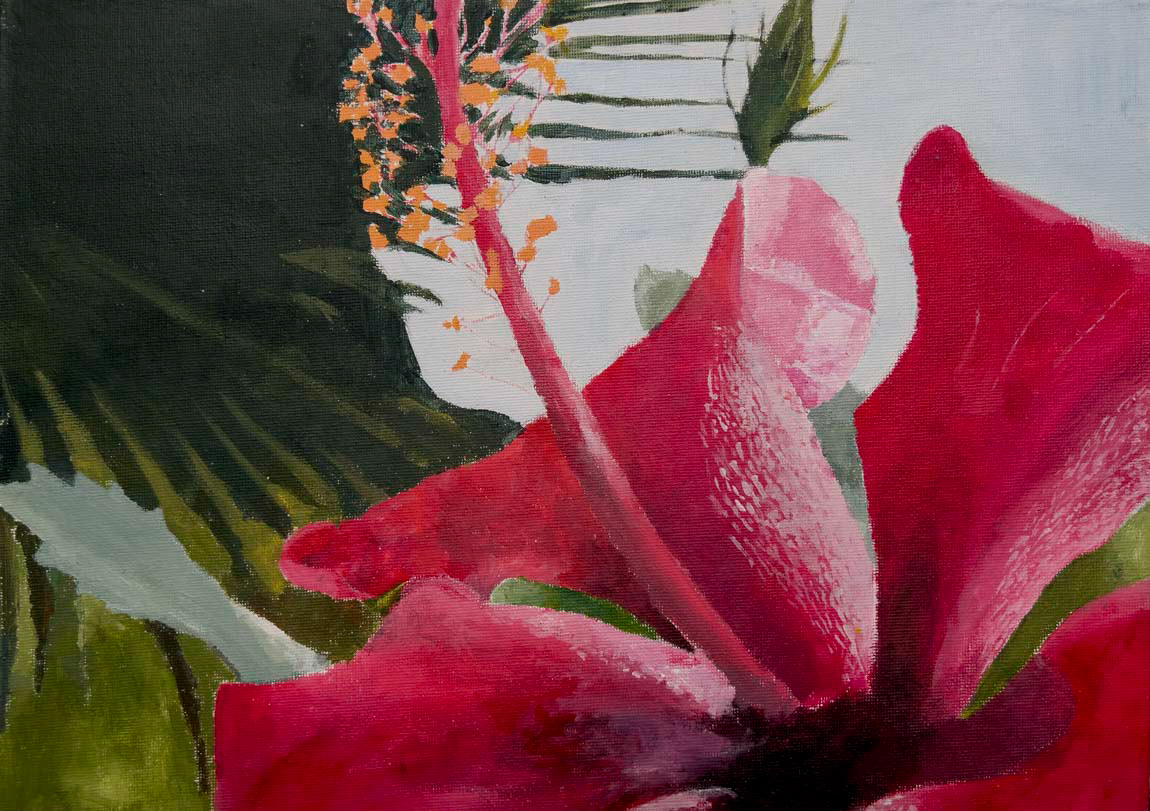
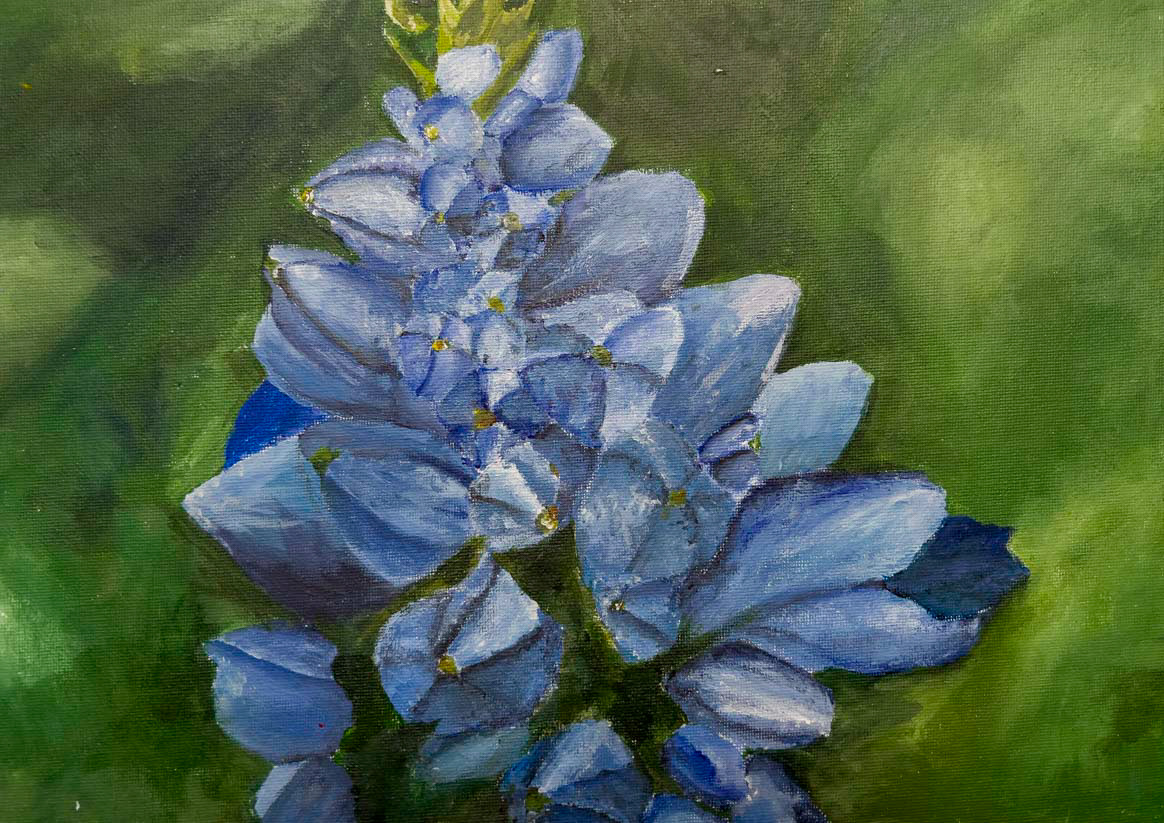
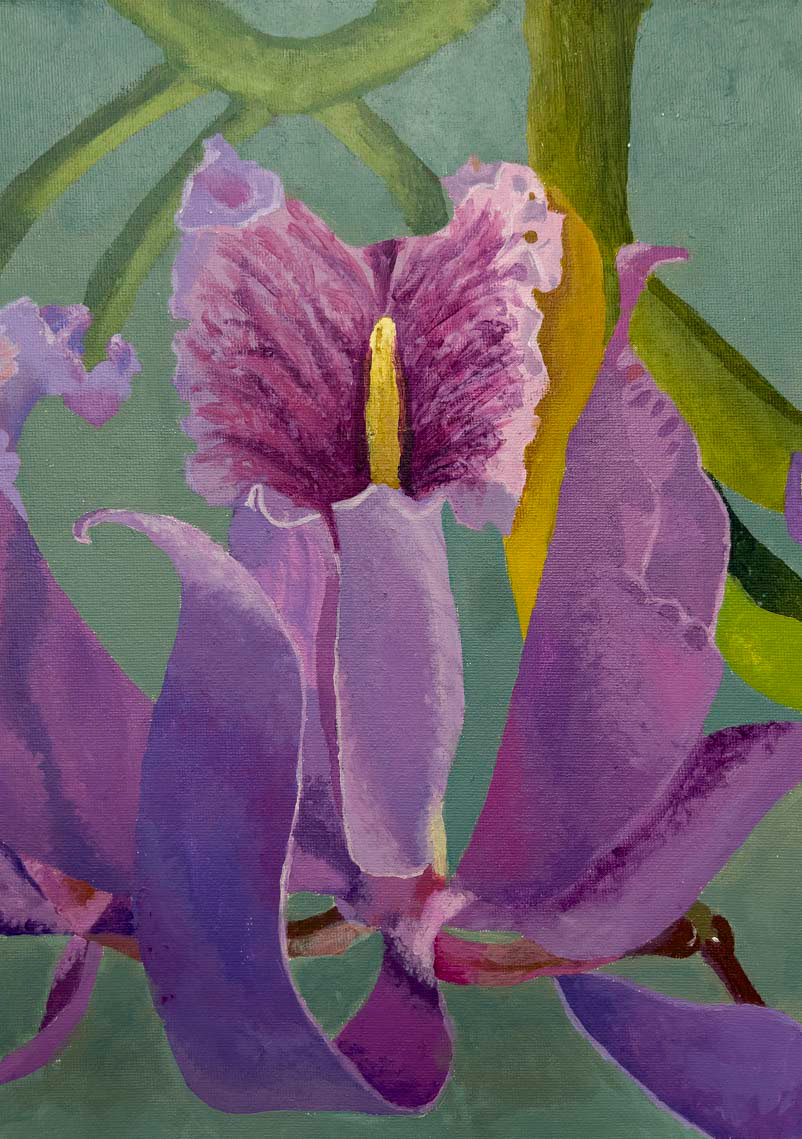
Below are some sections of paintings - the top row are the photos and the bottom row are the paintings. They show:
1. How lines can add detail and texture to a painting.
2. An approach to adding detail to a flower painting.
3. How blurred backgrounds don't have to be smooth - a textured stippling technique can also look effective.
2. An approach to adding detail to a flower painting.
3. How blurred backgrounds don't have to be smooth - a textured stippling technique can also look effective.
Top Tips:
• Challenge yourself. A simple reference image might limit how advanced your painting can get.
• Try to show off as many techniques as you can: blending, texture, detail, etc.
• Choose an image that has many colours in it.
• Emphasise shadows and highlights to add depth.
• Use atmospheric perspective to add depth by making the background cooler in colour and lighter, while making the foreground warmer in colour and darker.
• Feel free to simplify your image if has elements that are distracting. Sometimes a quiet space is needed to make other areas stand out.
• Paint in layers, as taught in earlier lessons.
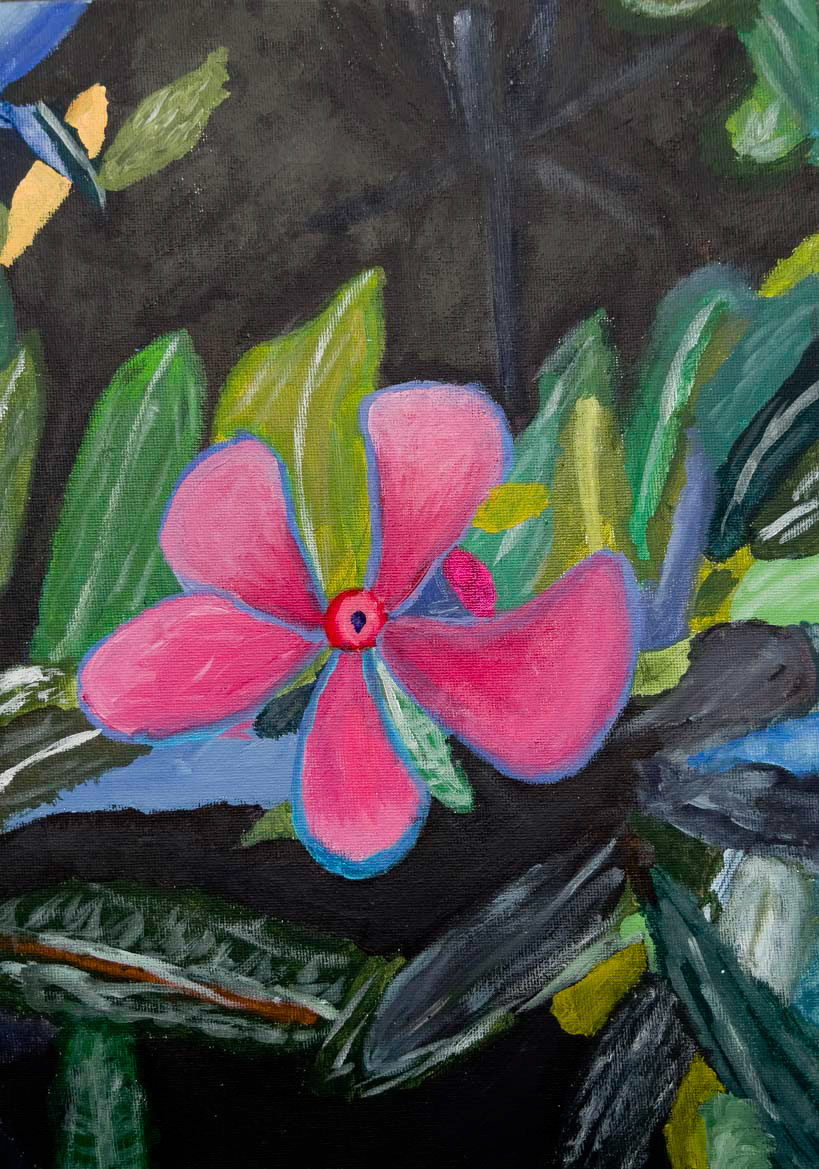
Examples of paintings by previous Year 9 students:
