Learning Objectives:
• Demonstrate the skills learnt in class so far this year
• Adopt an ambitious approach to working by embarking on a challenging piece of work
• Practise skills in proportion, sketching, shading, detail, mark-making and refinement
• Adopt an ambitious approach to working by embarking on a challenging piece of work
• Practise skills in proportion, sketching, shading, detail, mark-making and refinement
What you will need:
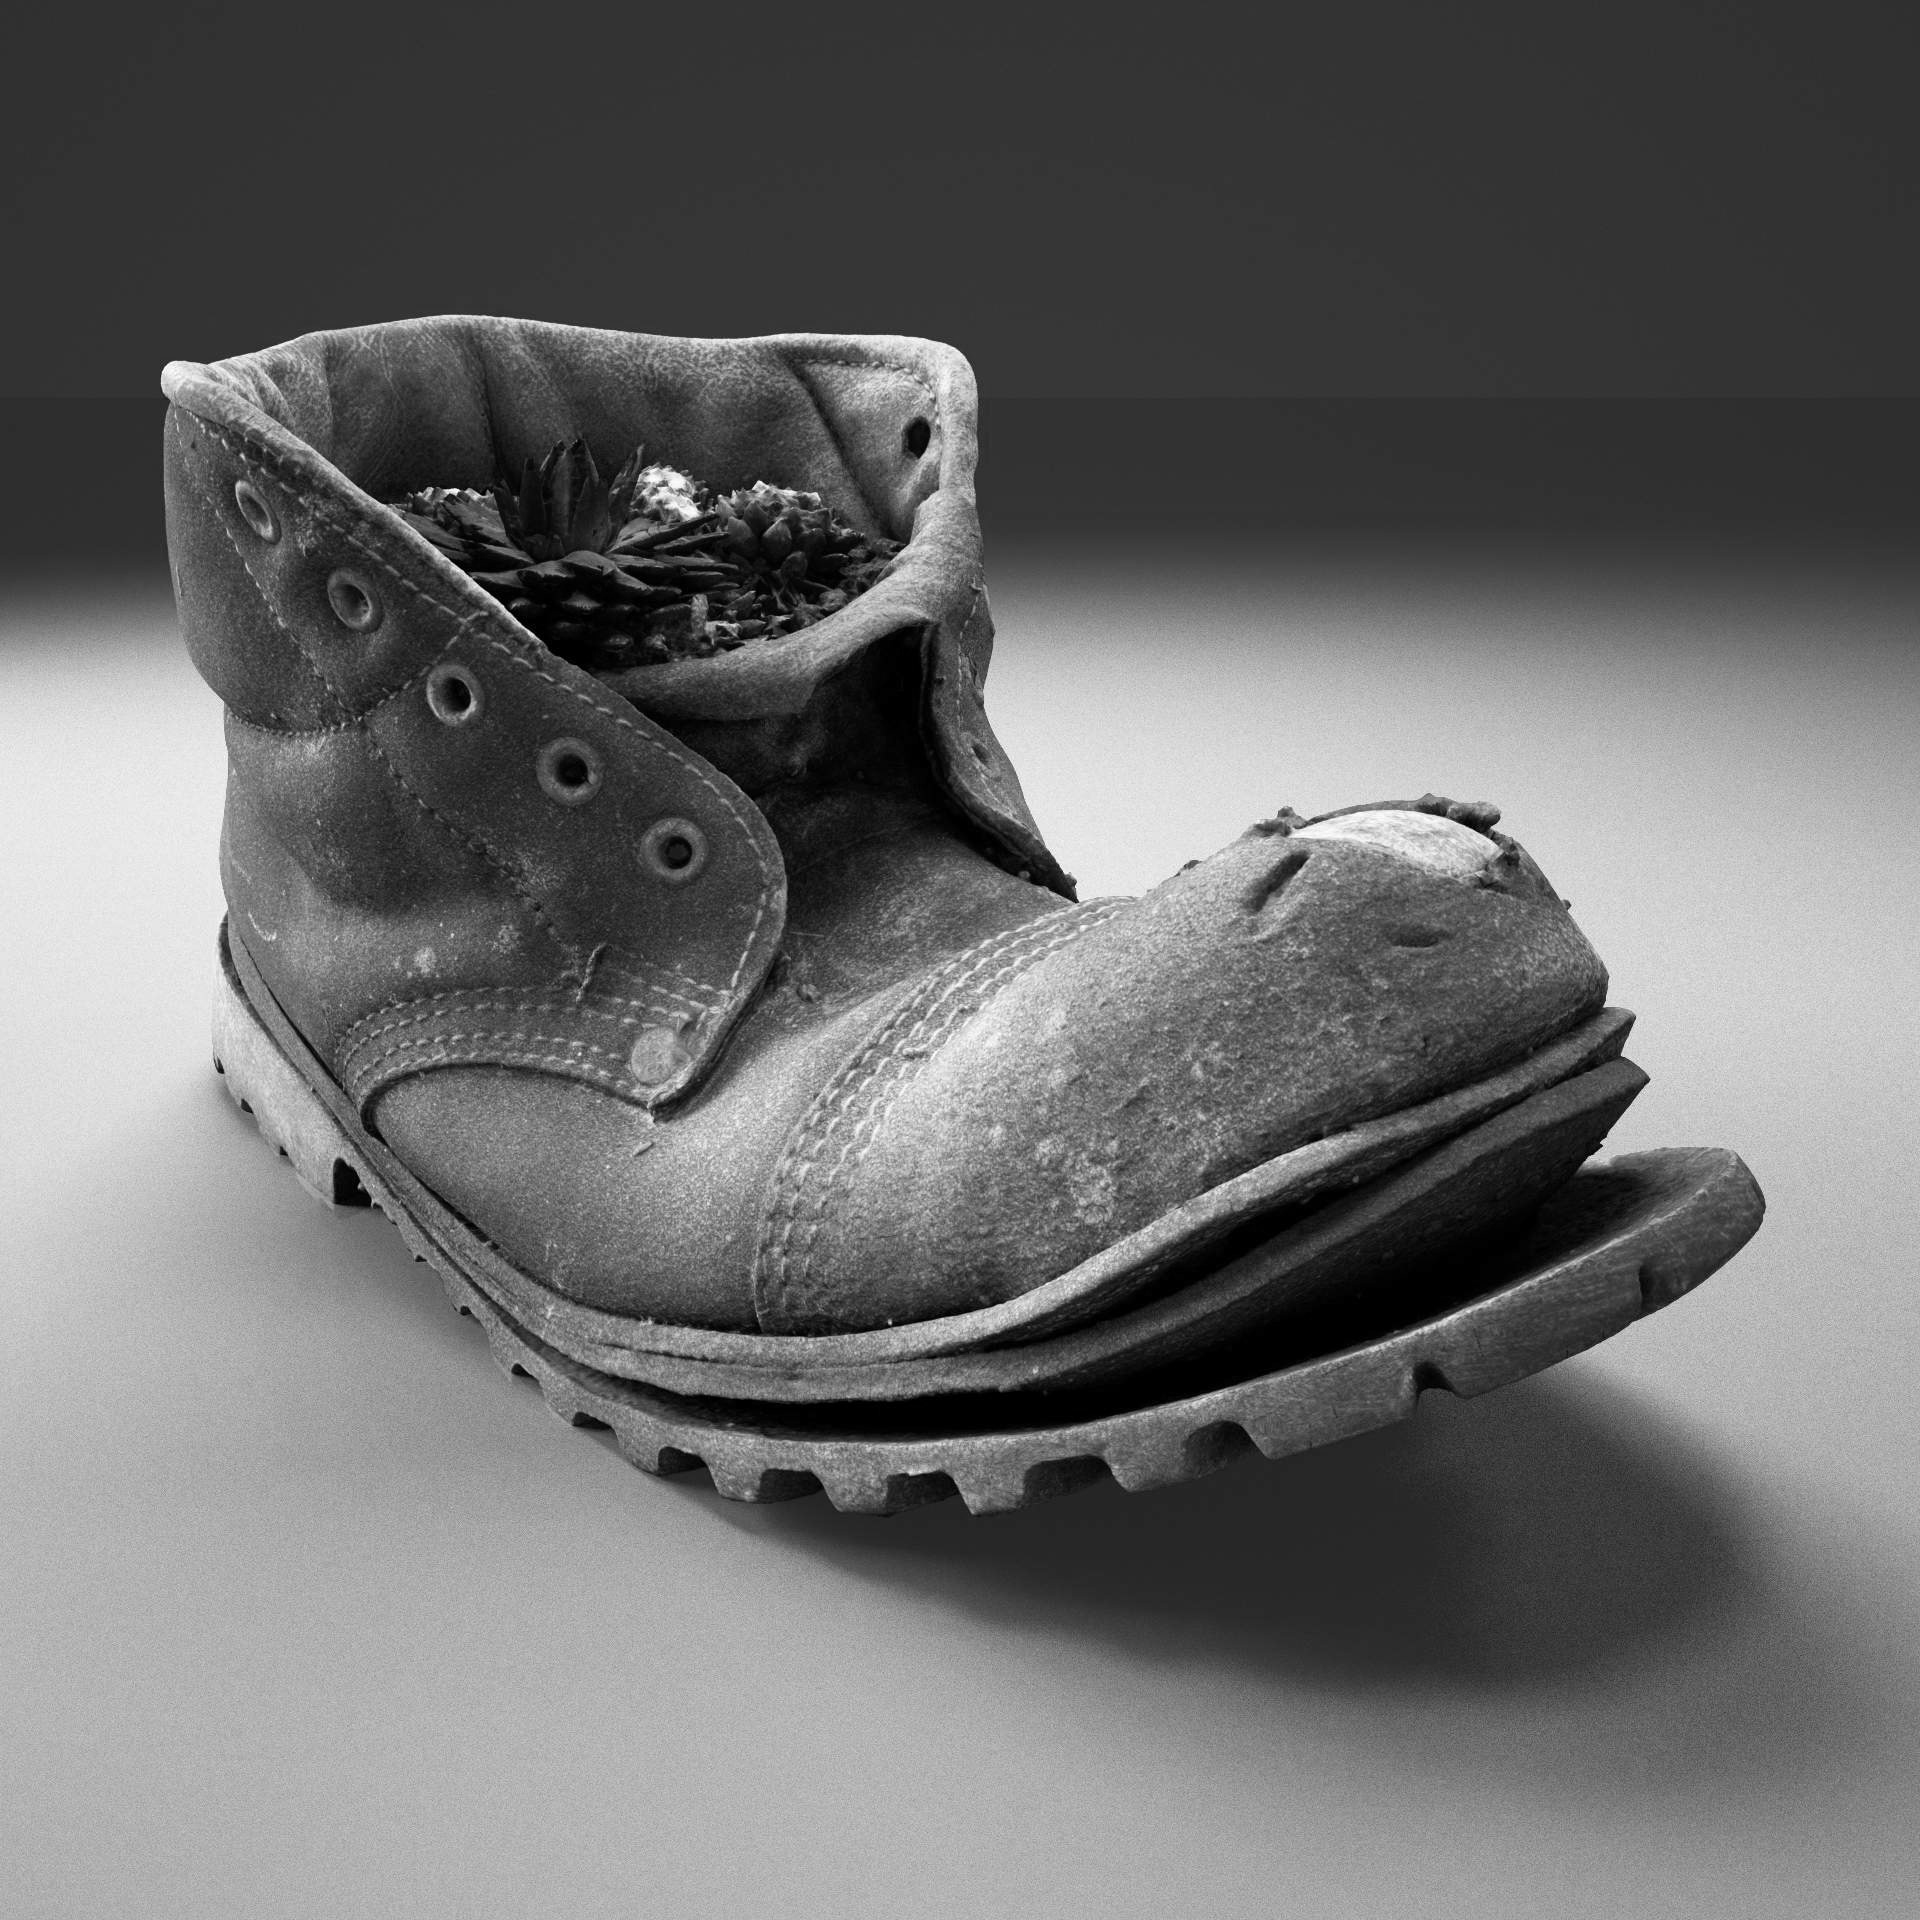
An old boot, Sketching paper (or your sketchbook), a soft pencil (preferably 2B or 4B), ruler, eraser, a pencil sharpener and a piece of tissue.
Your task:
Once you have finished your outlines, you should now be ready to add some shading. Look really closely at your boot to see how the light shines on it.
Ask yourself these questions:
1. Which areas are the lightest?
2. Which areas are the darkest?
3. How many different shades of light and dark can you see between these extremes?
4. How many gradients can you see and how are they all different?
2. Which areas are the darkest?
3. How many different shades of light and dark can you see between these extremes?
4. How many gradients can you see and how are they all different?
Today you will:
4. Shade the boot using gradients
5. Start to add texture and detail (using mark-making)
4. Shade the boot using gradients
5. Start to add texture and detail (using mark-making)
Next lesson you will:
6. Finish adding texture and detail
7. Check and refine your work
7. Check and refine your work
Video demo:
Extension Task:
If you are looking for a challenge, try to look out for all the small, subtle gradients when shading. There are often more variations of light and dark in each gradient than you realise.
Top Tips
• Don't add any shading until you are 100% happy with your main outlines
• Rest your wrist on a scrap piece of paper to avoid any oil from your hands getting on the page
• Use a sharp pencil when shading and hold it at a very shallow angle
• Keep your shading lines really close together
• Layer up your shading gradually
• Smudge your shading using a rolled up piece of tissue paper, being careful not to 'over smudge' - that's when the light and dark tones blend together to become similar (or worse, the same).
• Look at your boot carefully and frequently and make comparisons with your drawing - play the game, 'spot the difference'
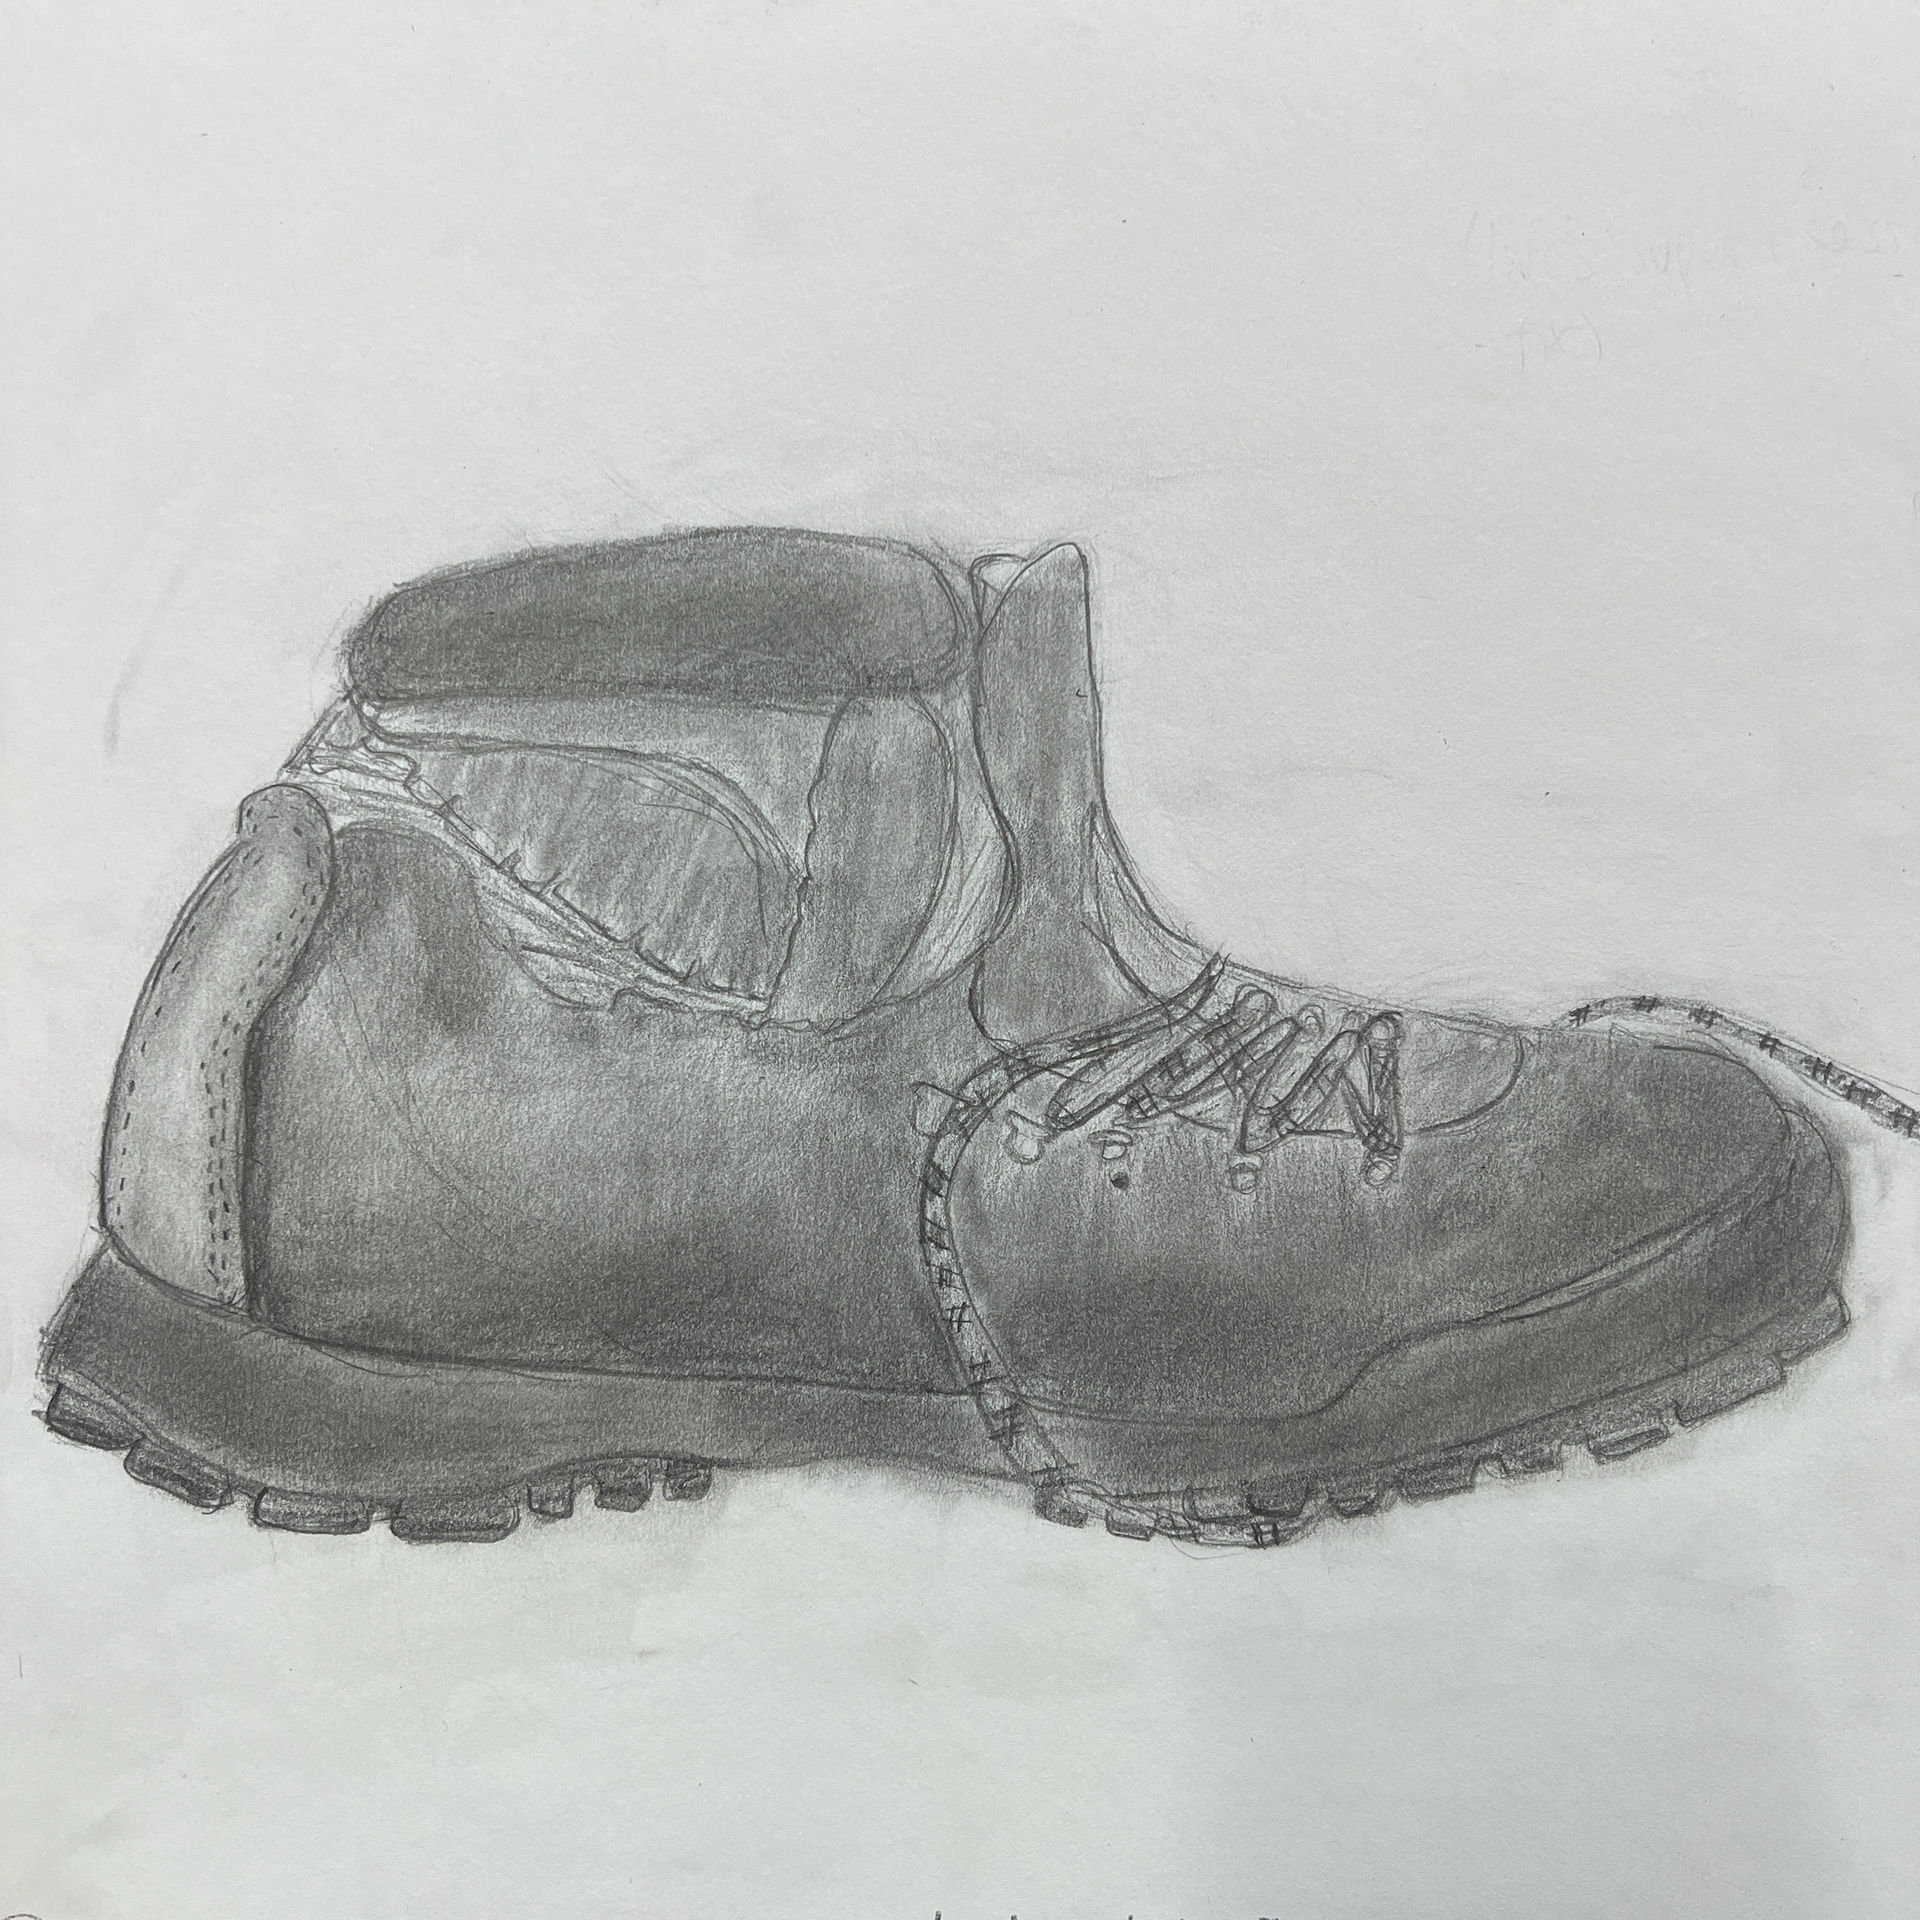
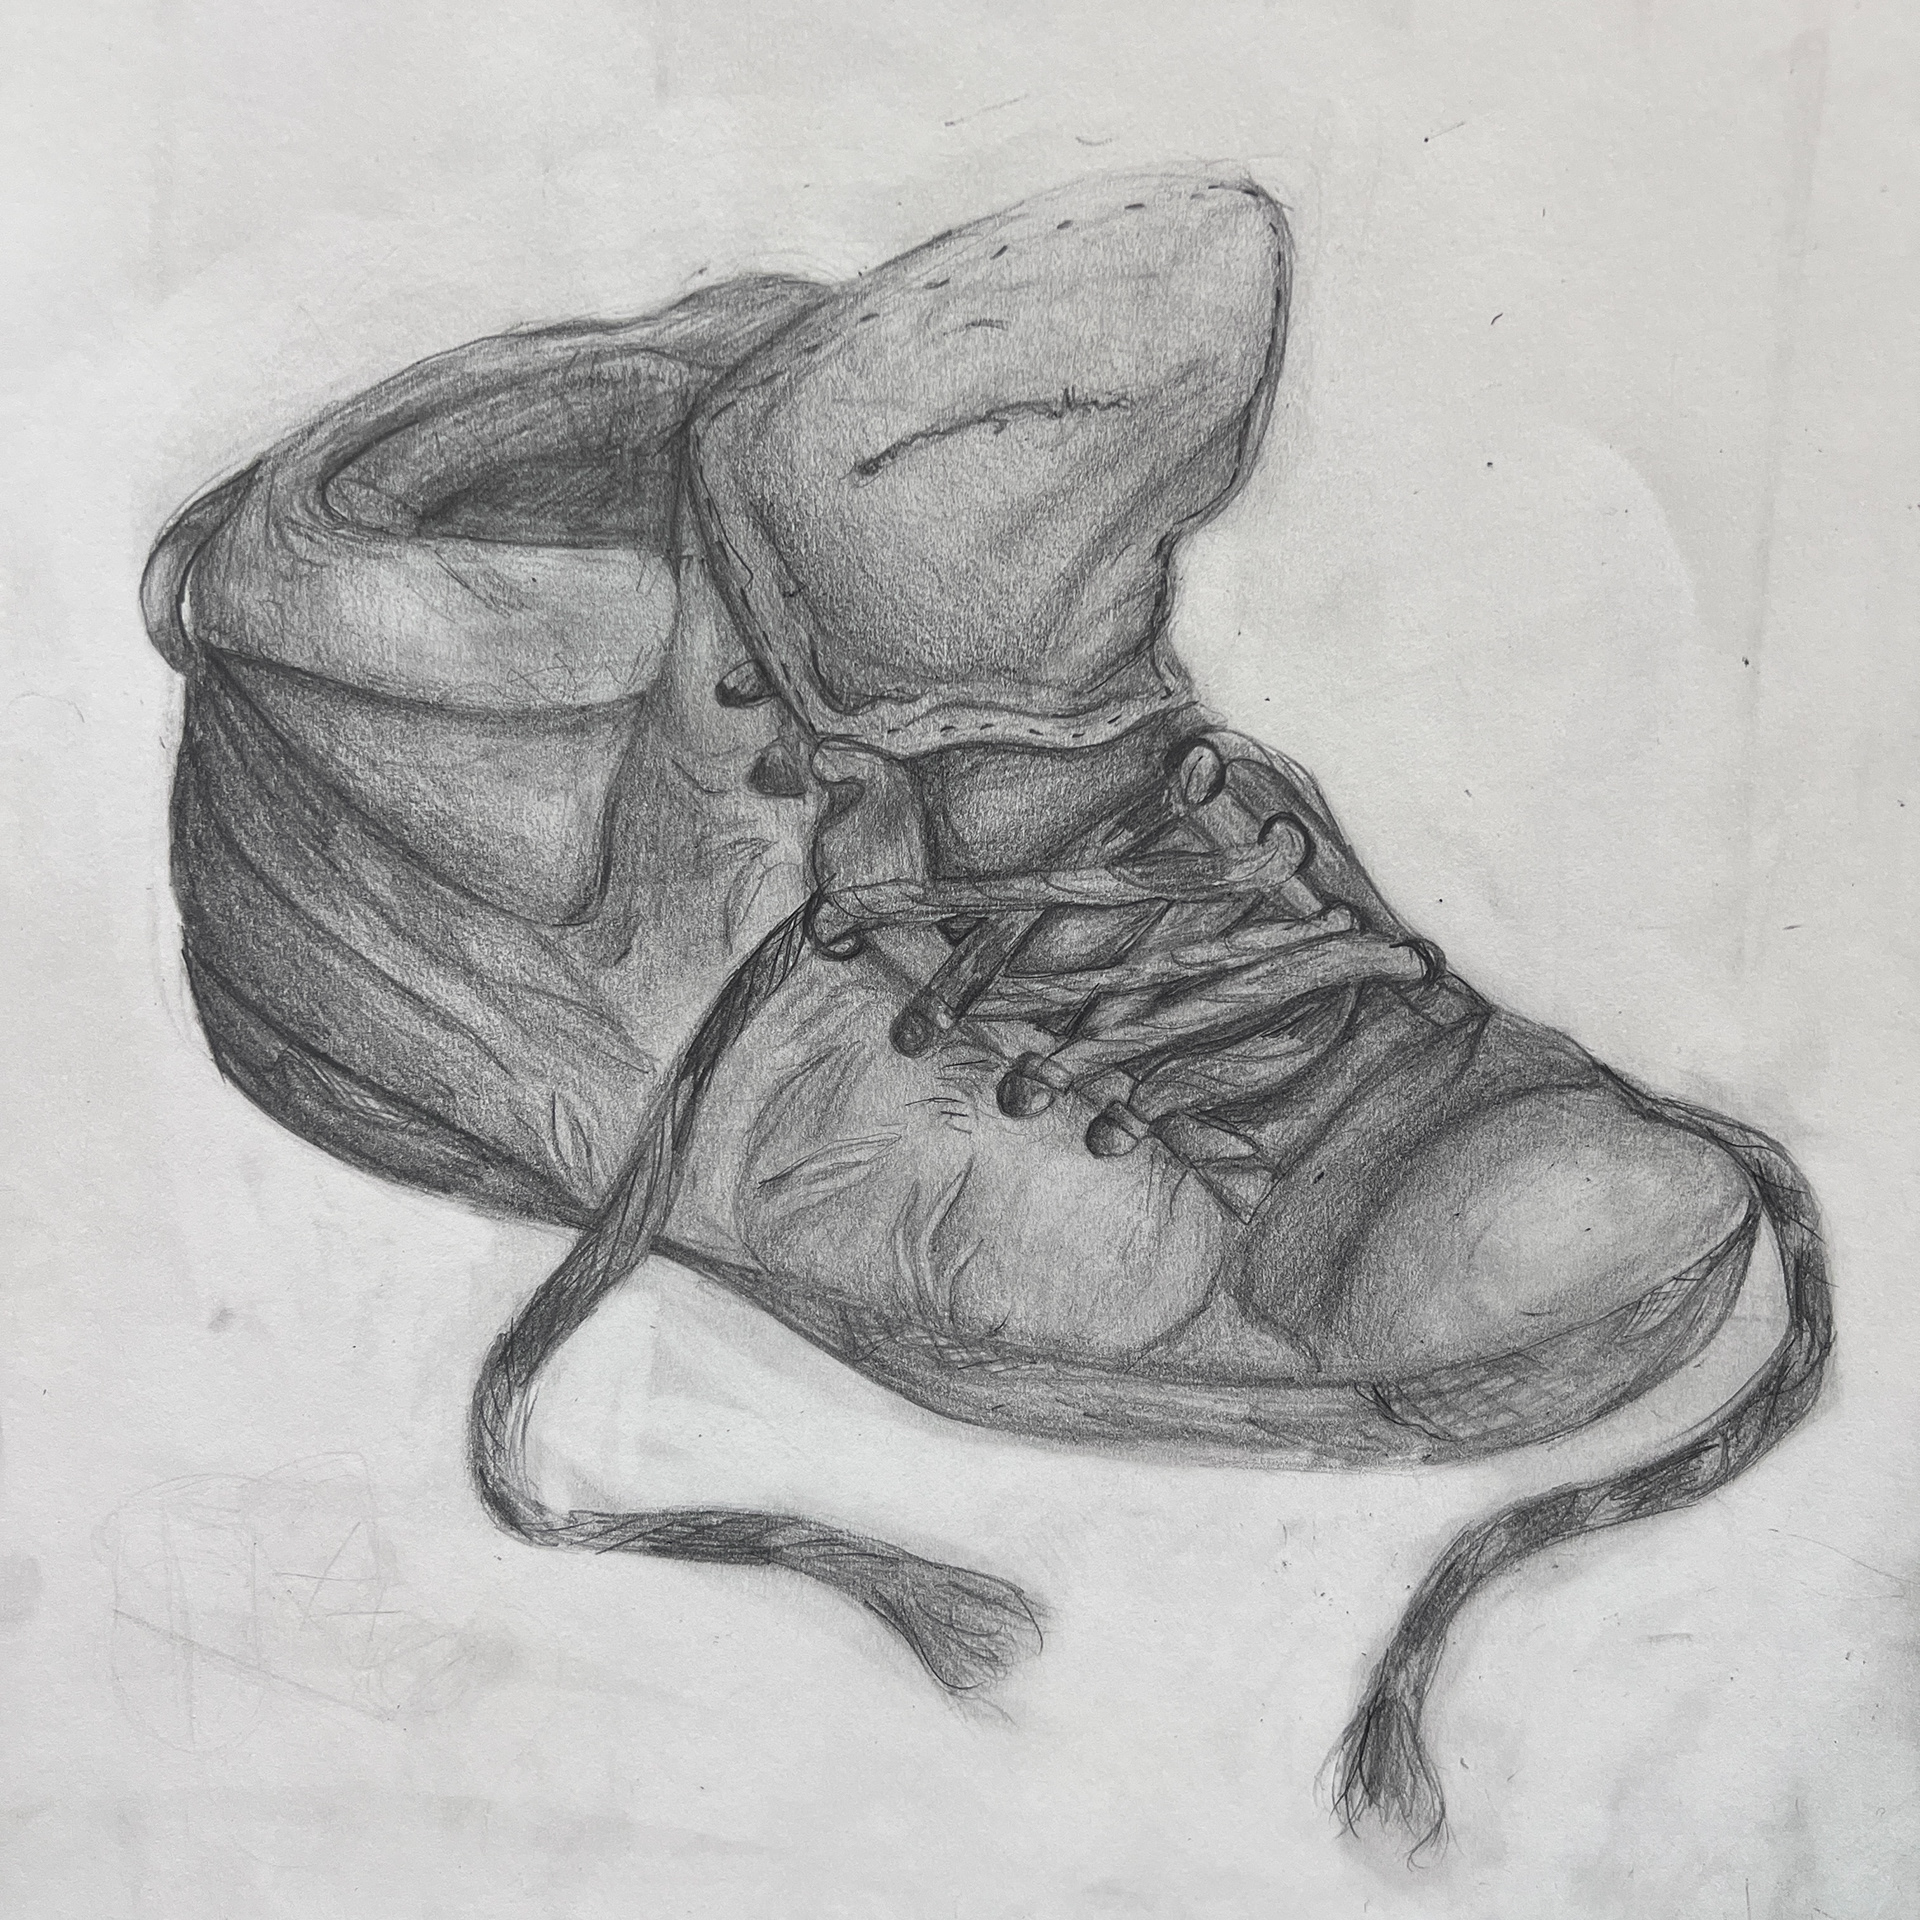
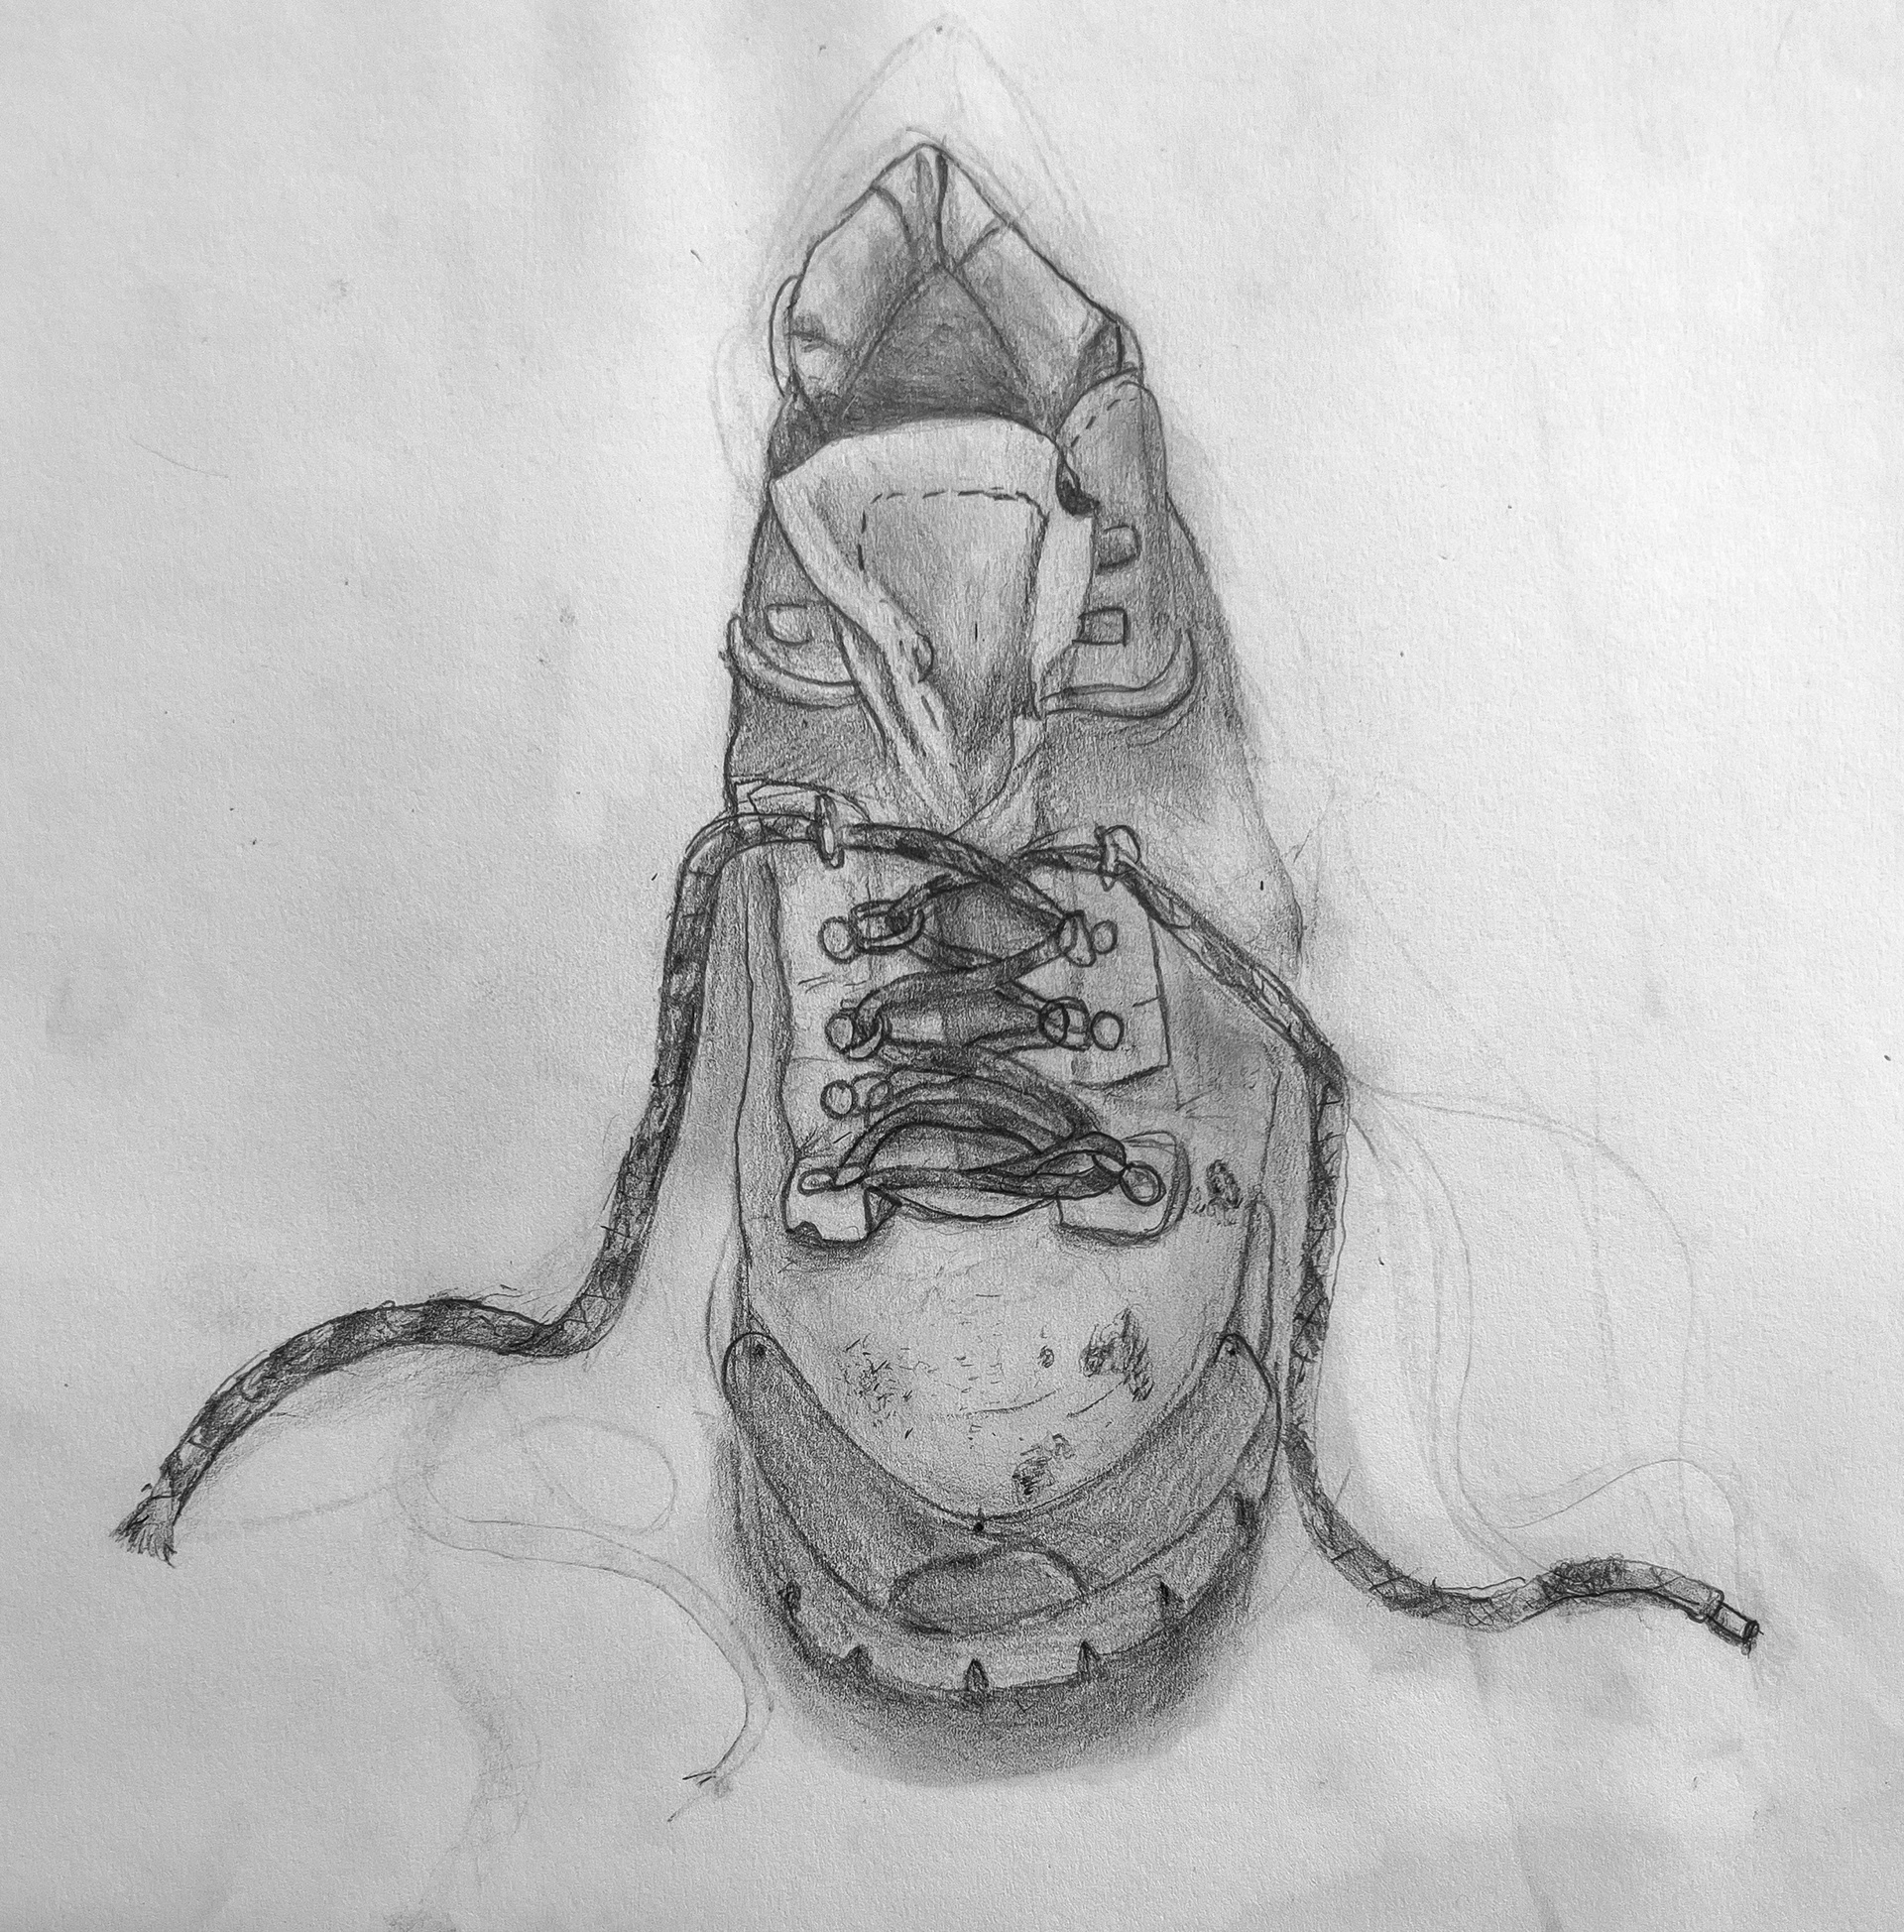
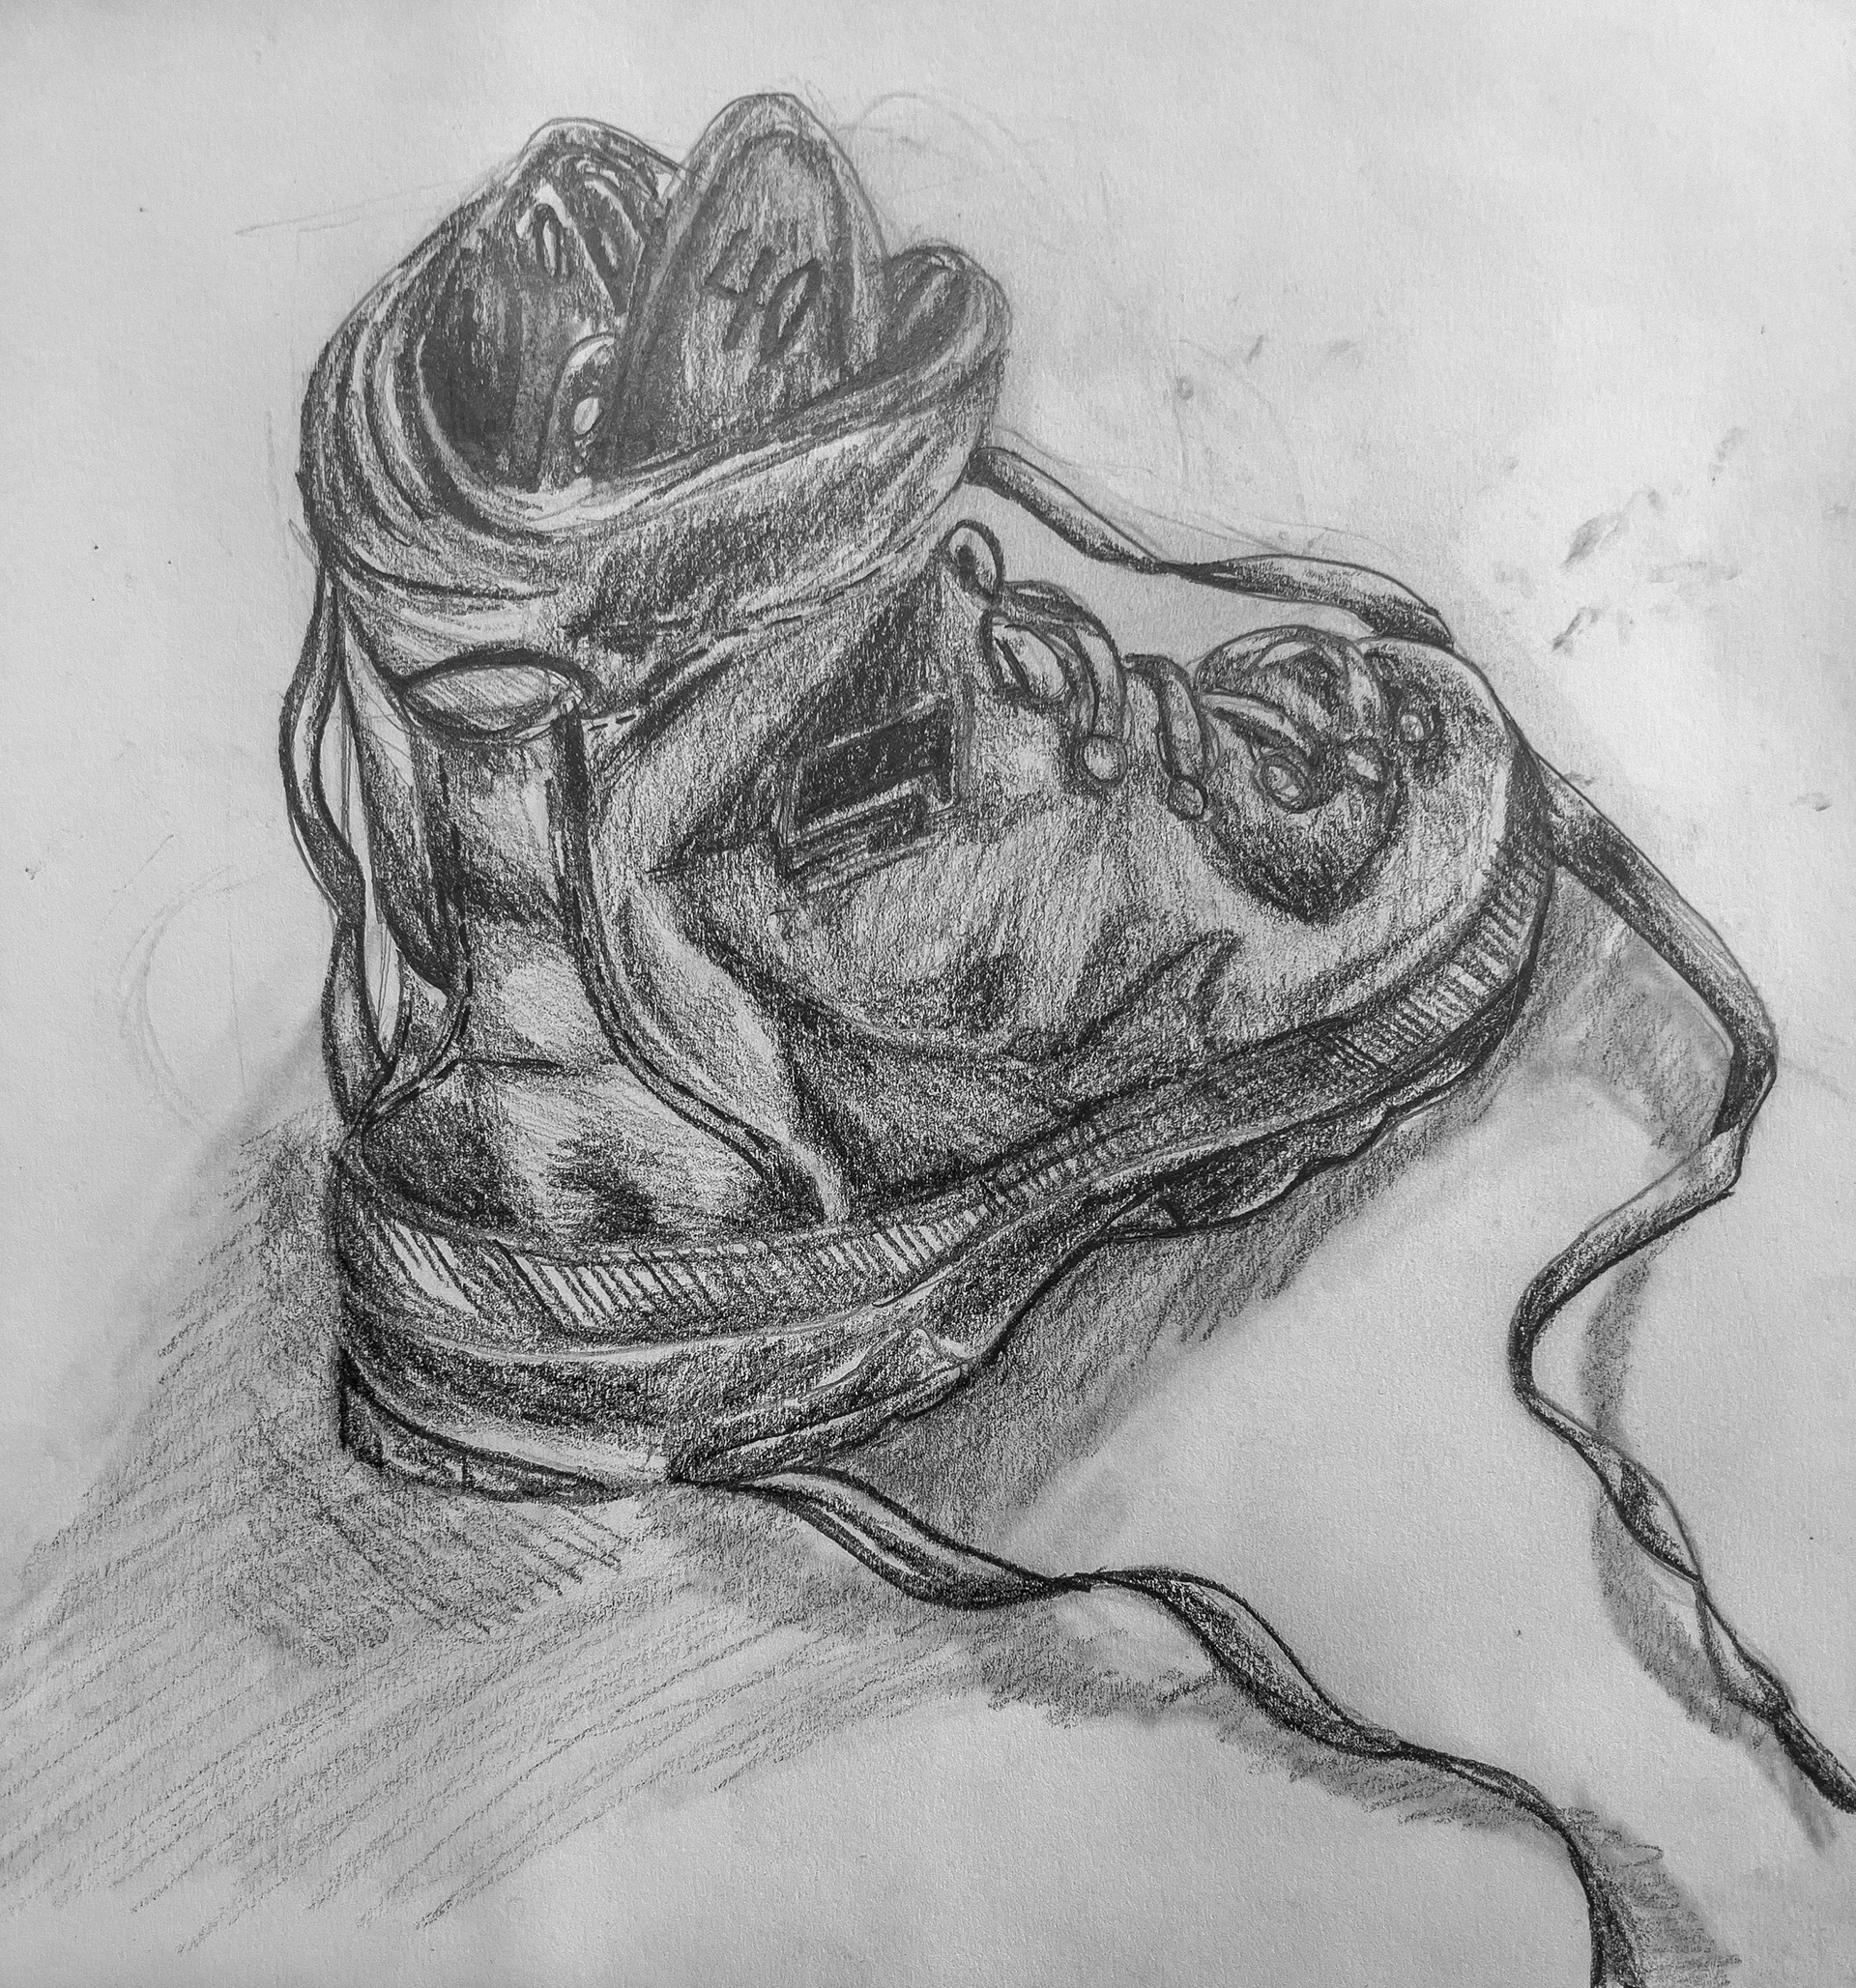
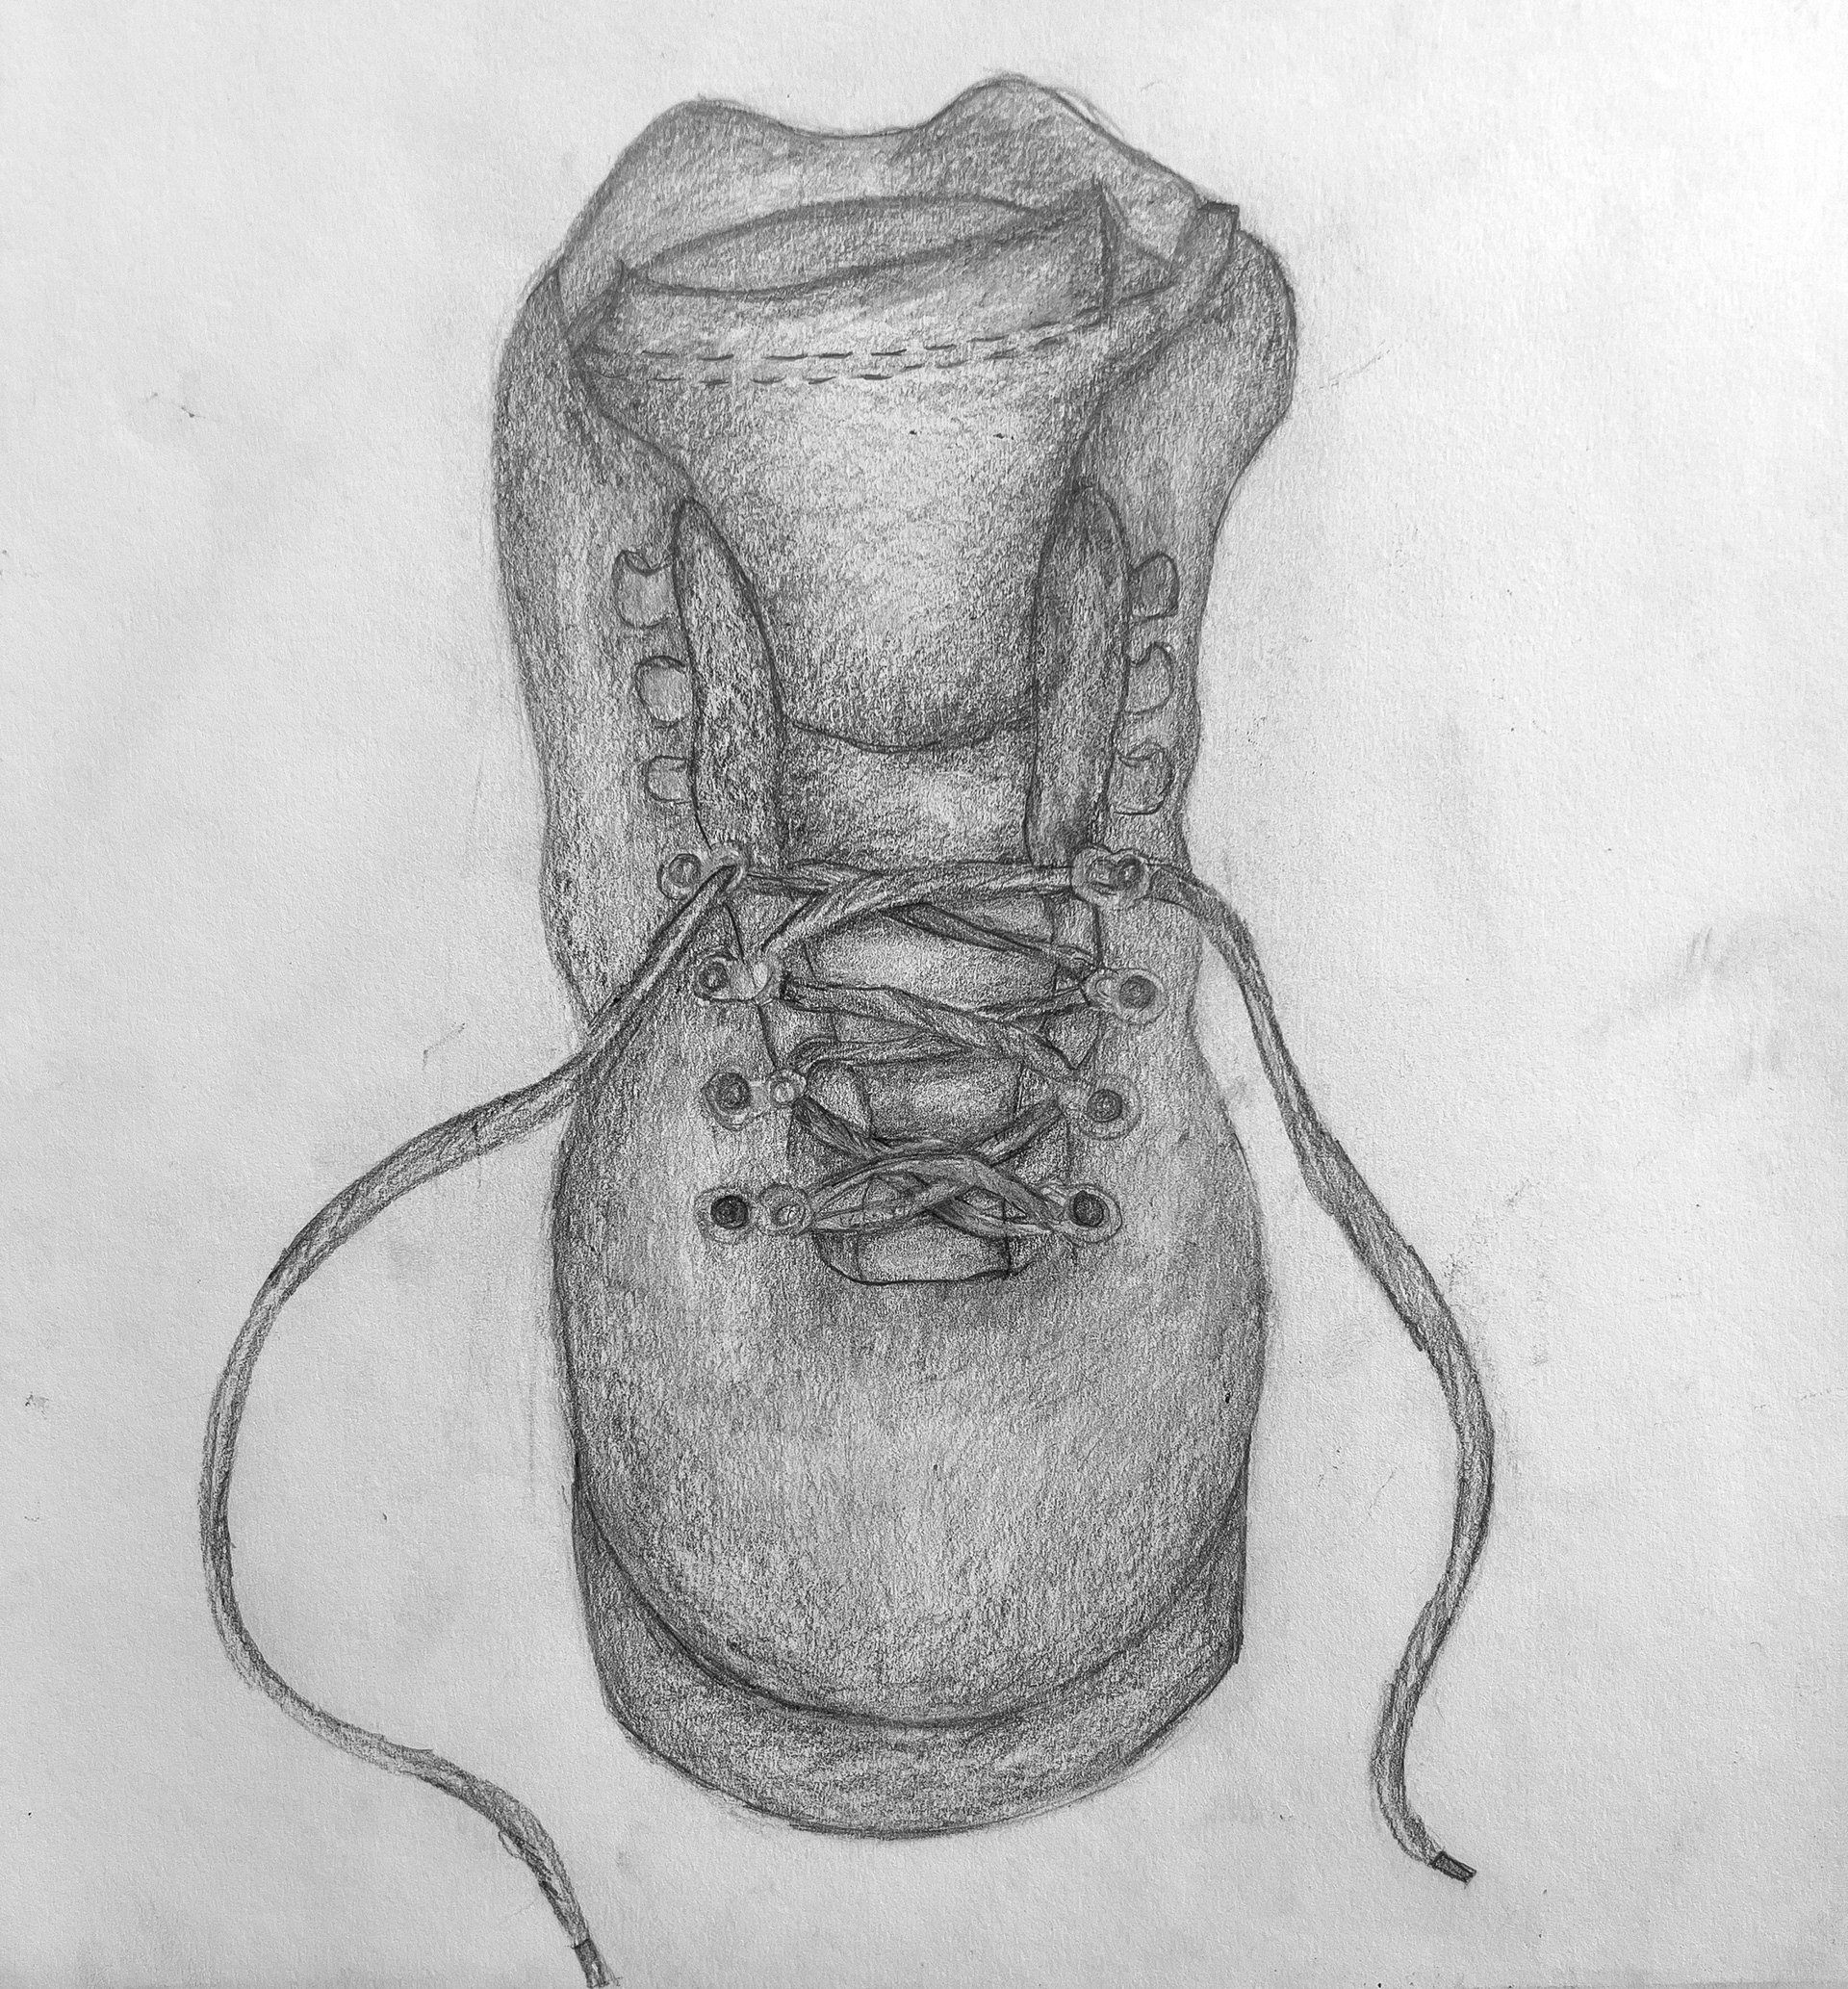
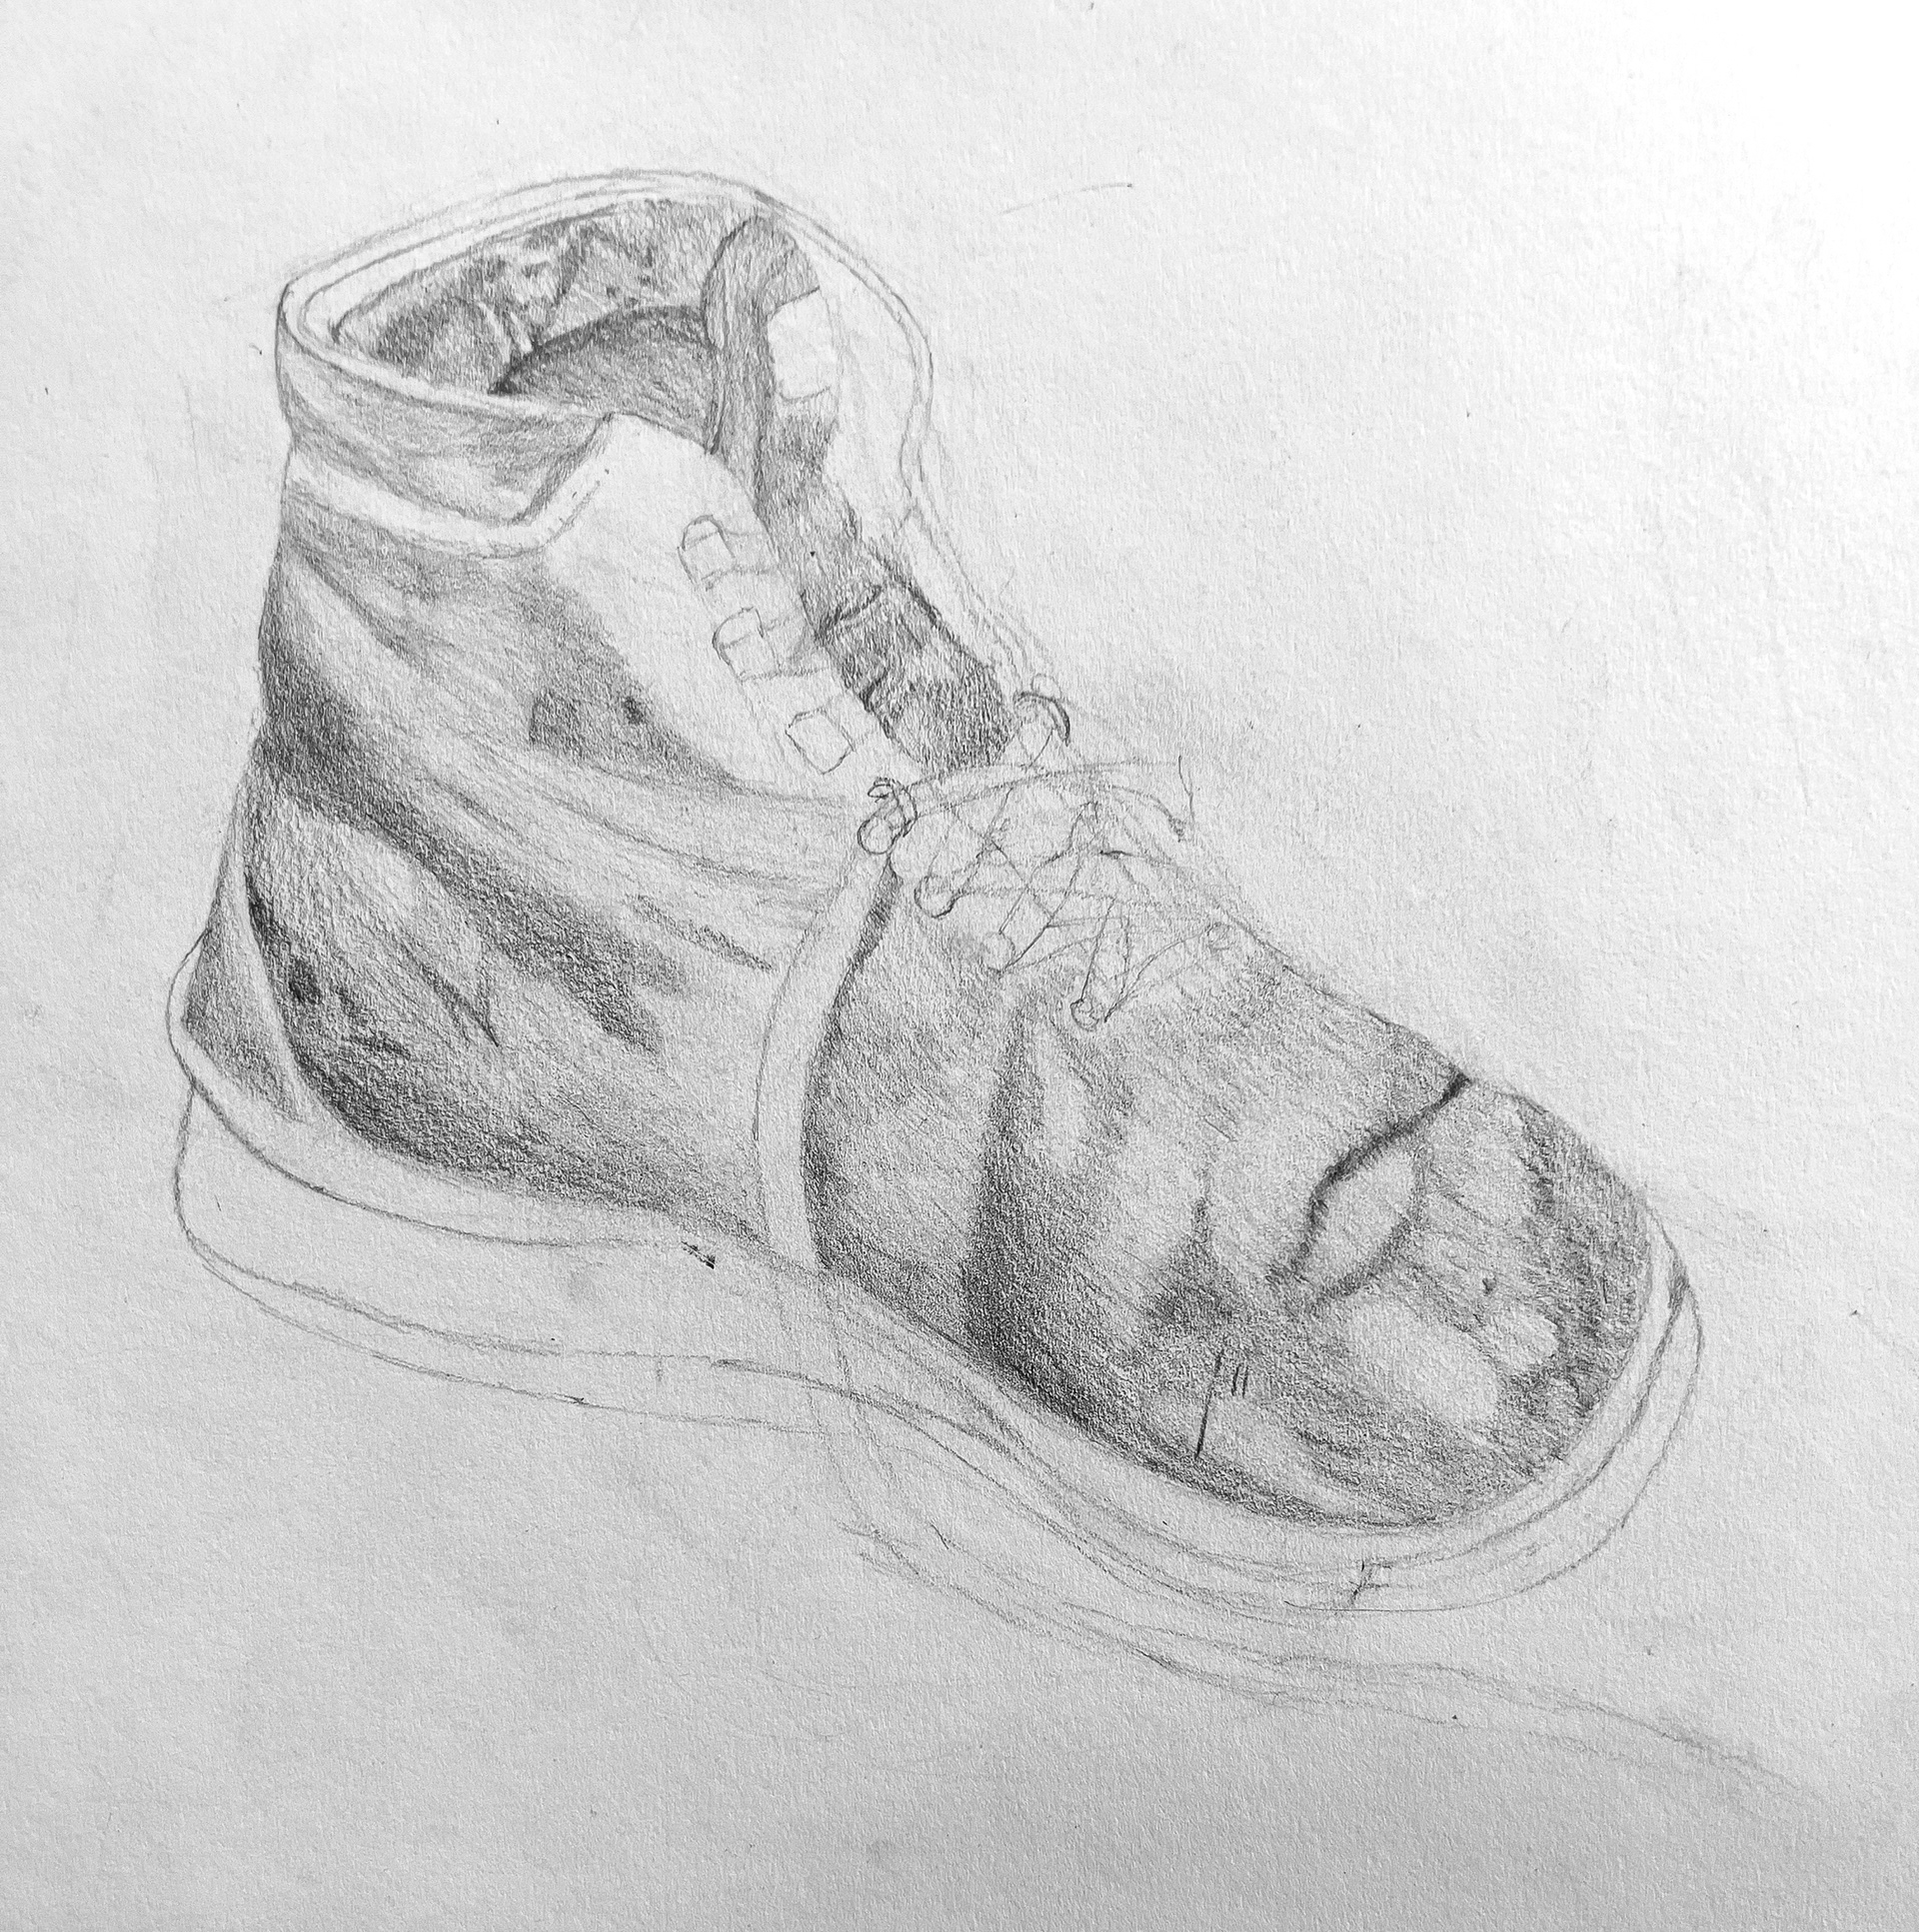
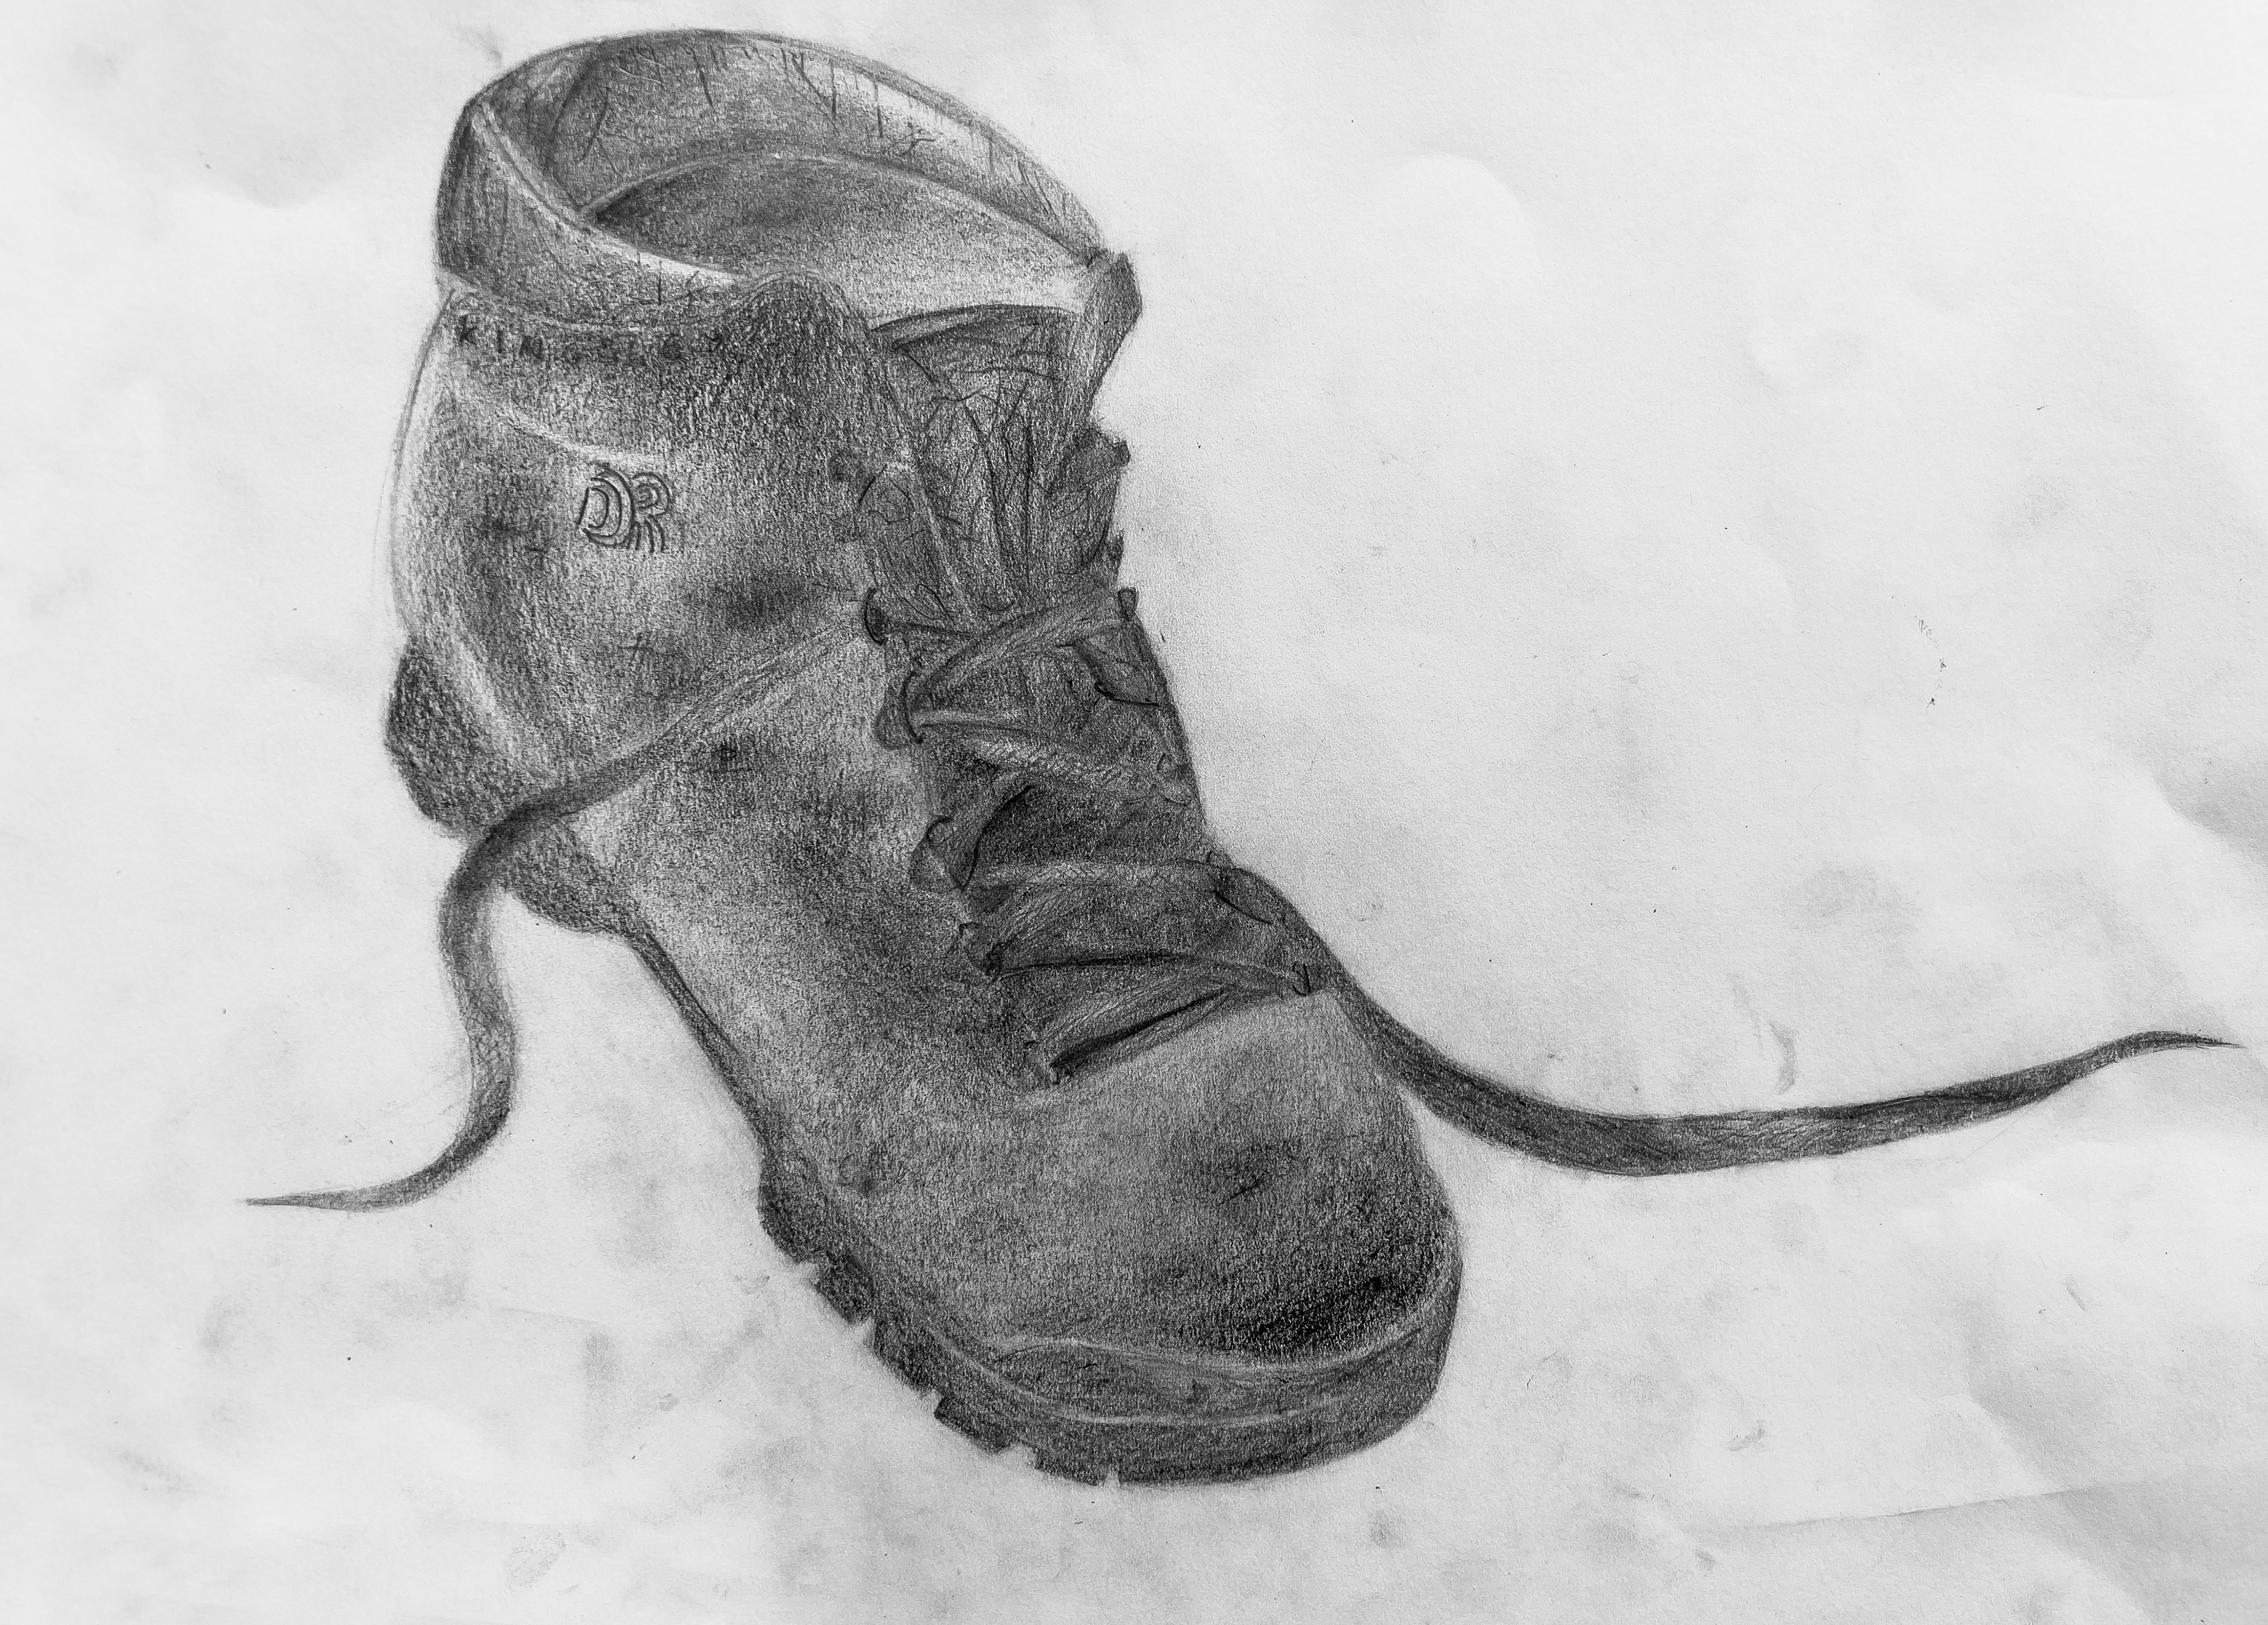
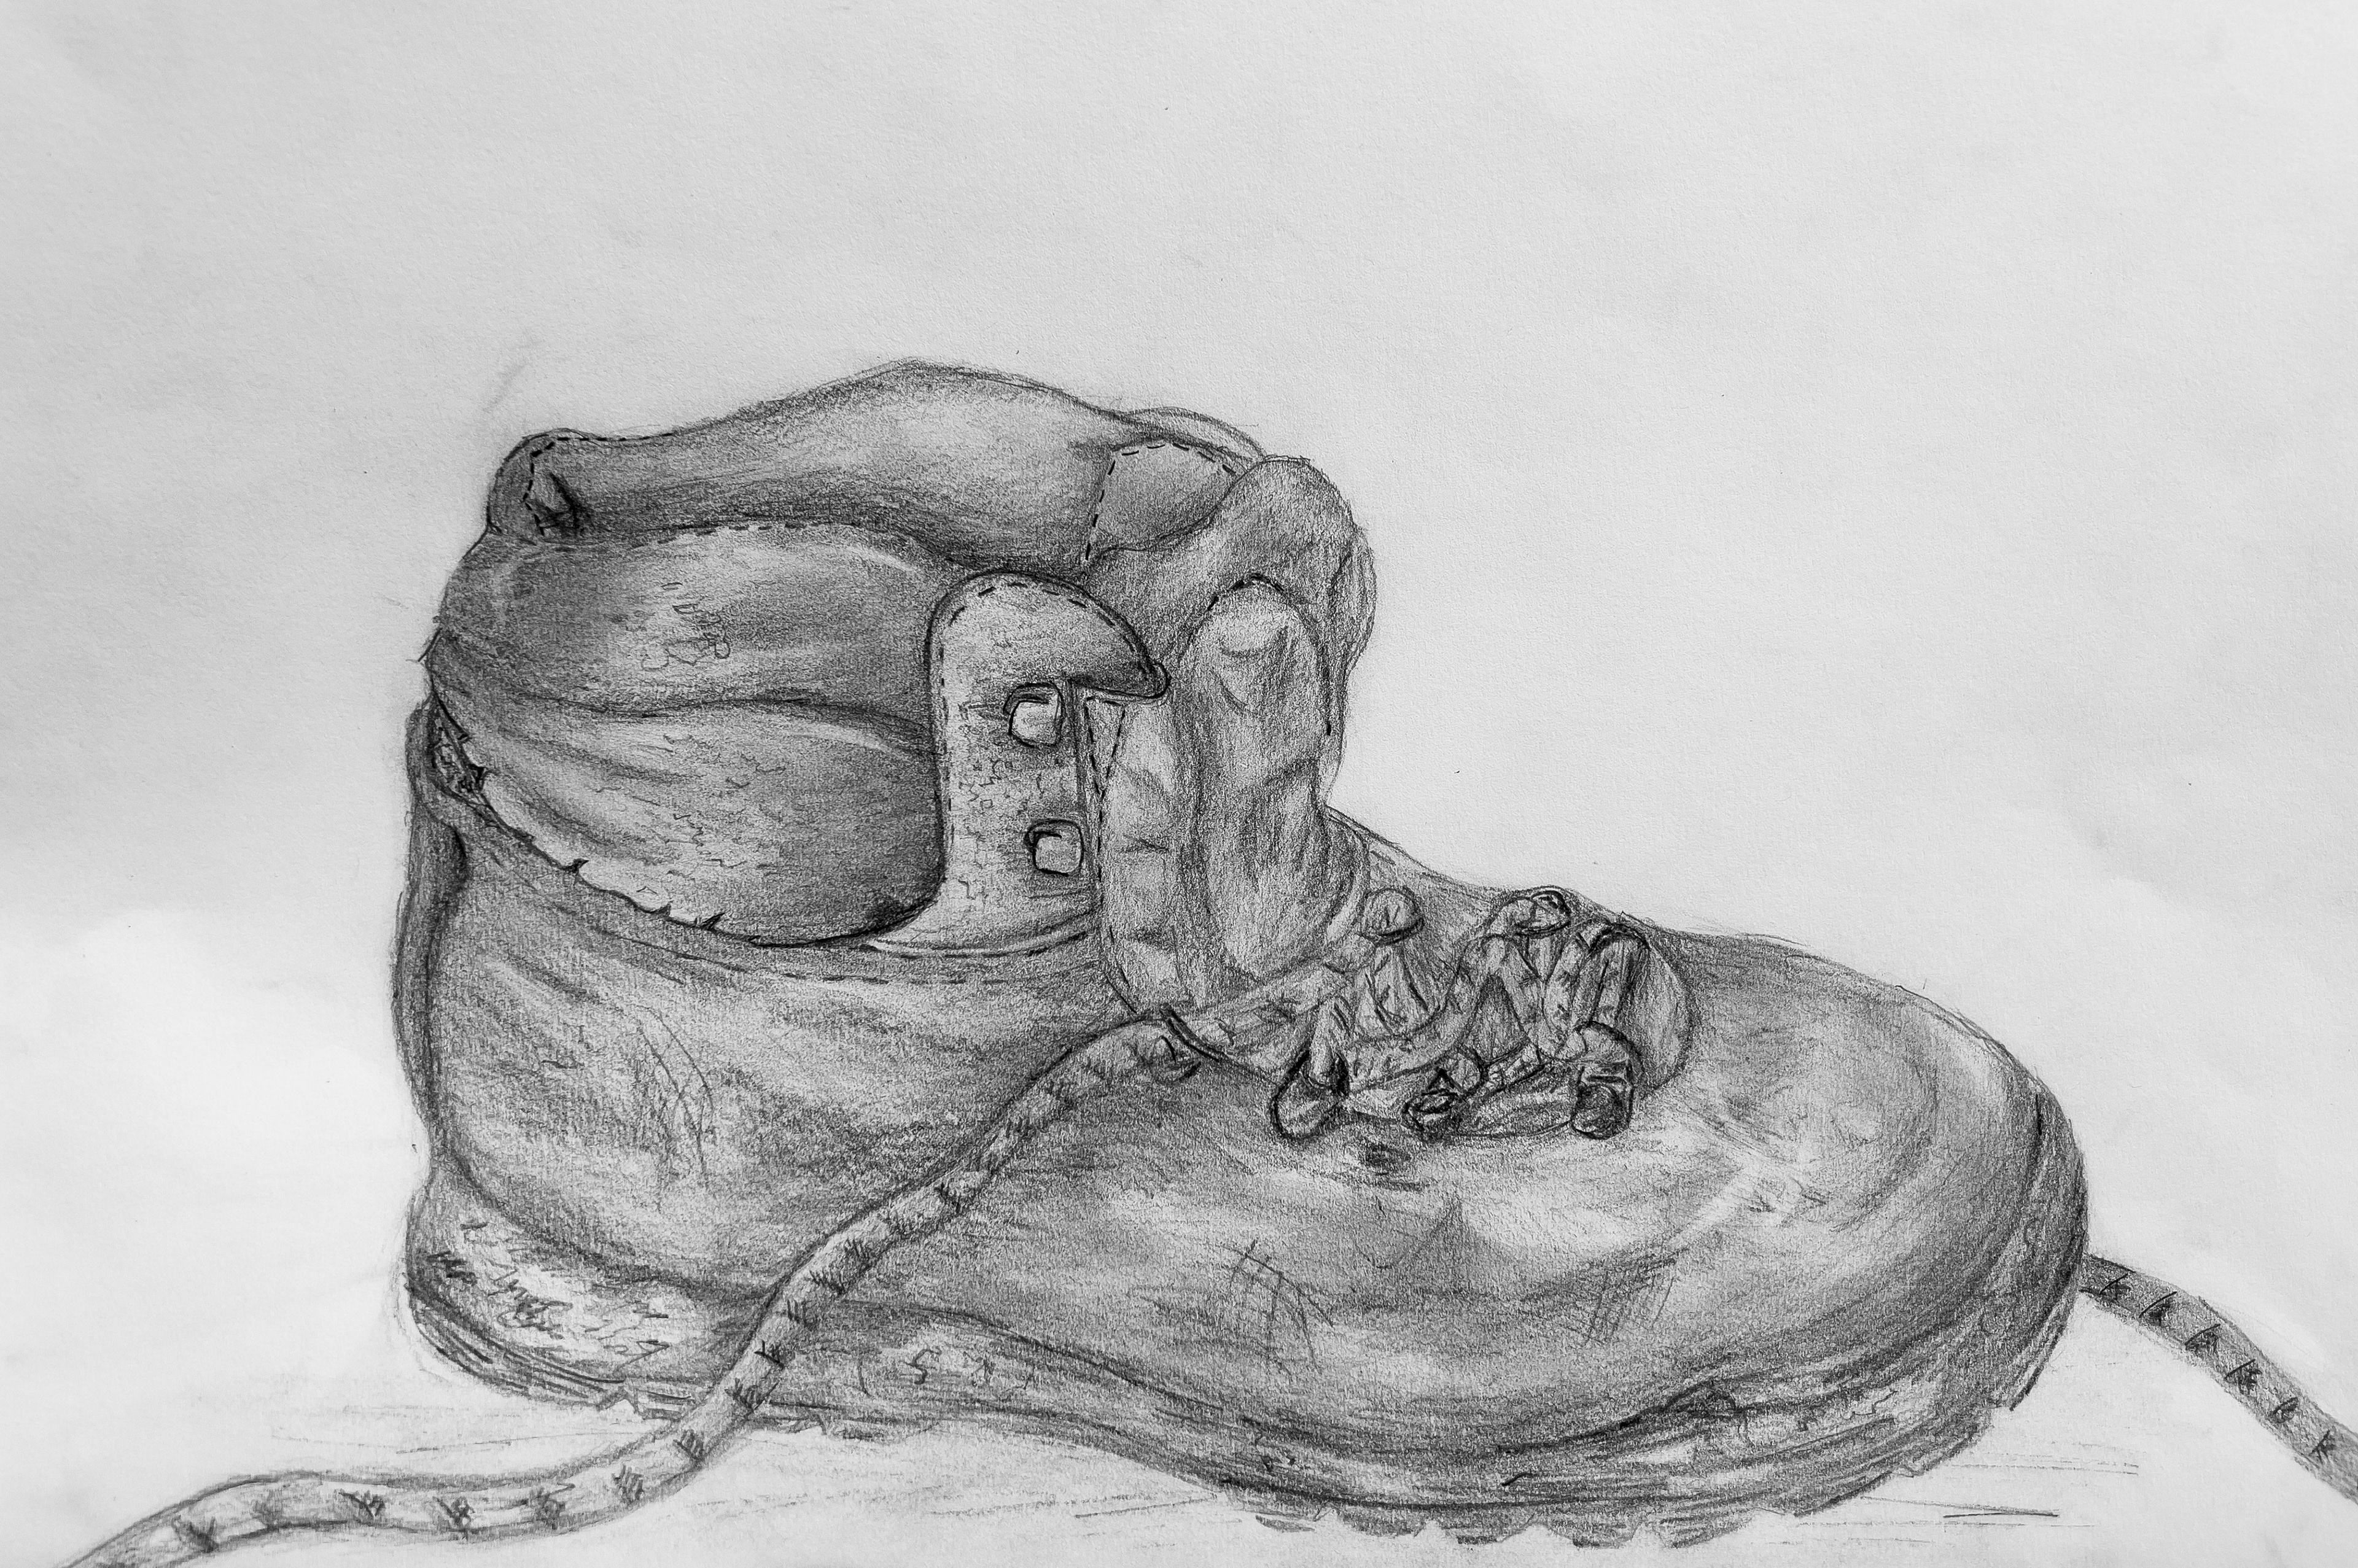
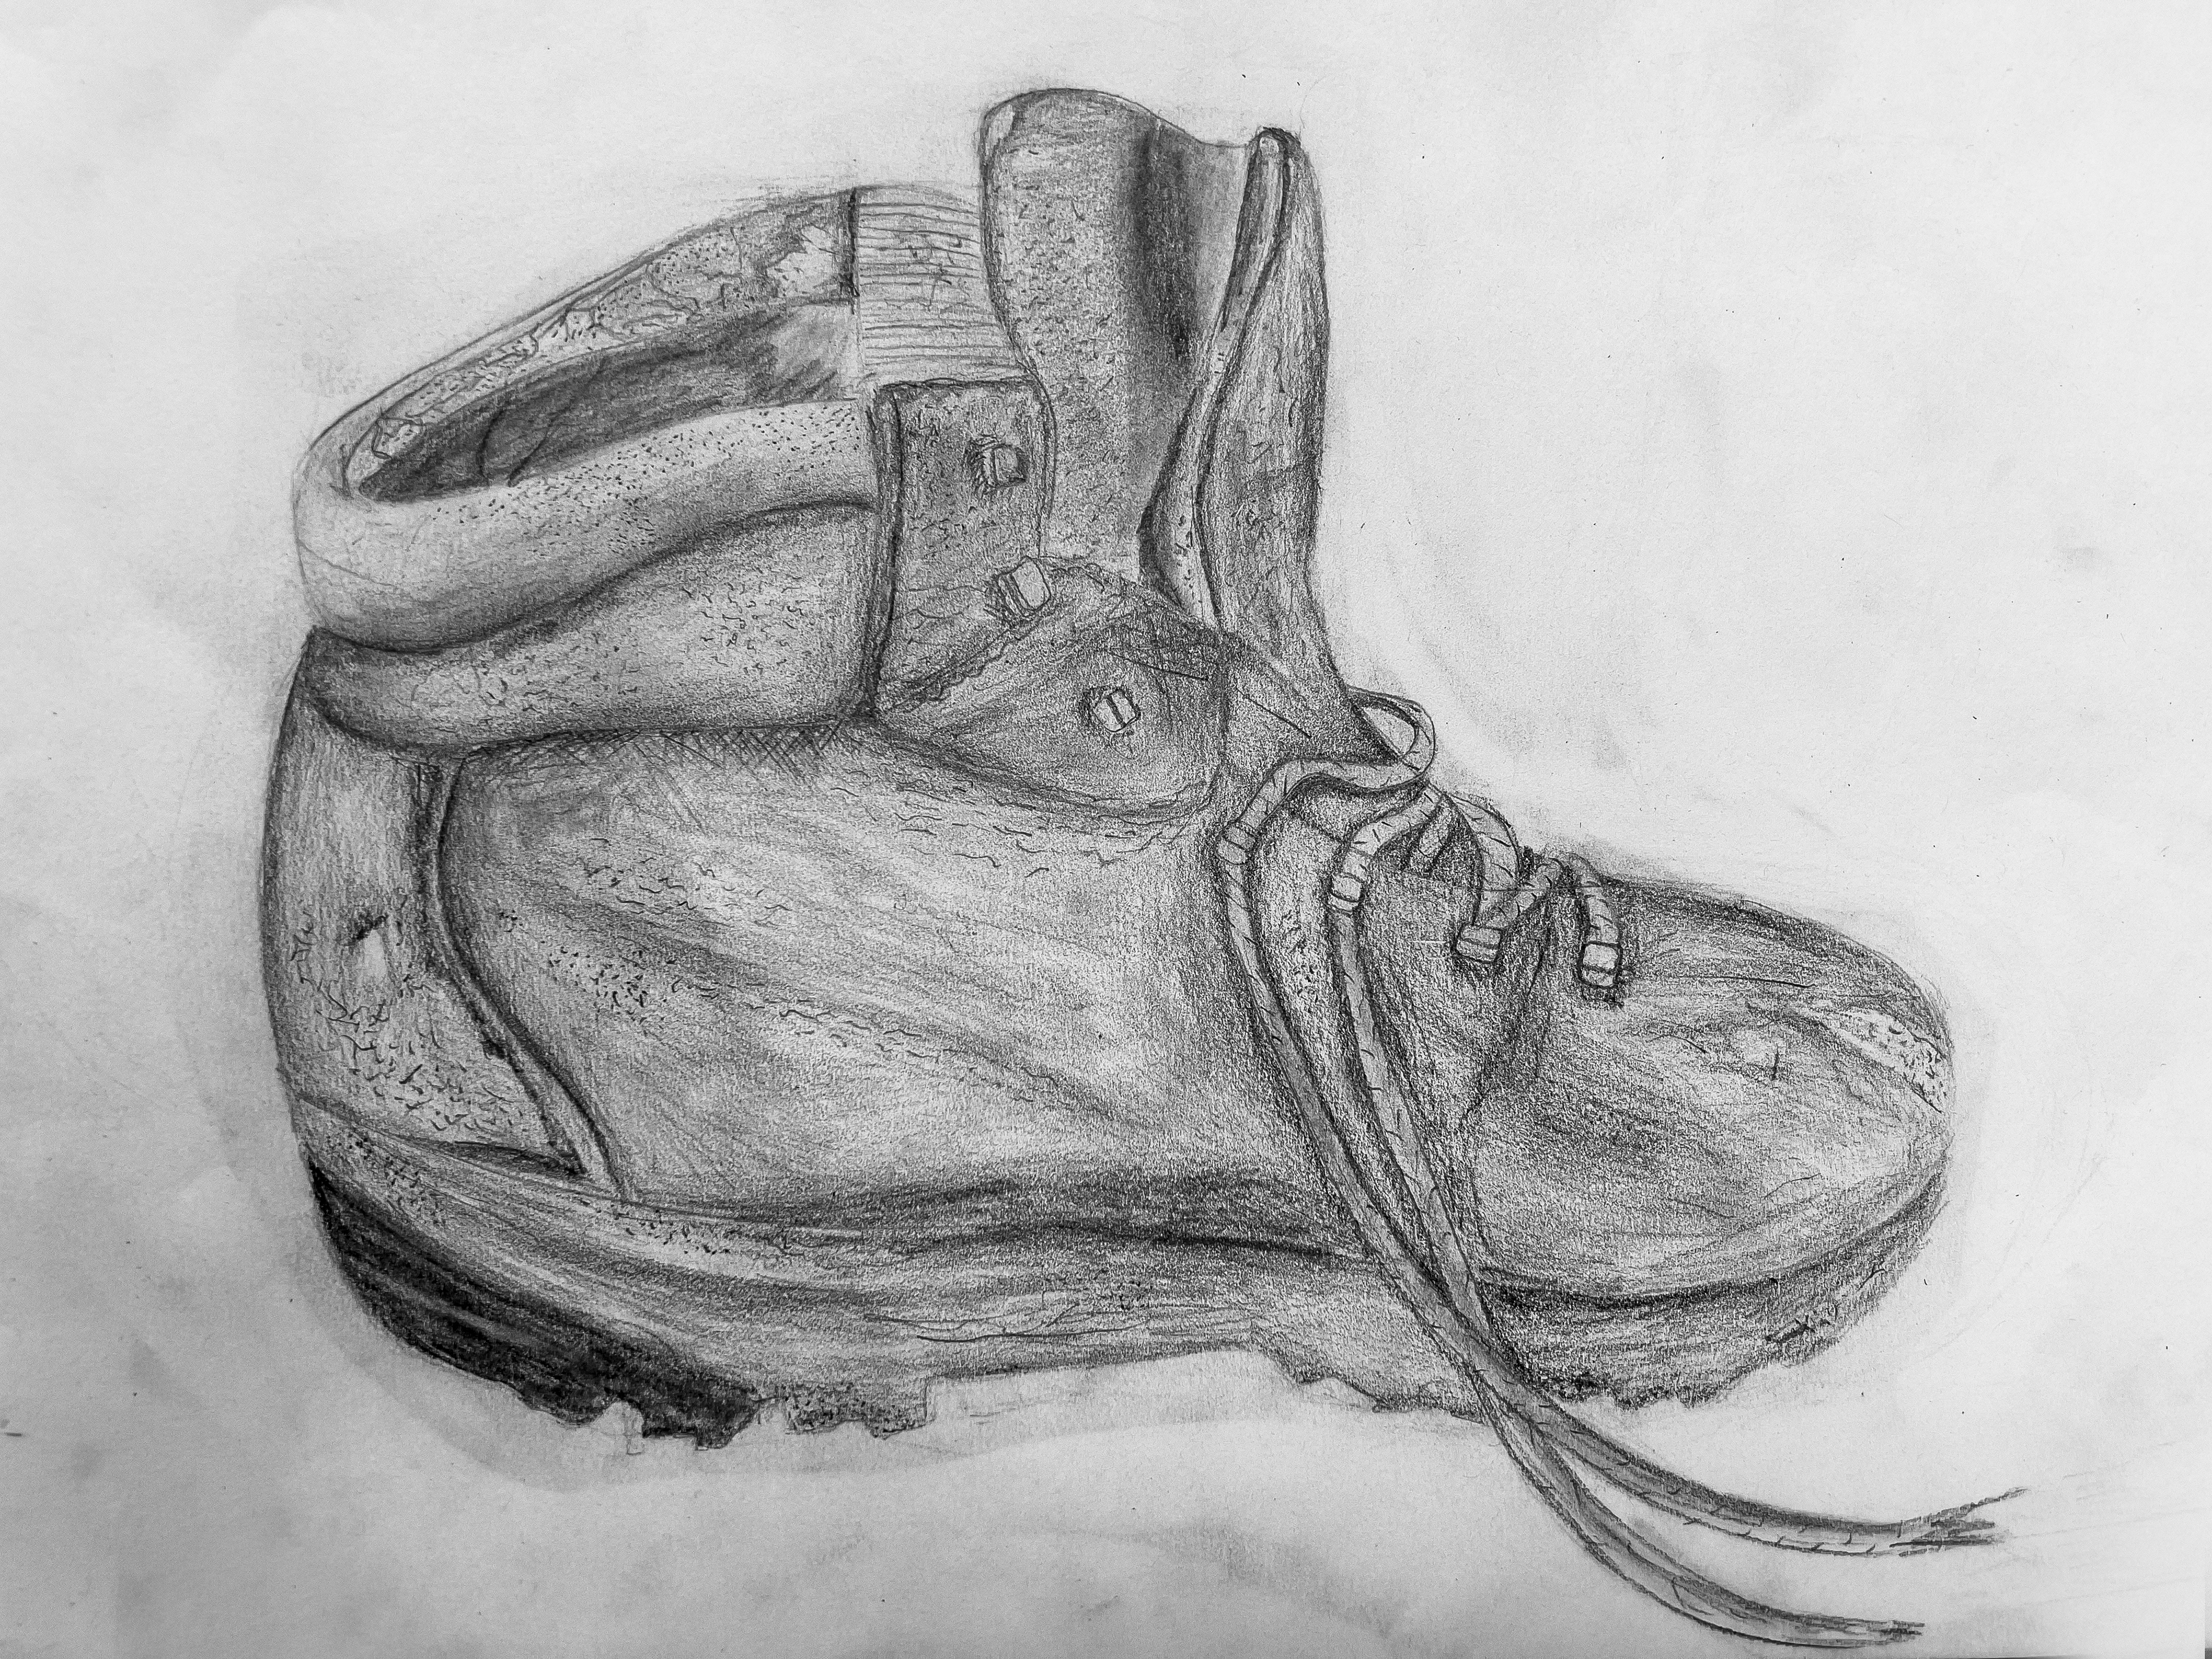
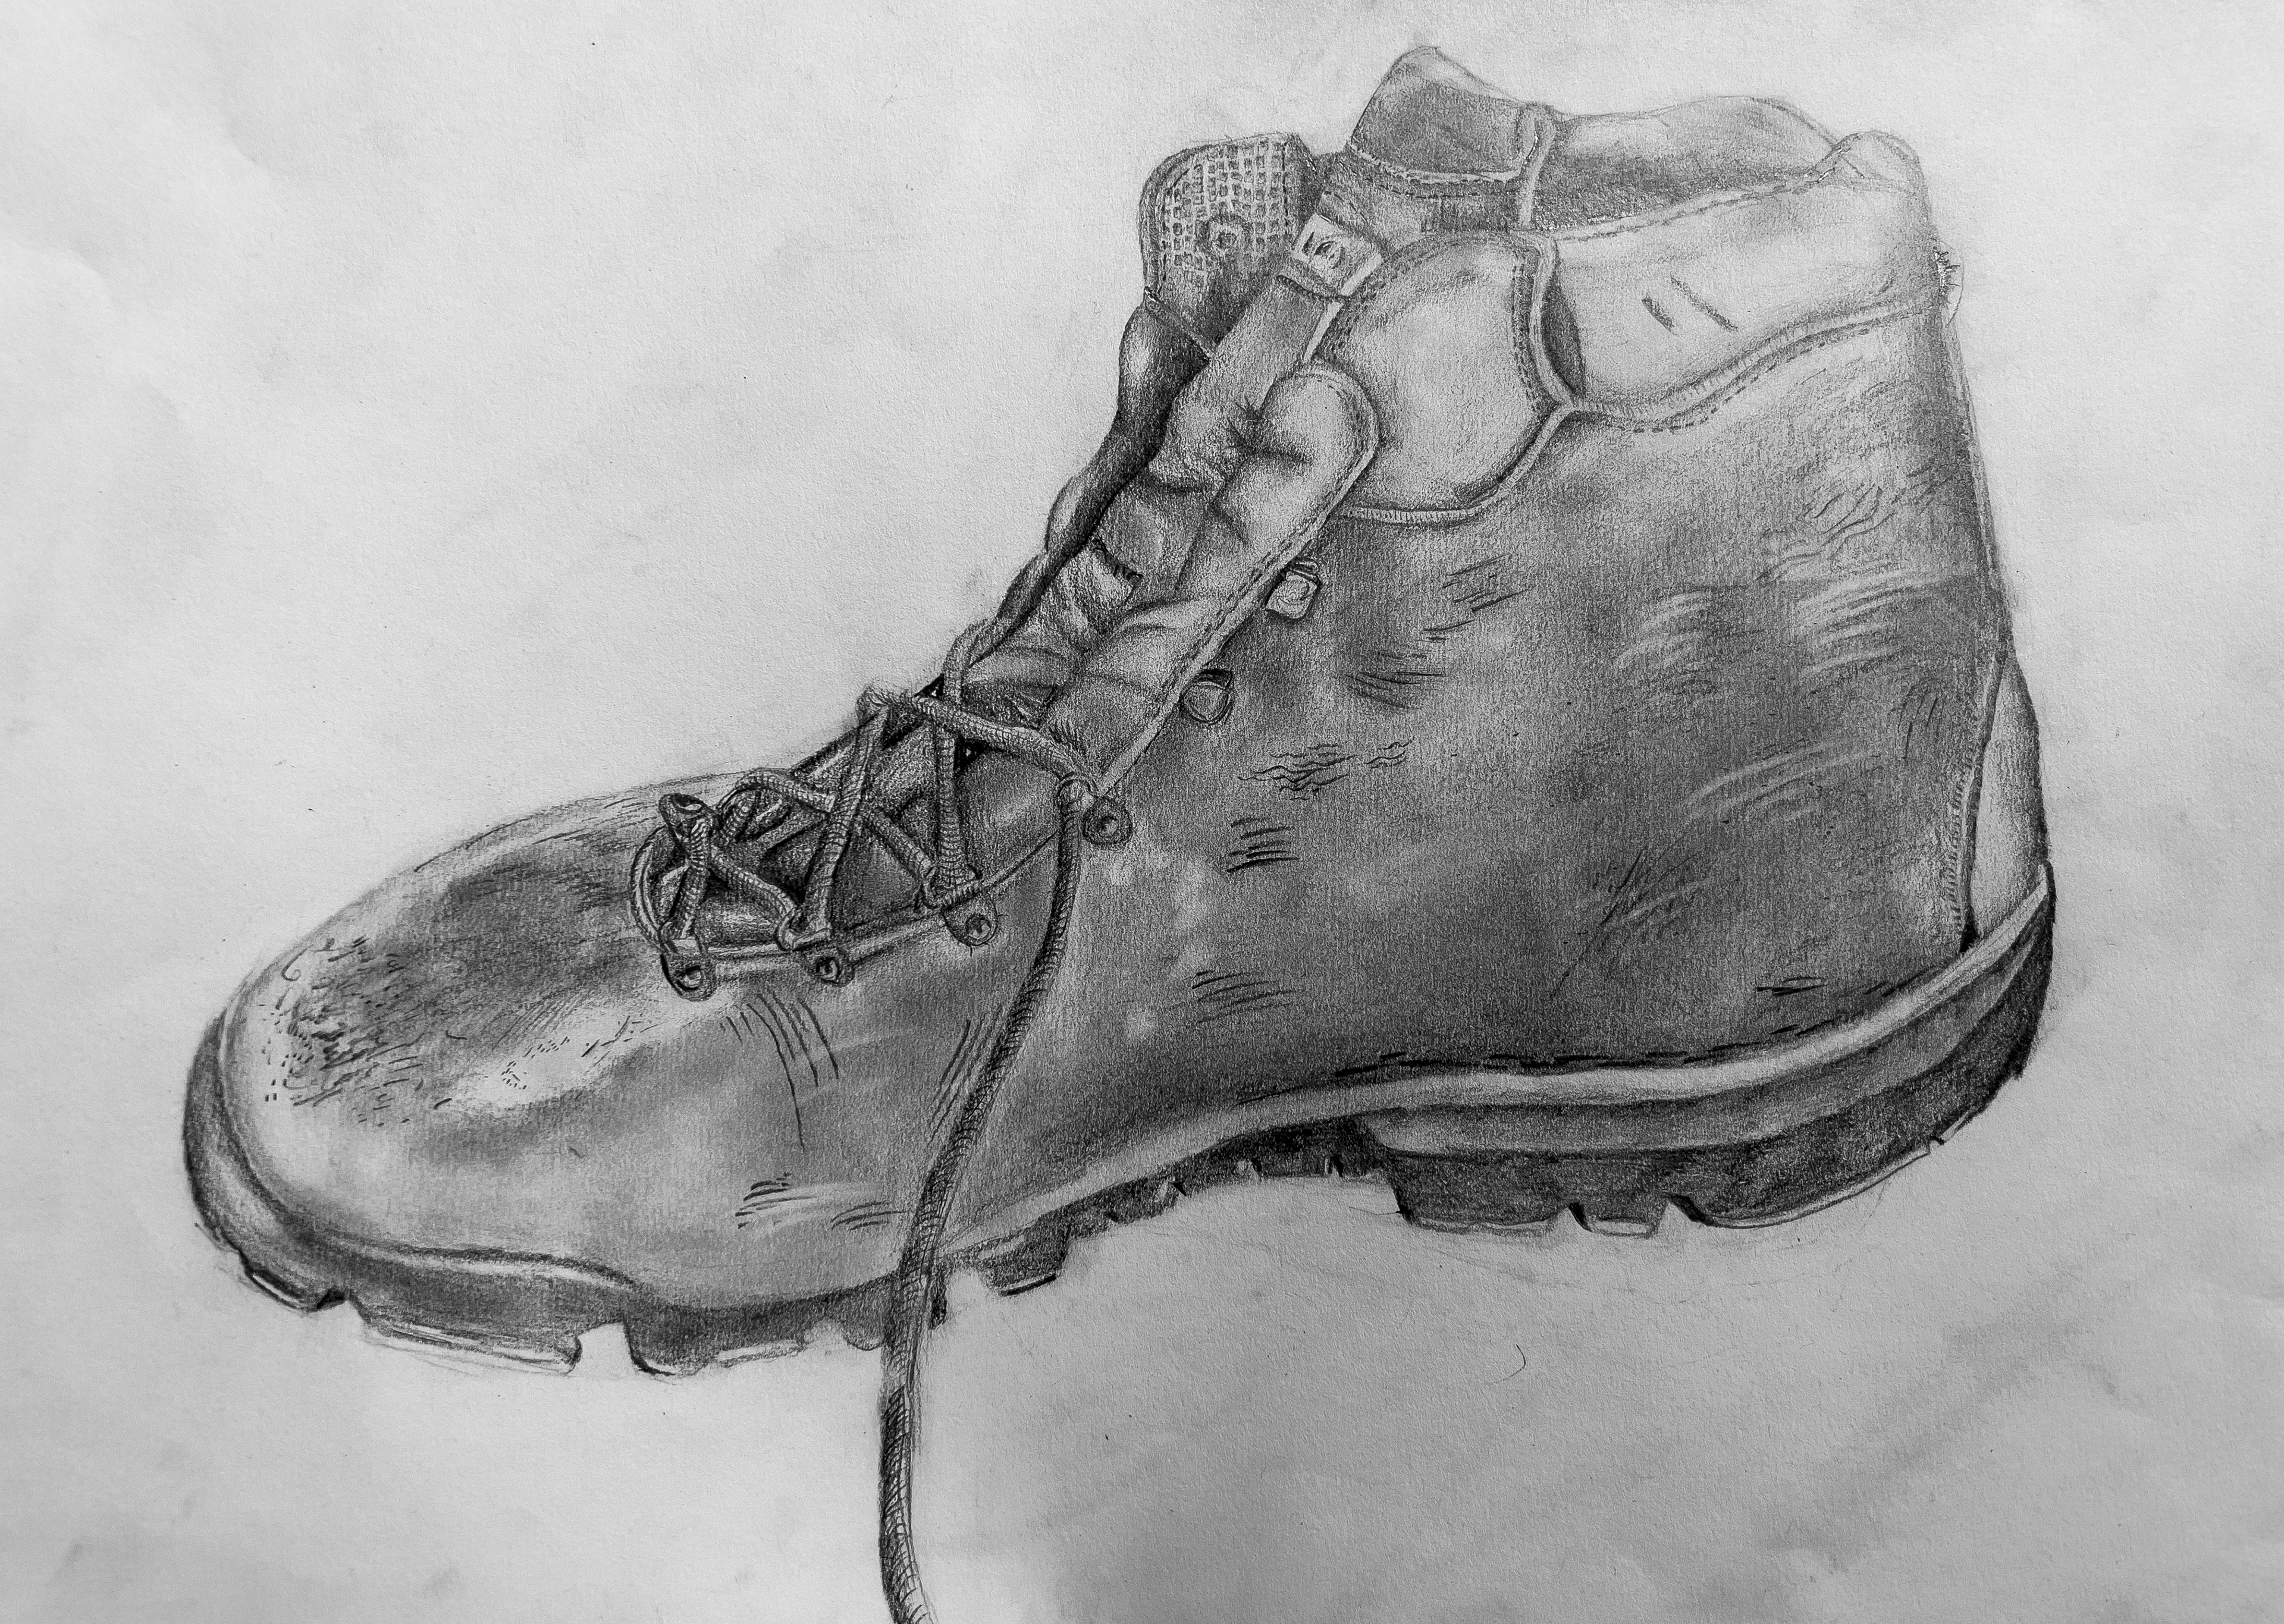
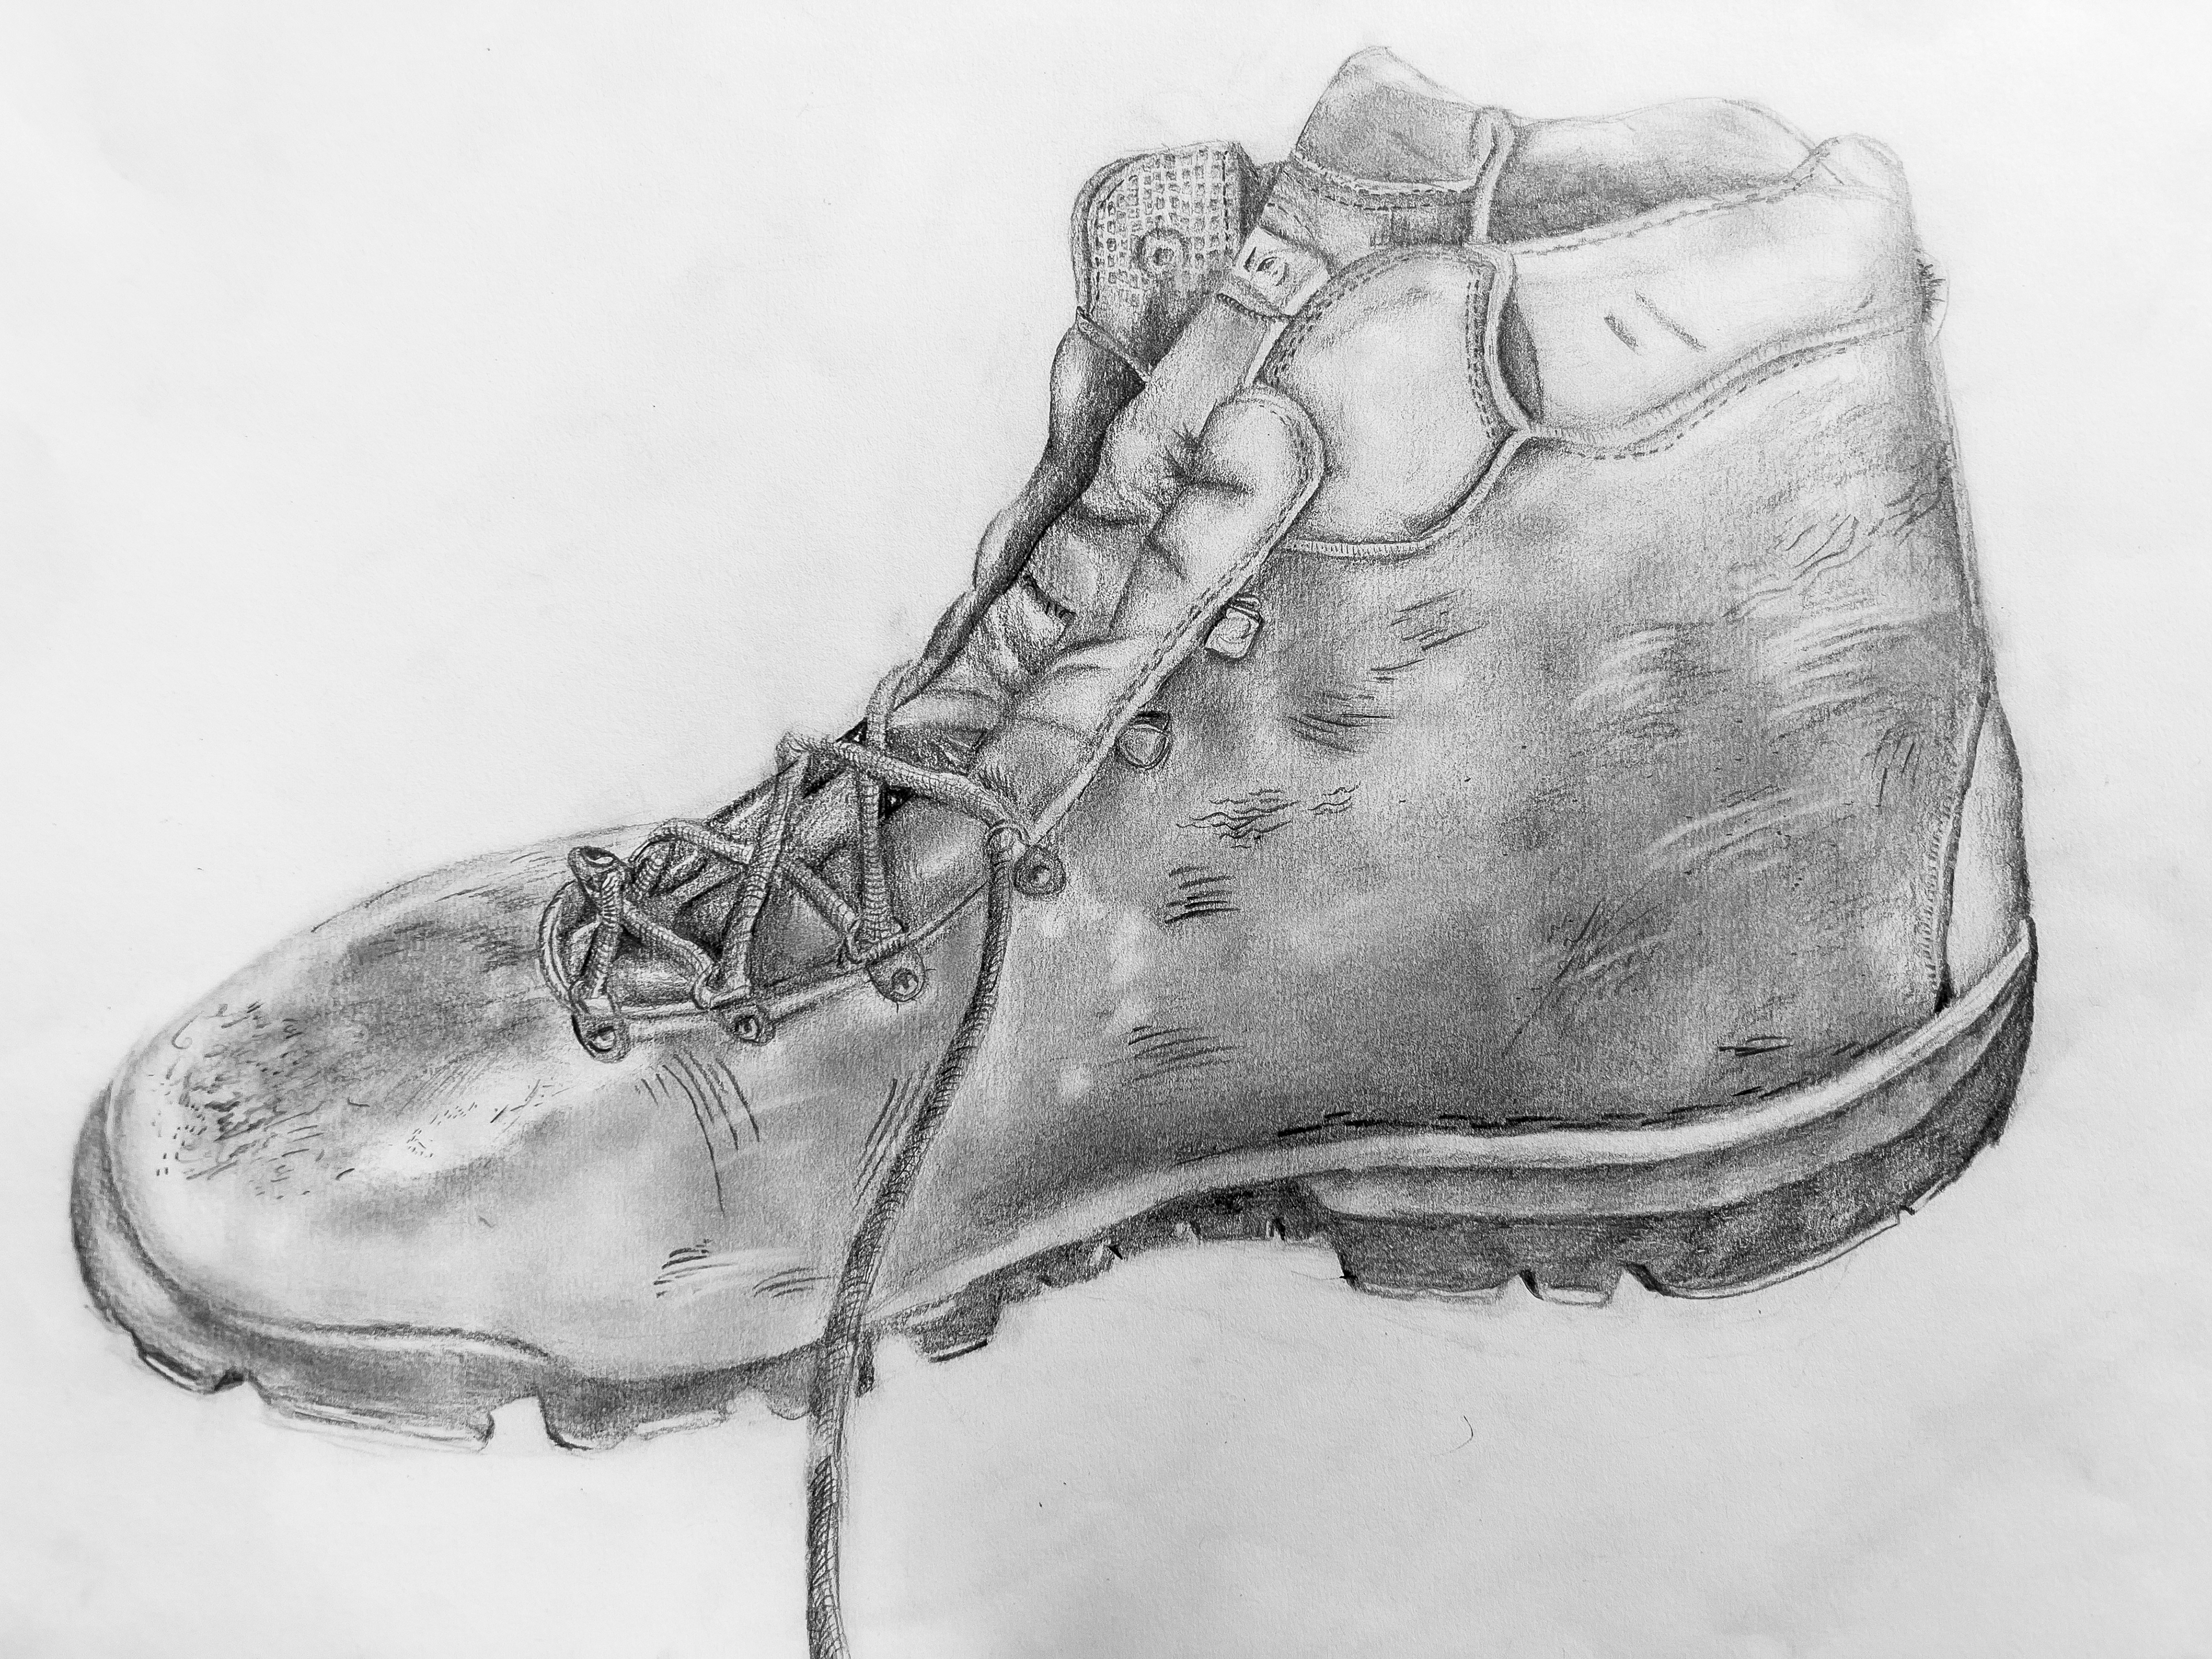
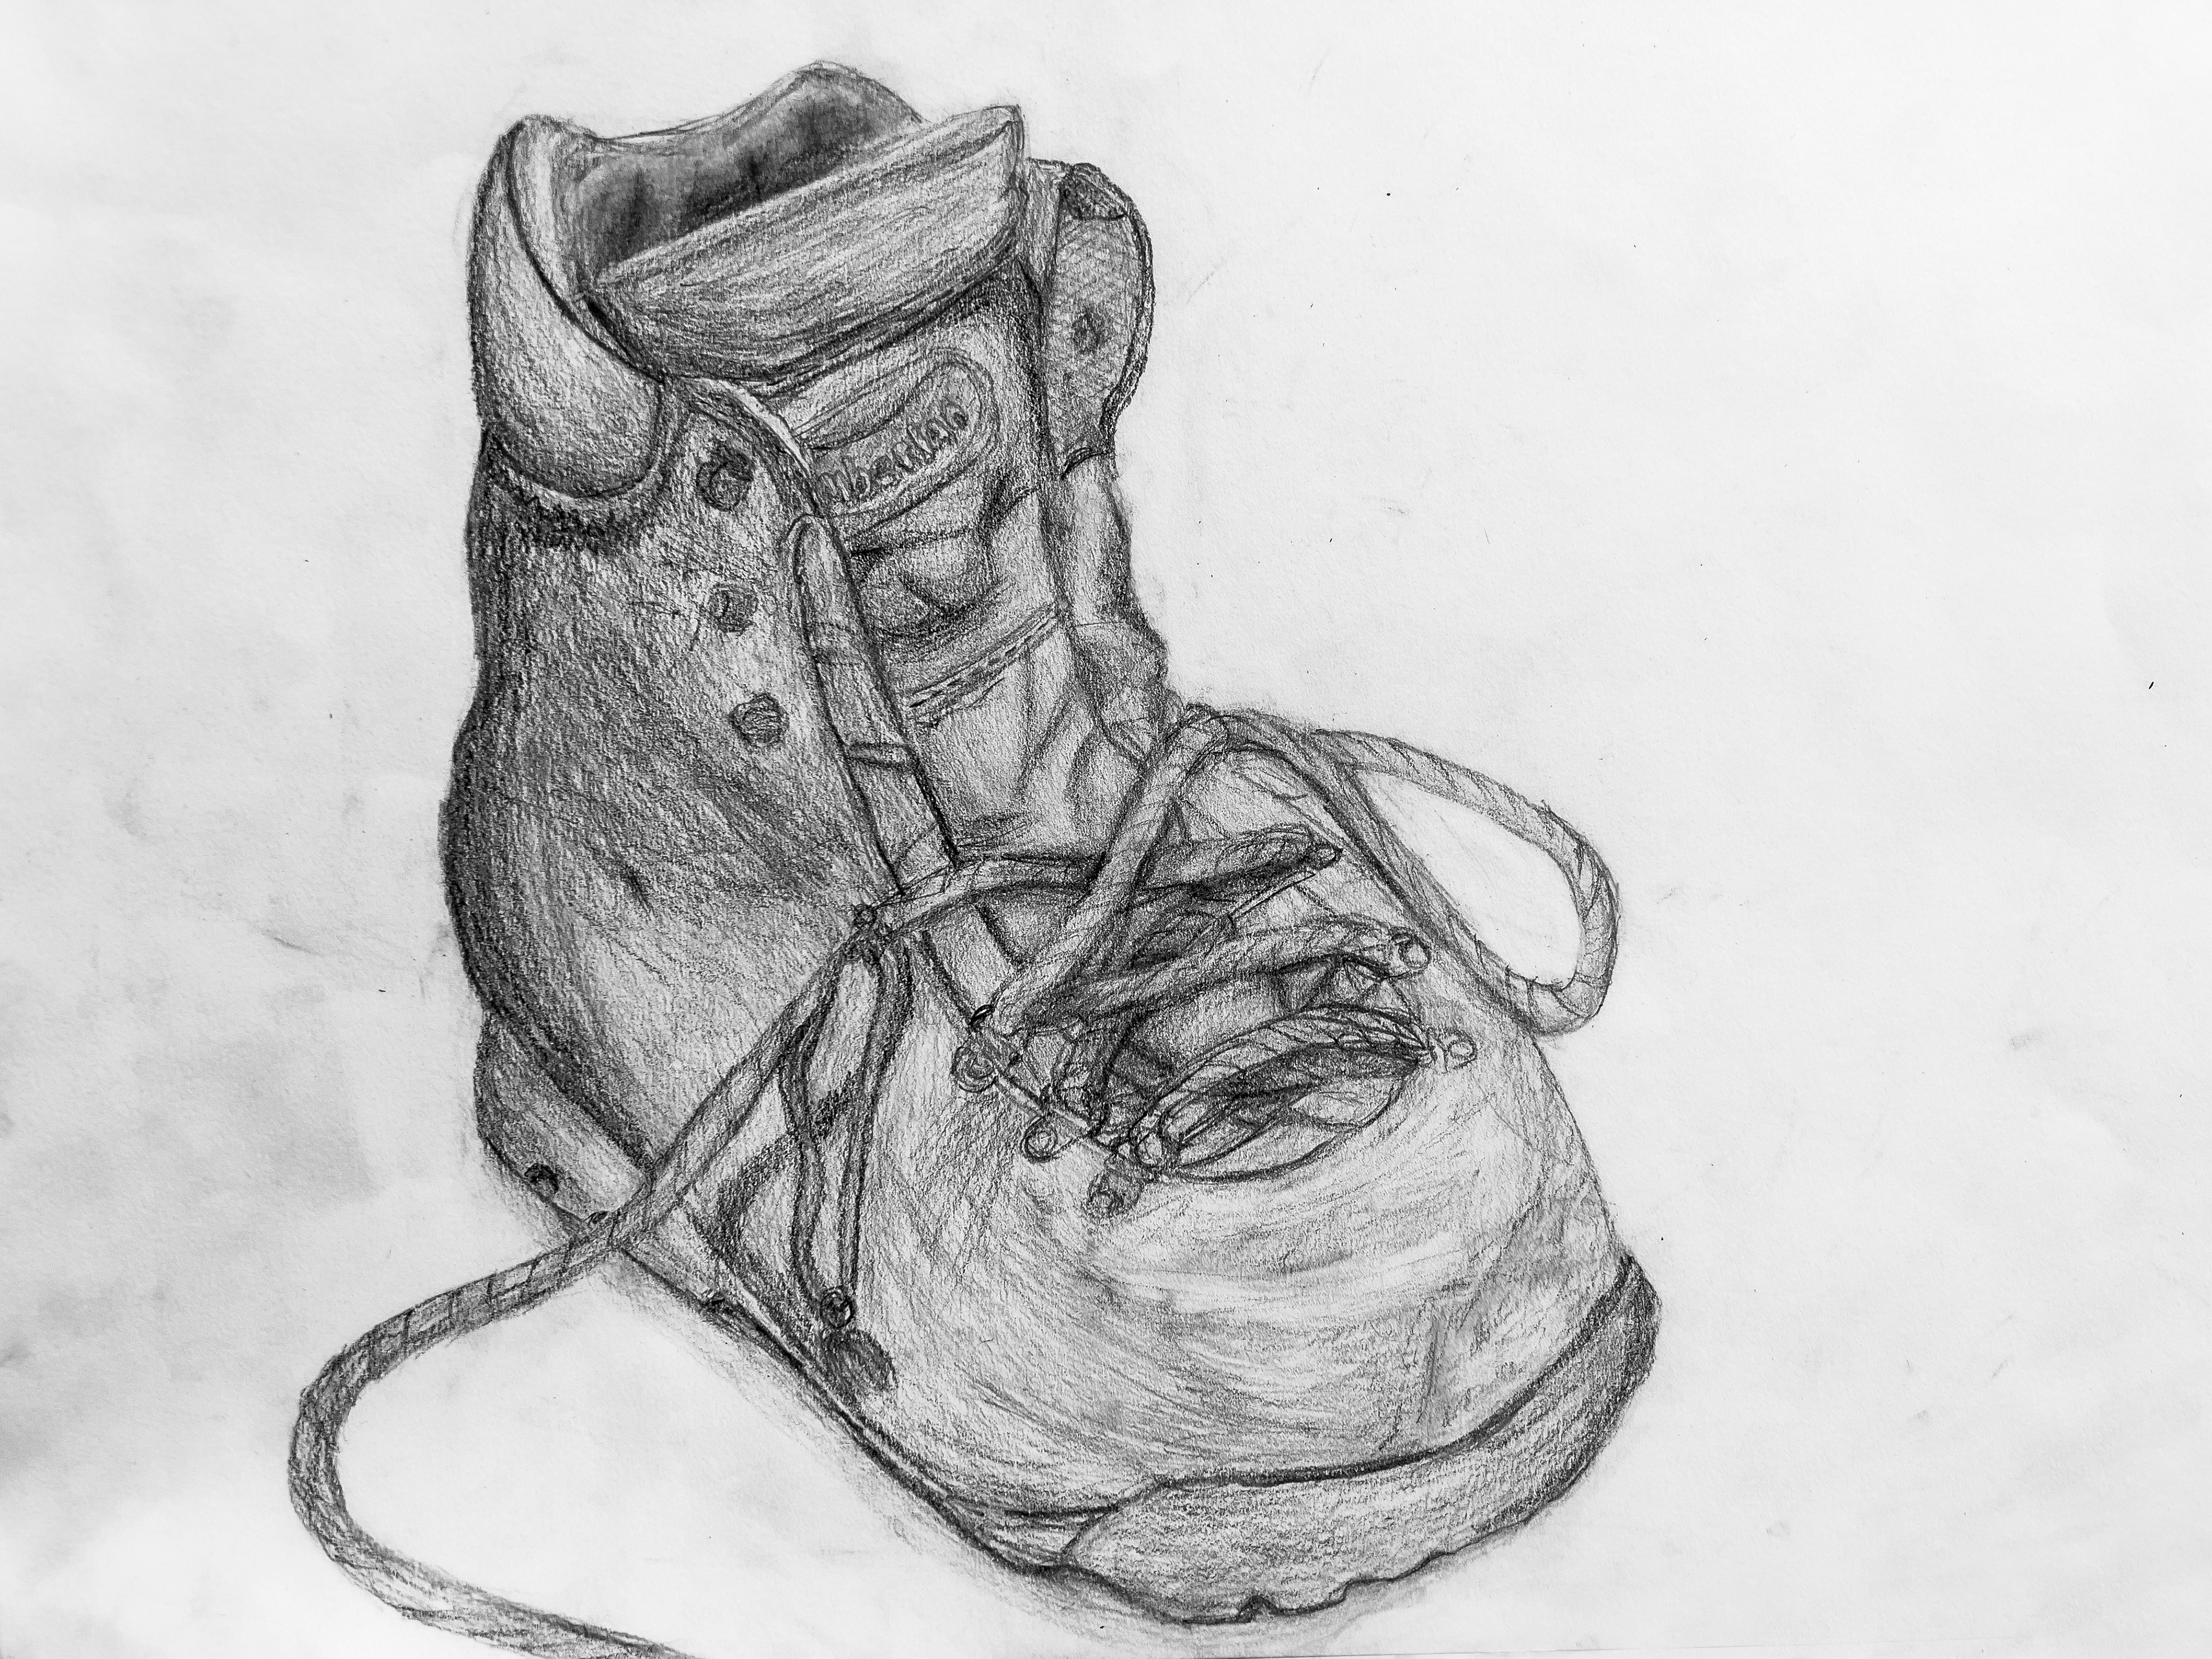
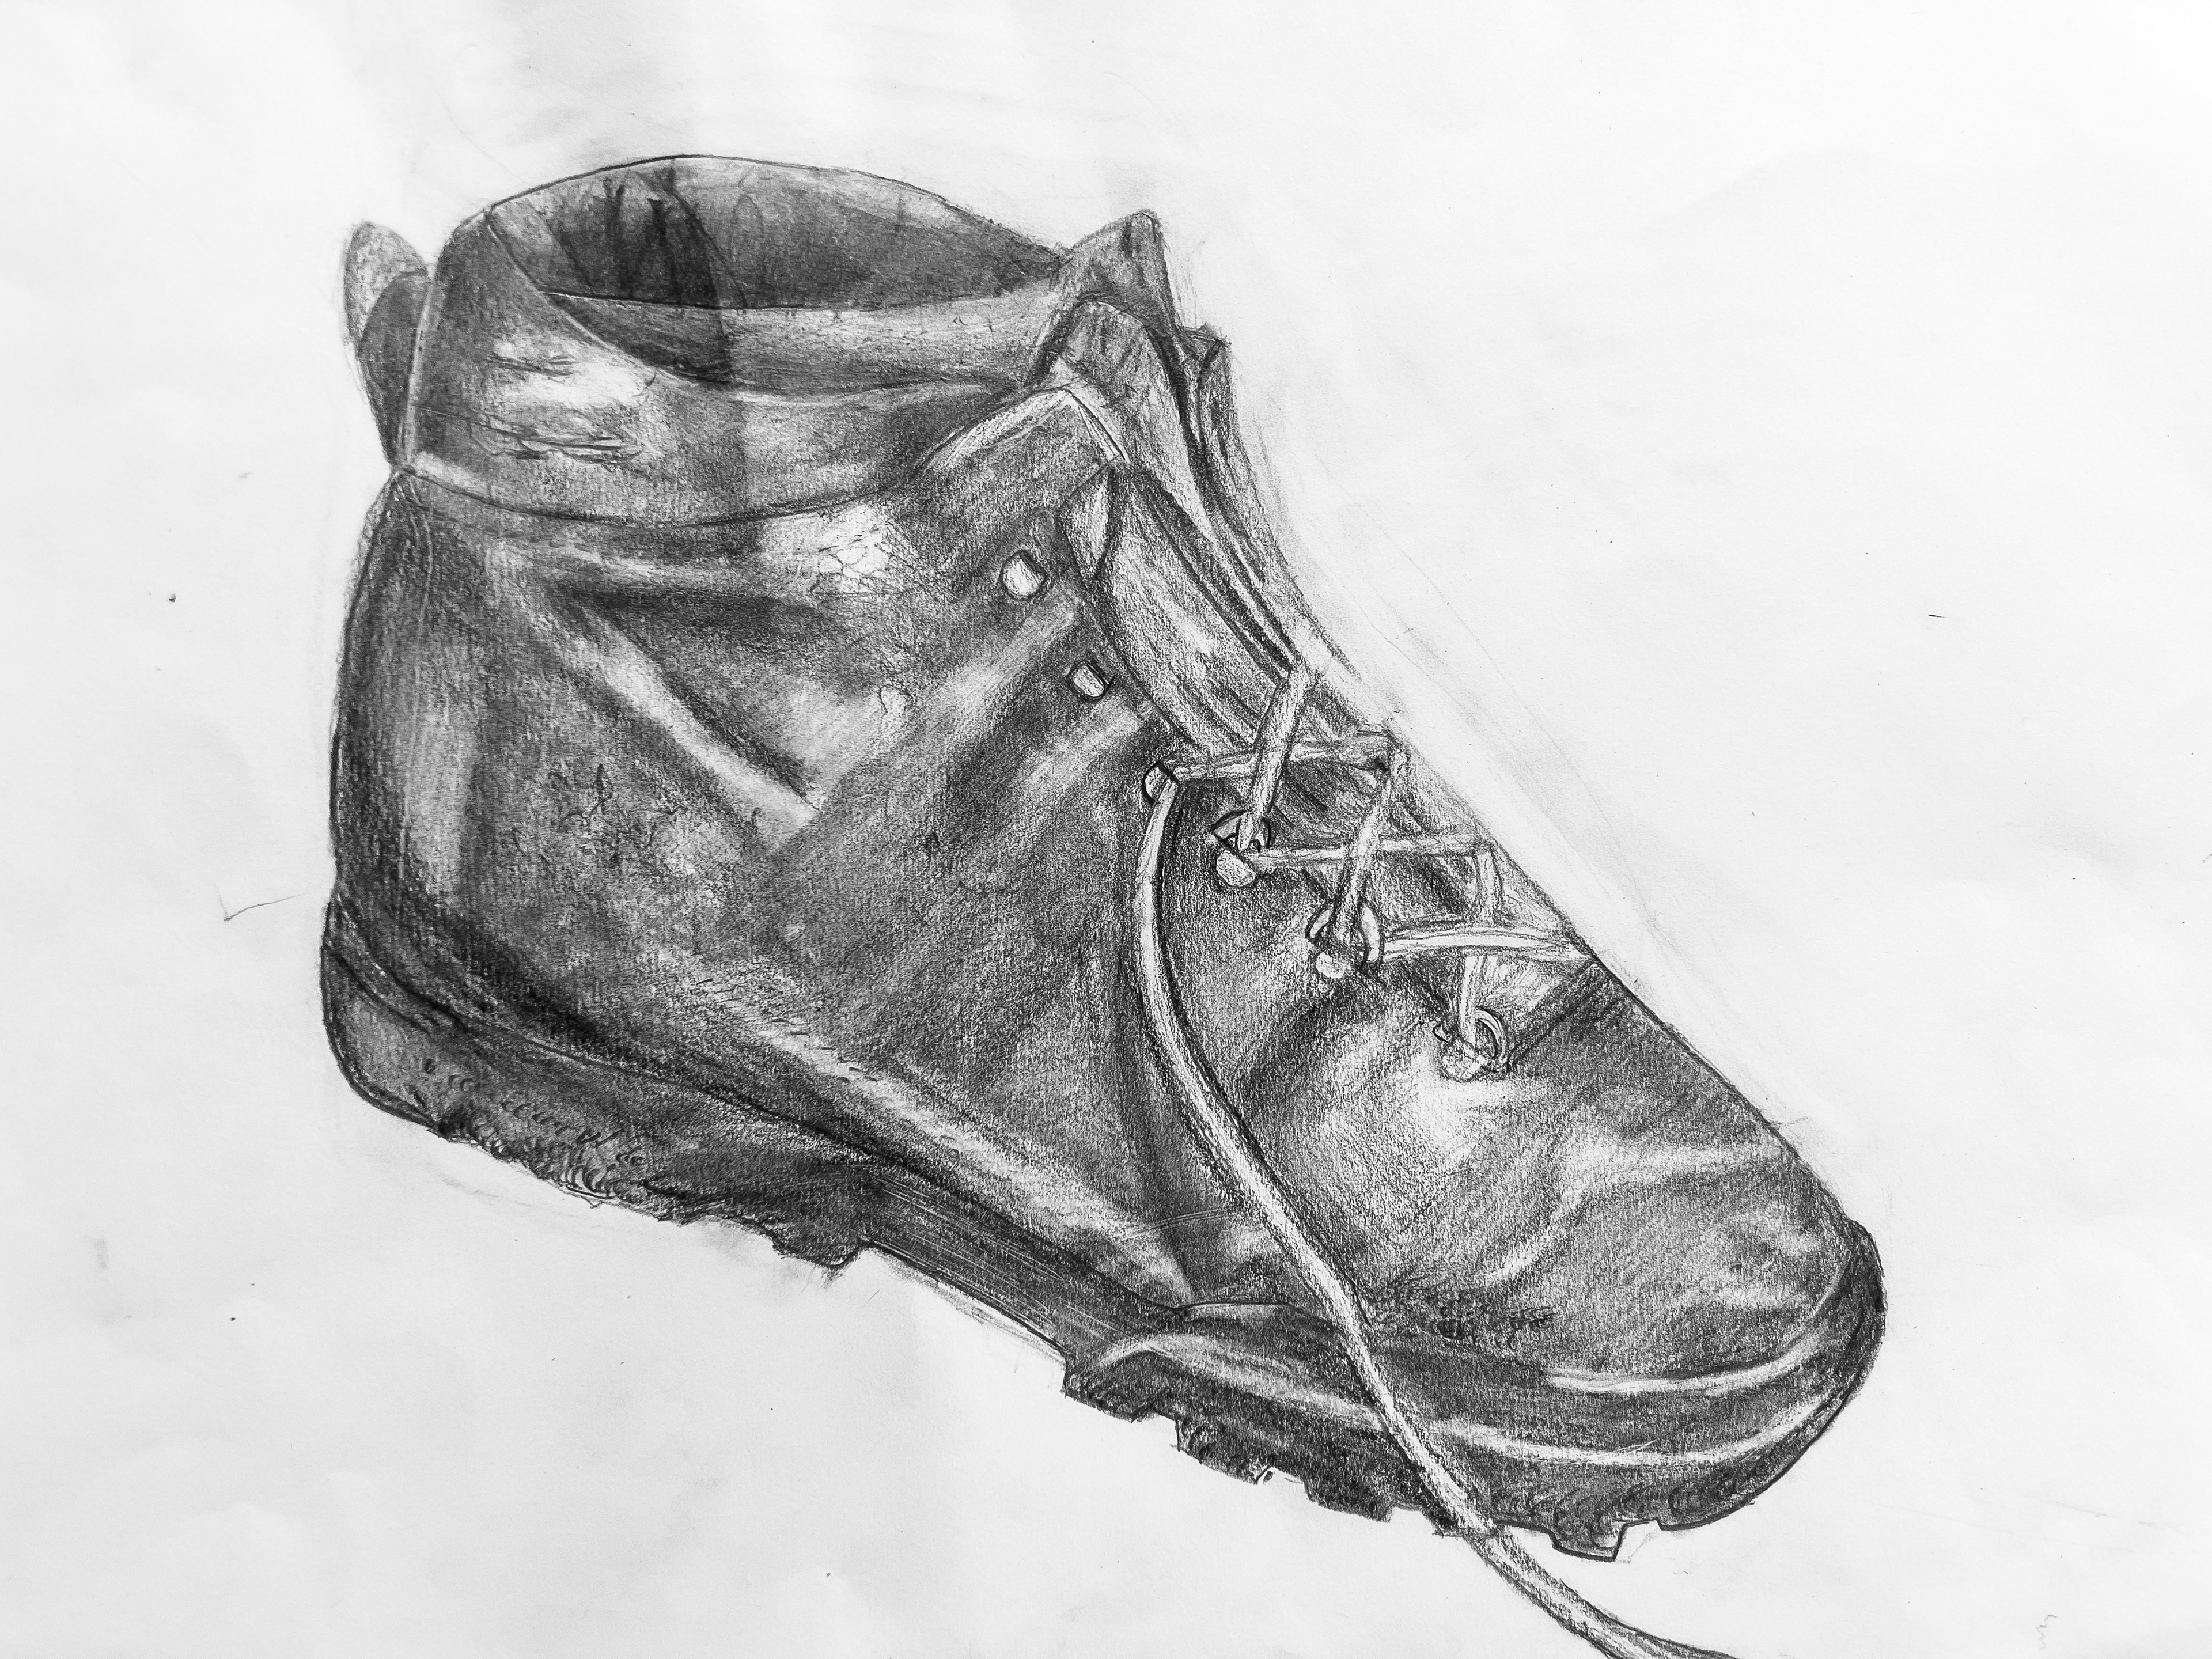
Examples of previous students' boot drawings:
What do you think has gone well and what could have been improved?