Learning Objectives:
• Investigate and understand the process of monoprinting
• Learn how different materials, techniques, and processes cause different responses
• Understand the process of image reversal in printmaking
• Experiment with a range of different techniques for creating marks and textures
• Learn how different materials, techniques, and processes cause different responses
• Understand the process of image reversal in printmaking
• Experiment with a range of different techniques for creating marks and textures
What you will need:
A drawing of an octopus you have completed previously, ordinary printer paper, water-based printing ink, A4 sheets of acetate, a roller, pencil, newspaper and masking tape.
Your Task:
1. Watch the demo video below
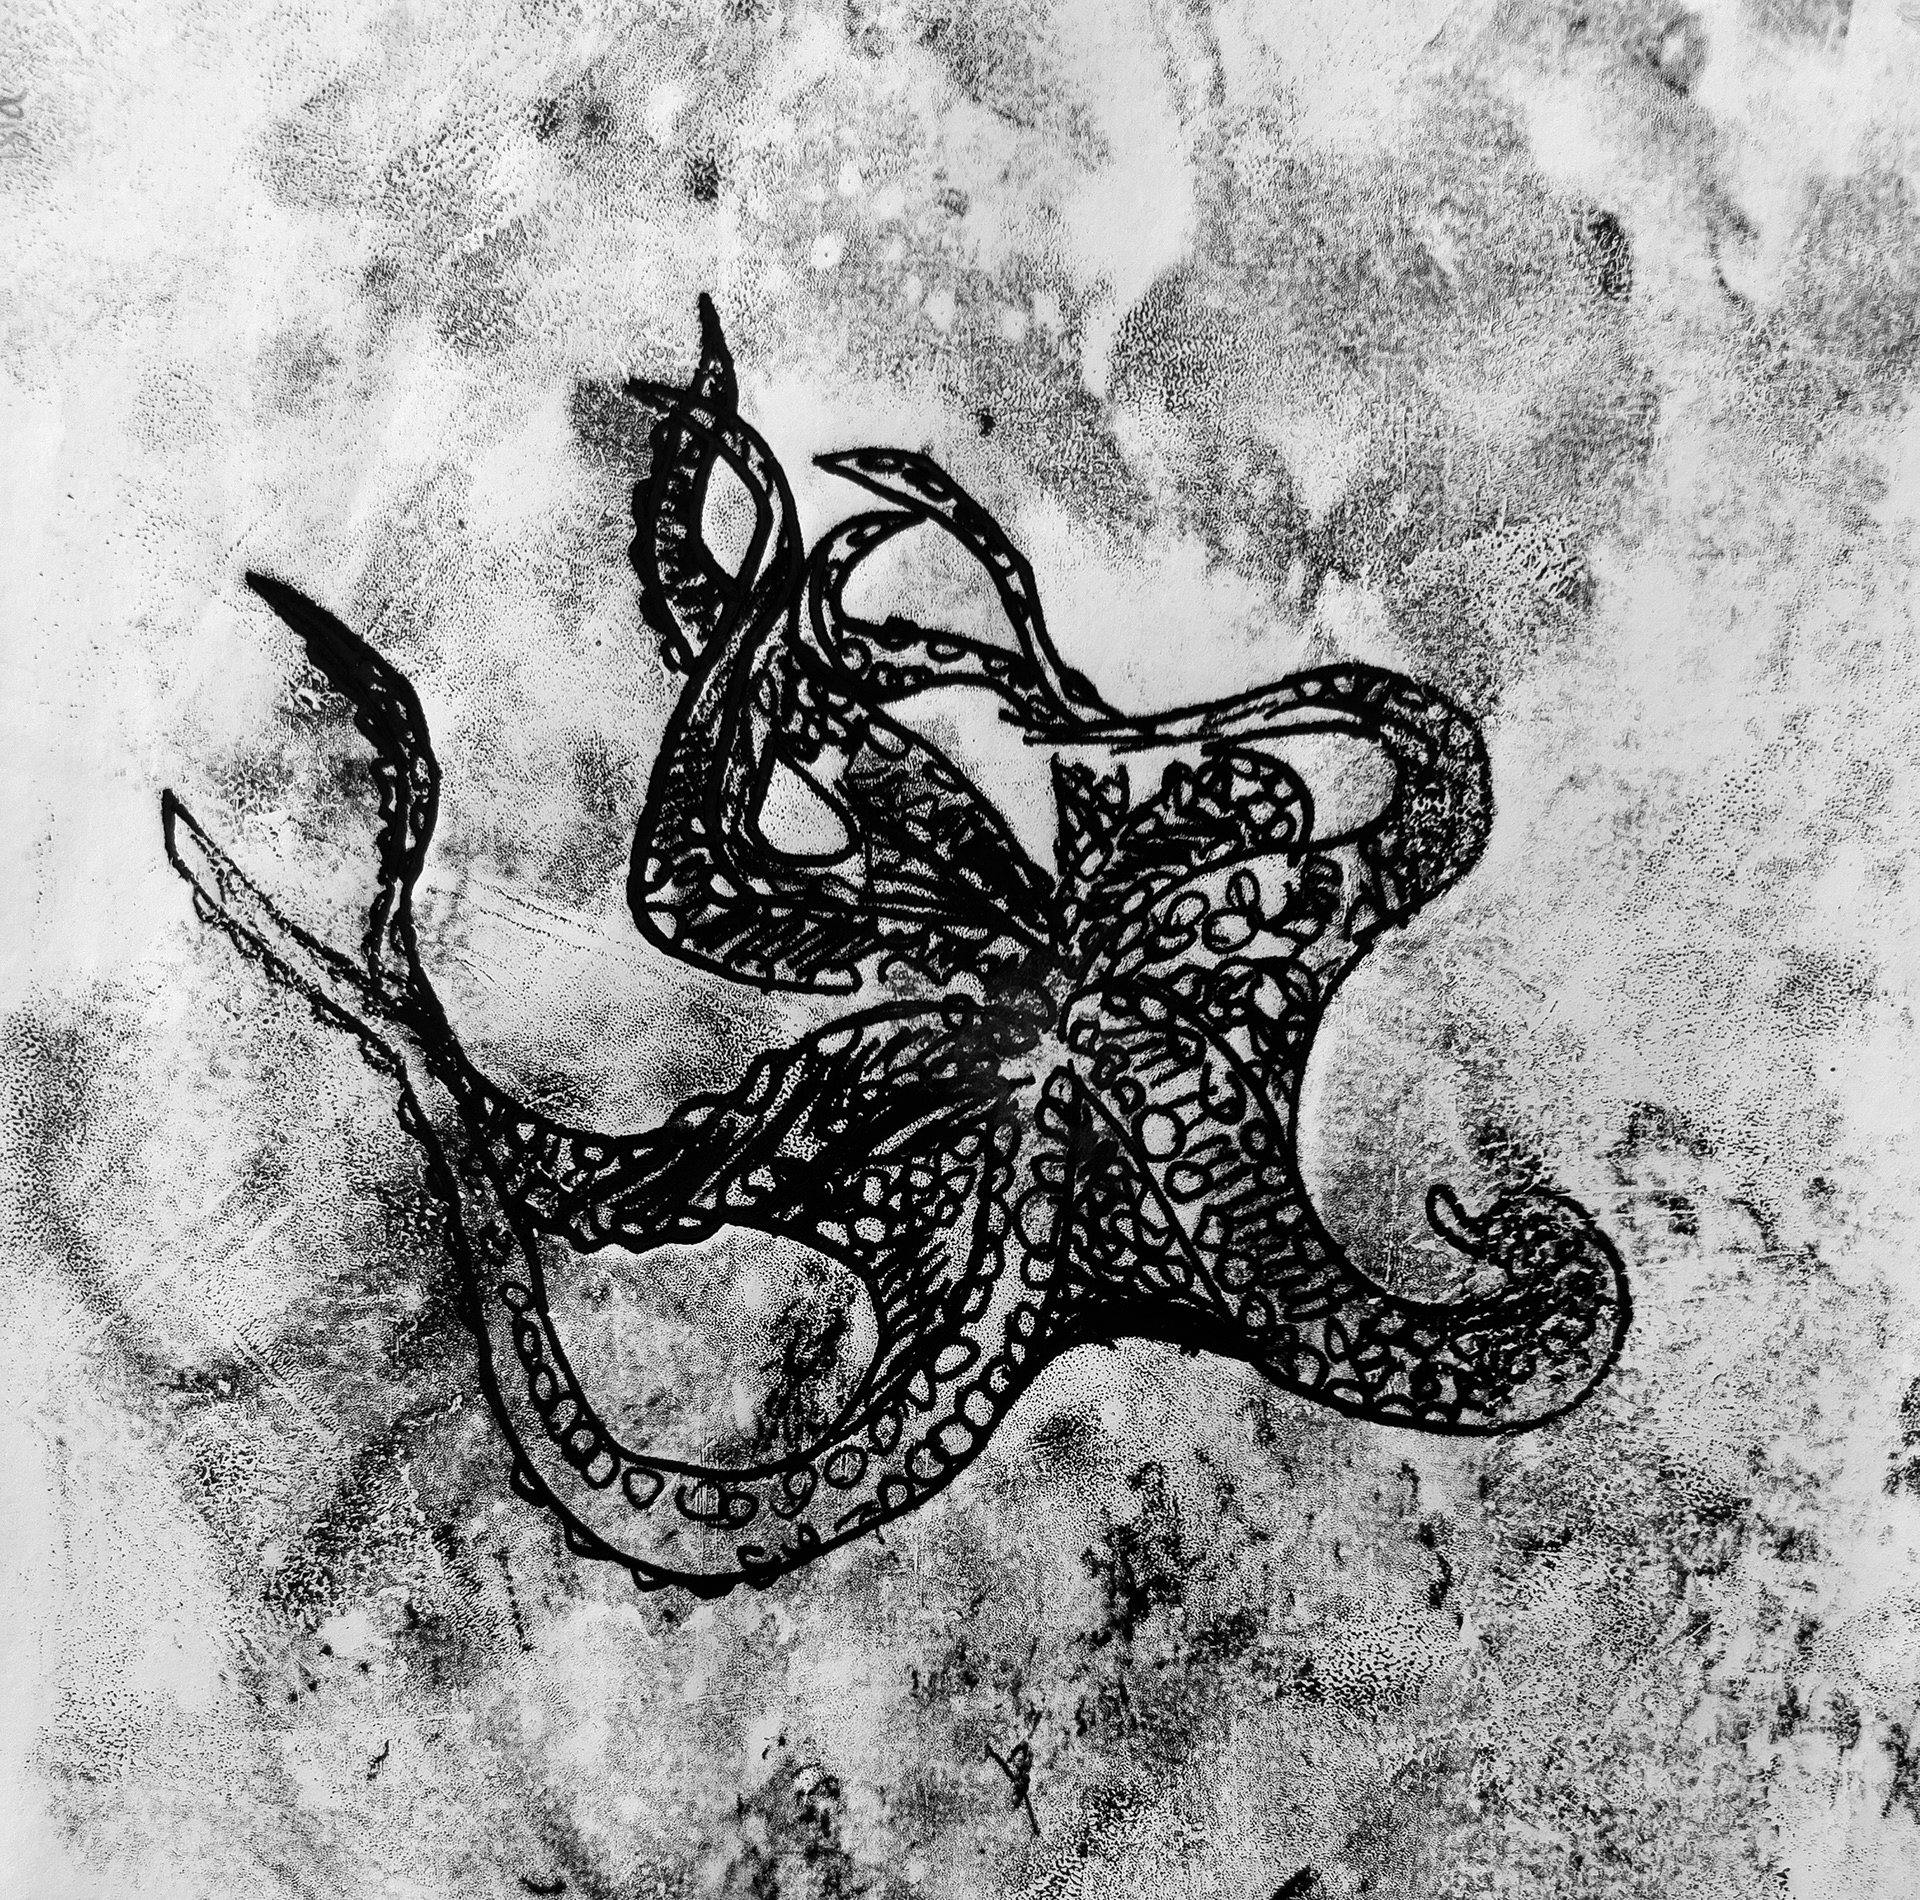
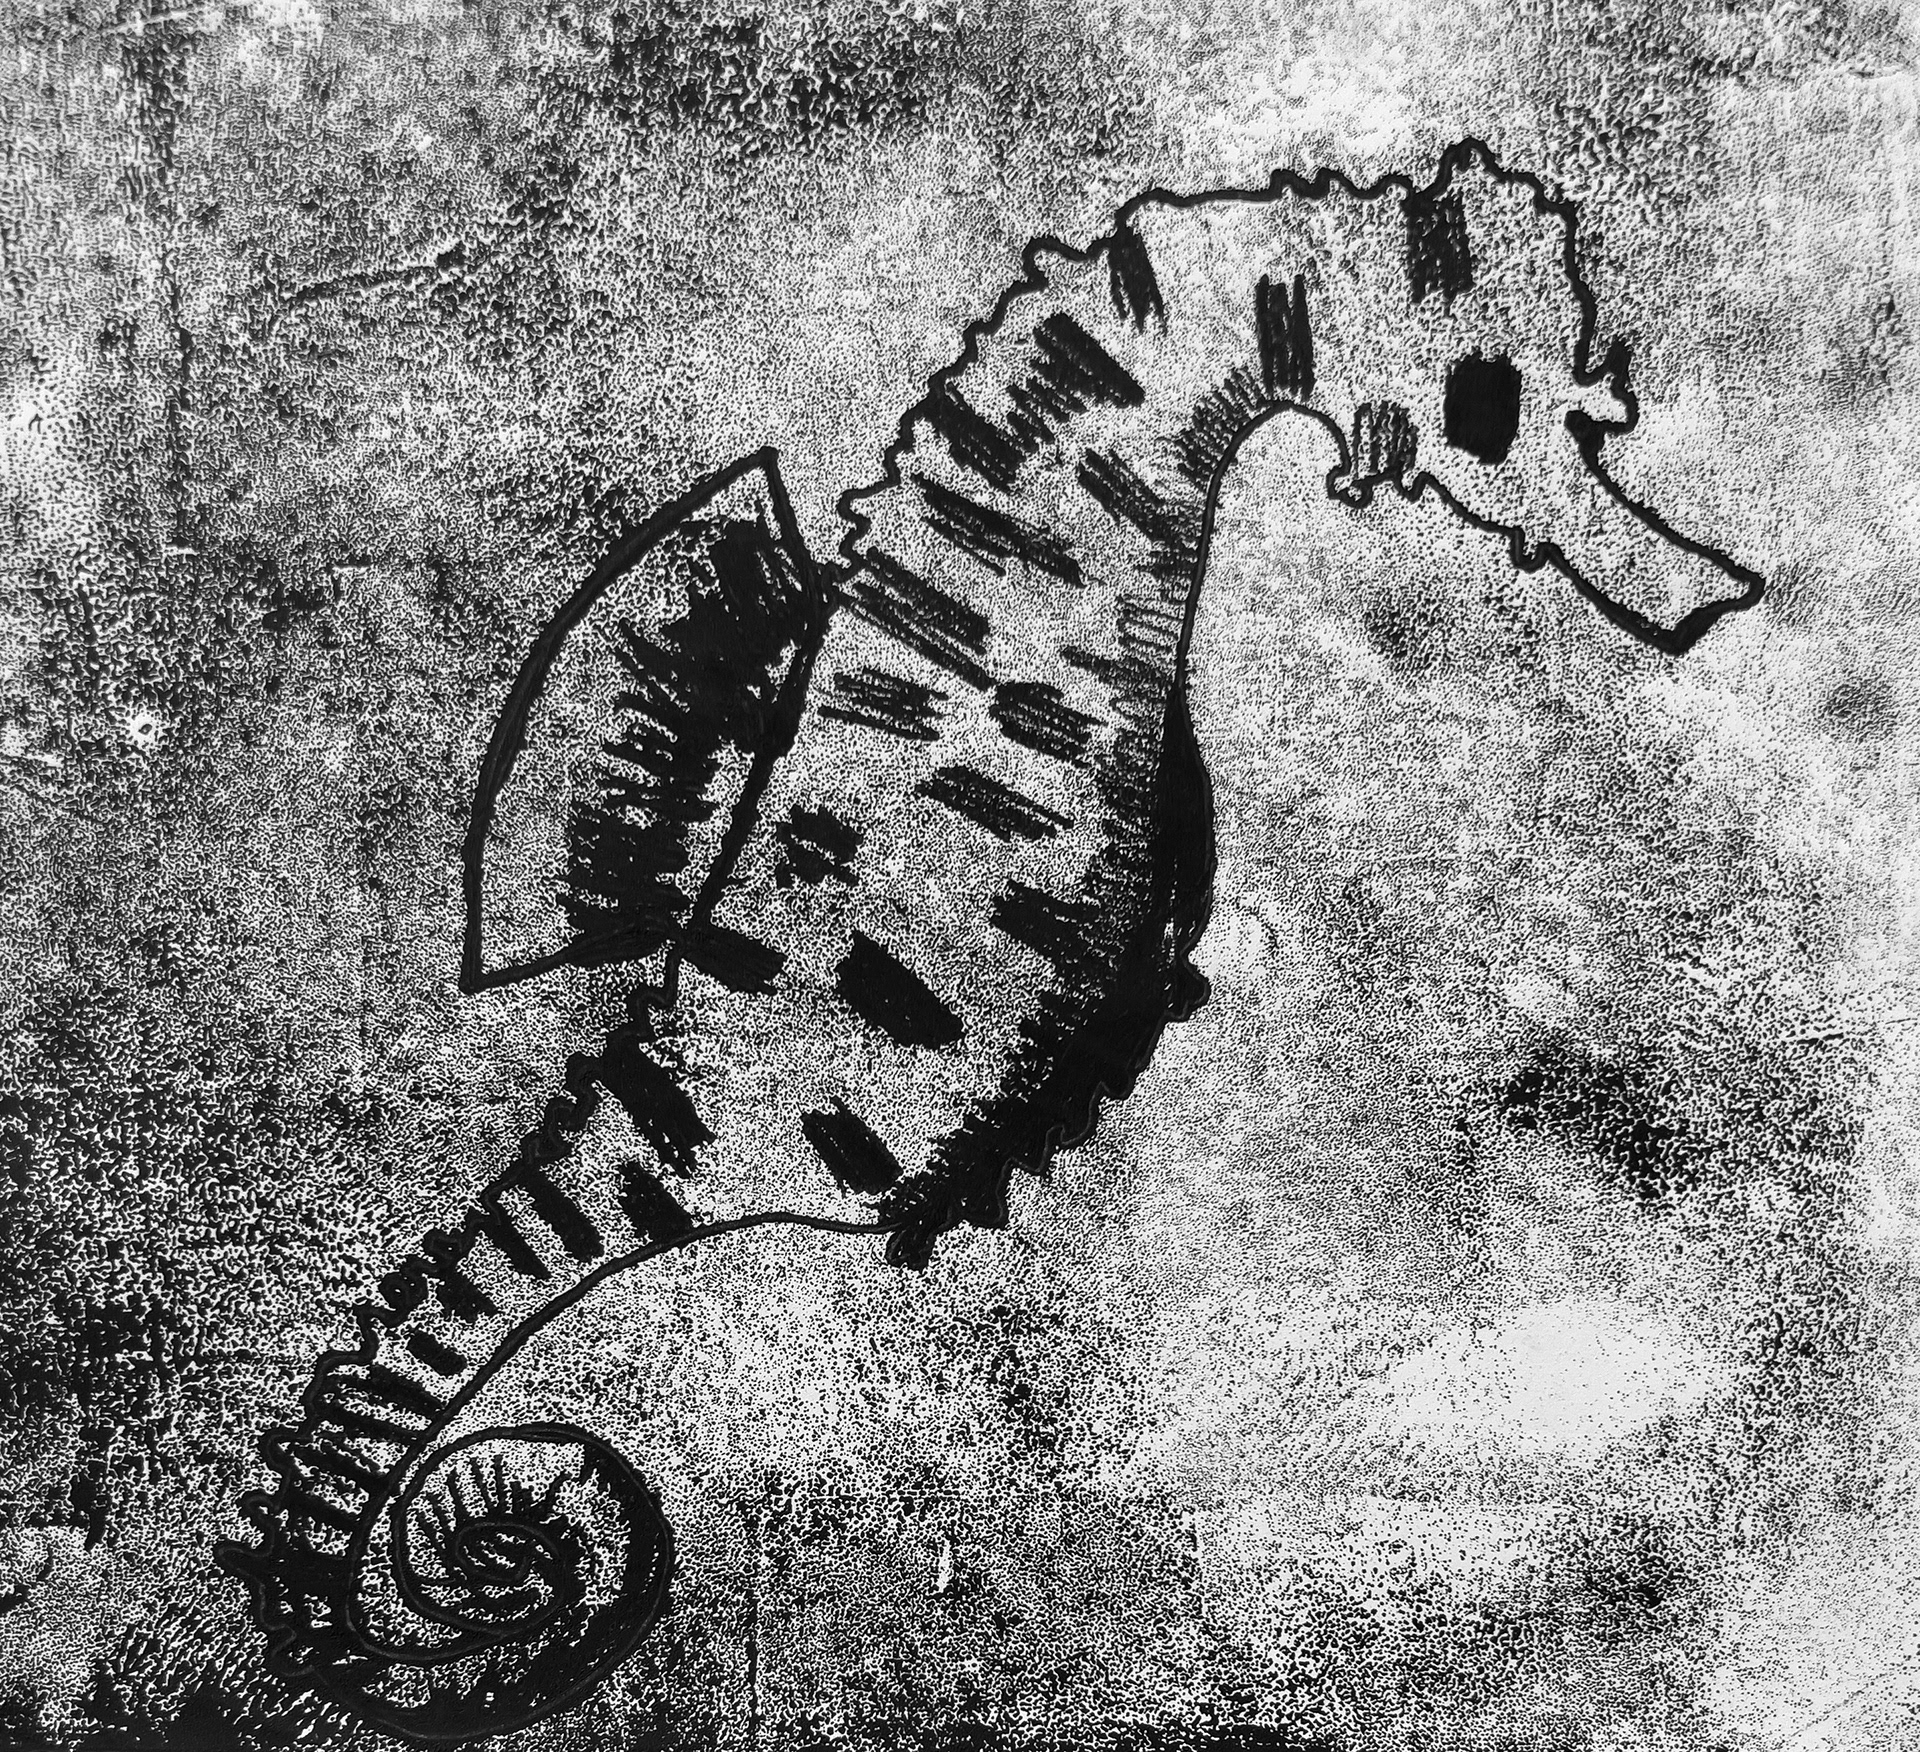
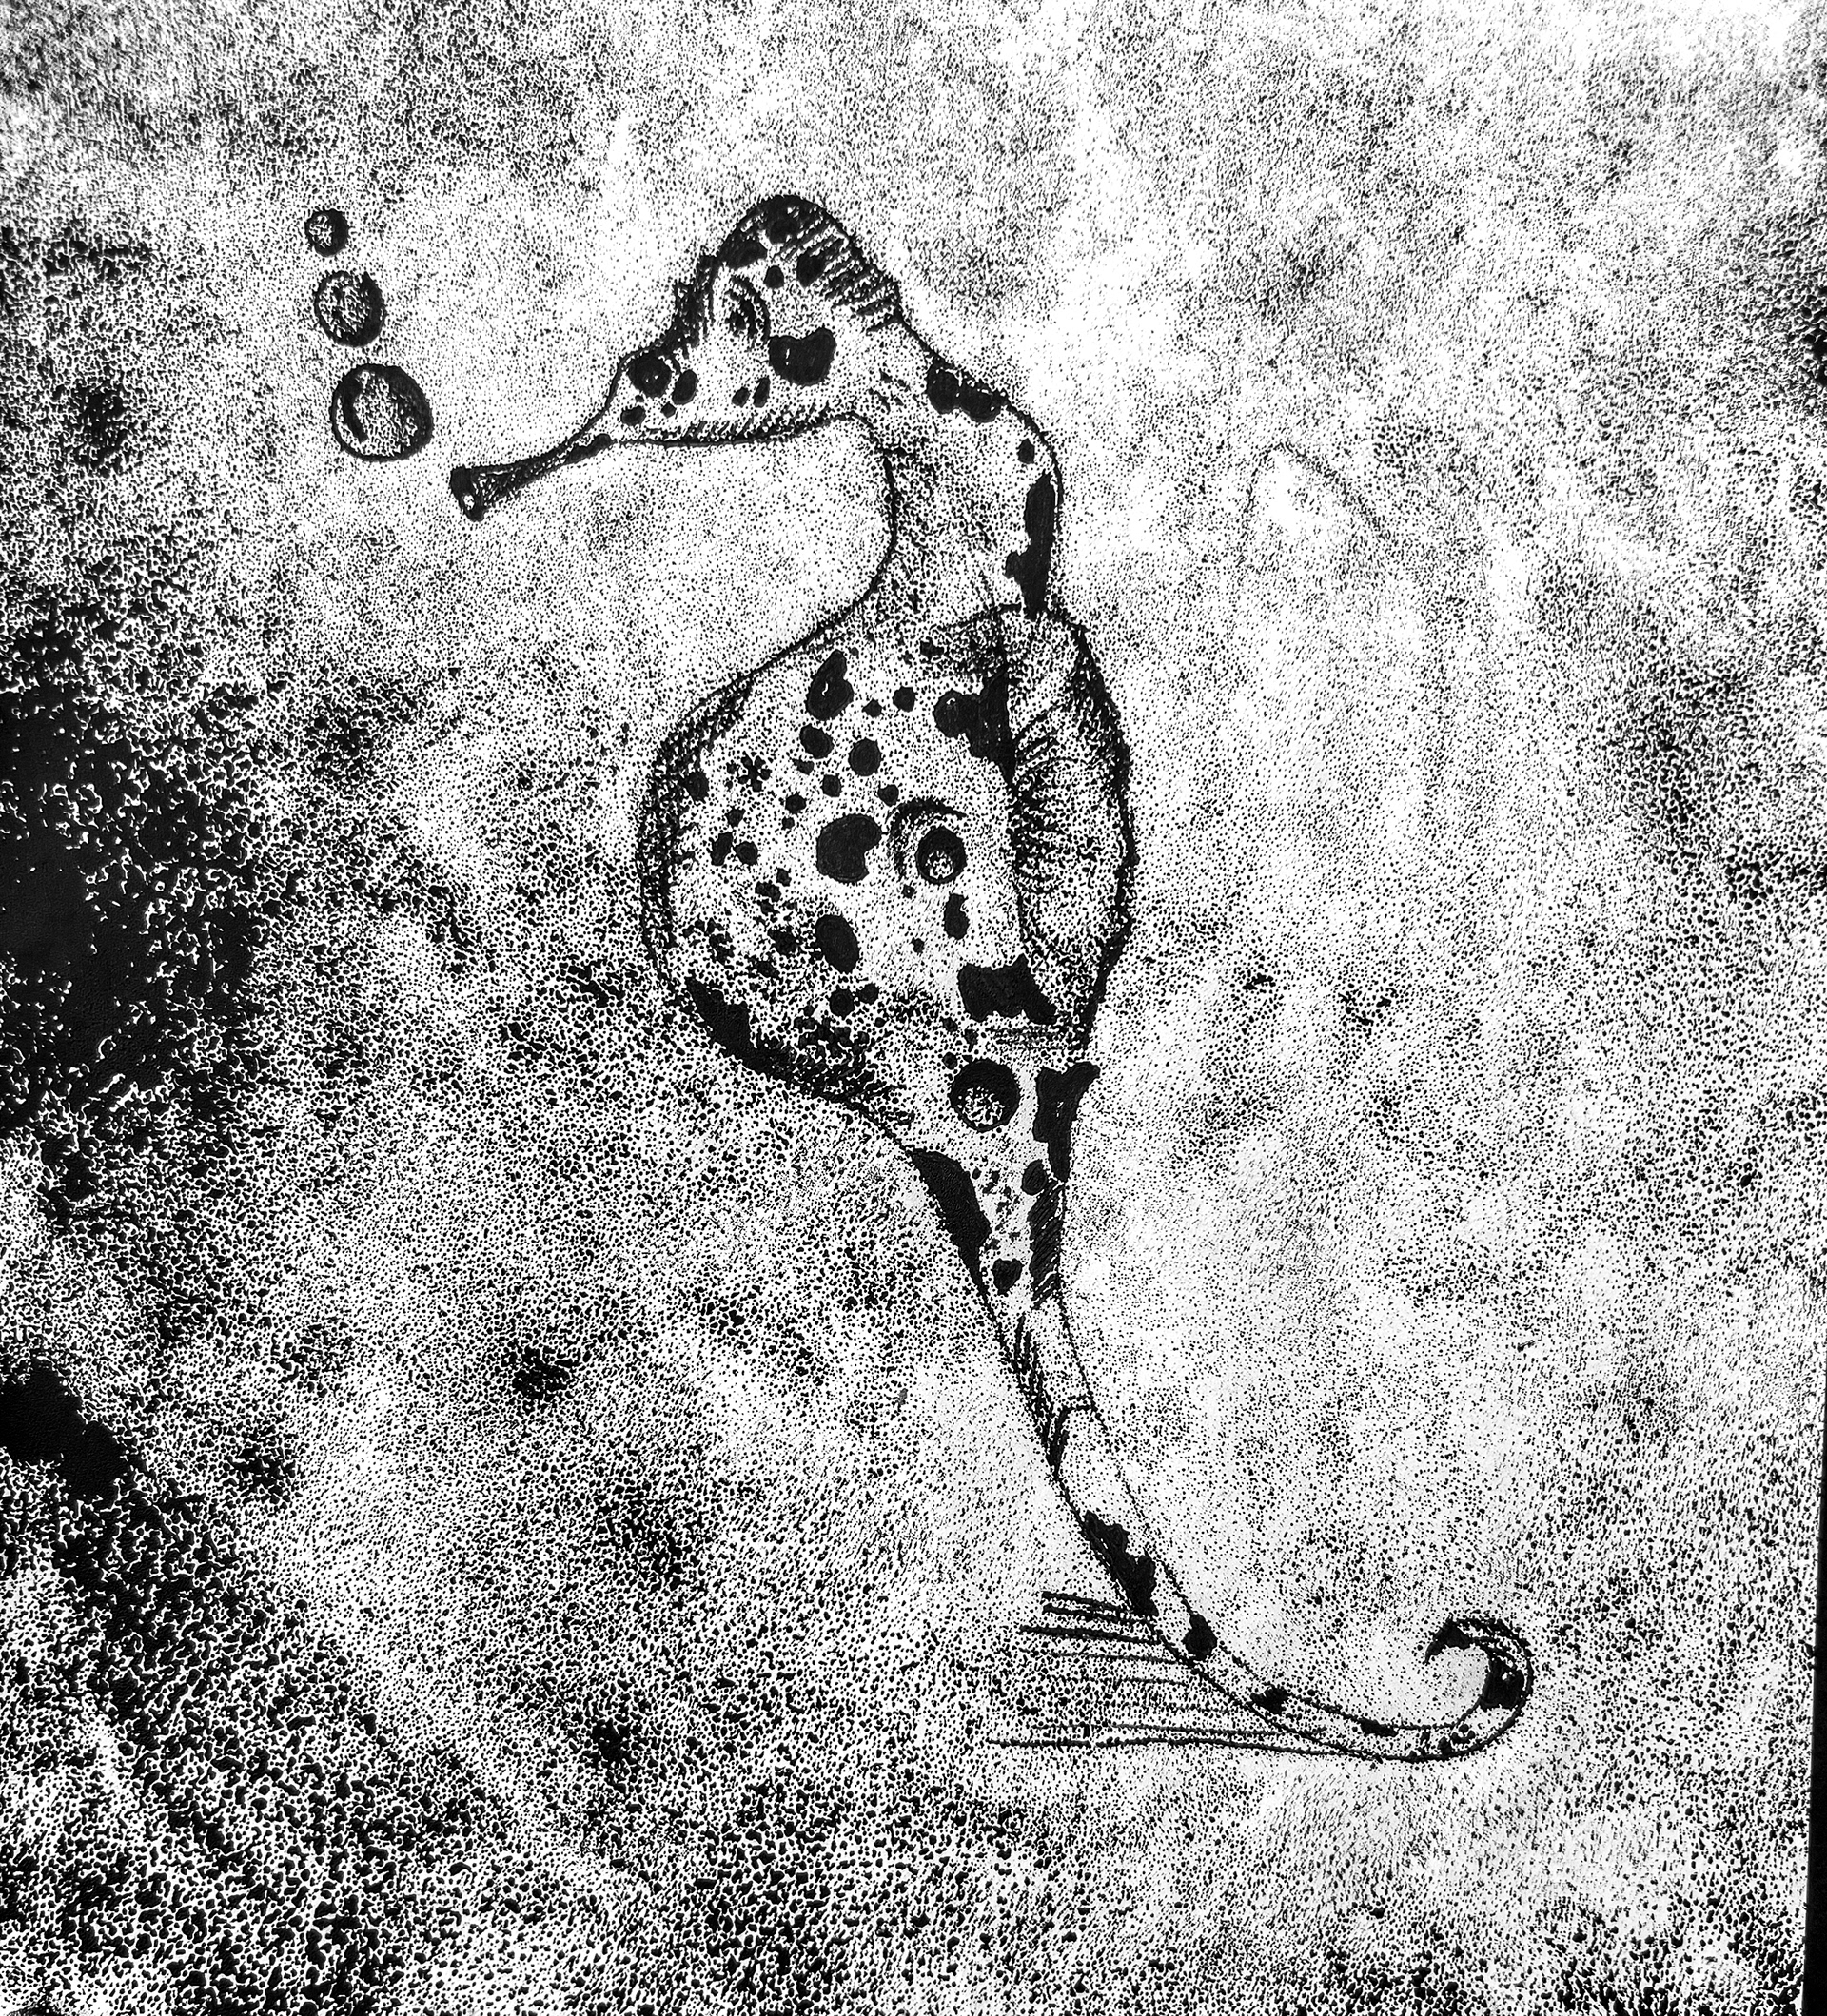
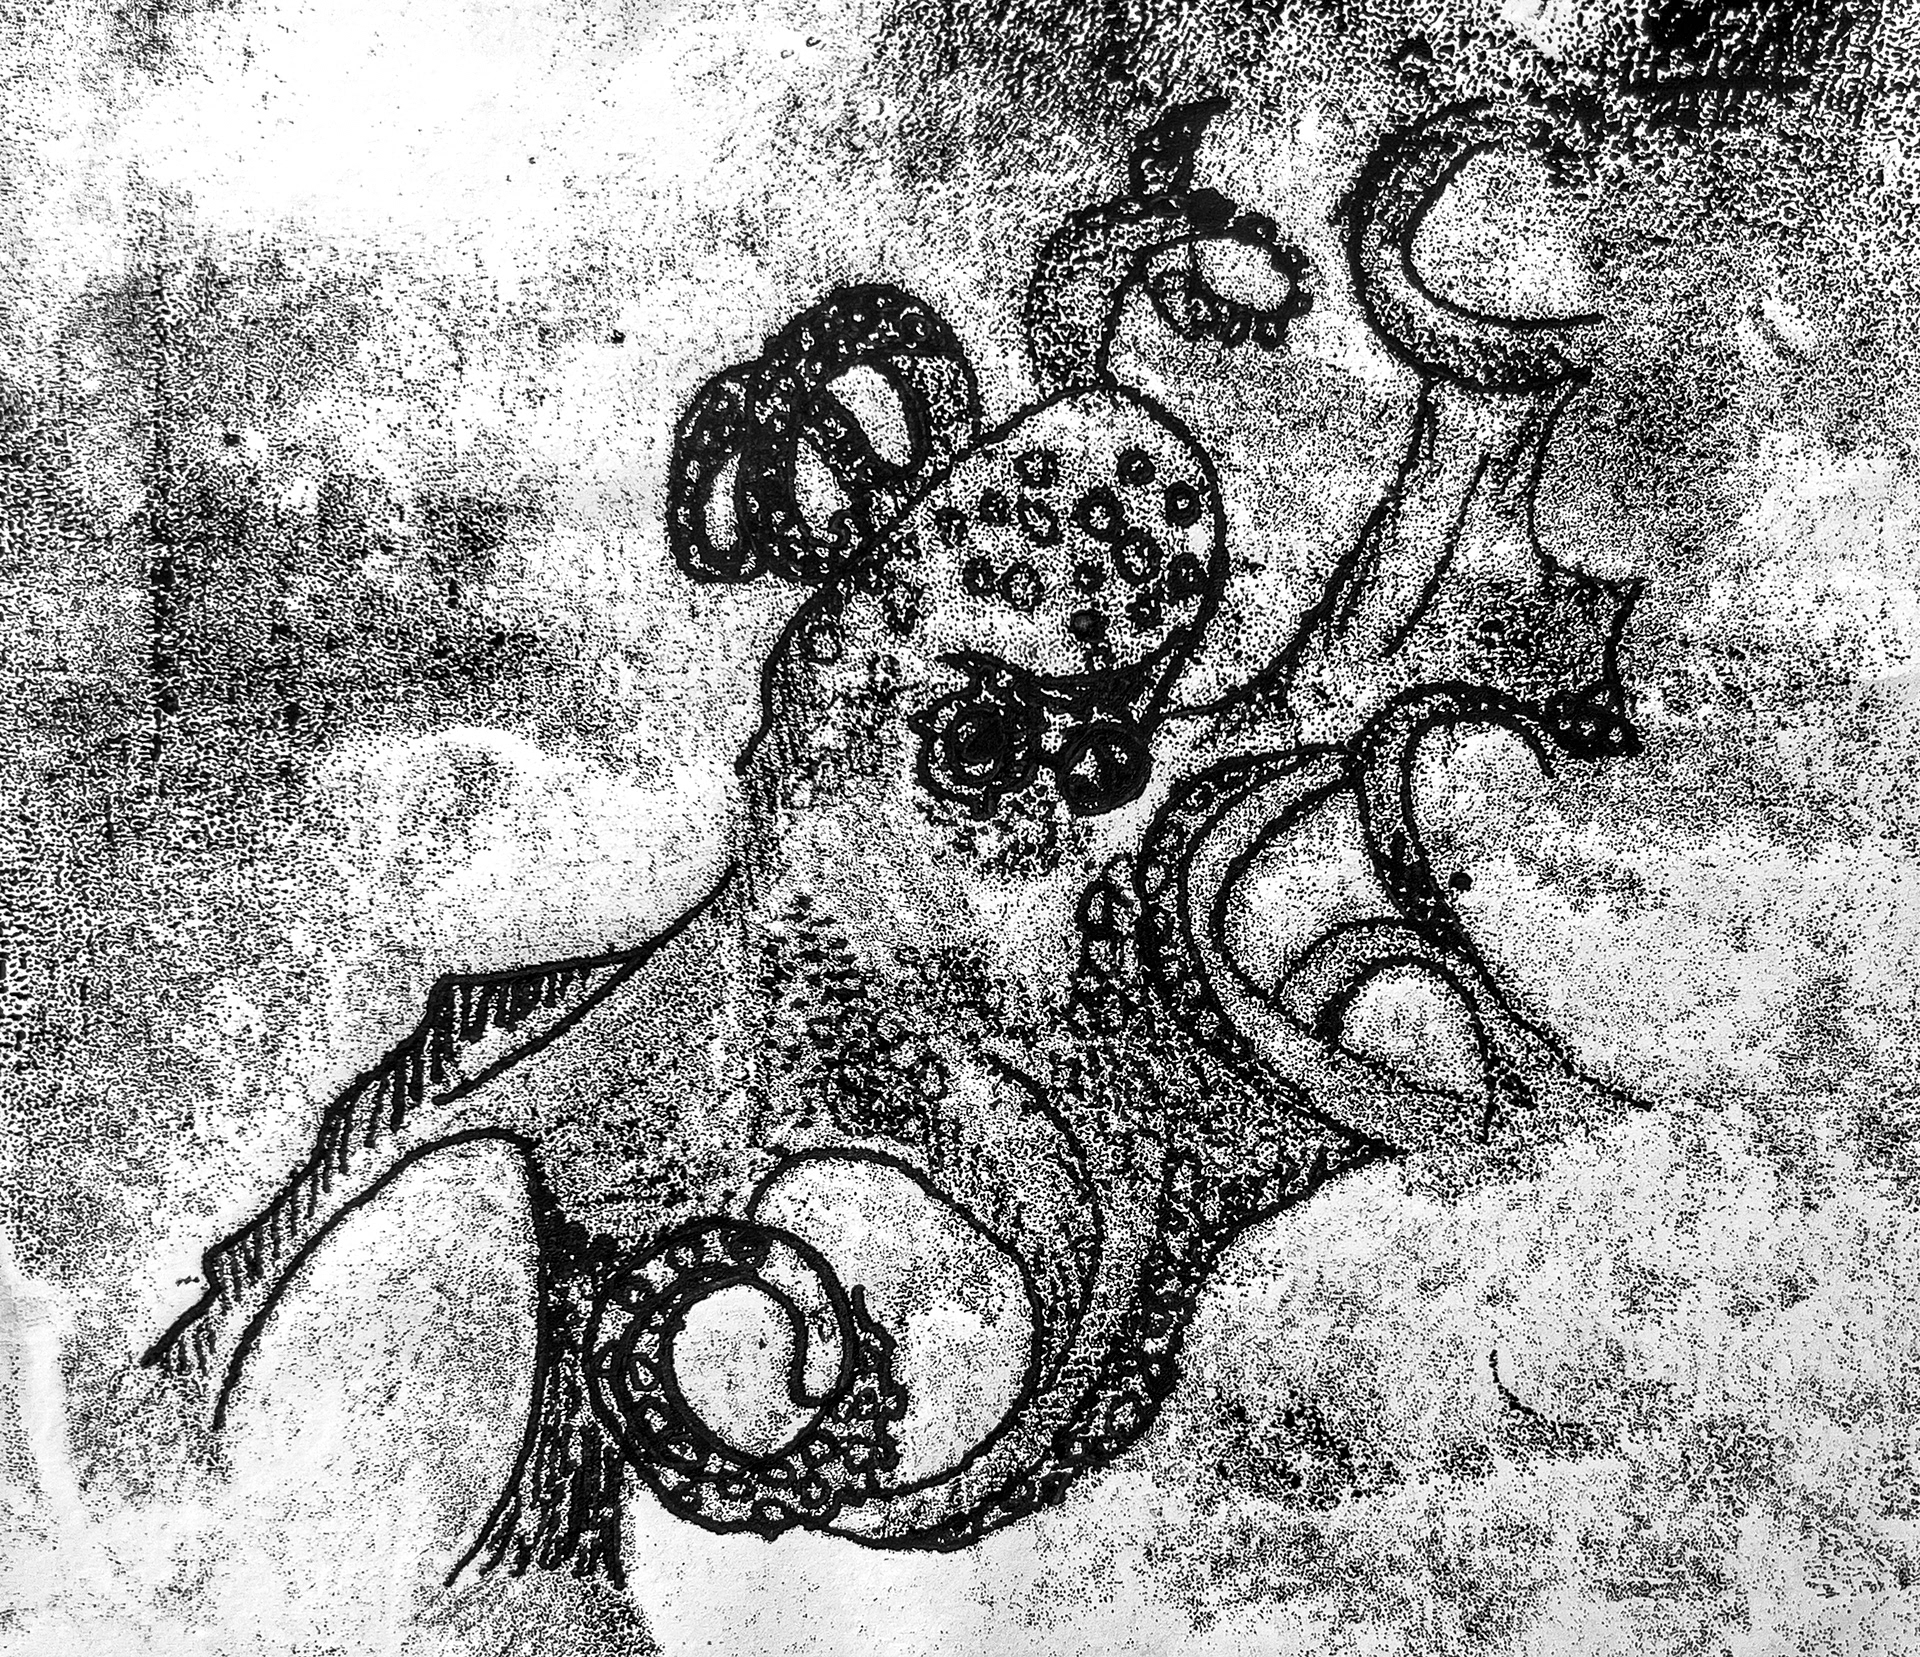
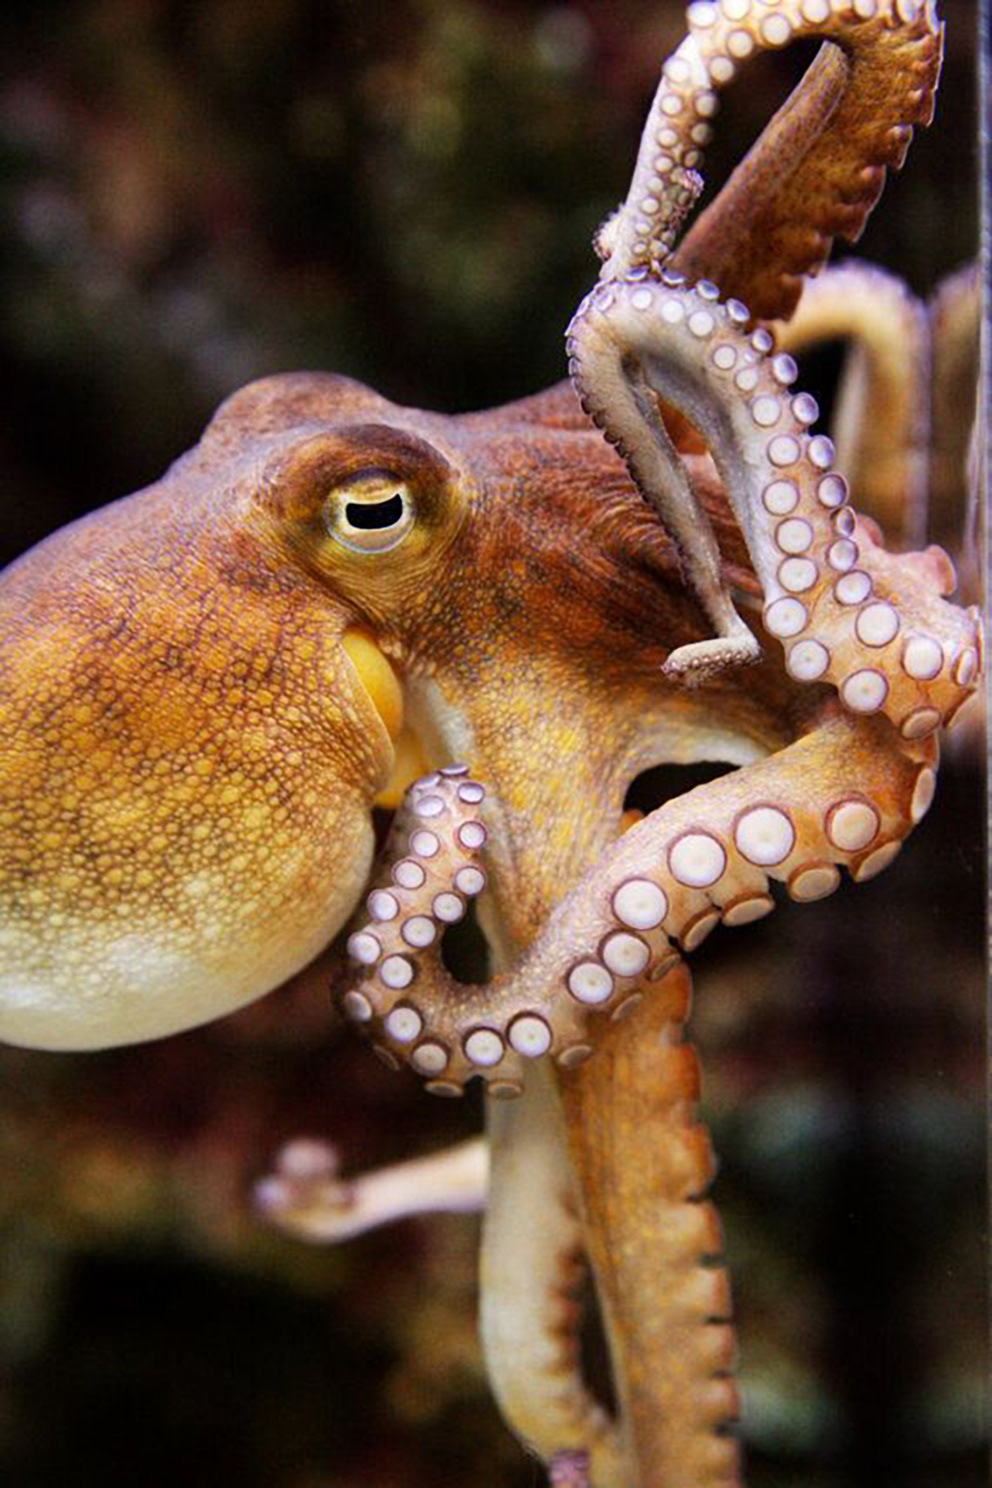
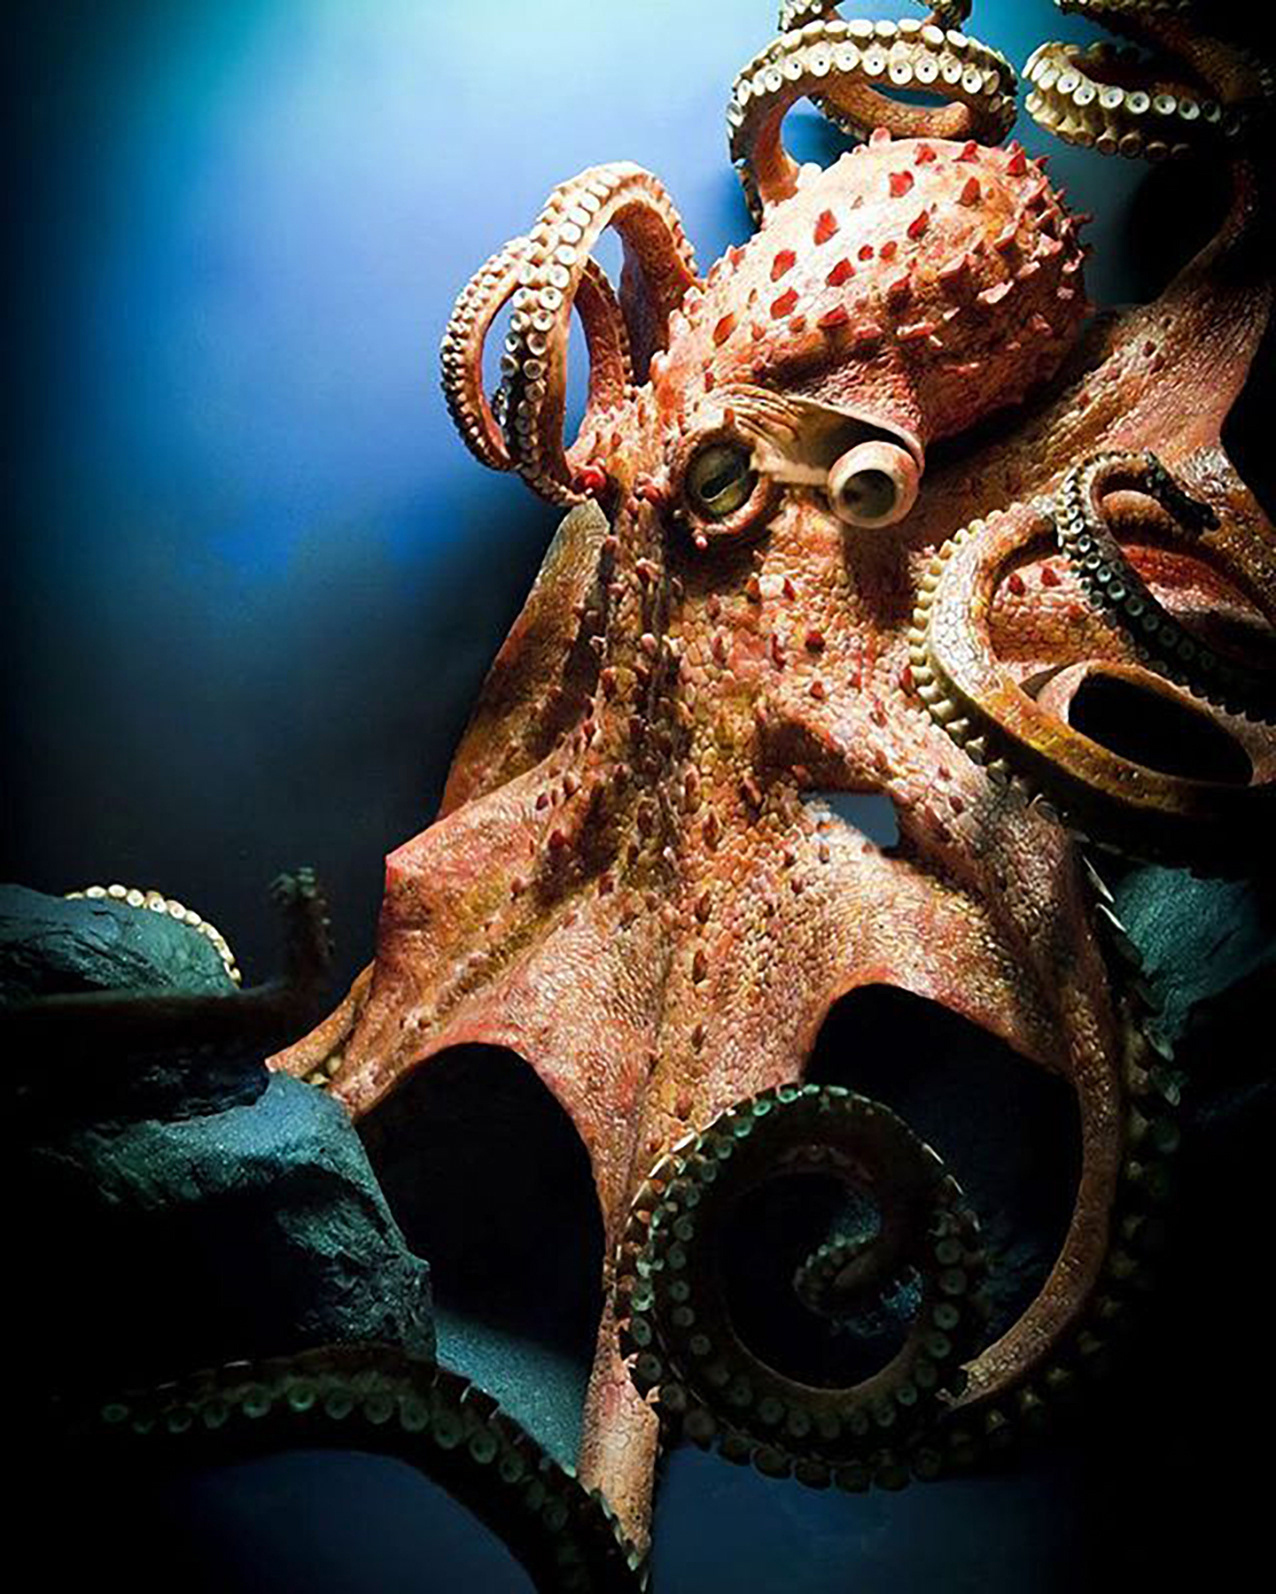
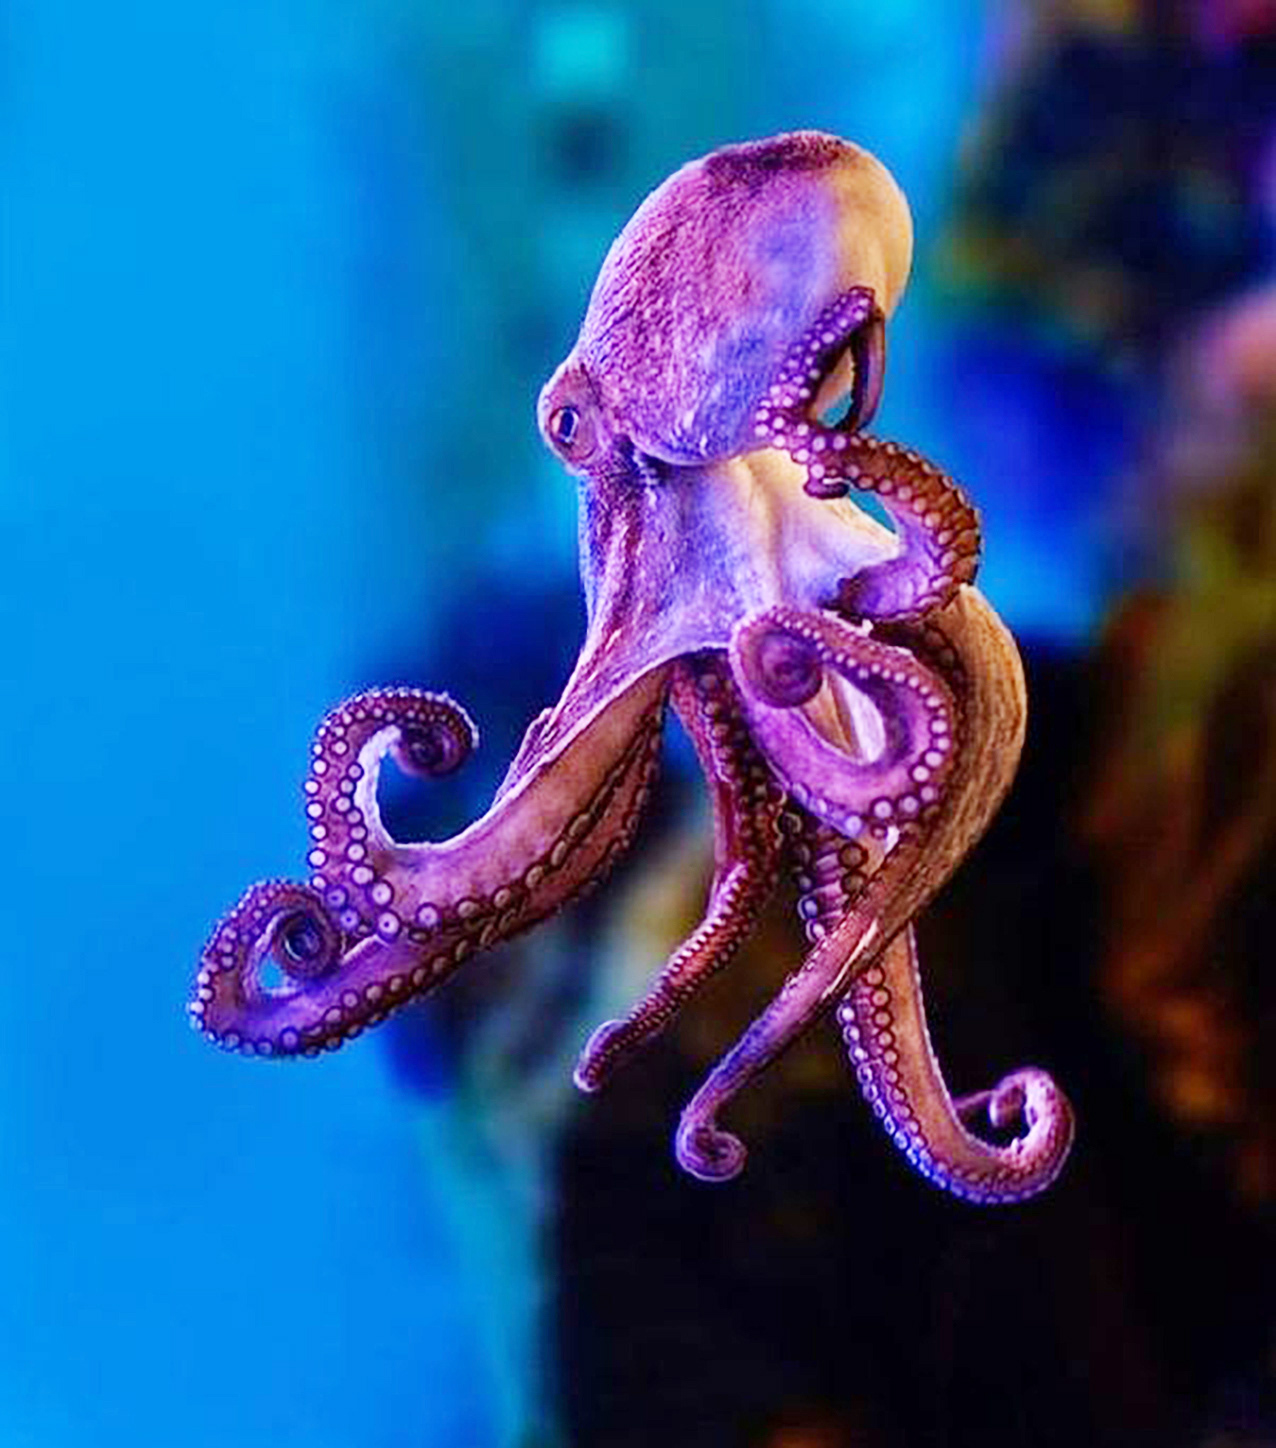
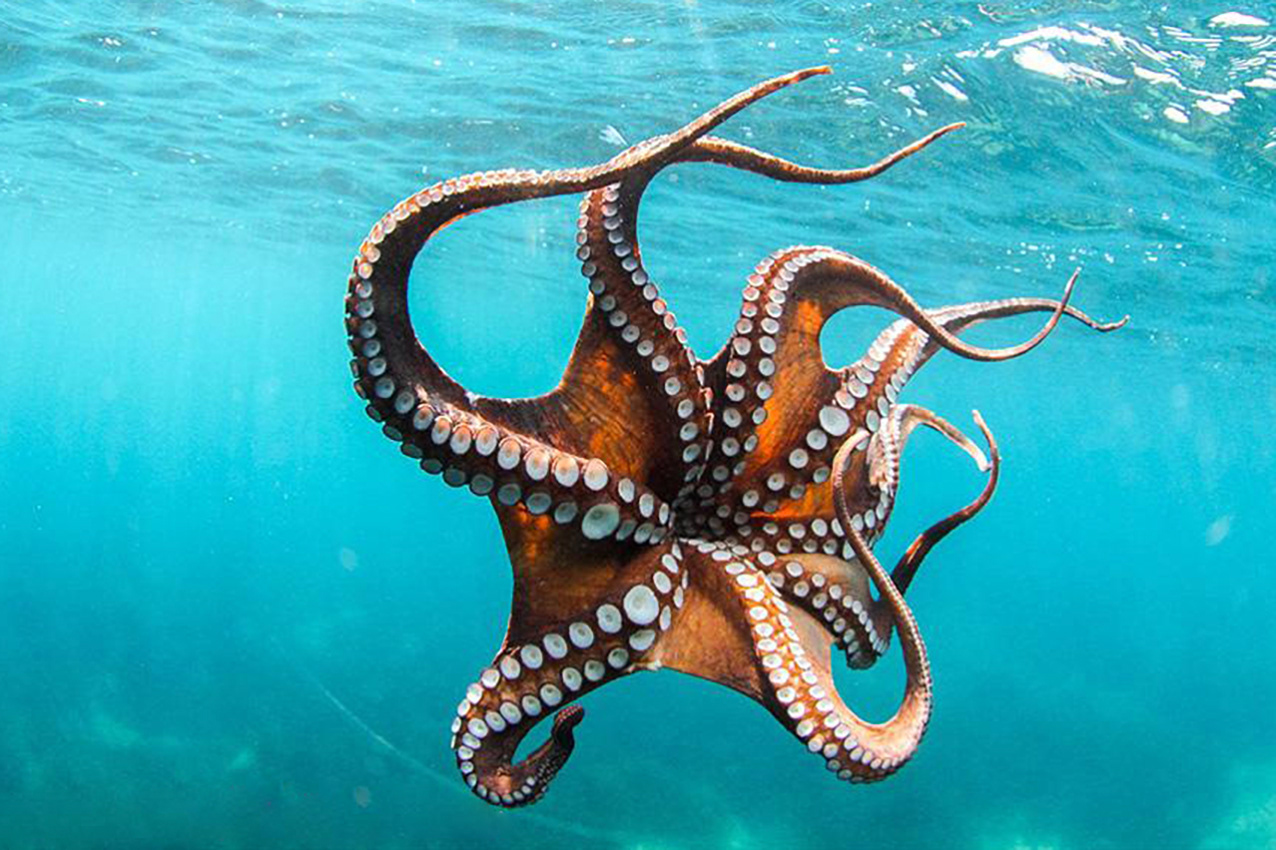
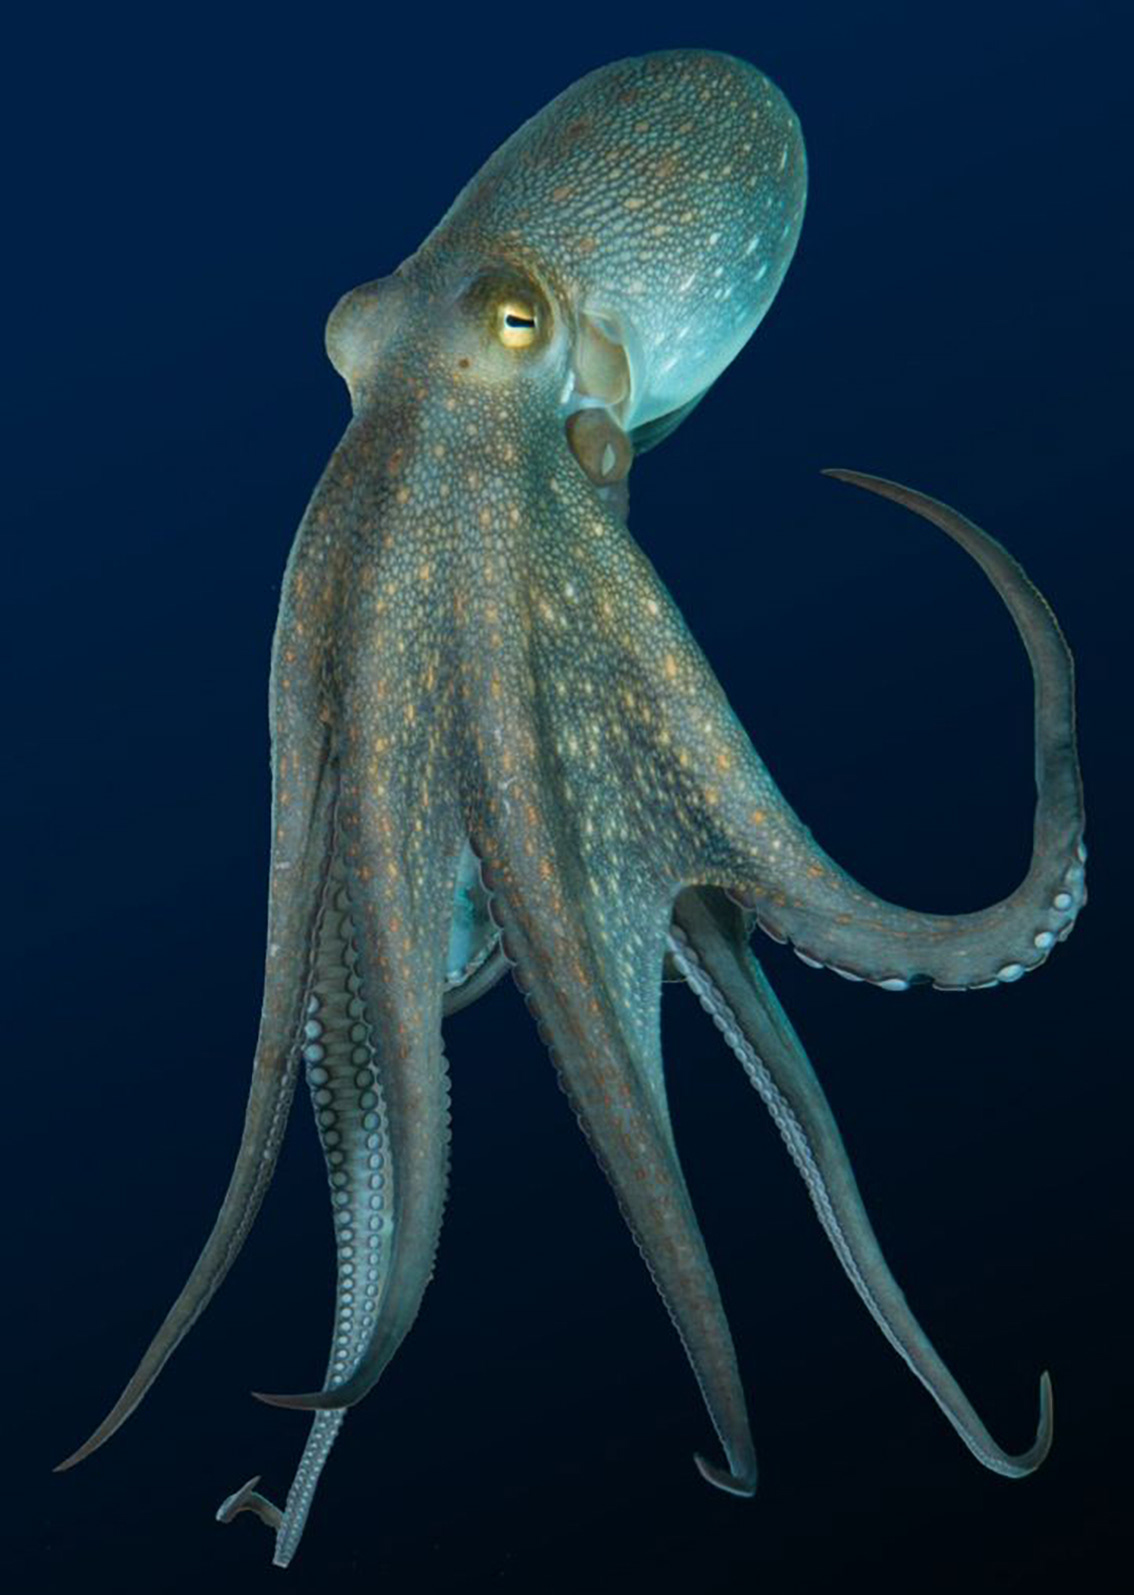
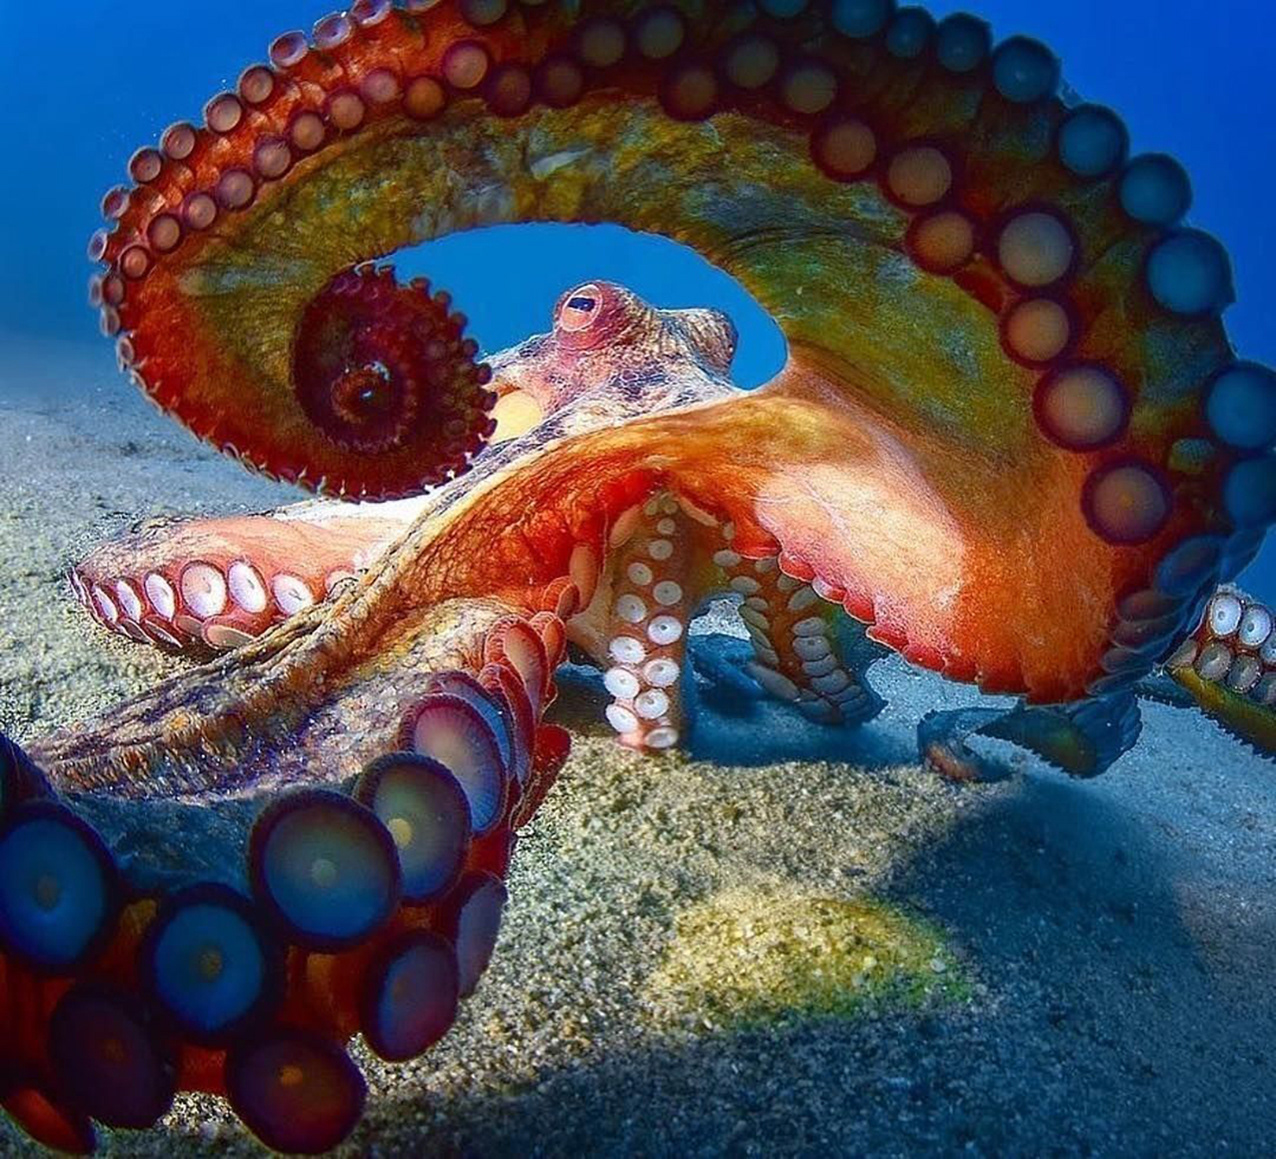
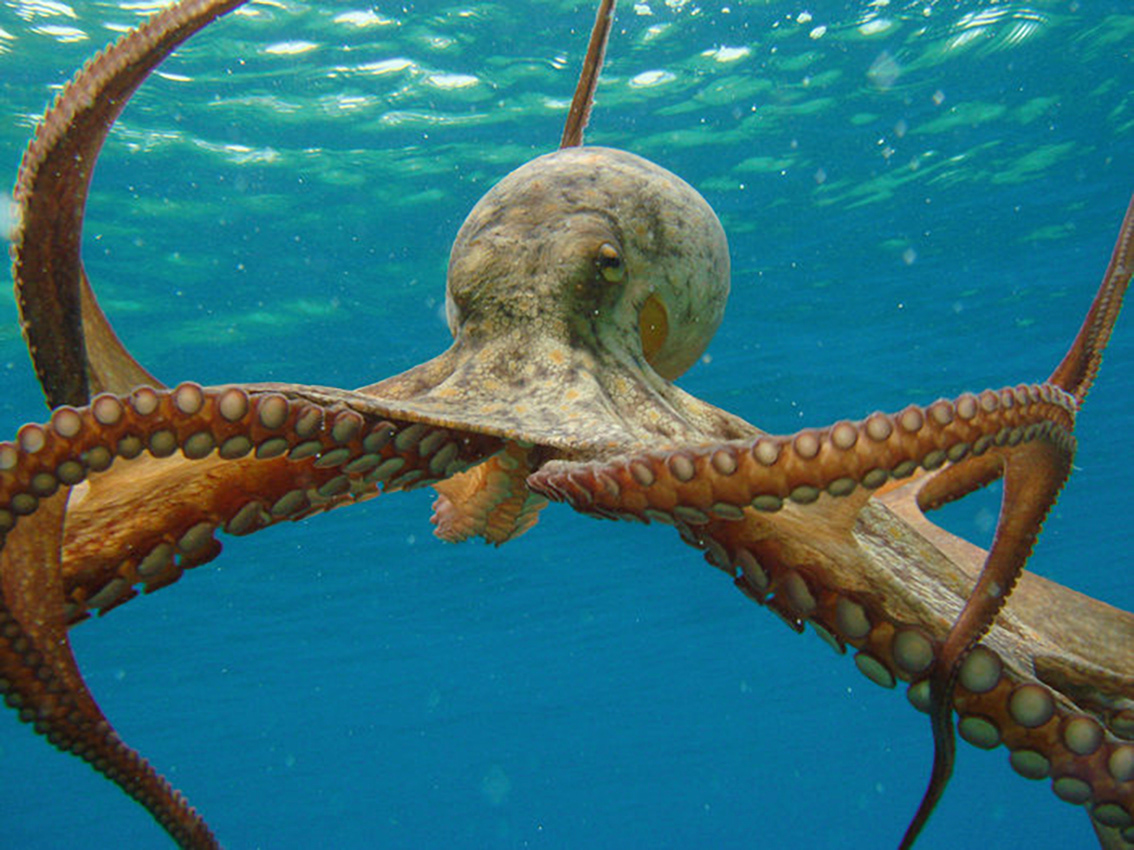
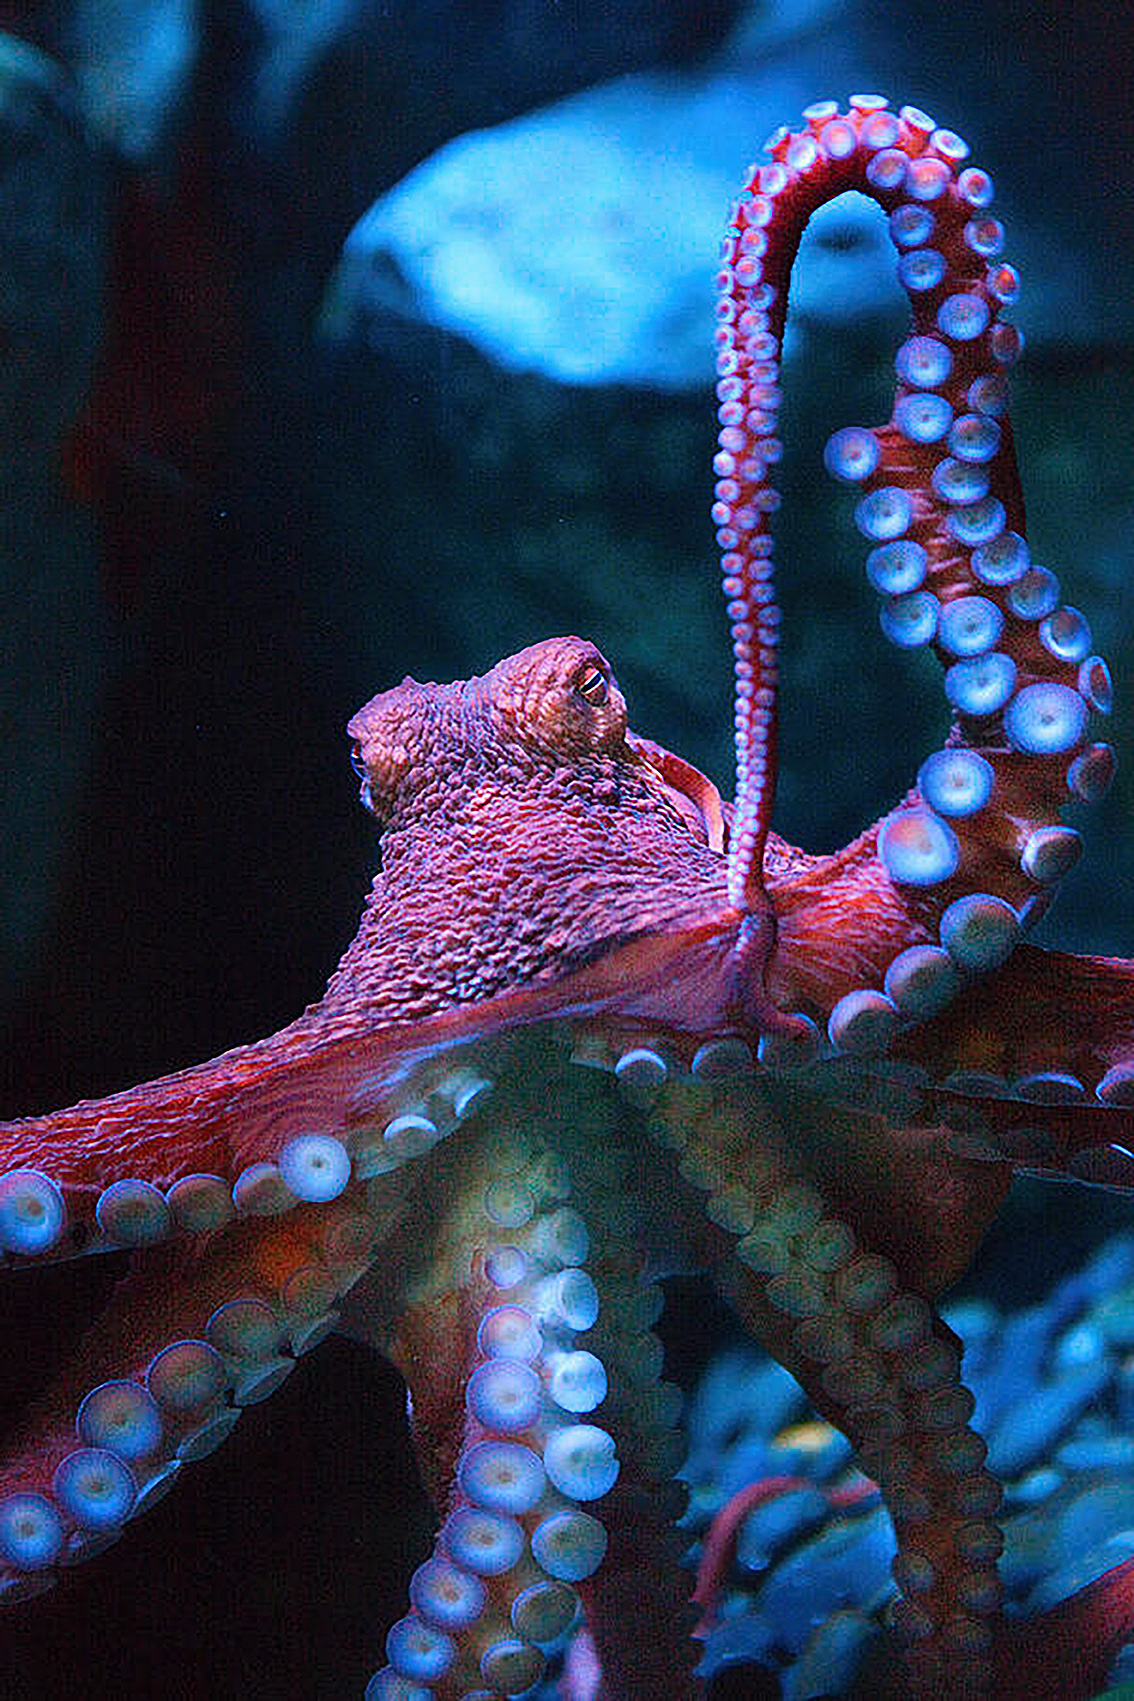
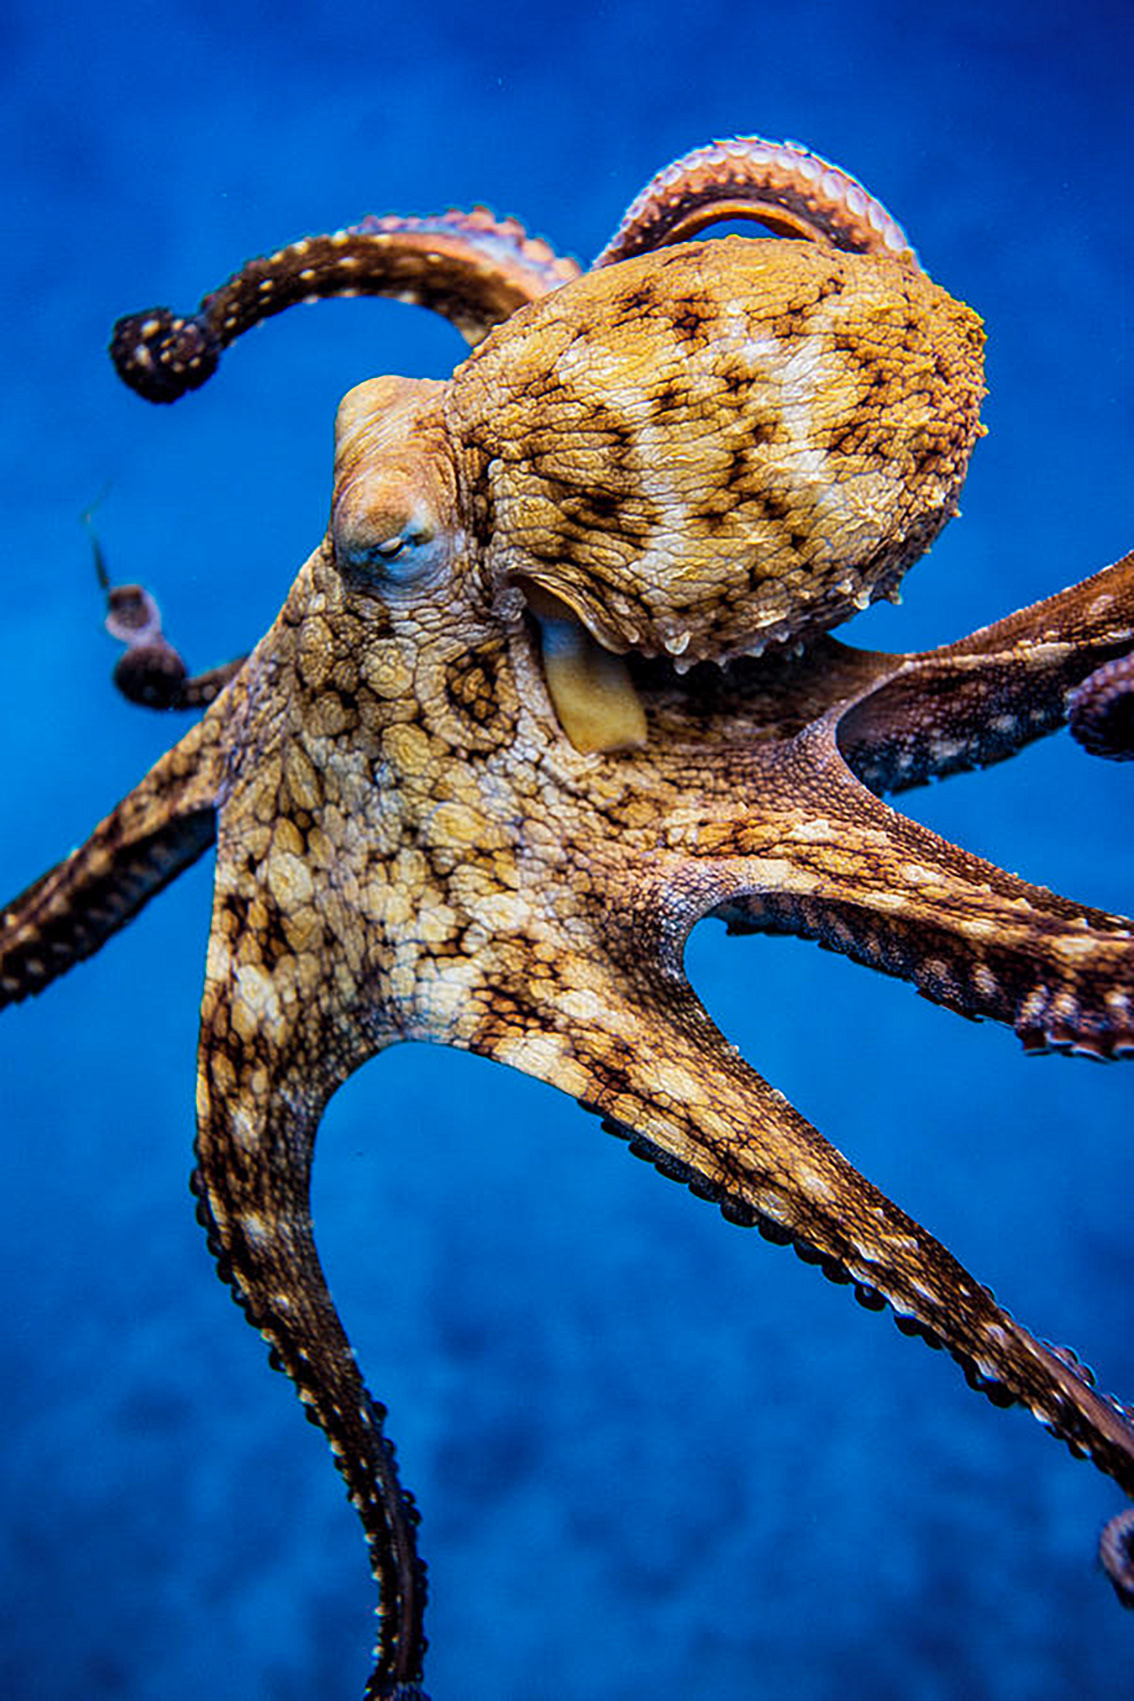
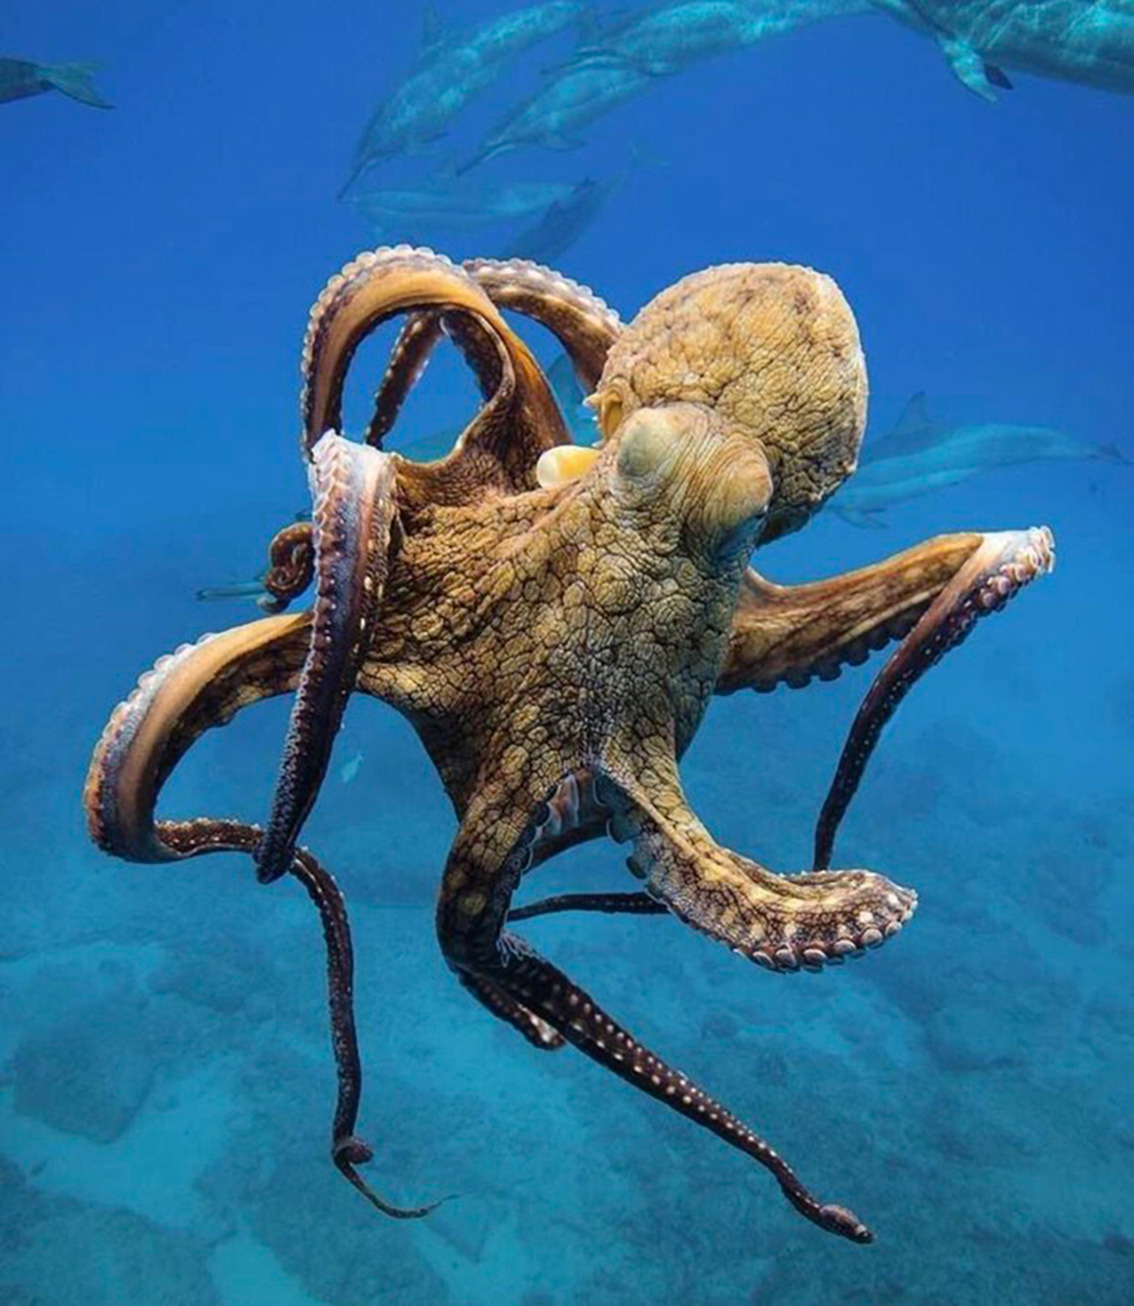
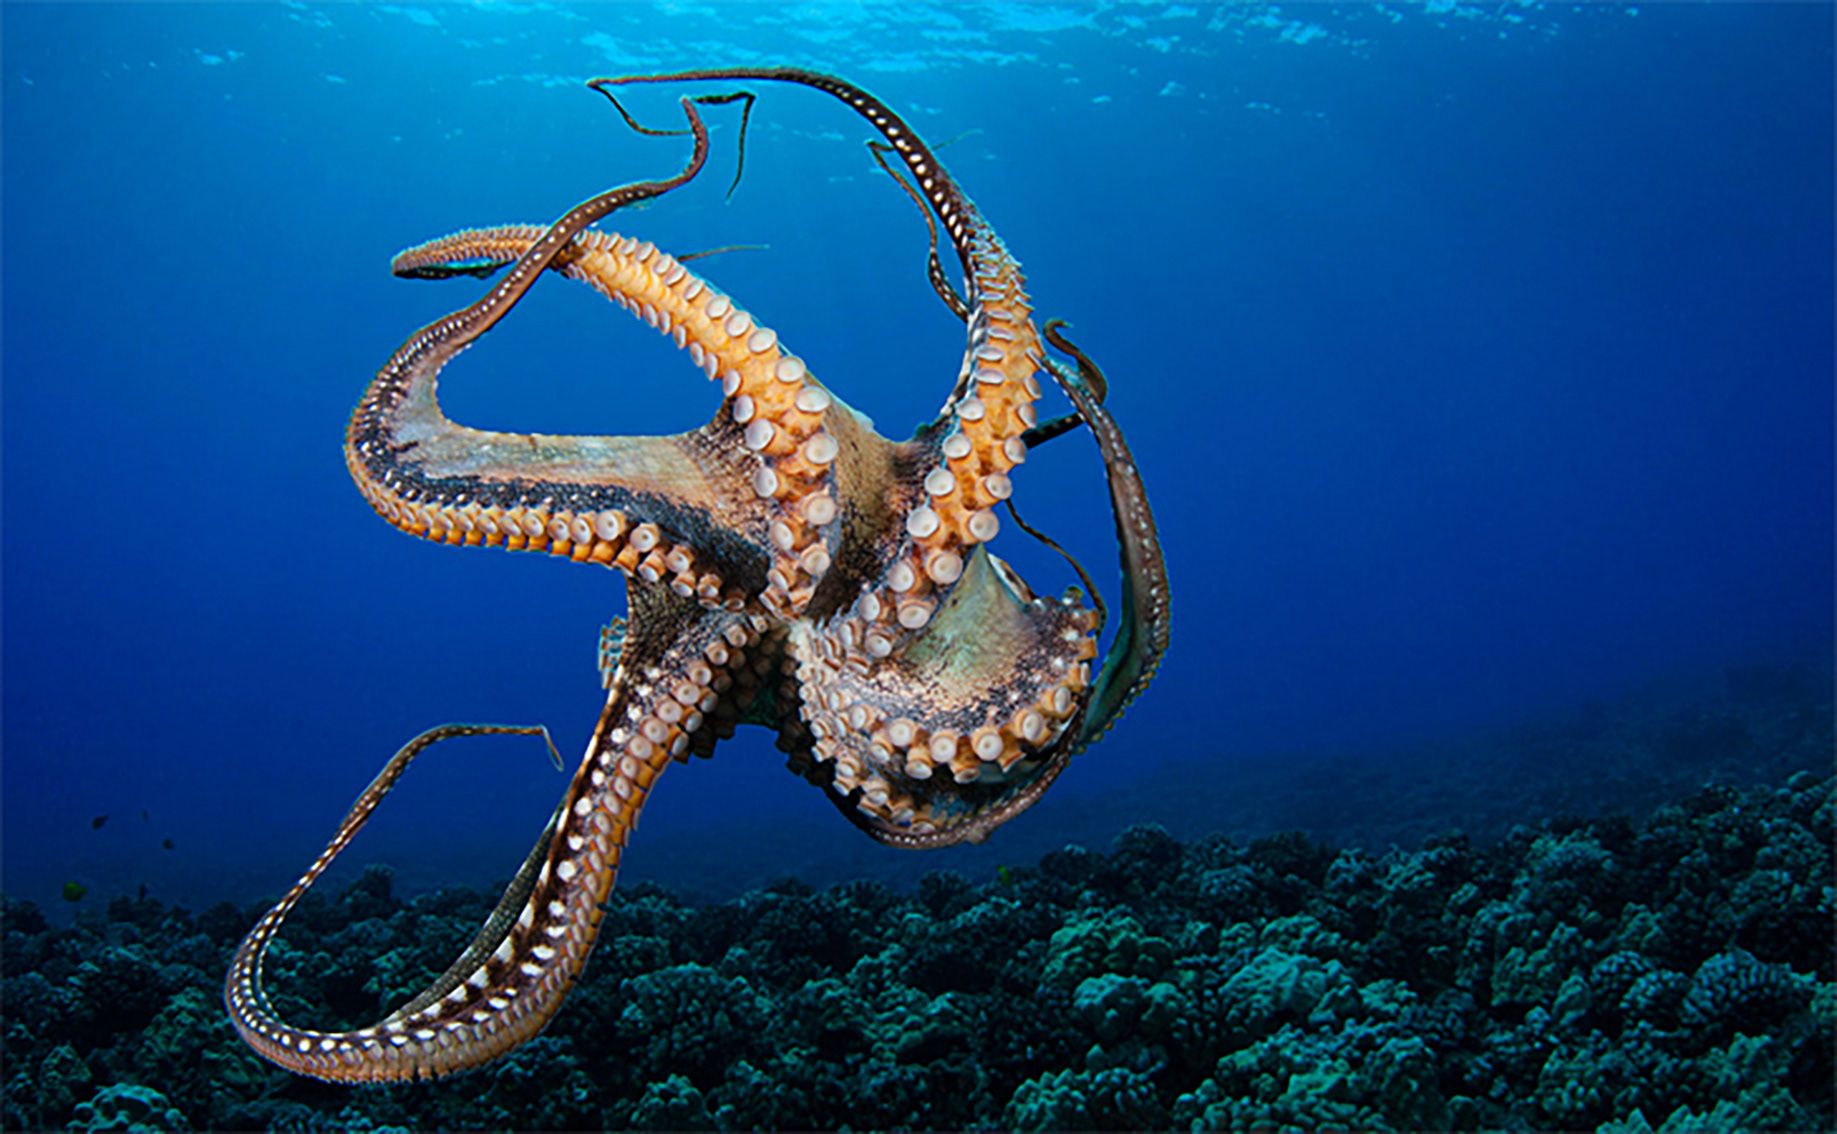
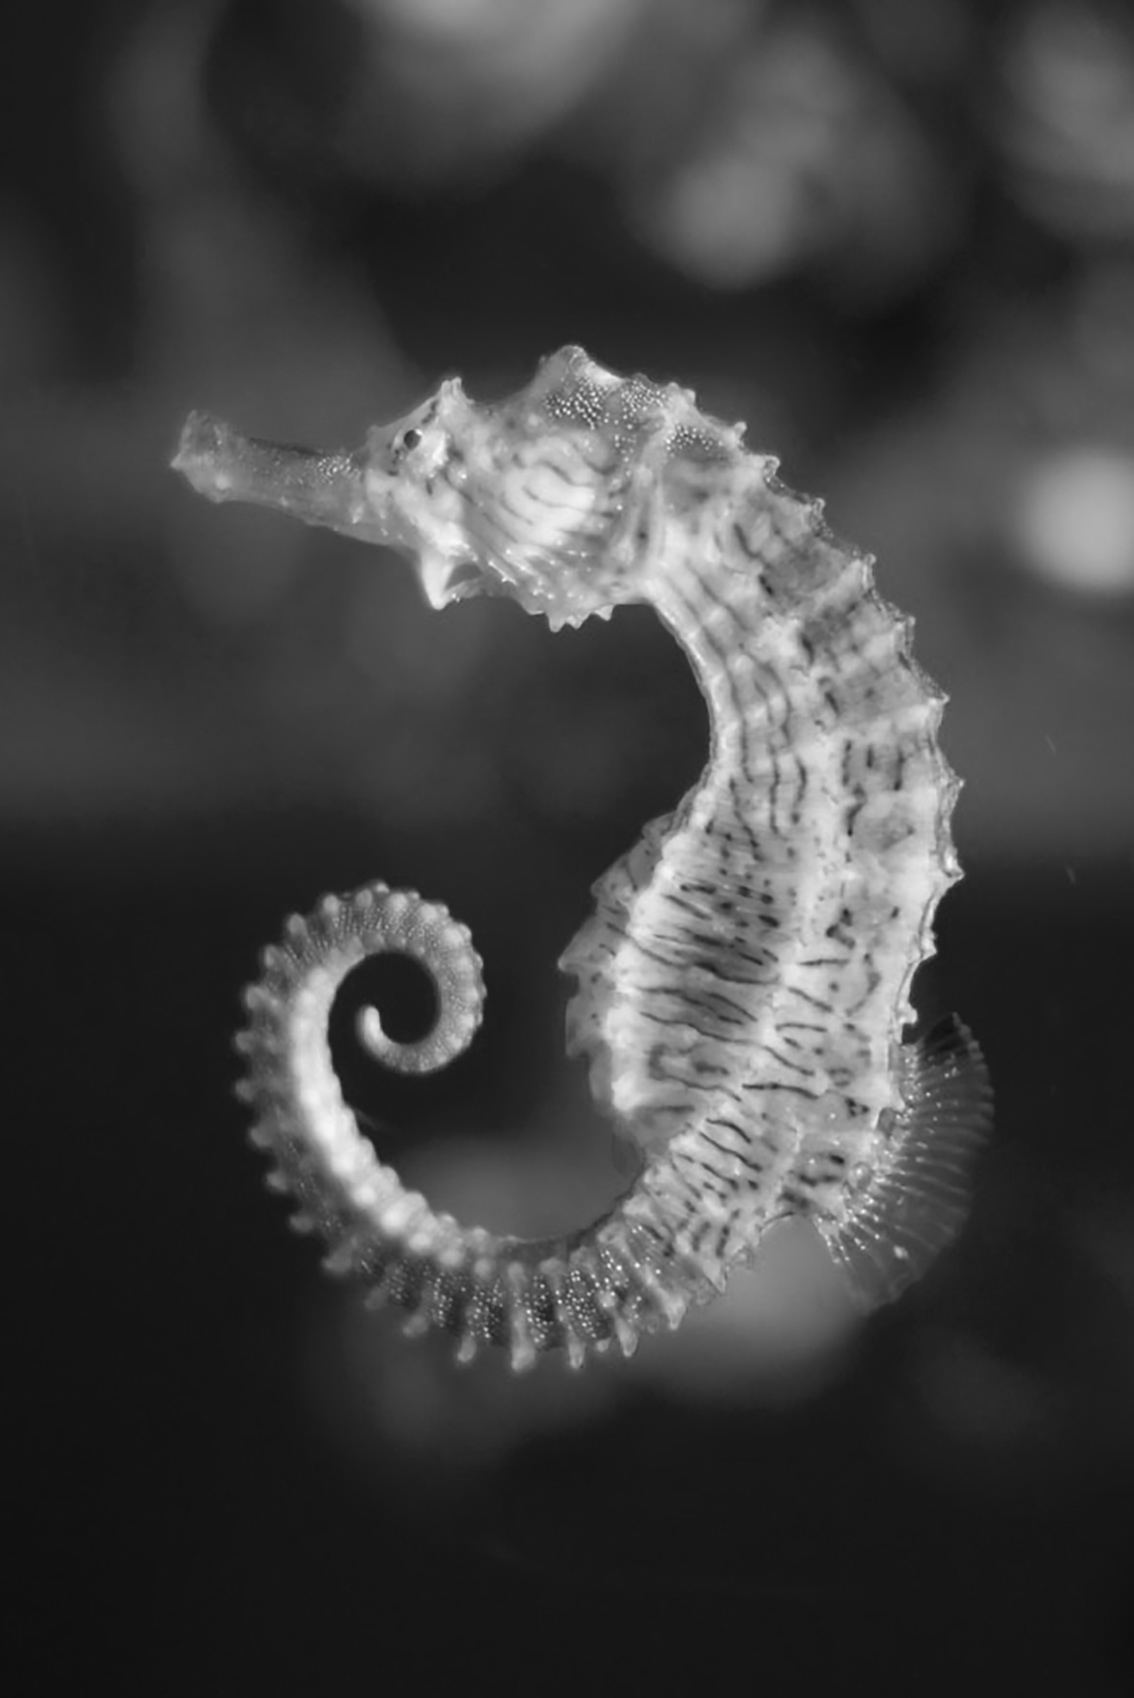
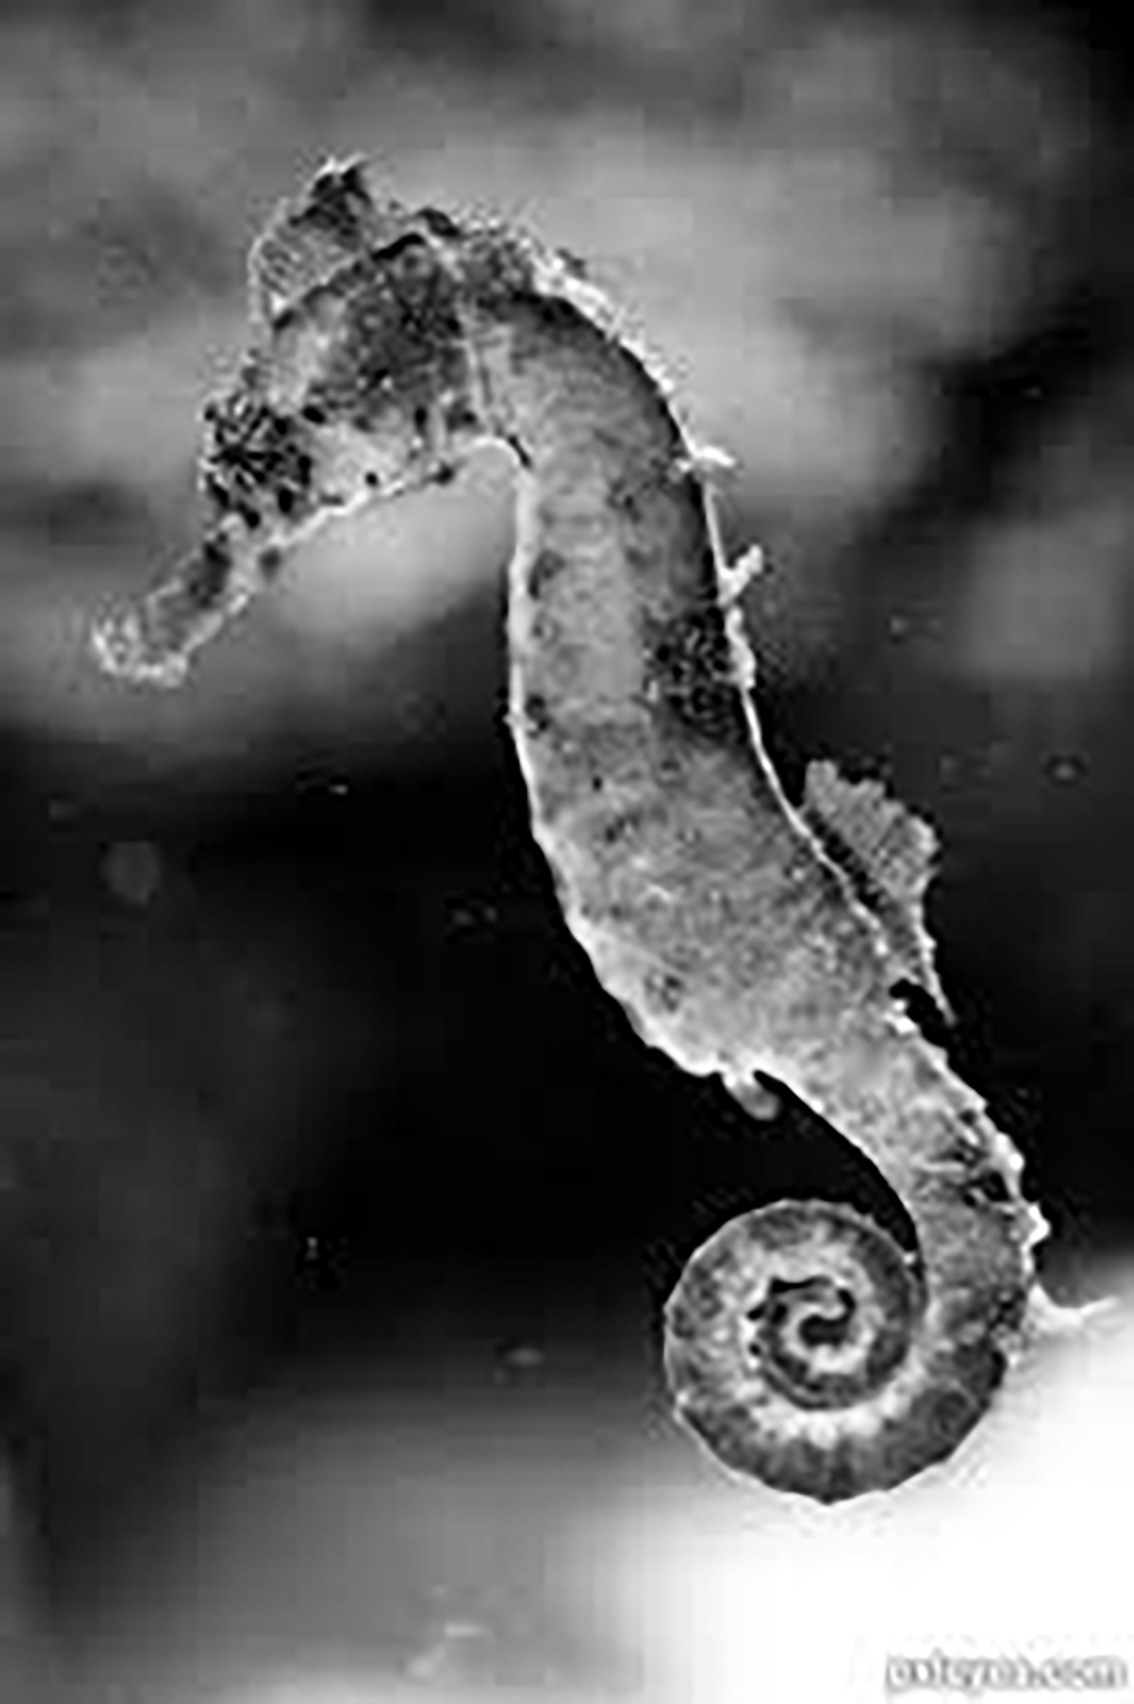
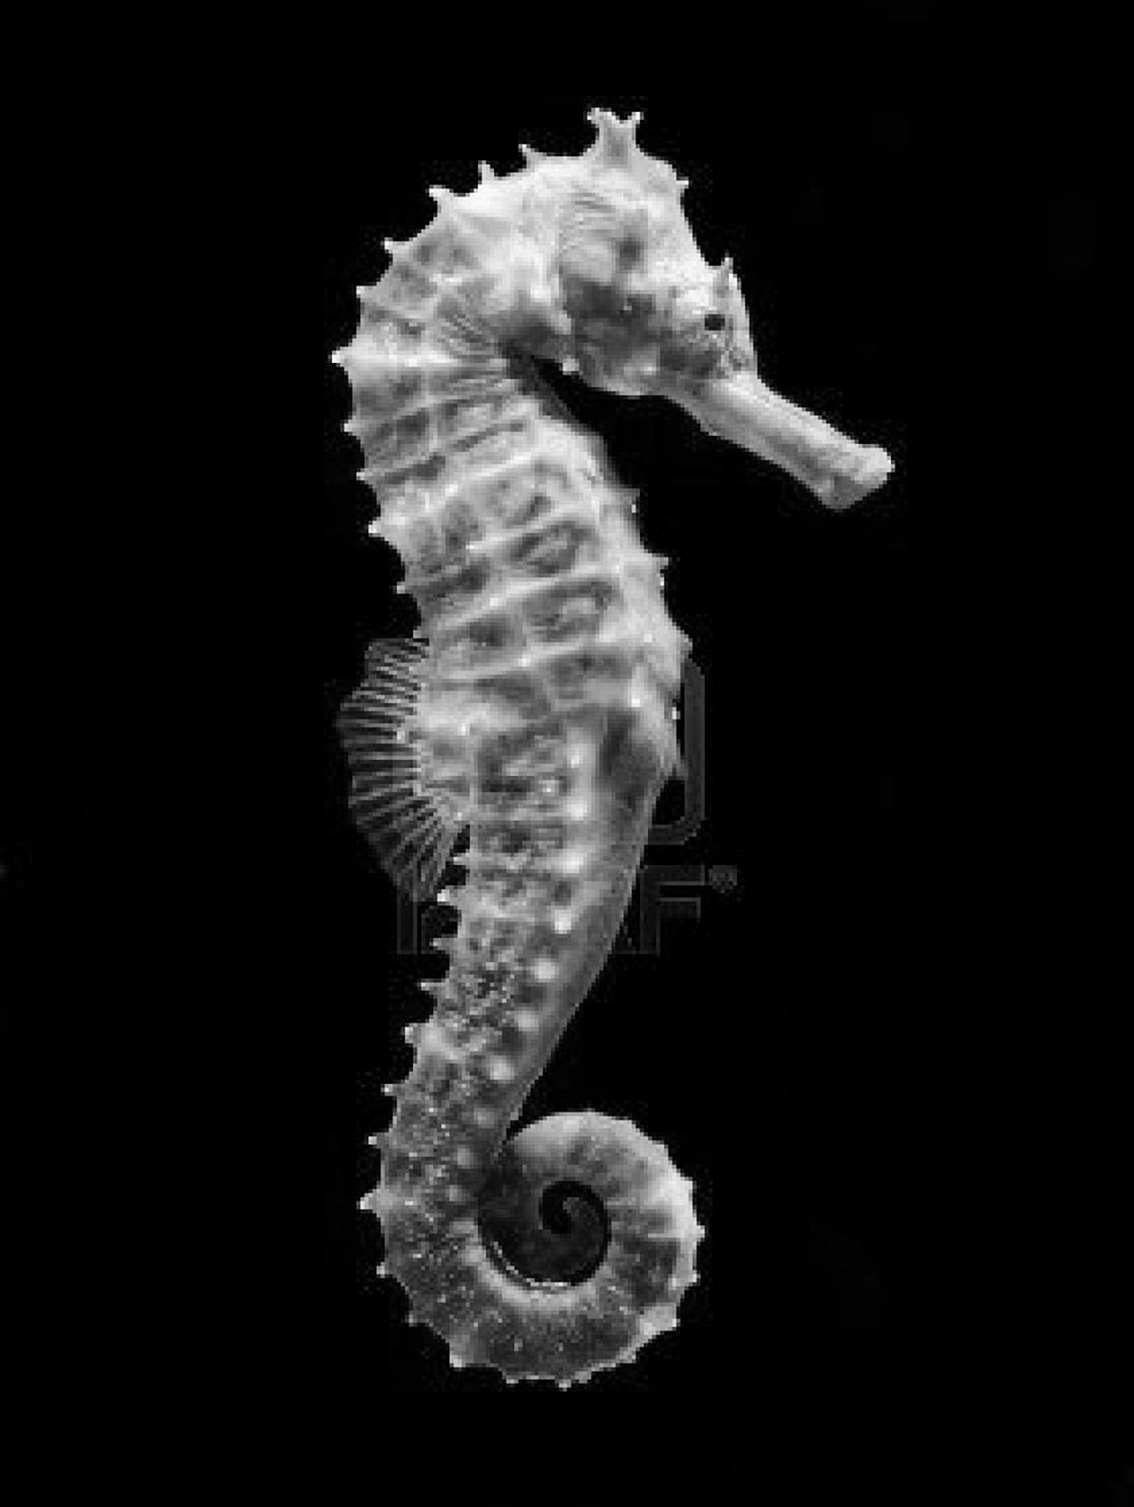
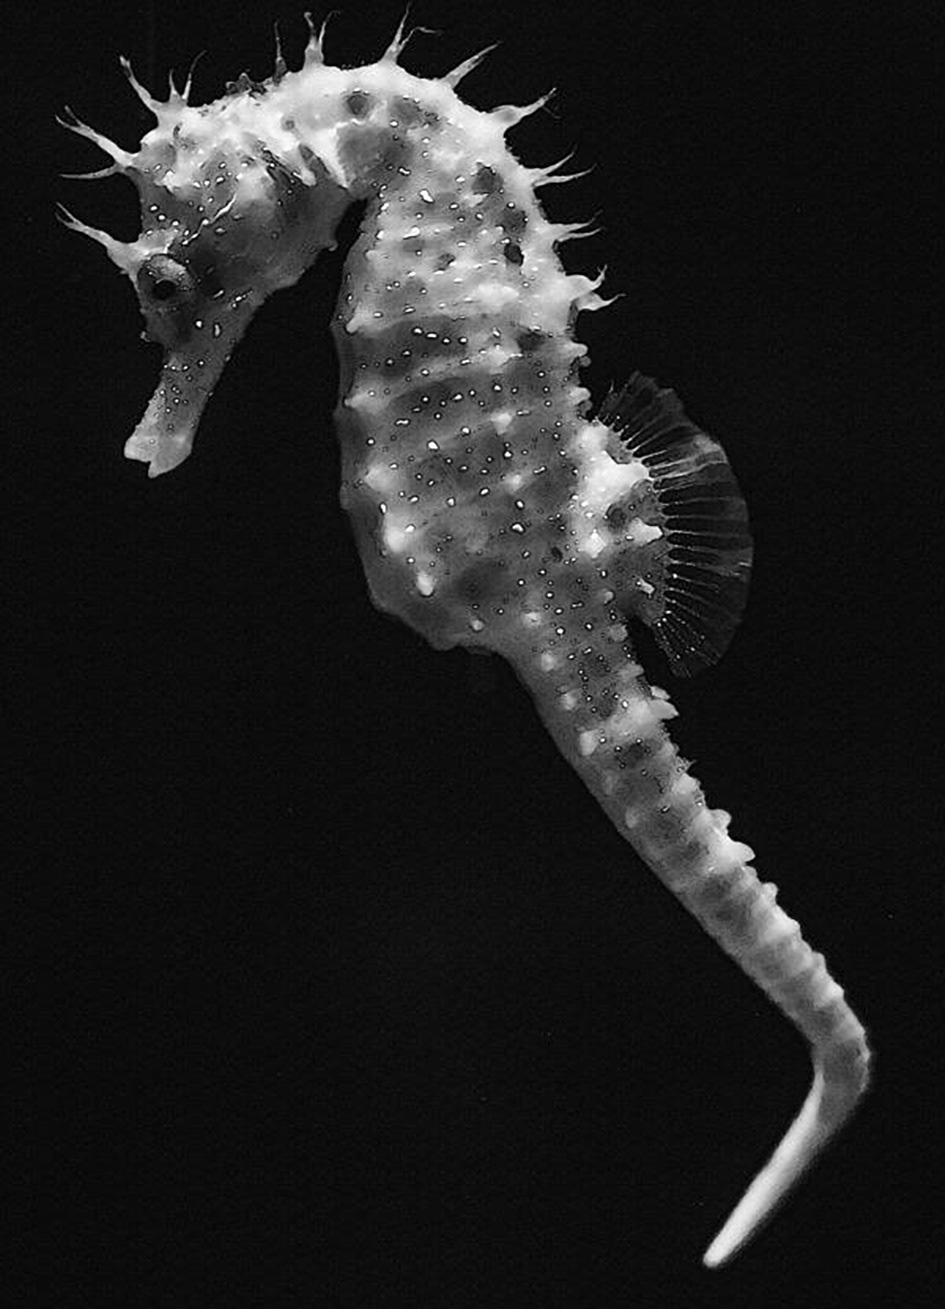
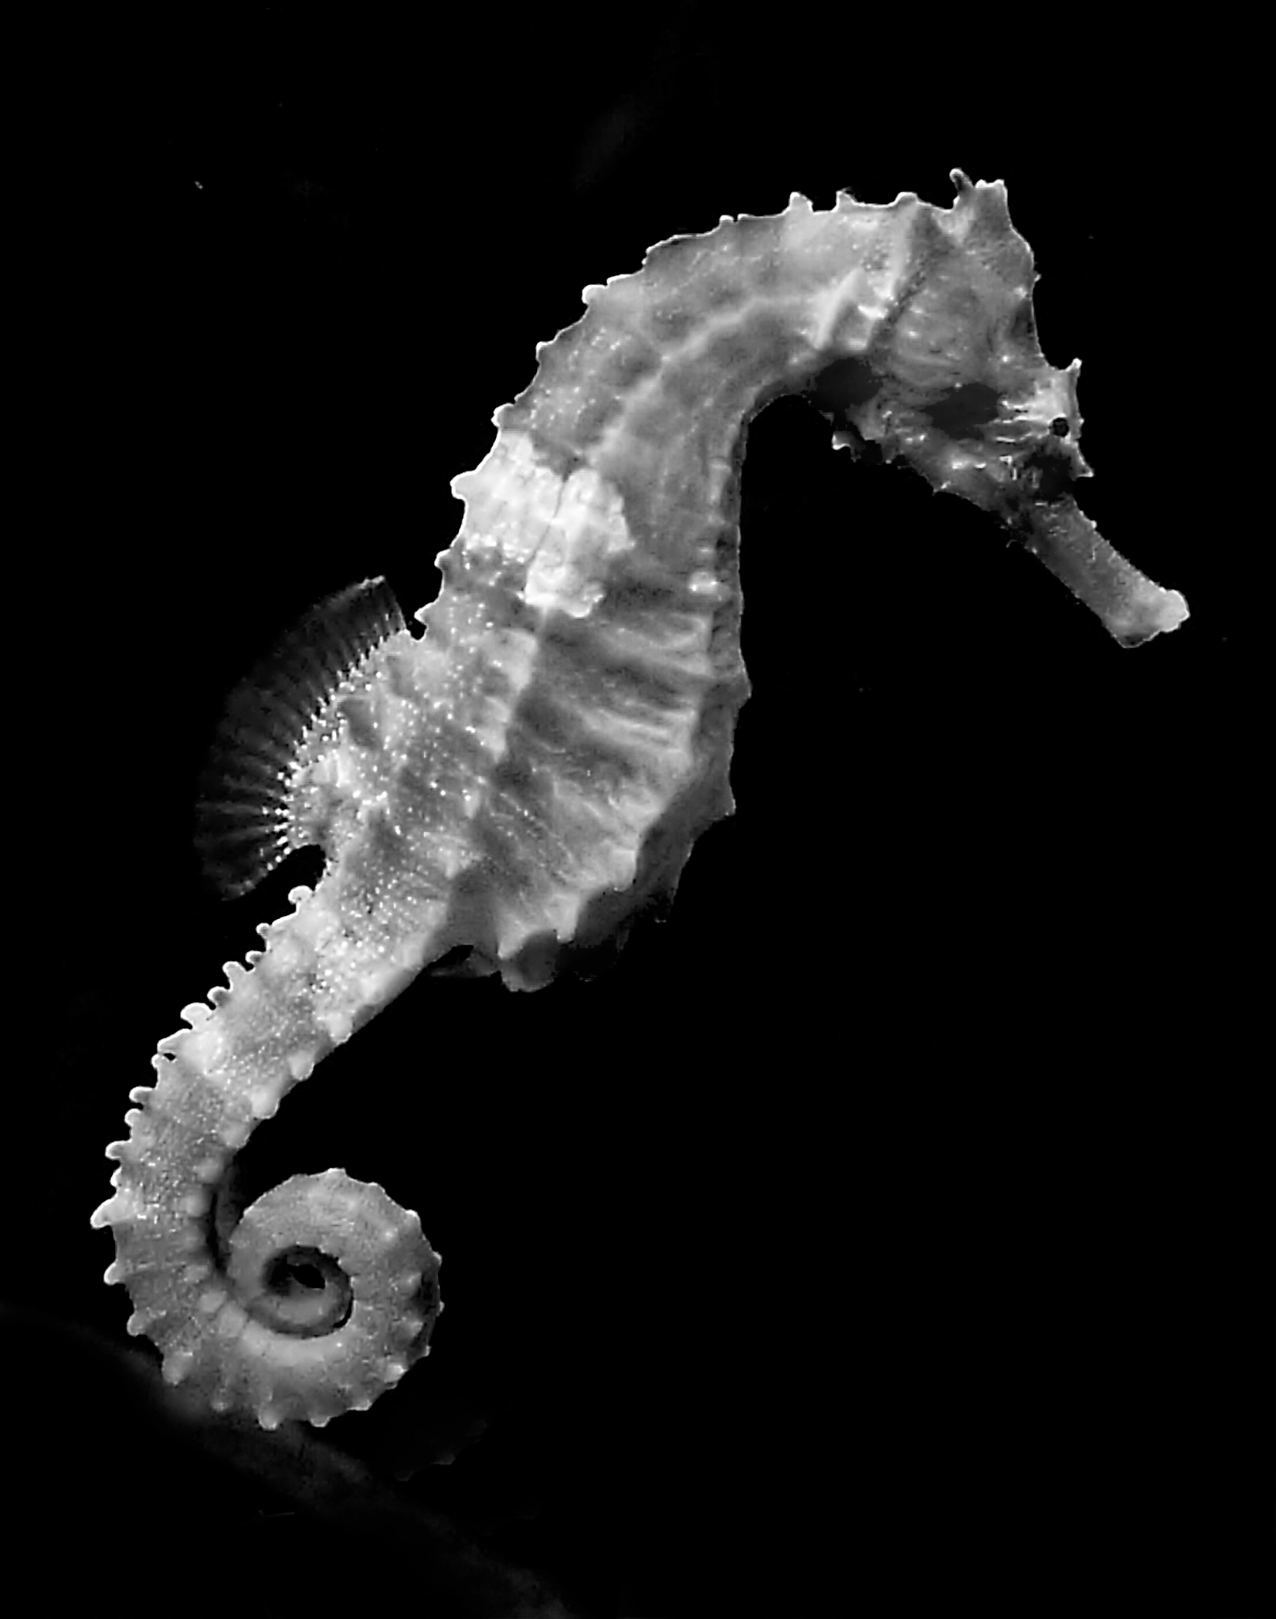
2. Produce a drawing of an ocean creature, using one of the reference images provided below
3. Flip the image on the Photocopier (or take a photo on your phone, reverse the image and print it out on an A4 piece of paper)
4. Ink up a piece of acetate
5. Place a clean piece of printer paper on top of the inked-up acetate and then the reversed copy of your drawing over that
6. Use masking tape in the top two corners to prevent the papers from moving
7. Apply pressure to the drawing by going over / tracing the image
8. Peel up the paper occasionally to see how the image is appearing on the underside of the plain piece of A4 paper
9. Remove your print from the acetate before the ink dries
Demo Video:
Choose an image draw:


Top Tips
• Be careful not to apply too much ink to the acetate, as it could make the monoprint too dark
• Use different tools to create different effects on the monoprint. For example, a sharp pencil will create thinner lines than a blunt pencil and simply rubbing your finger on the paper can create subtle smudges.
• Don't leave it too long to remove your print from the acetate, as it can stick and rip once the ink dries.
• Try not to lean on your print while you are creating it, as it will produce unexpected smudges on the print where the ink has transferred from the pressure
Examples of previous students' monoprints:
What do you think has gone well and what could have been improved?