Learning Objectives:
• Design an image suitable for turning into a lino print
• Learn how to create a lino print
• Understand why and how images are reversed in the lino printing process
• Improve fine motor skills and dexterity by using lino cutting tools with improved care and skill
• Learn how to create a lino print
• Understand why and how images are reversed in the lino printing process
• Improve fine motor skills and dexterity by using lino cutting tools with improved care and skill
What you will need:
A reference photo, two sheets of drawing paper, a soft pencil, eraser, tracing paper, a piece of lino, a lino cutter, hand guard, printing ink, two ink rollers and newspaper.
Your Task:
1. Watch the video below to learn how to create a lino print
2. Choose one or more of the reference images below
3. Design your lino print using the reference images as inspiration
4. Use the tracing paper to transfer and flip the image onto the lino, as shown in the video
5. Roll ink onto the lino and transfer your print onto a clean piece of paper, as shown in the video
Choose an image draw:
Top Tips
• Be very careful when using lino cutting tools as they are very sharp.
• Never cut in a direction that leads towards your other hand, as you could slip and injure yourself
• Try not to apply too much ink to the lino
• Be careful not to let the lino move when printing, as this can smudge the image
• Store blades safely when they are not in use
• Leave your print to dry before adding any other layers of ink over the top
• Wash the rollers thoroughly so that they work effectively next time
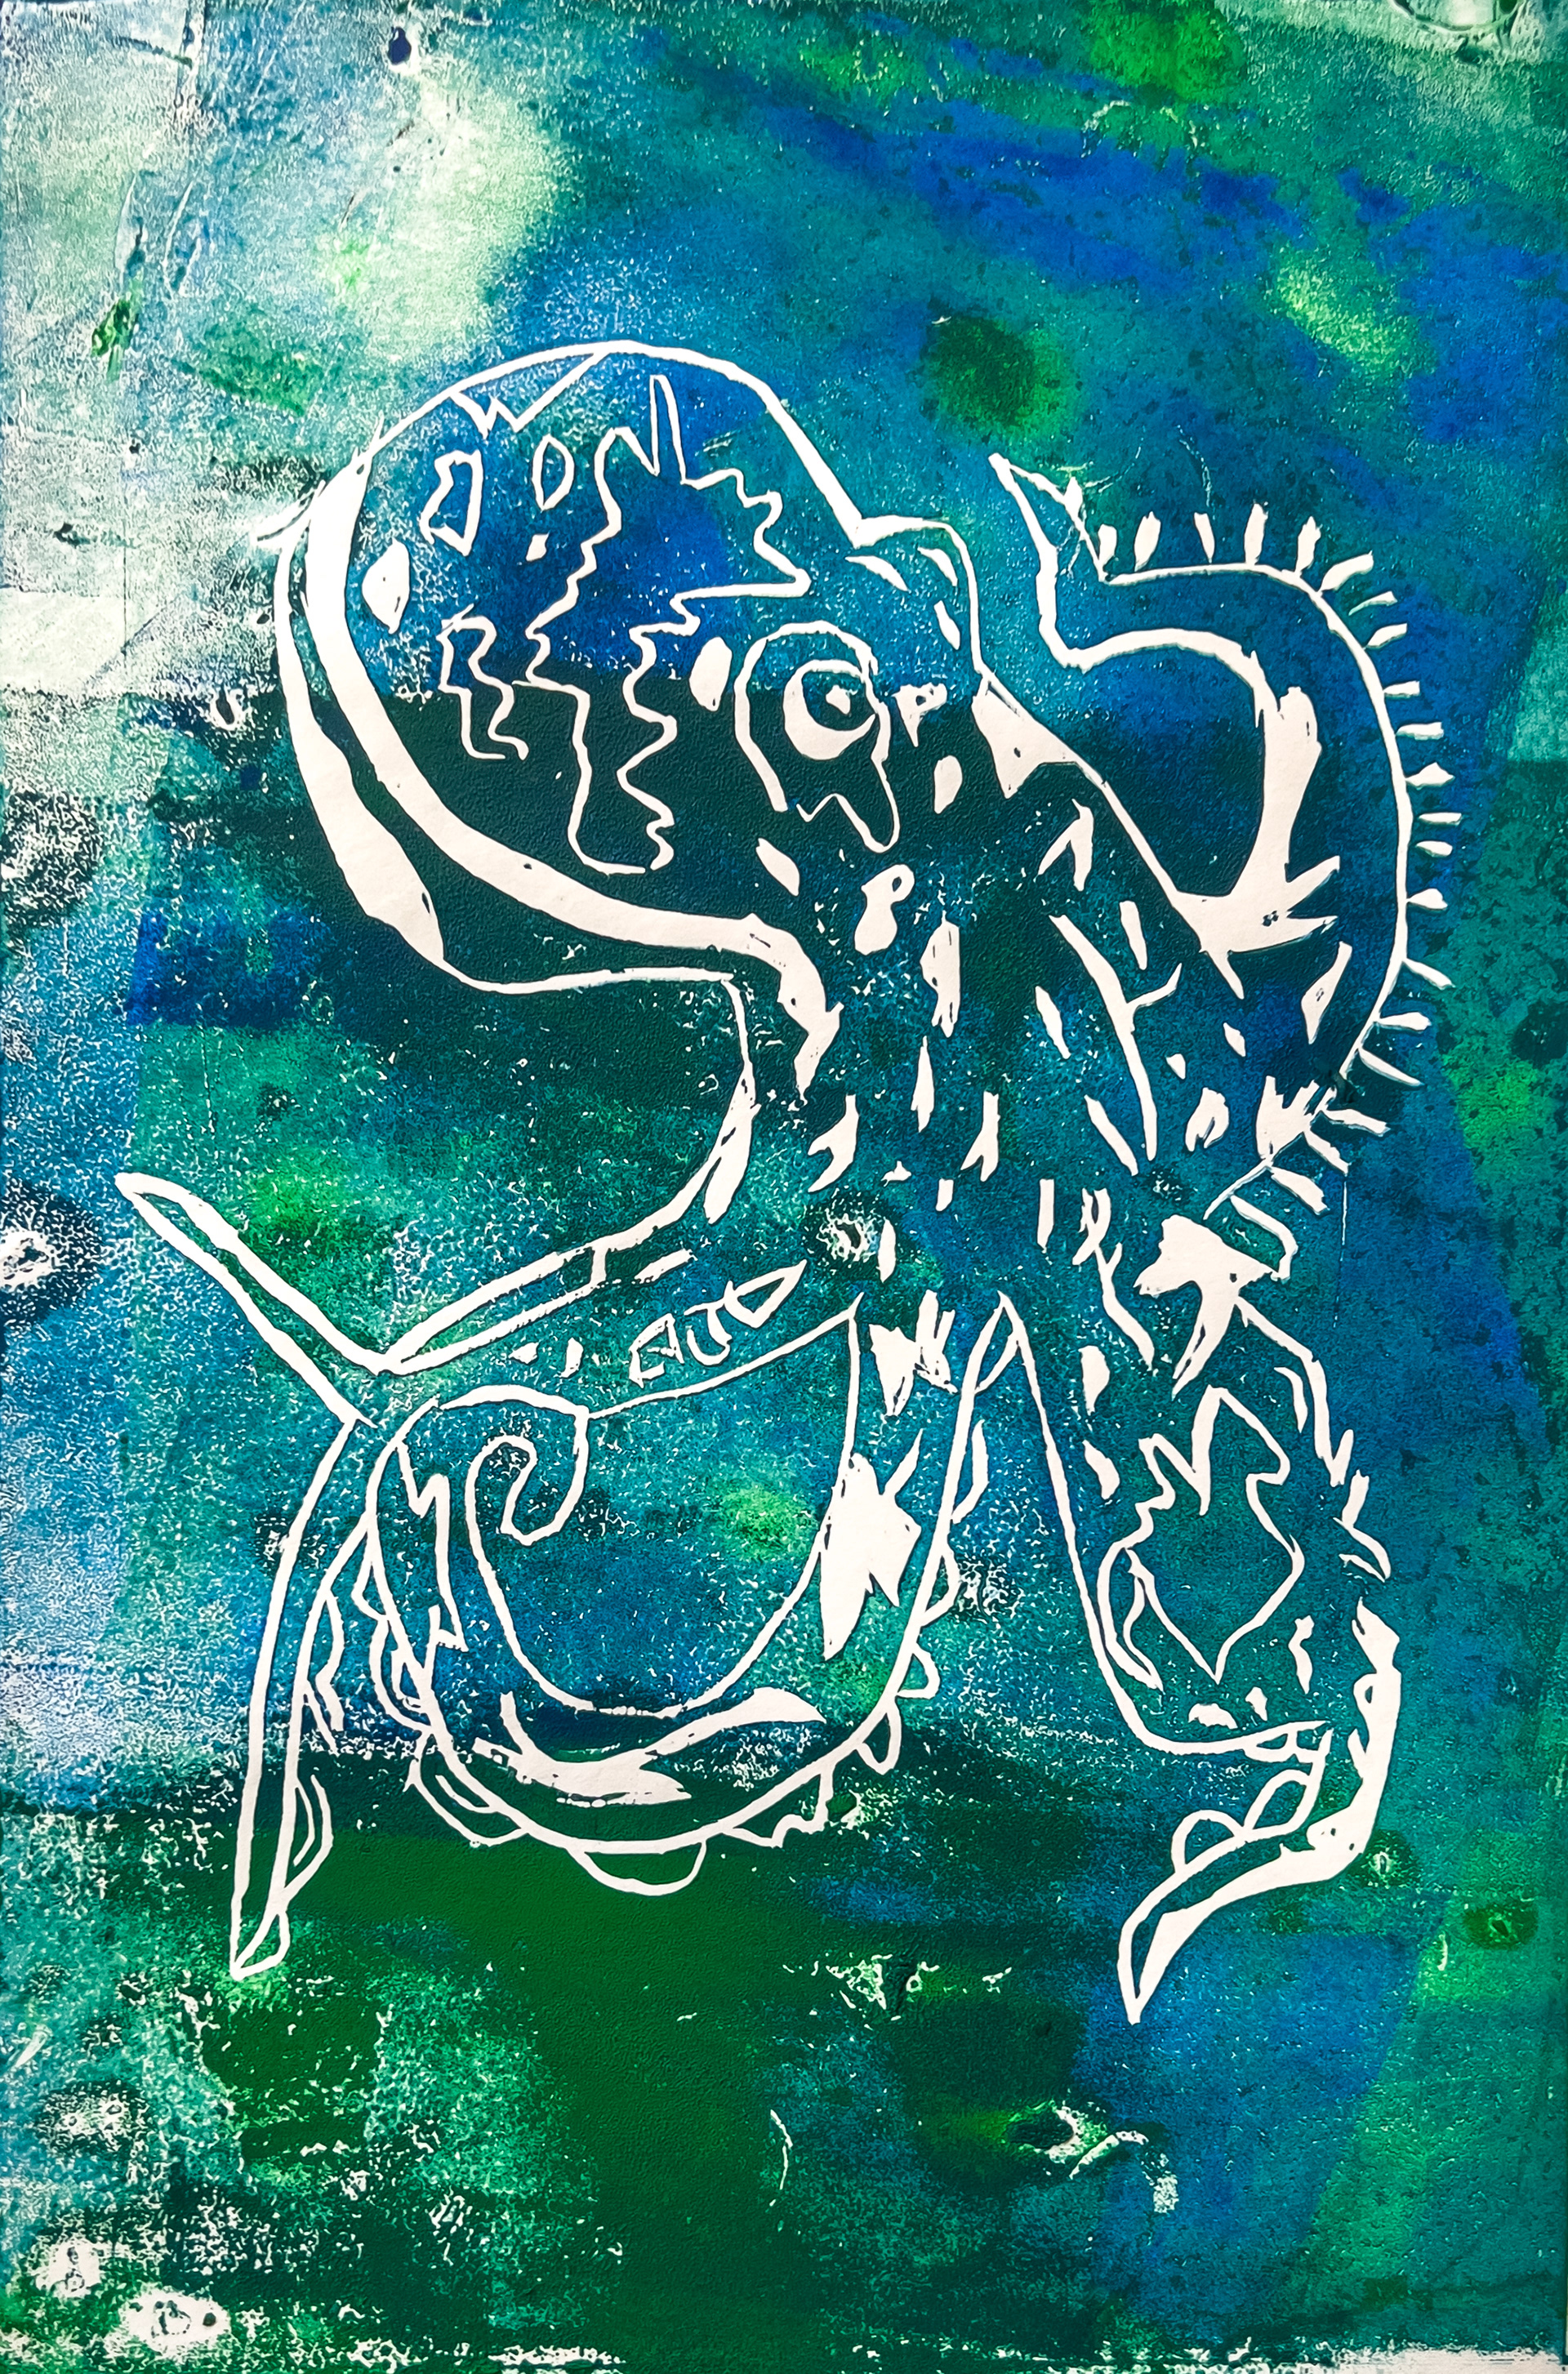
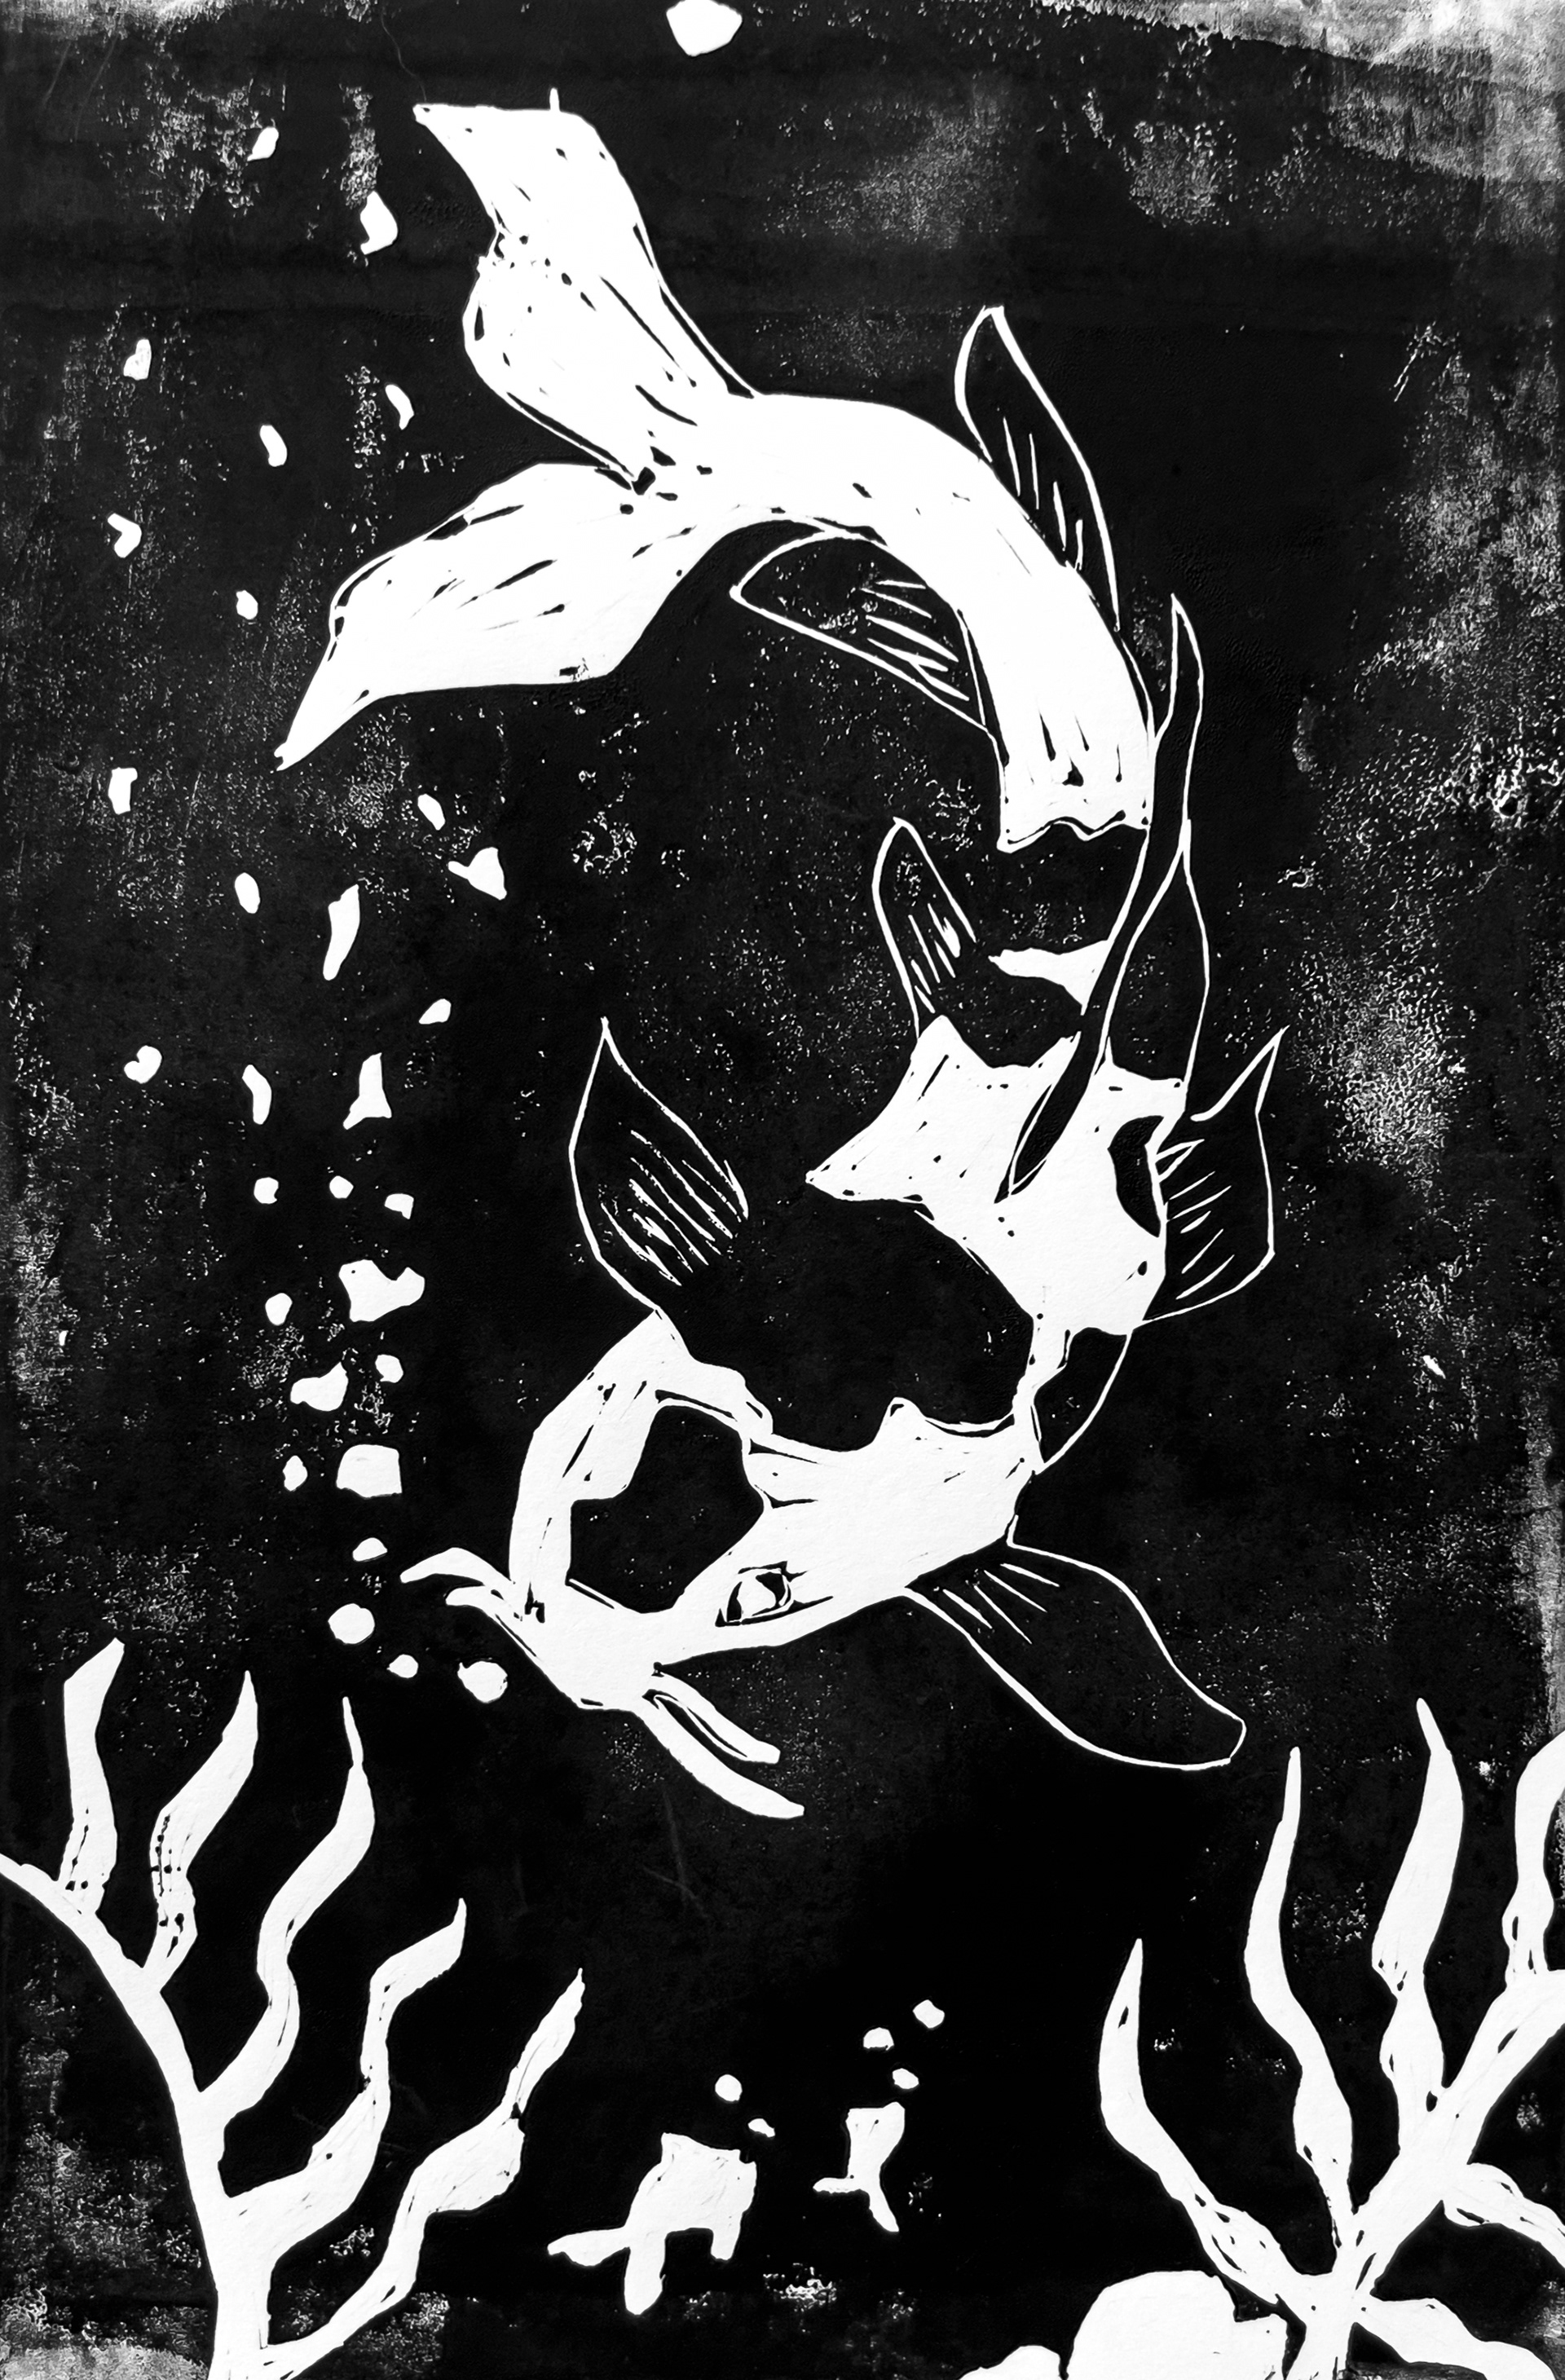
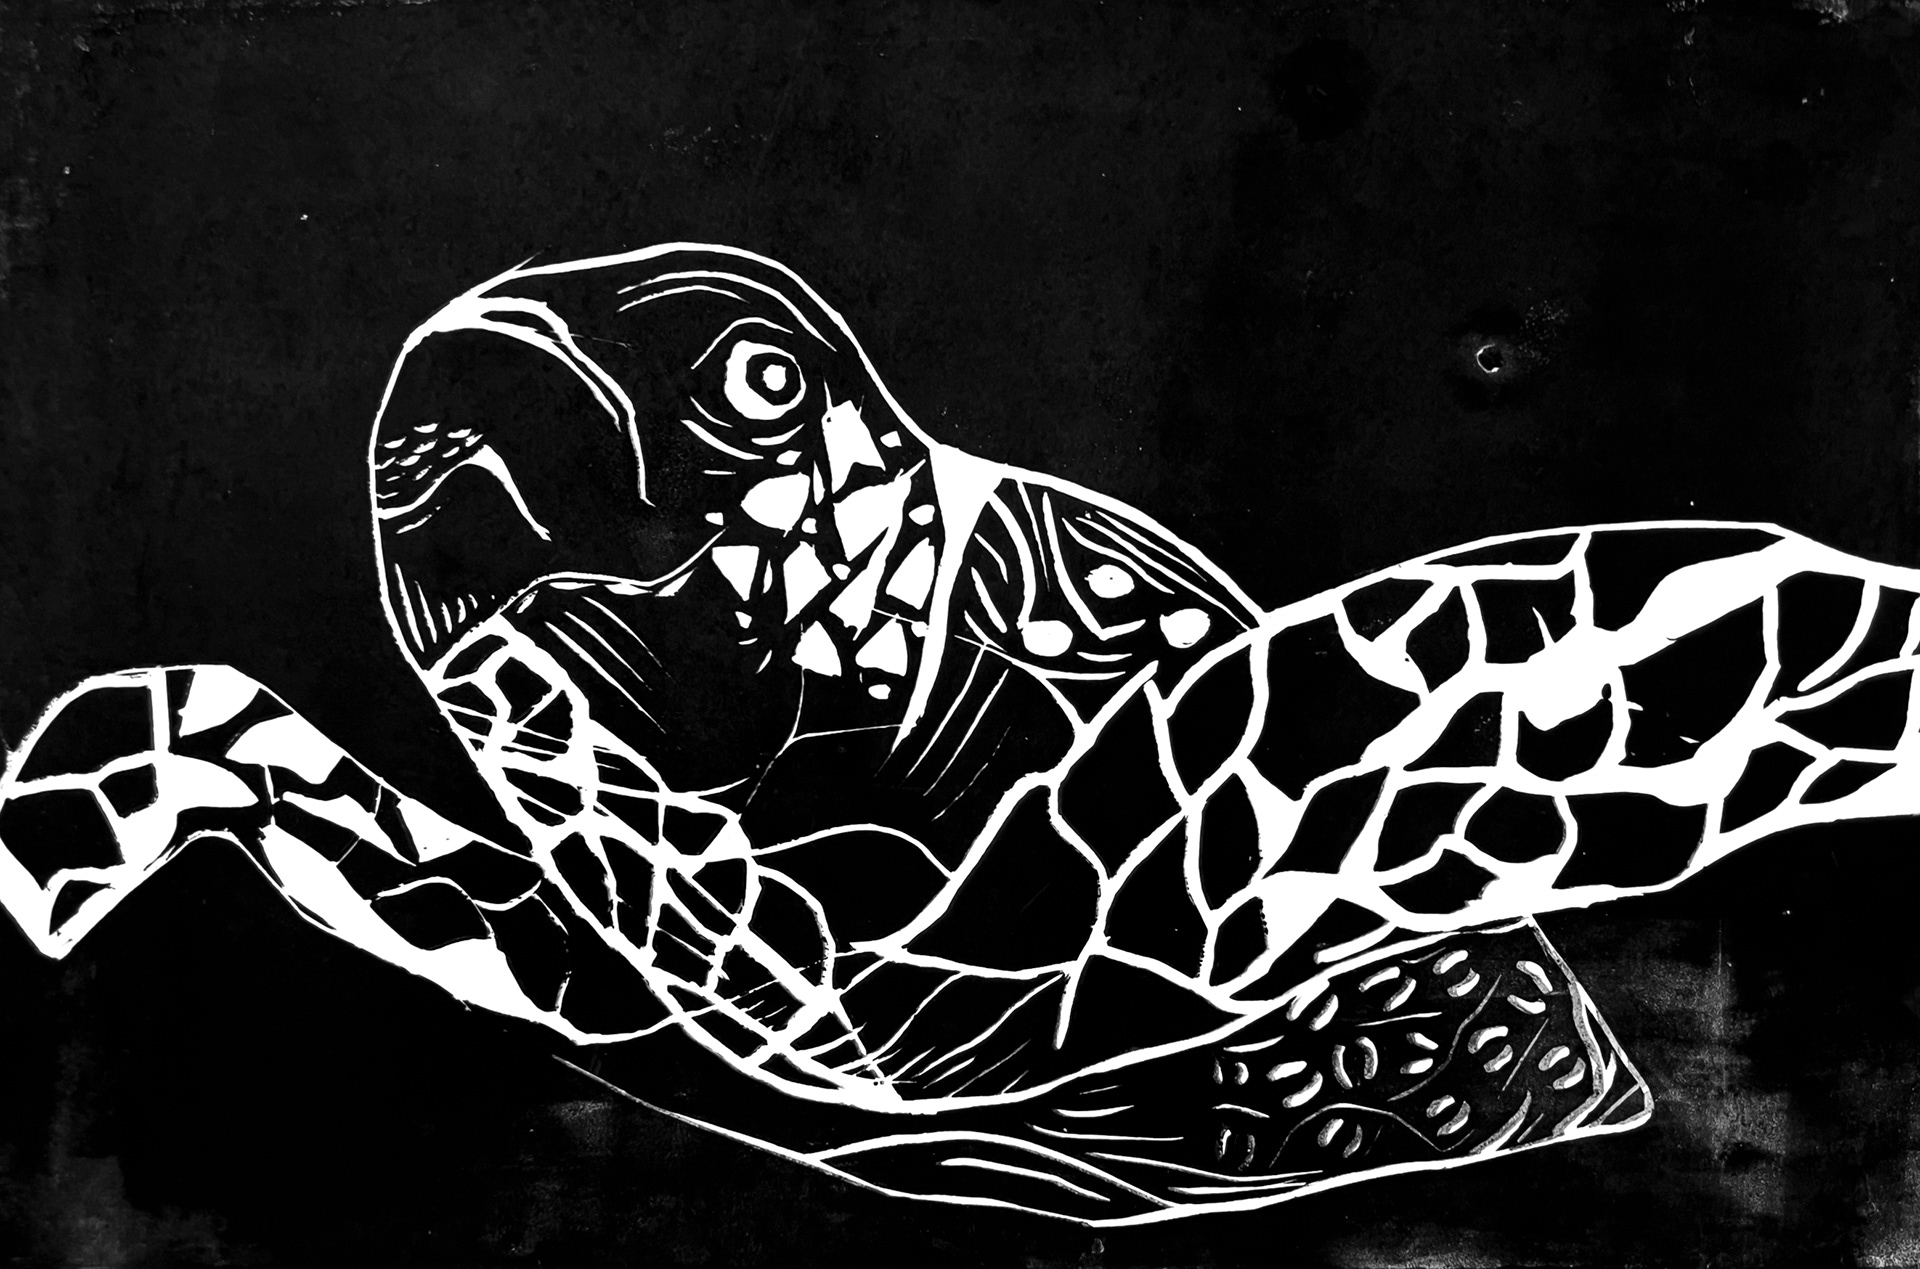
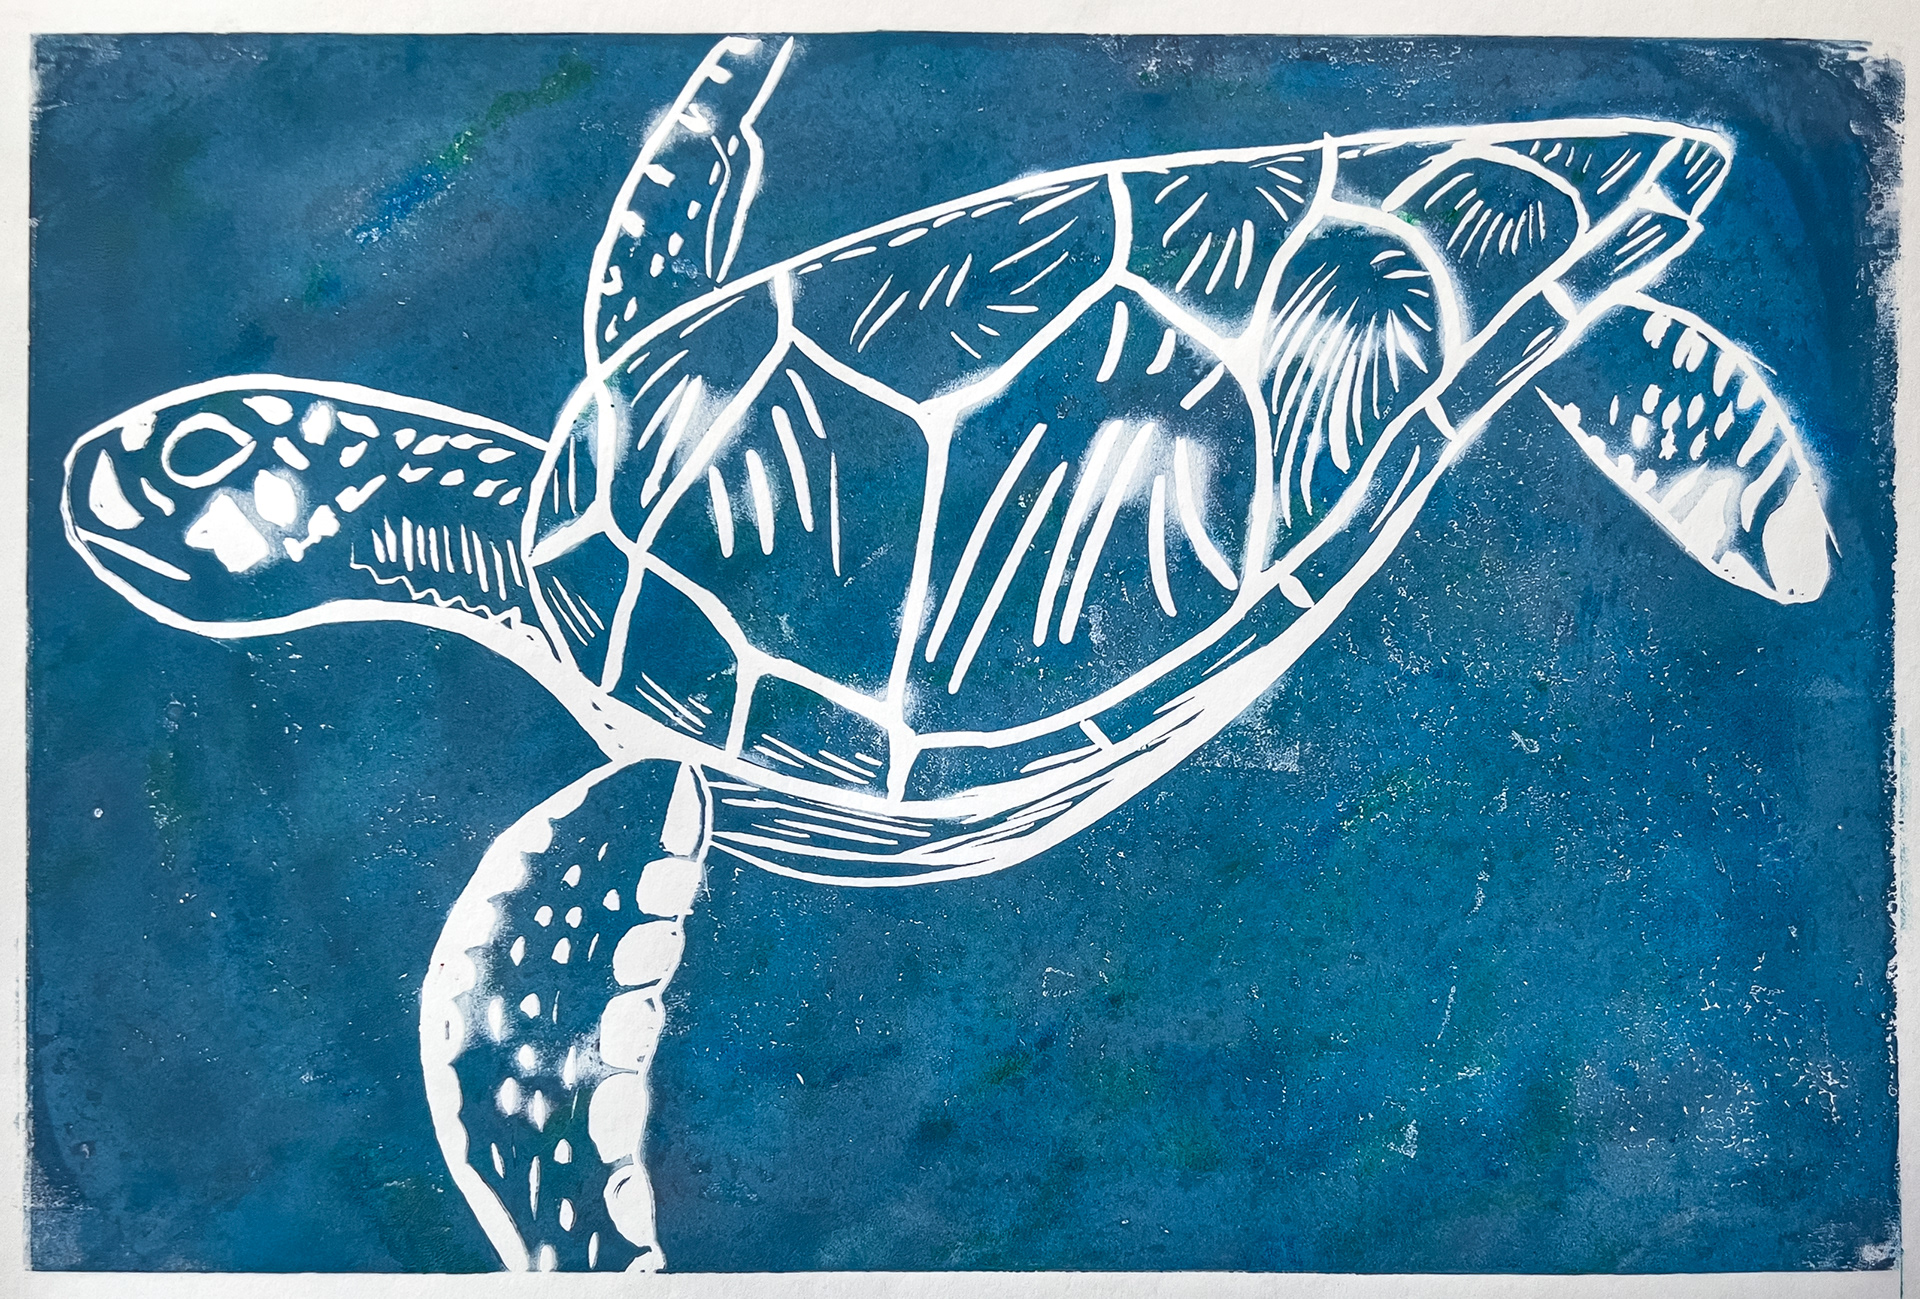
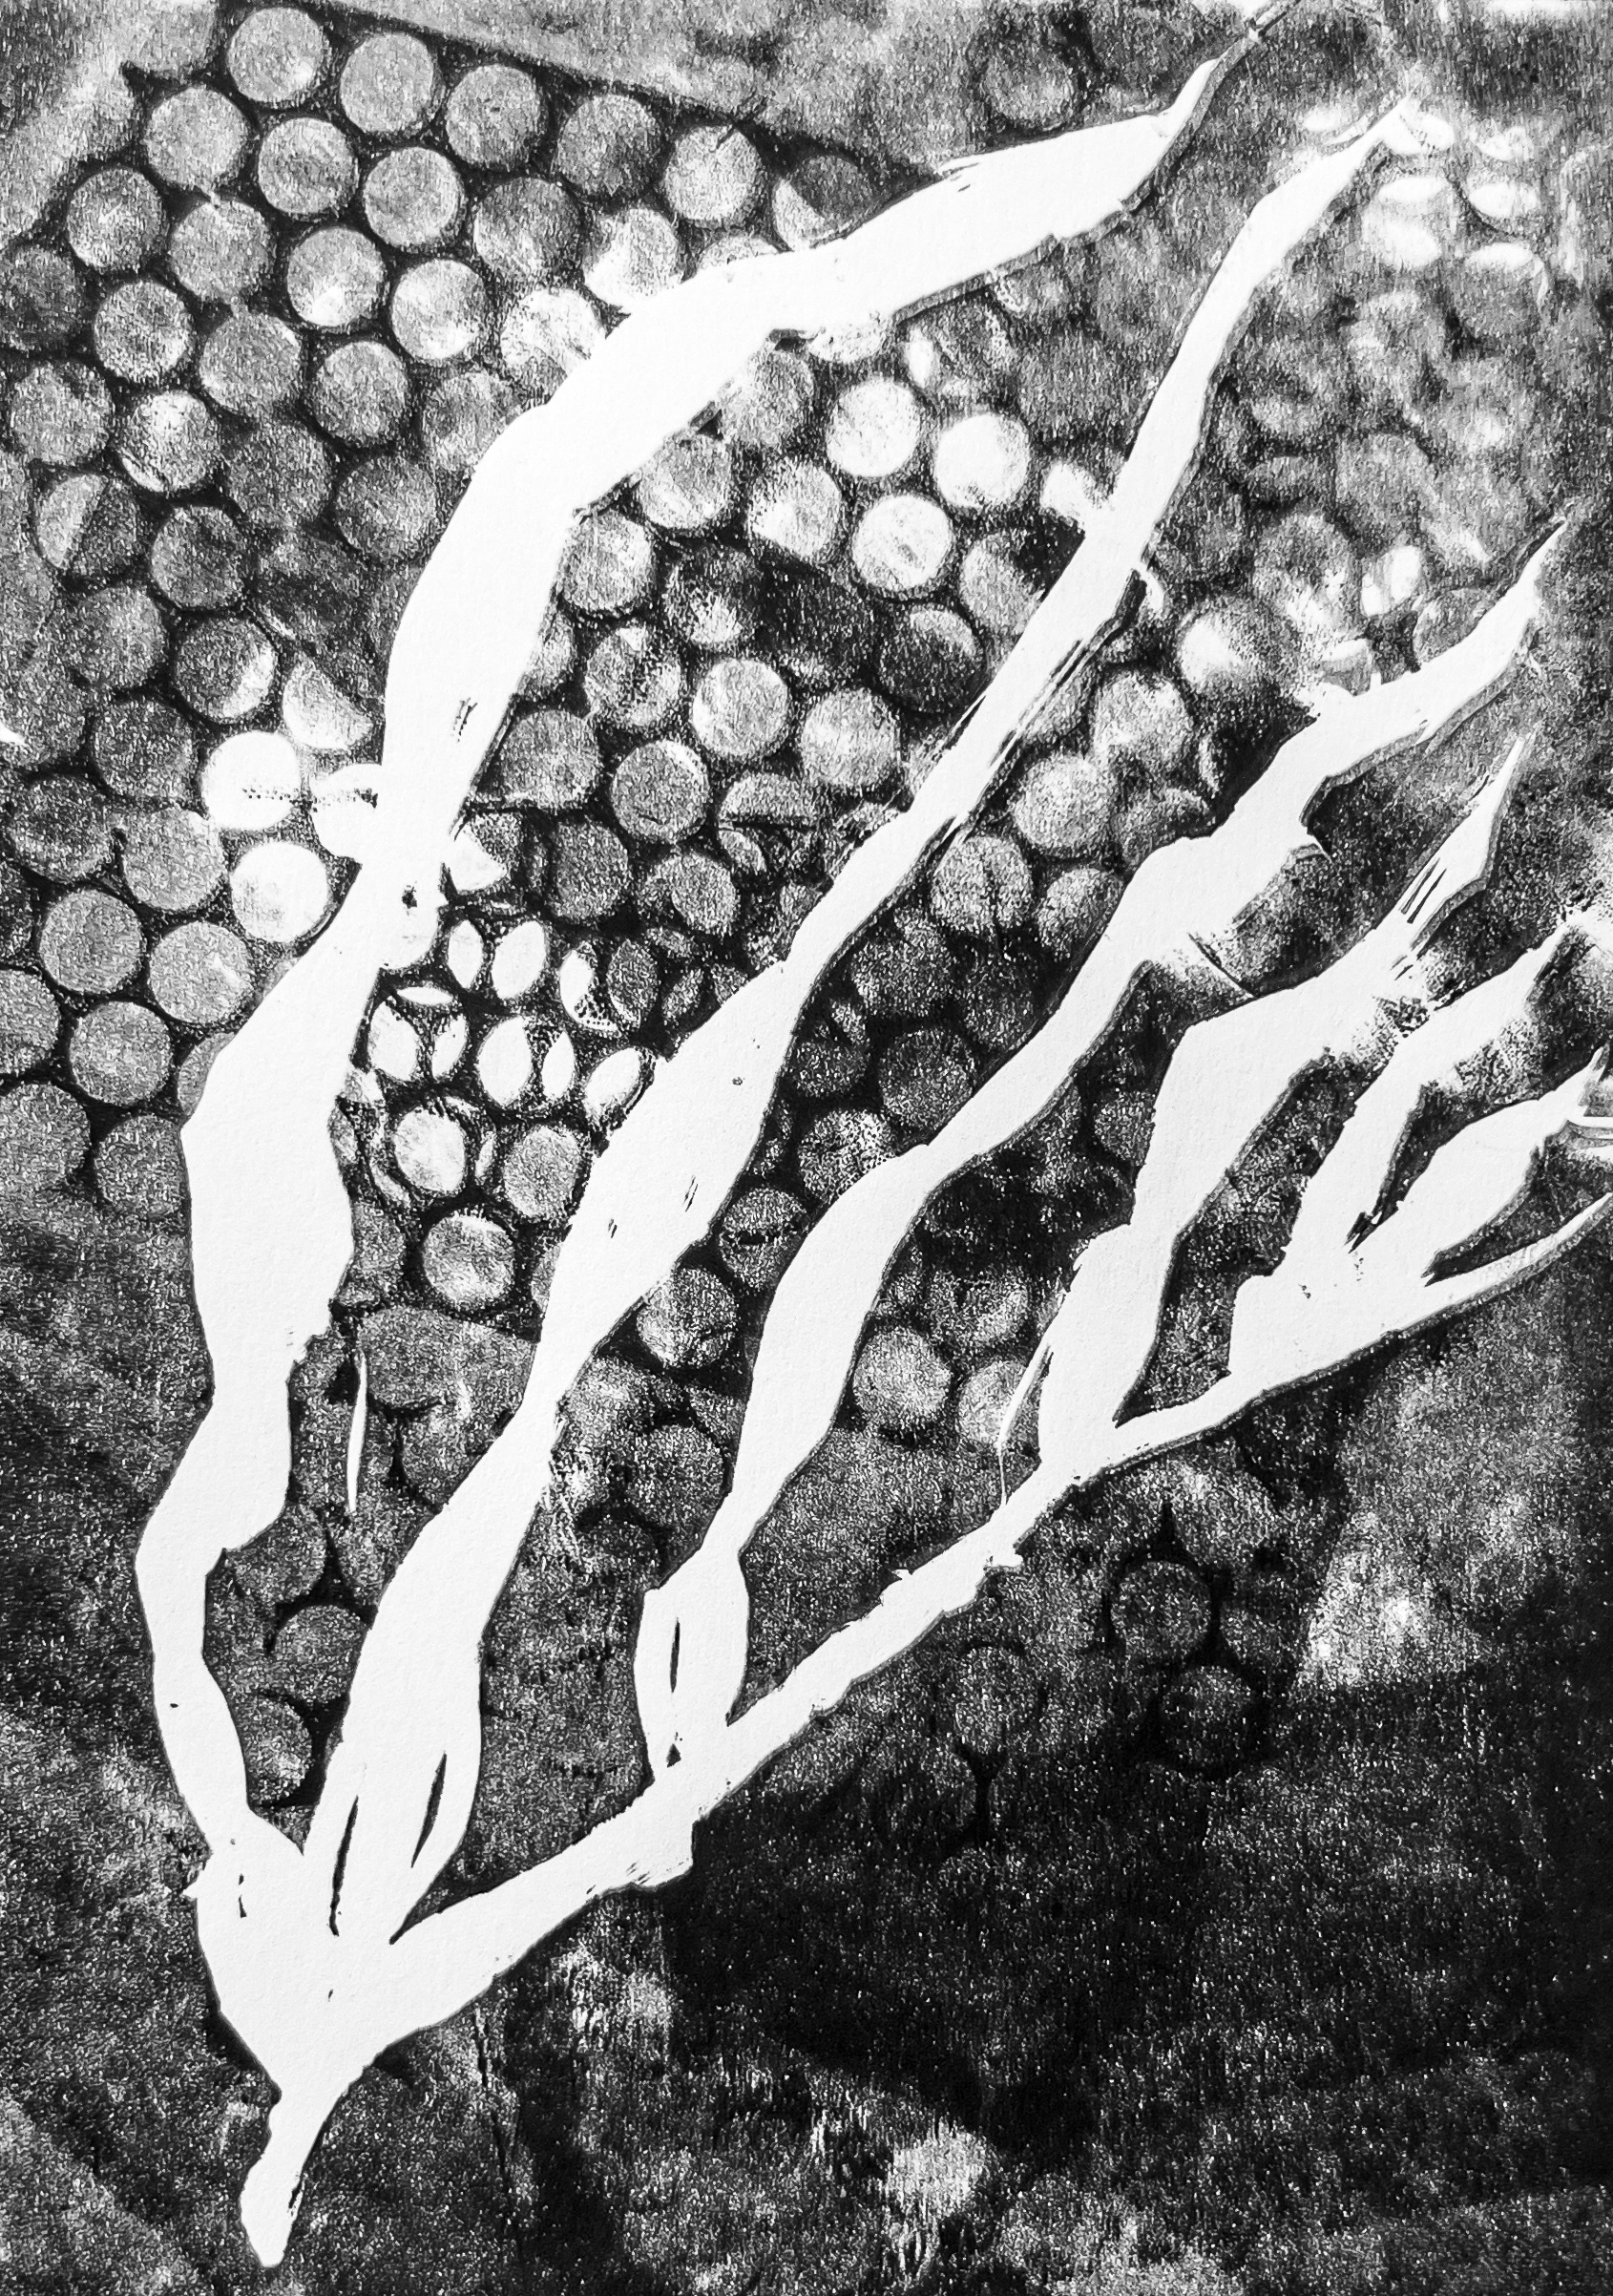
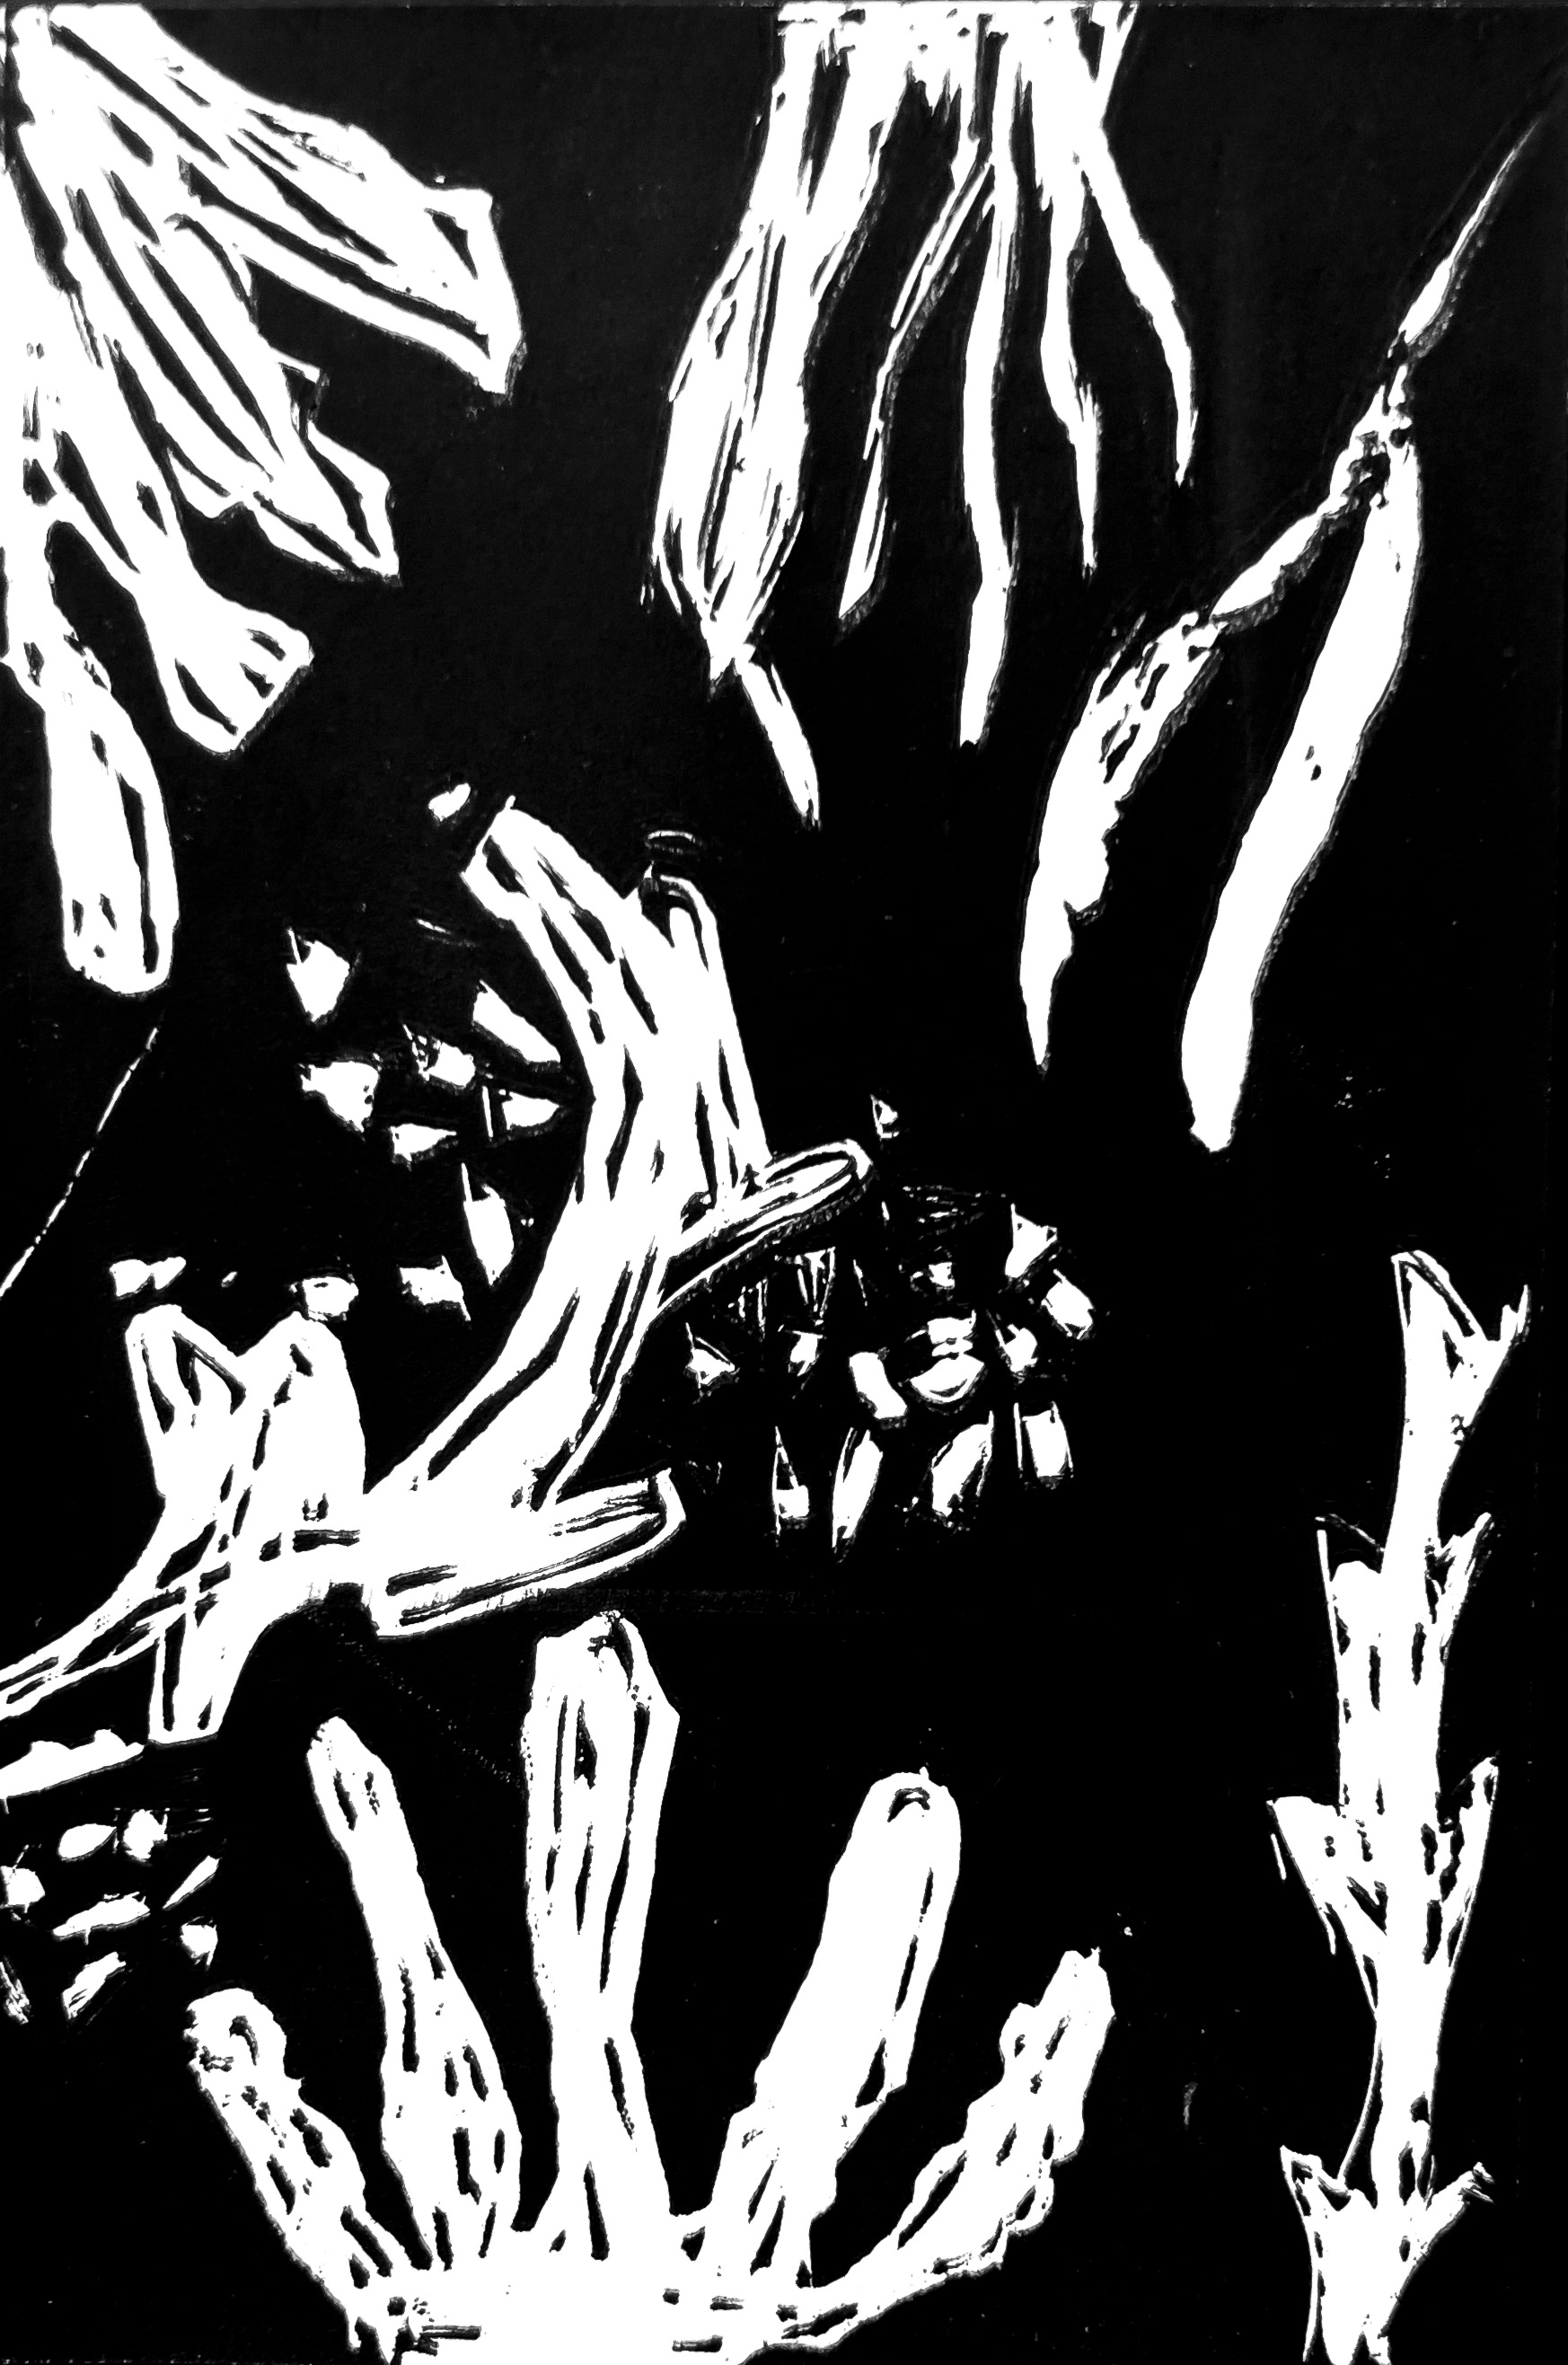
Examples of previous students' lino prints:
What do you think has gone well and what could have been improved?
Extension task examples: