Learning Objectives:
• Understand where to place still life objects on a page in relation to each other
• Understand how objects appear smaller as they appear further away from you
• Understand how objects might overlap one another depending on where they are placed on the page
• Experiment with the size, spacing and overlapping of objects in a still life drawing
• Understand how objects appear smaller as they appear further away from you
• Understand how objects might overlap one another depending on where they are placed on the page
• Experiment with the size, spacing and overlapping of objects in a still life drawing
What you will need:
Paper (or your sketchbook), a hard pencil (preferably HB, F or H), eraser, pencil sharpener and a ruler
Today's task:
1. Read through the PowerPoint below to understand how objects are placed on the page when they are positioned at different distances from one another.
2. Watch the demo video below.
3. Have a go at producing your own drawing of 3-4 objects, remembering to place them at different distances from one another, with some overlap and show them getting smaller as they are positioned further away.
2. Watch the demo video below.
3. Have a go at producing your own drawing of 3-4 objects, remembering to place them at different distances from one another, with some overlap and show them getting smaller as they are positioned further away.
Introduction to size, spacing and overlap:
Demo video:
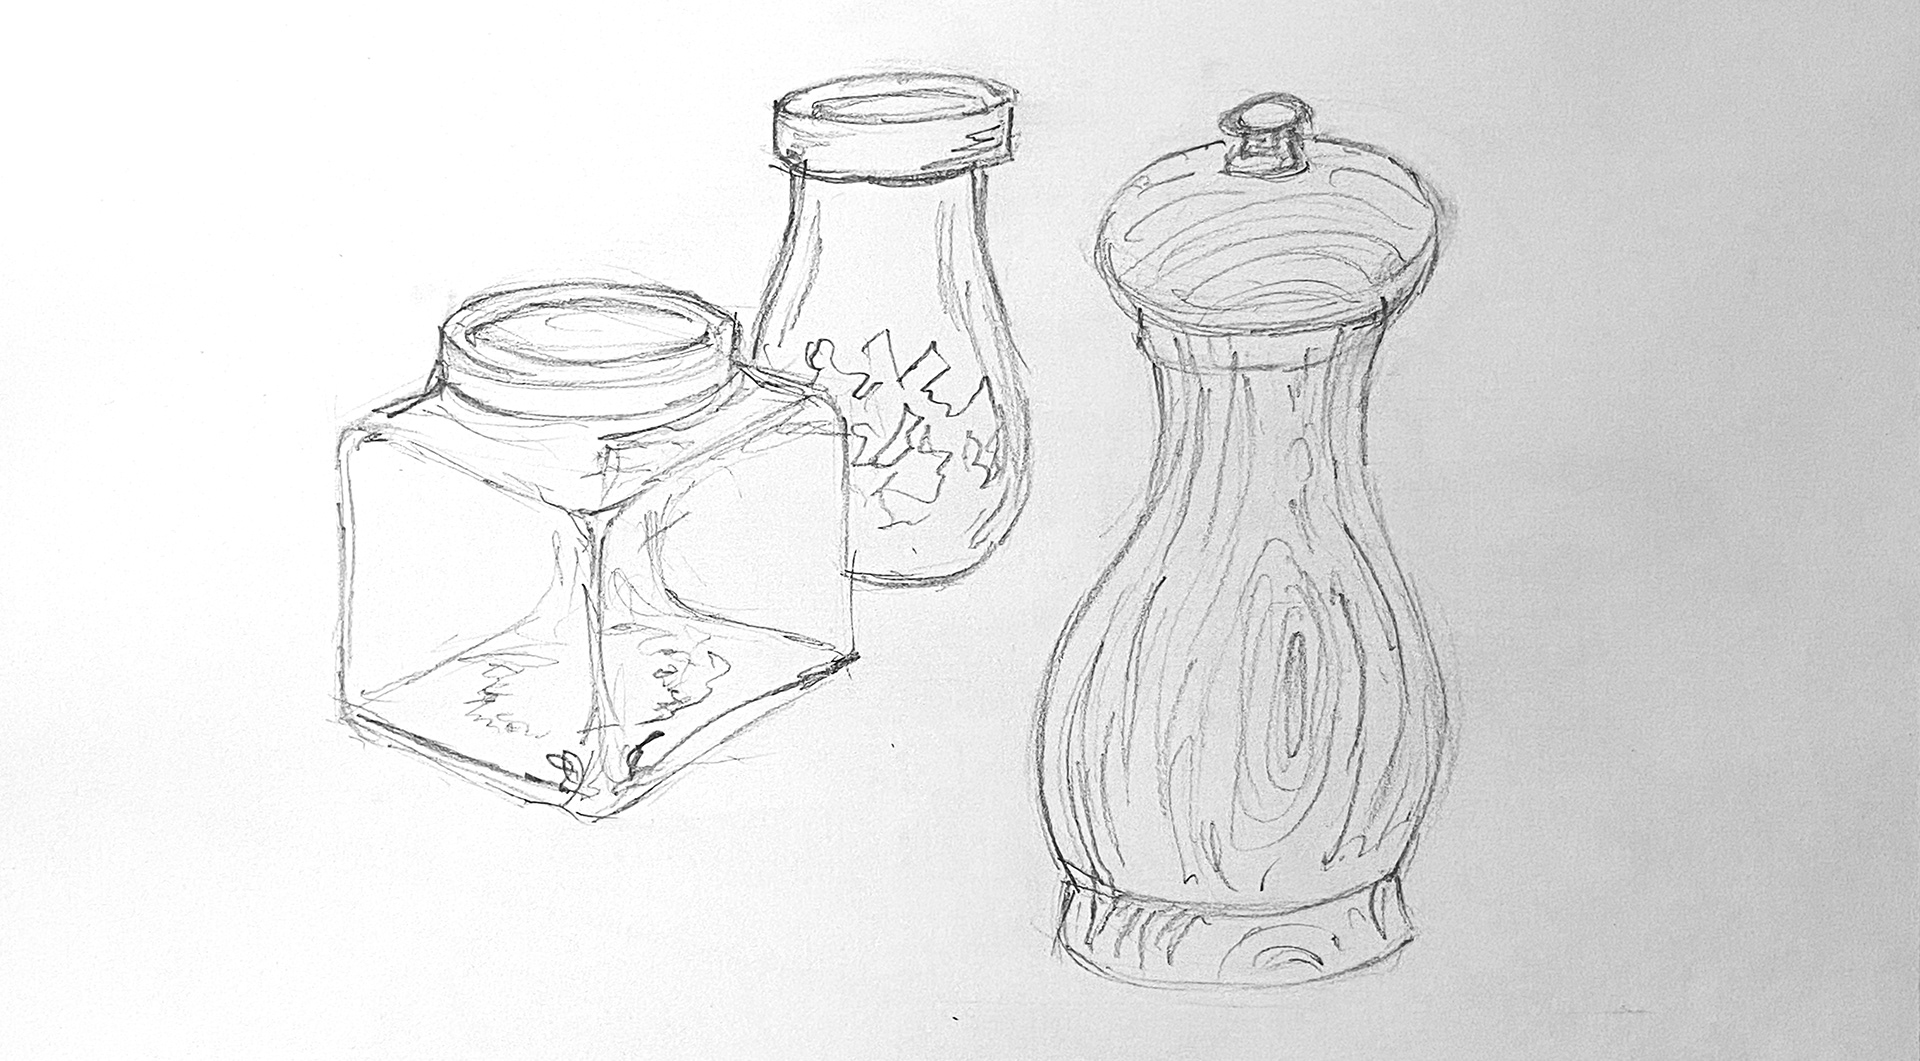
Mr Lax's finished drawing:
Top Tips
• Keep it simple. You don't need to shade your work.
• Draw your initial outlines lightly, as you may need to erase them as you make improvements
• Remember that objects are smaller the further away they are
• Add more detail to the objects in the foreground and less in the background
• Look for reflections and highlights when drawing shiny or transparent objects