Learning Objectives:
• Understand the role of atmospheric perspective in painting
• Learn how light and colour can be used to create depth in a painting
• Experiment with watercolour paint techniques
• Learn how light and colour can be used to create depth in a painting
• Experiment with watercolour paint techniques
What you will need:
A reference image, watercolour paper (or your sketchbook), a soft pencil (preferably 2B or 4B), eraser, pencil sharpener, watercolour paints, a small brush, a larger brush, a pot of water and a paper towel.
You can use colouring pencils if you don't have access to watercolours.
Today's task:
1. Read through the PowerPoint below to understand what atmospheric perspective is and how you can use it in your work.
2. Watch the demo video below.
3. Have a go at producing your own atmospheric perspective landscape, either using a photograph you have taken or one of the sample images provided below. Colour it using watercolours if you have them, or colouring pencils if not.
2. Watch the demo video below.
3. Have a go at producing your own atmospheric perspective landscape, either using a photograph you have taken or one of the sample images provided below. Colour it using watercolours if you have them, or colouring pencils if not.
Introduction to Atmospheric Perspective:
Demo video:
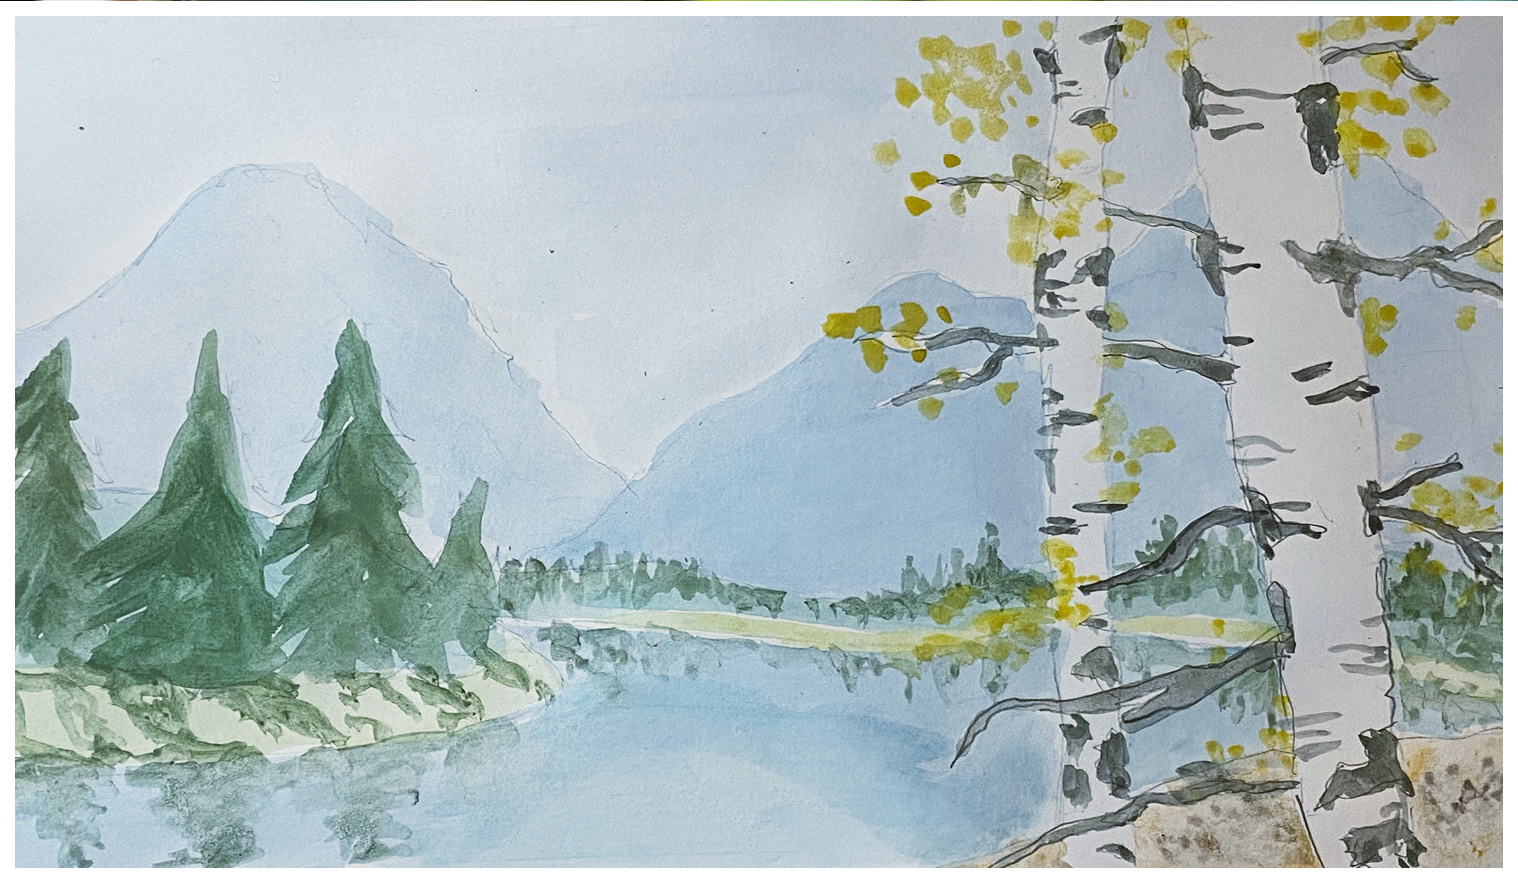
Mr Lax's finished painting:
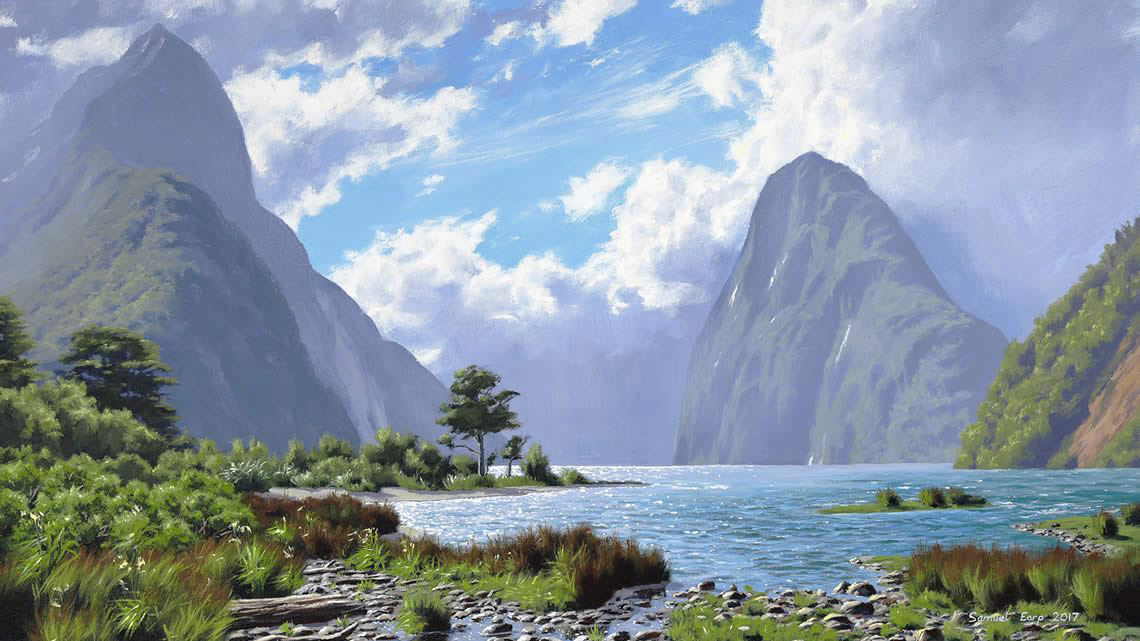
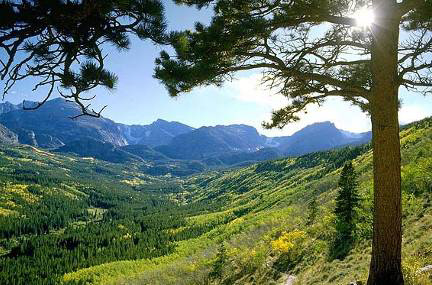
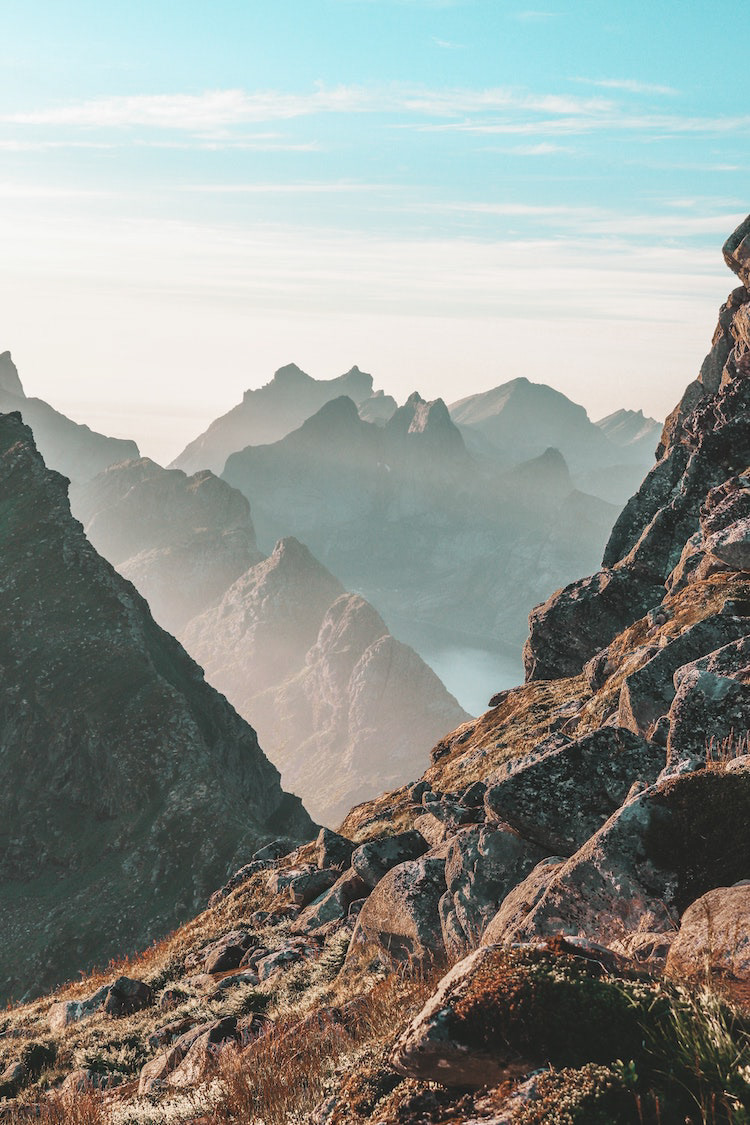
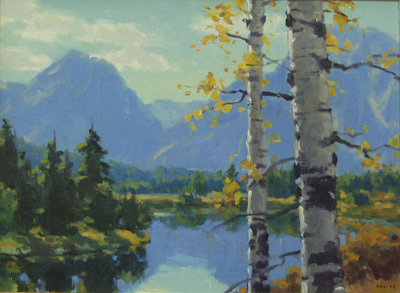
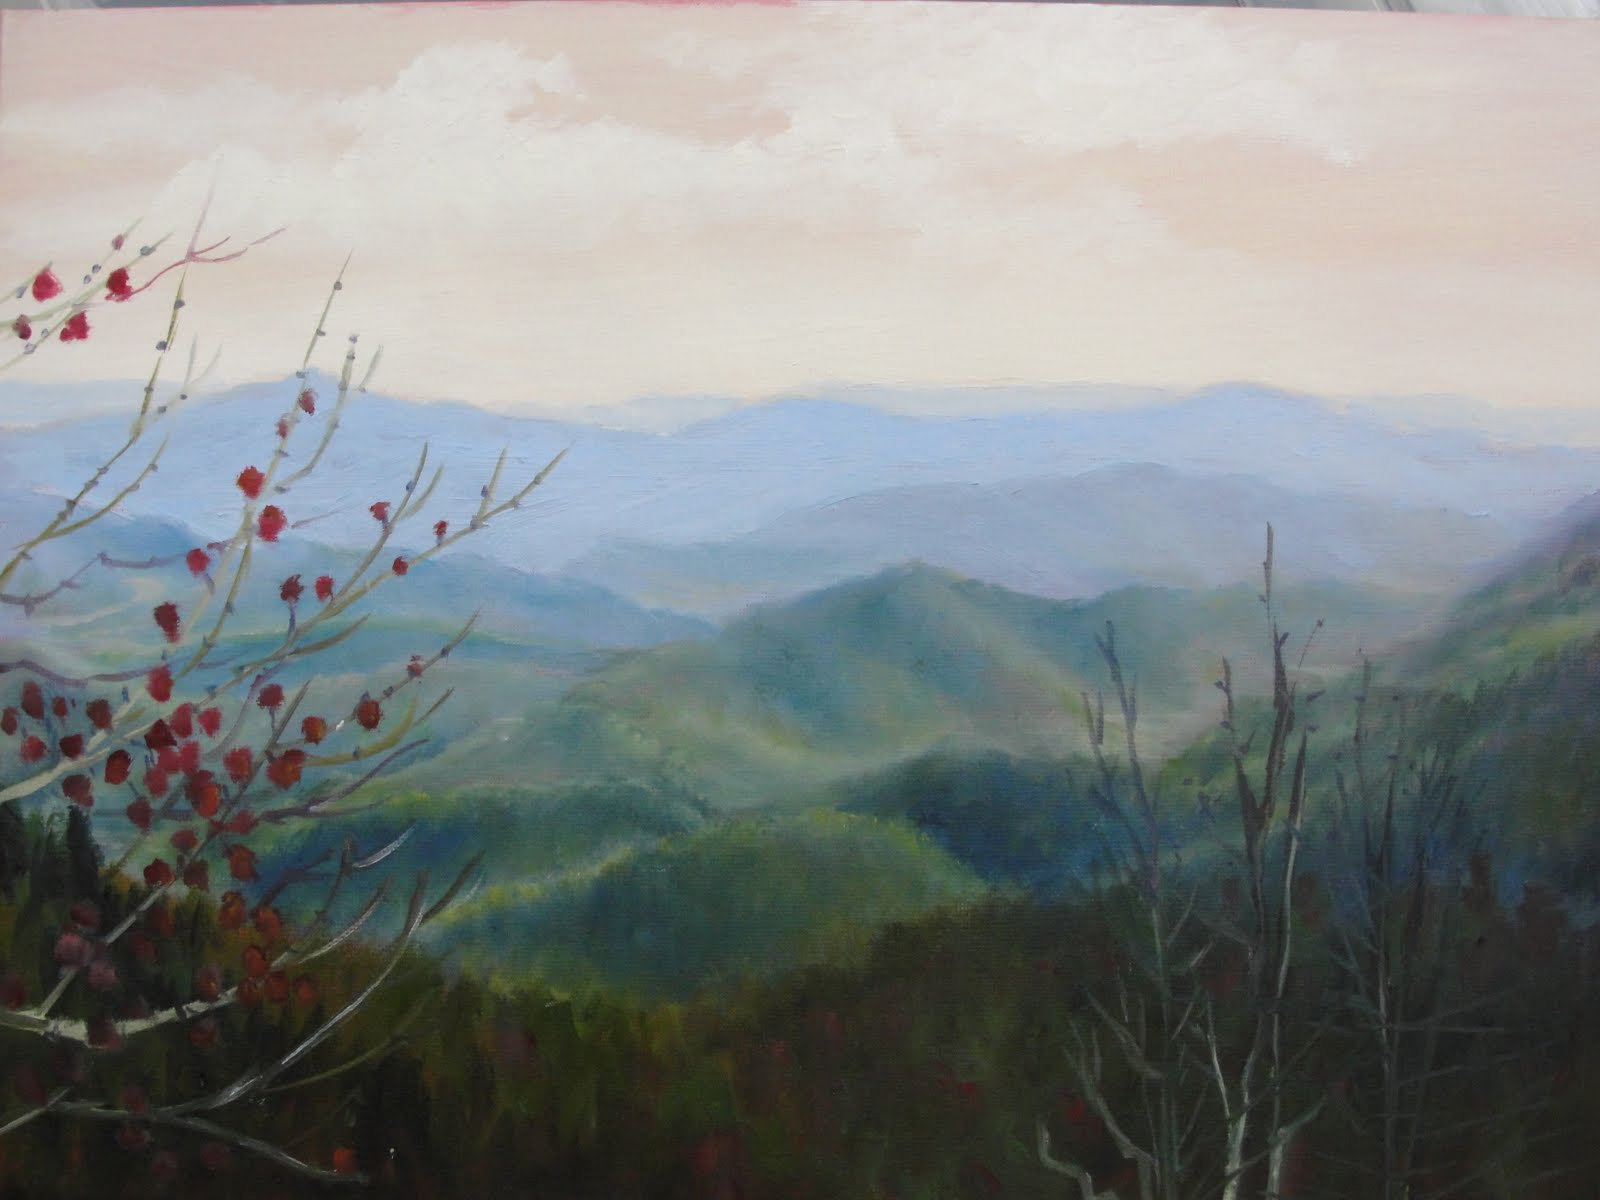
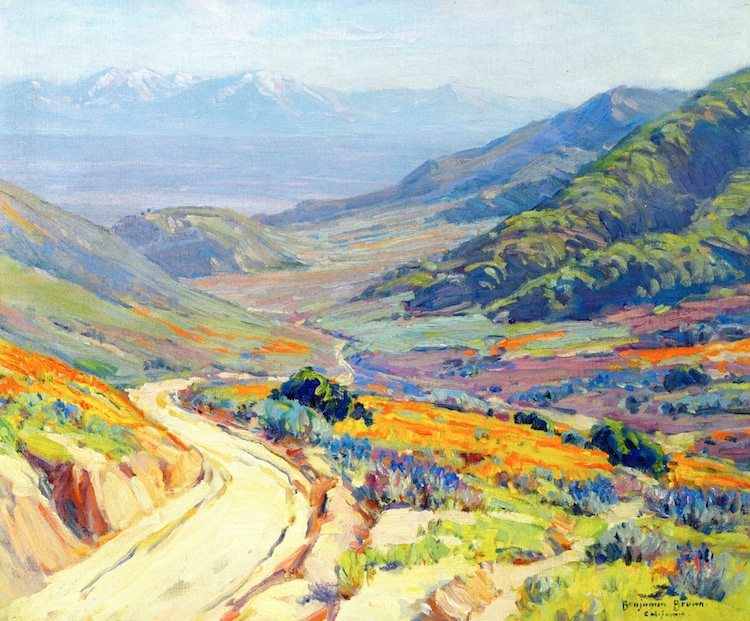
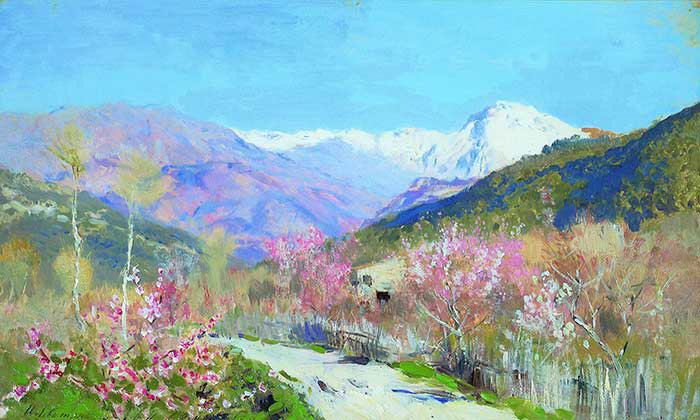
Sample images for inspiration:
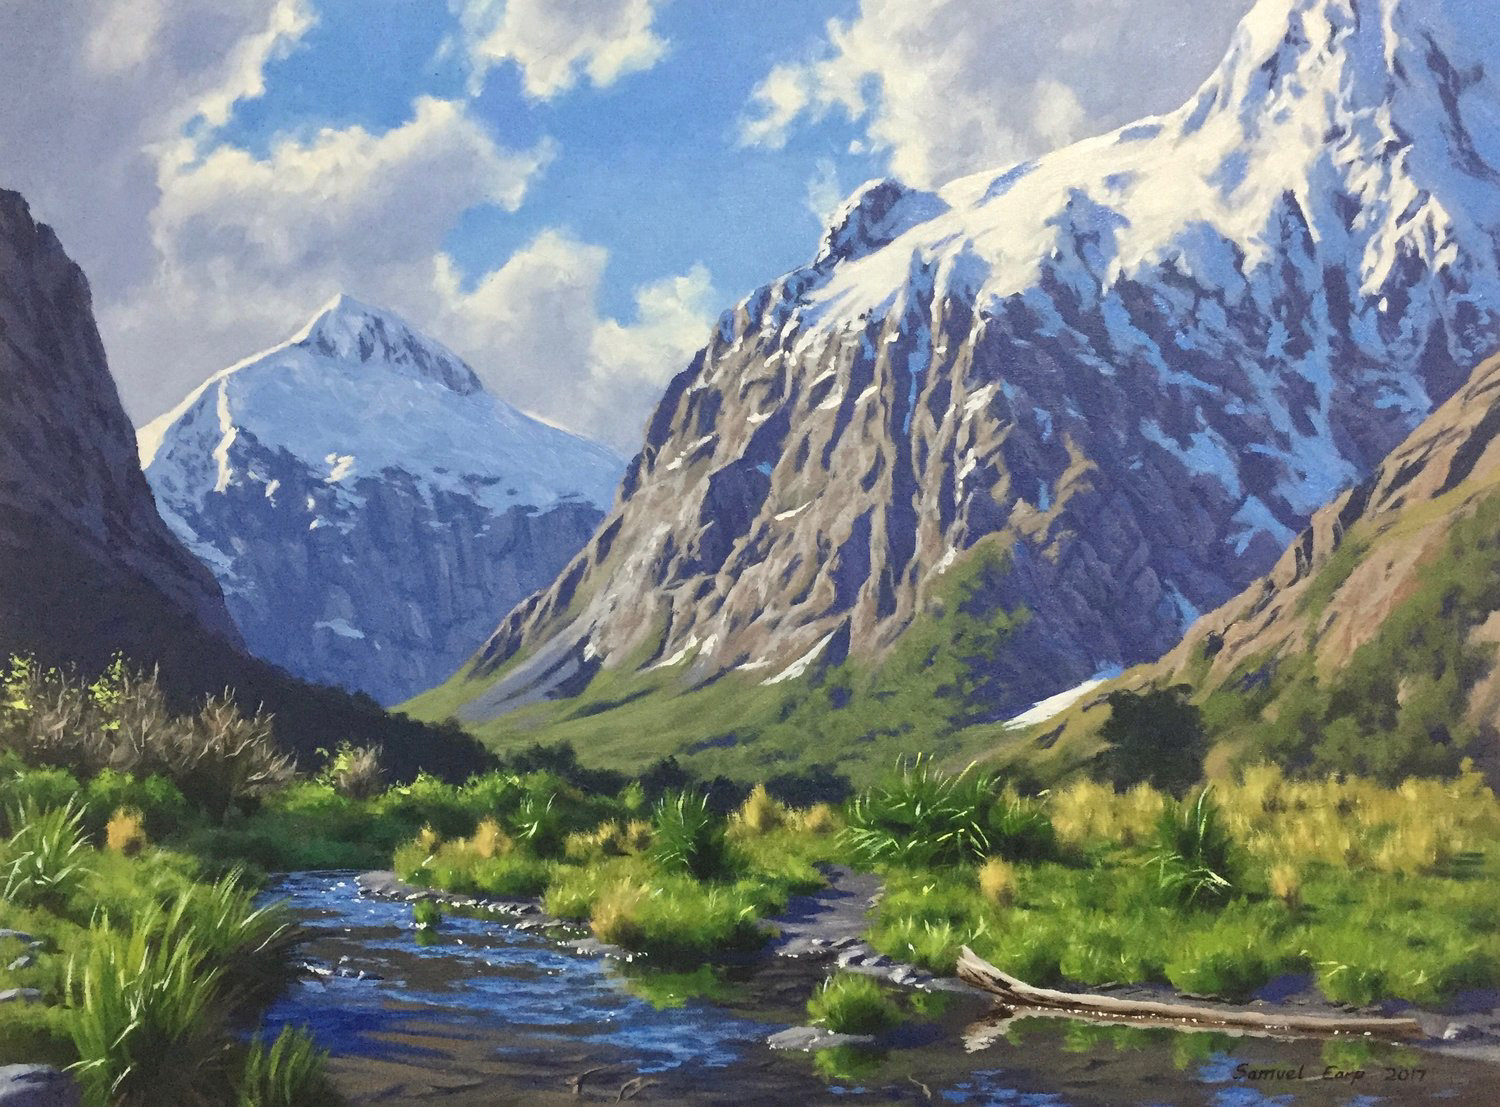

Top Tips
• Keep it simple. You don't need to add a lot of detail, especially in the background
• Draw your outlines lightly, as you may not be able to erase them after painting
• Remember that objects, such as trees, are much smaller in the background than the foreground
• Use cool colours in the background and warm colours in the foreground
• Use lighter (more watered-down) colours in the background and darker (more pigmented) colours in the foreground.
• Add detail to the foreground, e.g. leaves, branches or bark texture