Your task:
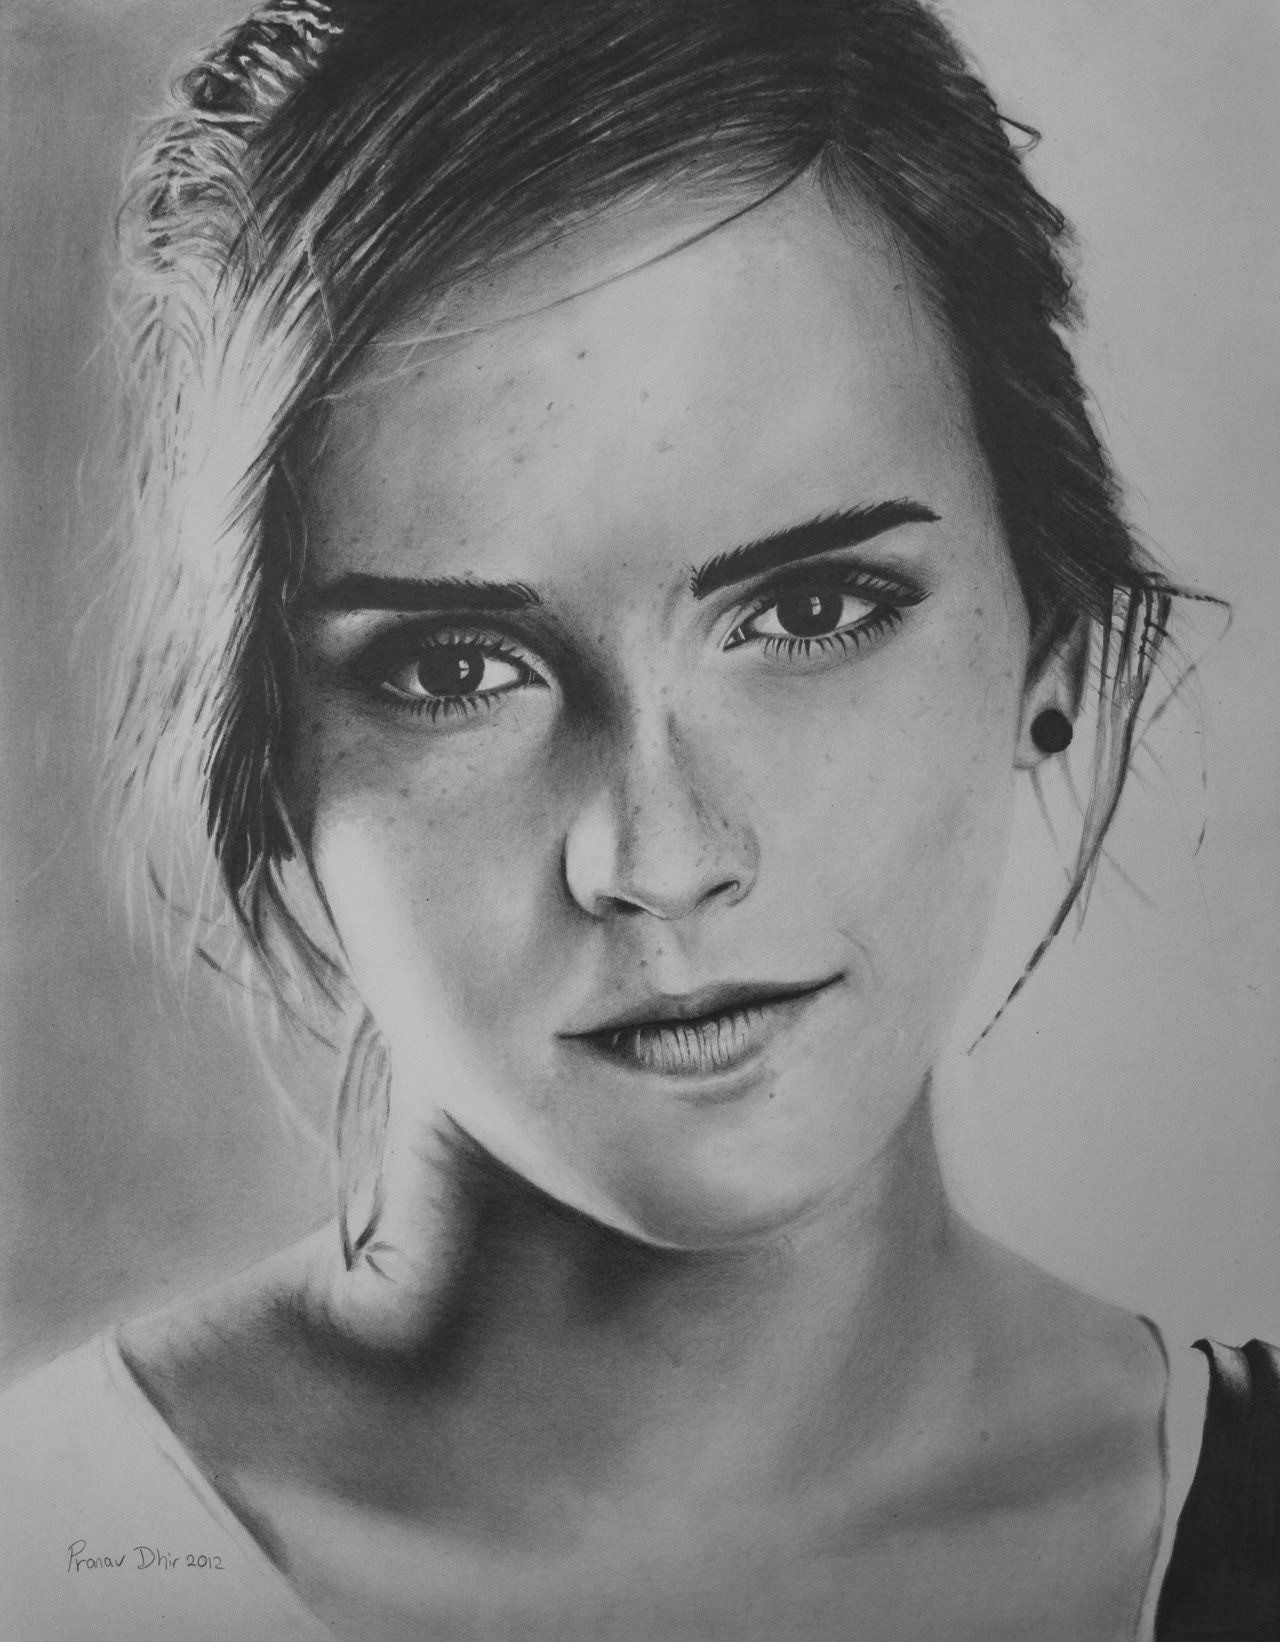
Practice shading skin following the video, worksheet and tips listed below. You should be routinely making changes as your work develops.
What you will need:
Sketching paper (or your sketchbook), a soft pencil (preferably 2B or 4B), an eraser, a blending stump (or cotton bud), and a pencil sharpener.
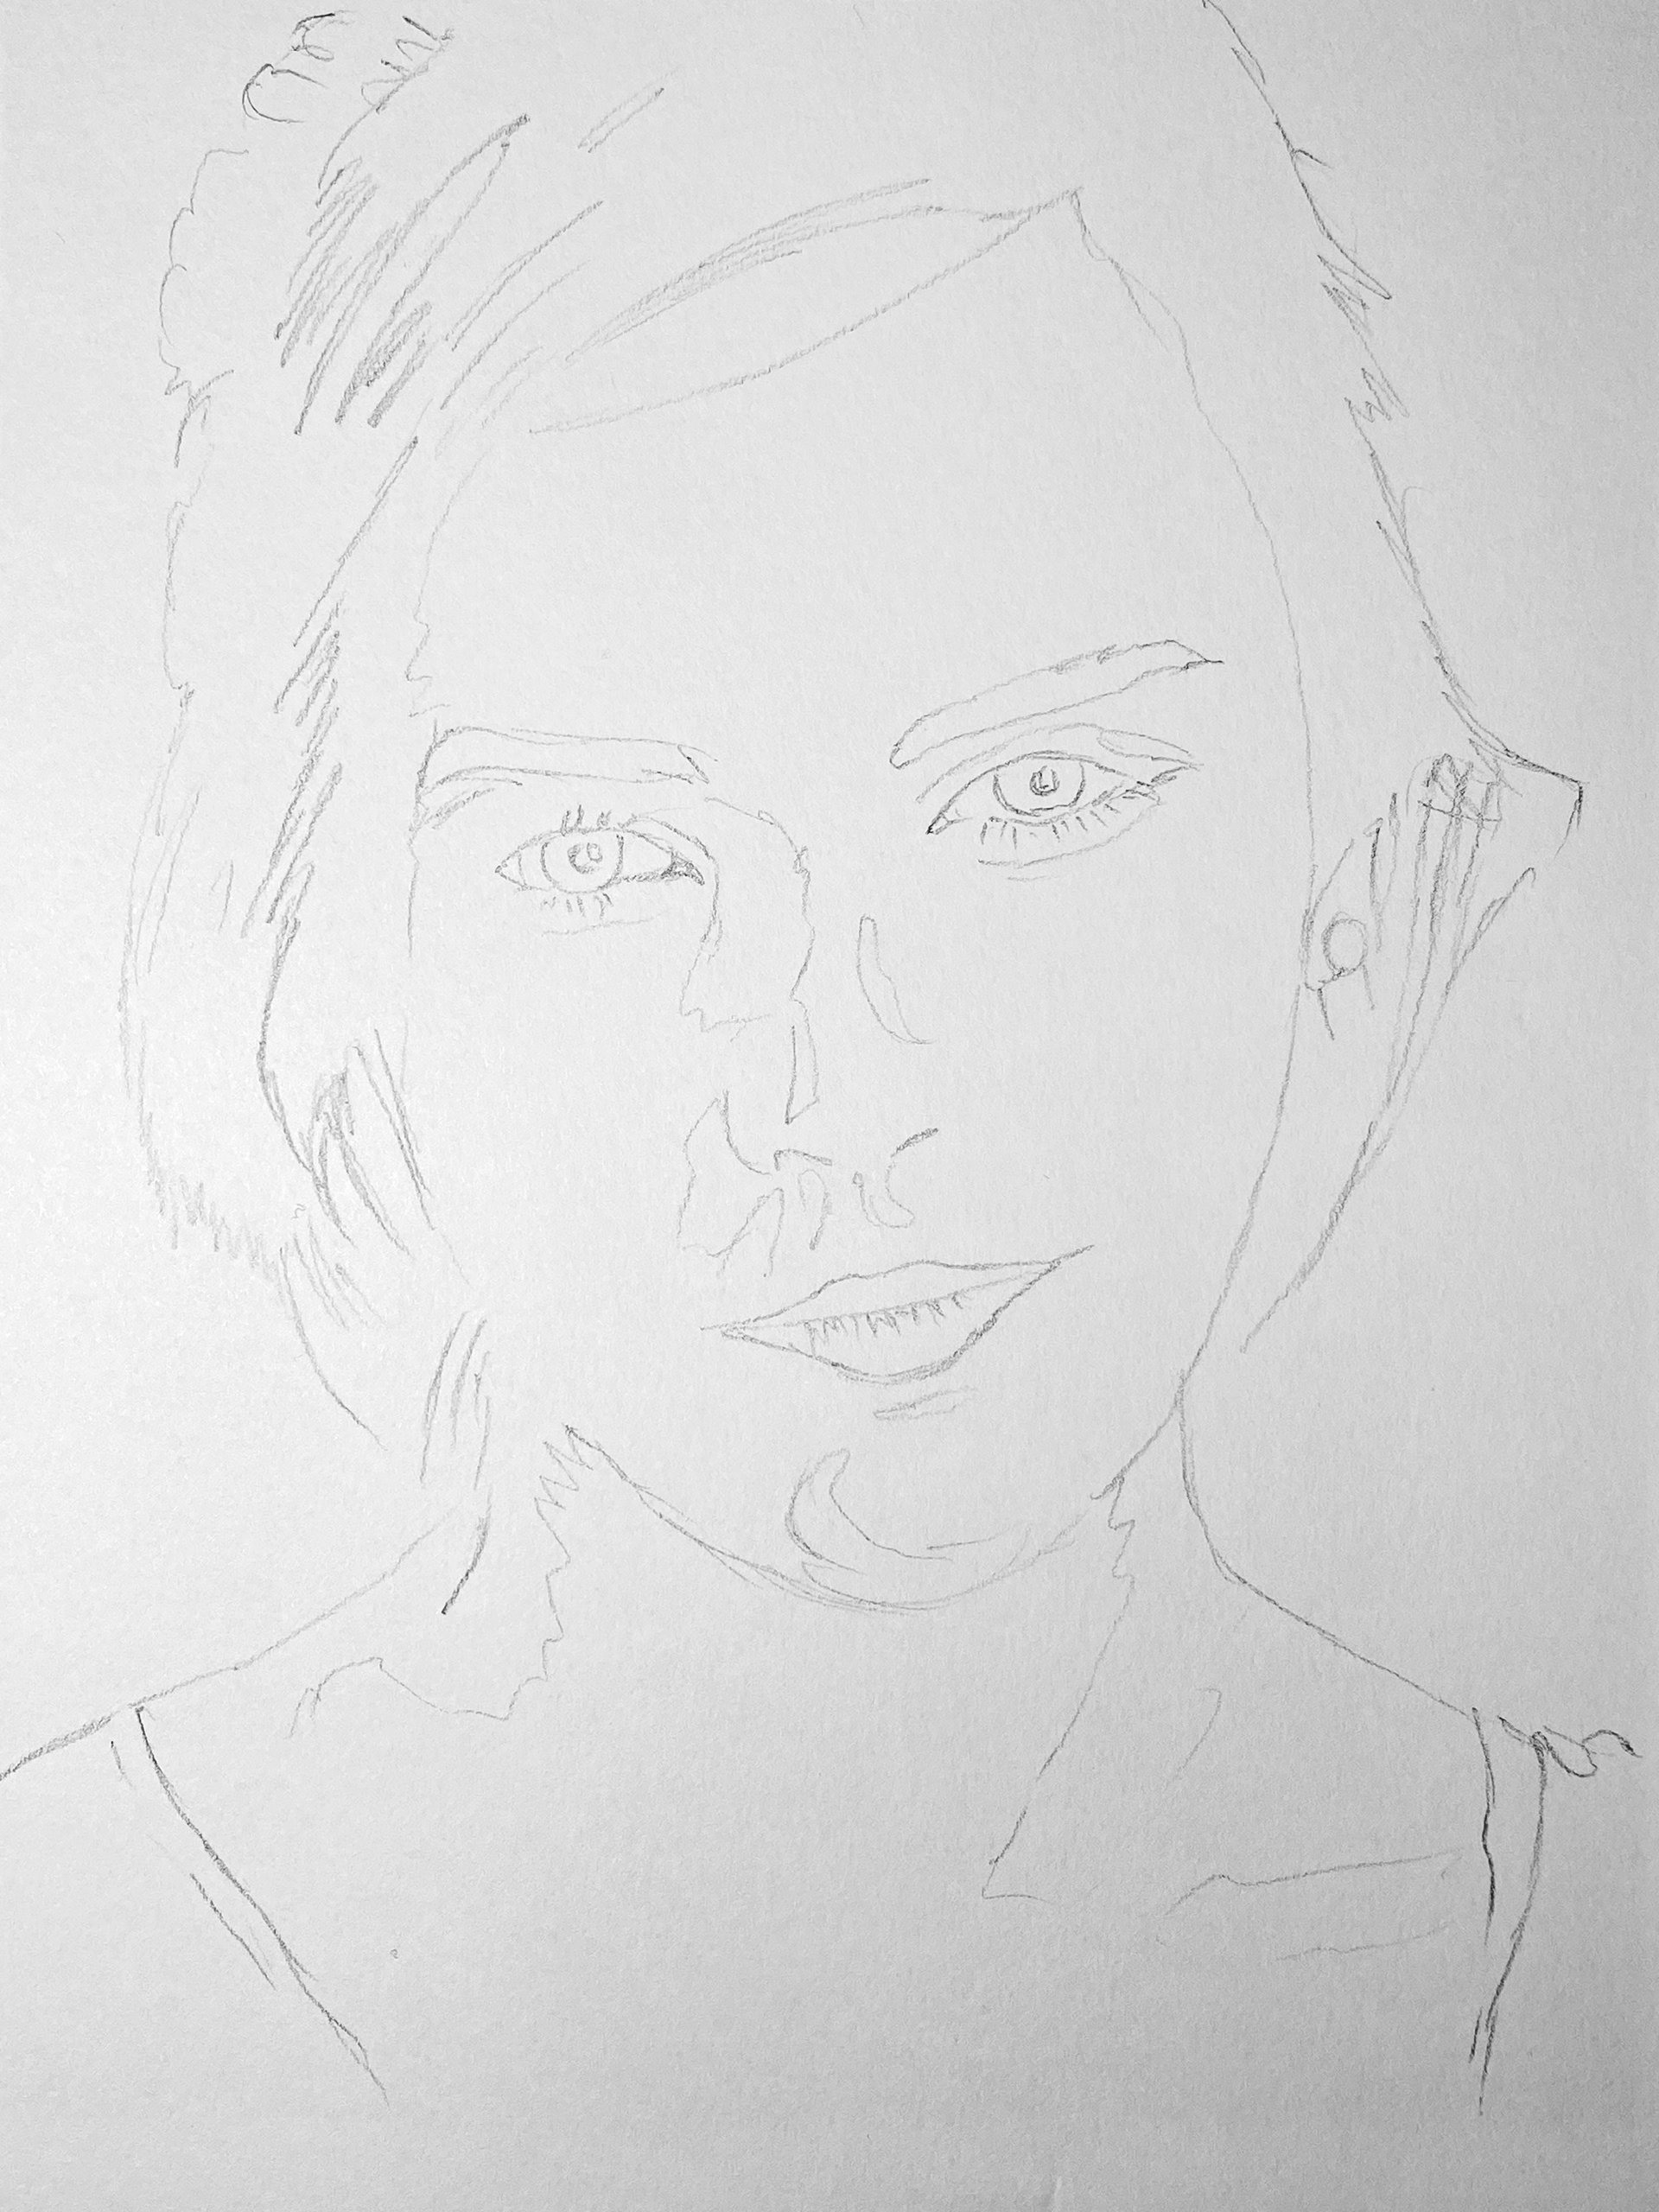
Don't have time to draw the outlines?
Download, print and trace these outlines of Emma Watson so you can have a go at the same image as in the video above.
Alternatively you could take your own photo and trace the outlines from that.
Top Tips:
• It is much easier to shade the skin tones after you have drawn the hair, clothes and other shadows.Otherwise the skin will appear too dark against the white of the paper. By having some darker features already drawn, you have something to contrast with the skin, therefore making the skin appear lighter
• It is important to layer up your shading very slowly and blend between layers to avoid scribble lines
• Use a piece of soft tissue paper to blend, rather than a blending stump/cotton bud
• Be careful not to smudge over the hair or facial features. It may help to fold your tissue paper into a point to give you better control
Other Tips:
• Use a sharp pencil
• Draw as lightly as you can when sketching your initial outlines
• Measure the initial width, height and angle of each shape/shadow/highlight carefully
• You can leave gaps for the highlights, but you can also use an eraser after shading to emphasise the lighter tones
• Draw as lightly as you can when sketching your initial outlines
• Measure the initial width, height and angle of each shape/shadow/highlight carefully
• You can leave gaps for the highlights, but you can also use an eraser after shading to emphasise the lighter tones
Learning Objectives:
• To learn the importance of tonal values when drawing skin tones
• To practise skills in drawing skin tones
• To improve your ability to identify shapes when drawing hair
• To make appropriate changes to improve your work as it develops.
• To practise skills in drawing skin tones
• To improve your ability to identify shapes when drawing hair
• To make appropriate changes to improve your work as it develops.