Learning Objectives:
• Learn how to create smooth and gradual variations of tone when shading
• Learn how to use tonal gradients in a drawing to make an object appear three-dimensional
• Learn how to work as a group to create a collaborative piece of art
• Learn how to use tonal gradients in a drawing to make an object appear three-dimensional
• Learn how to work as a group to create a collaborative piece of art
What you will need:
Sketching paper (provided cut-to-size by your teacher), a soft pencil (preferably 2B or 4B), eraser, pencil sharpener and a reference image (provided by your teacher).
• Sketching paper (provided cut-to-size by your teacher)
• Drawing pencils
• Eraser
• Pencil sharpener
• Ruler
• Blending stump (optional)
• A reference image (from your teacher)
• Drawing pencils
• Eraser
• Pencil sharpener
• Ruler
• Blending stump (optional)
• A reference image (from your teacher)
Your Task:
Once you have received your paper and reference image from your teacher, you can start your section of the group drawing, following these steps...
1. Check that your drawing paper and reference image are exactly the same size
2. Draw the outlines as lightly as you can, being careful to check that they 'go off the page' at the right points to ensure your drawing is aligned with its neighbouring piece of the puzzle
3. Check your outlines carefully
4. Add tonal gradients, looking very closely at the original image for comparison
5. Review and refine your work as it develops
6. Place your drawing next to other people's drawings to see if they line up correctly and if your shading is the same value (lightness/darkness)
7. Make corrections as needed
8. Hand your work in to your teacher for the group collaboration to be pieced together
Examples of previous completed group drawings
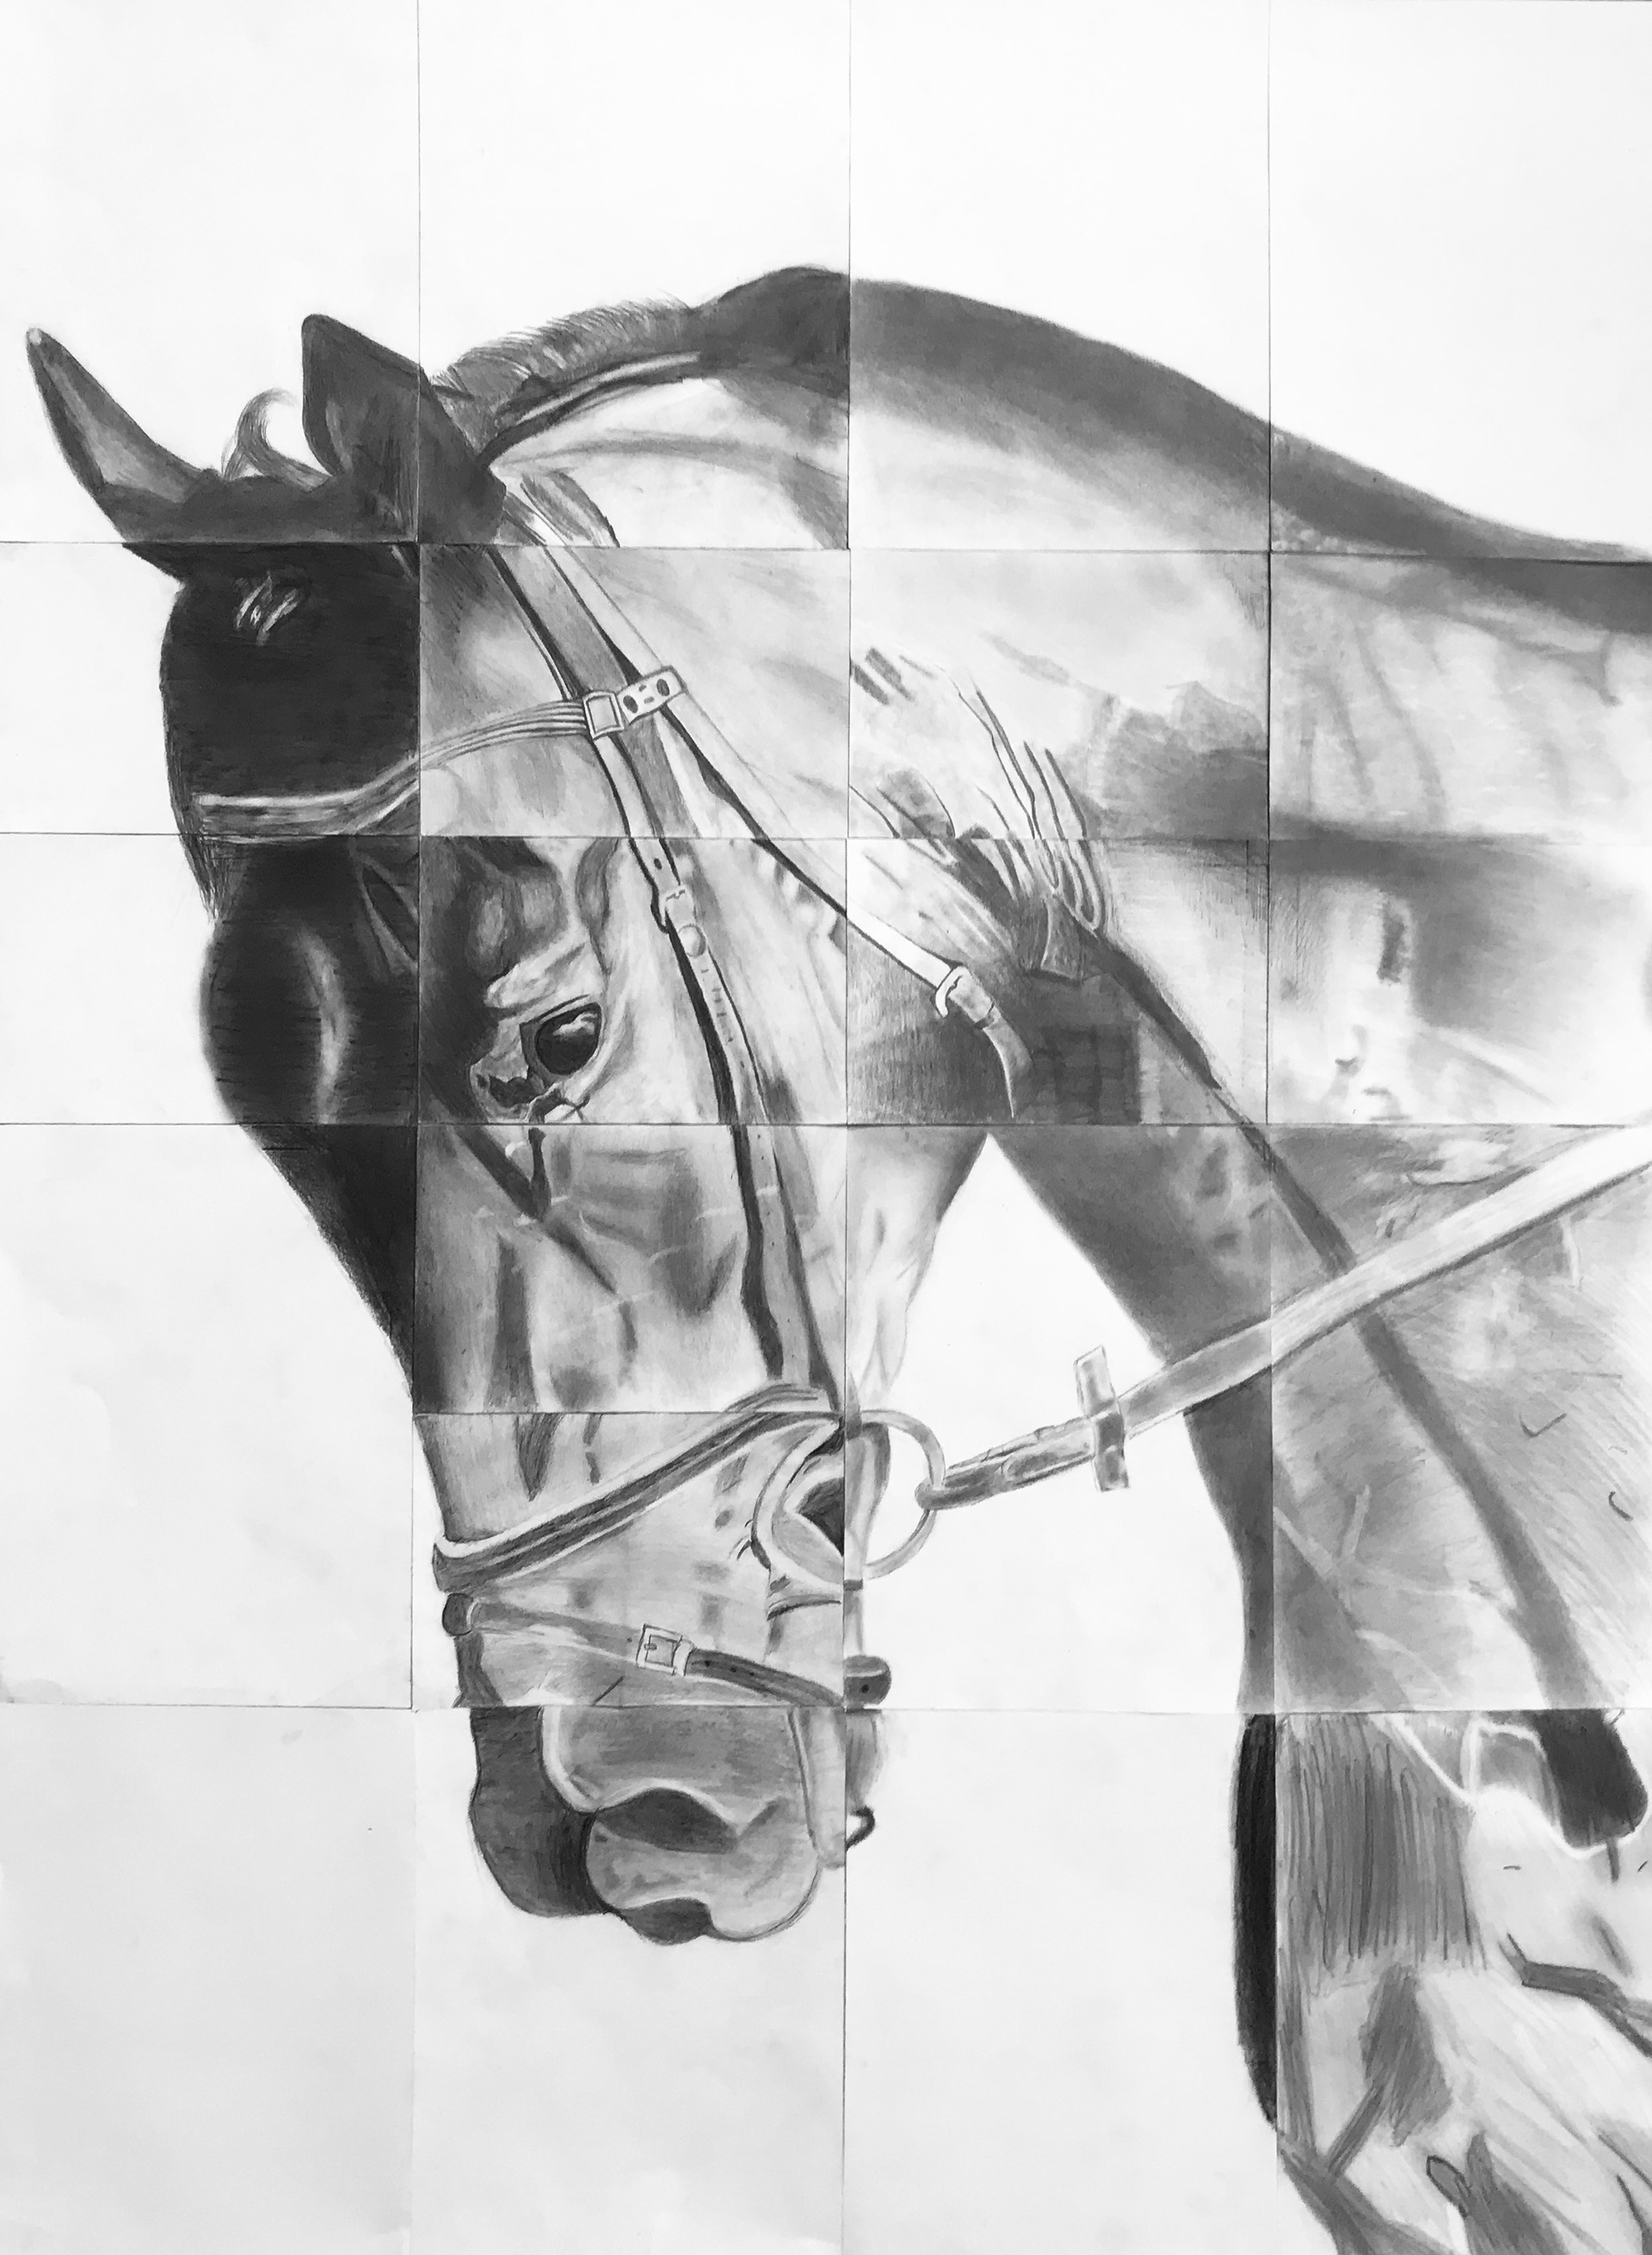
Y7CP, 2018-19
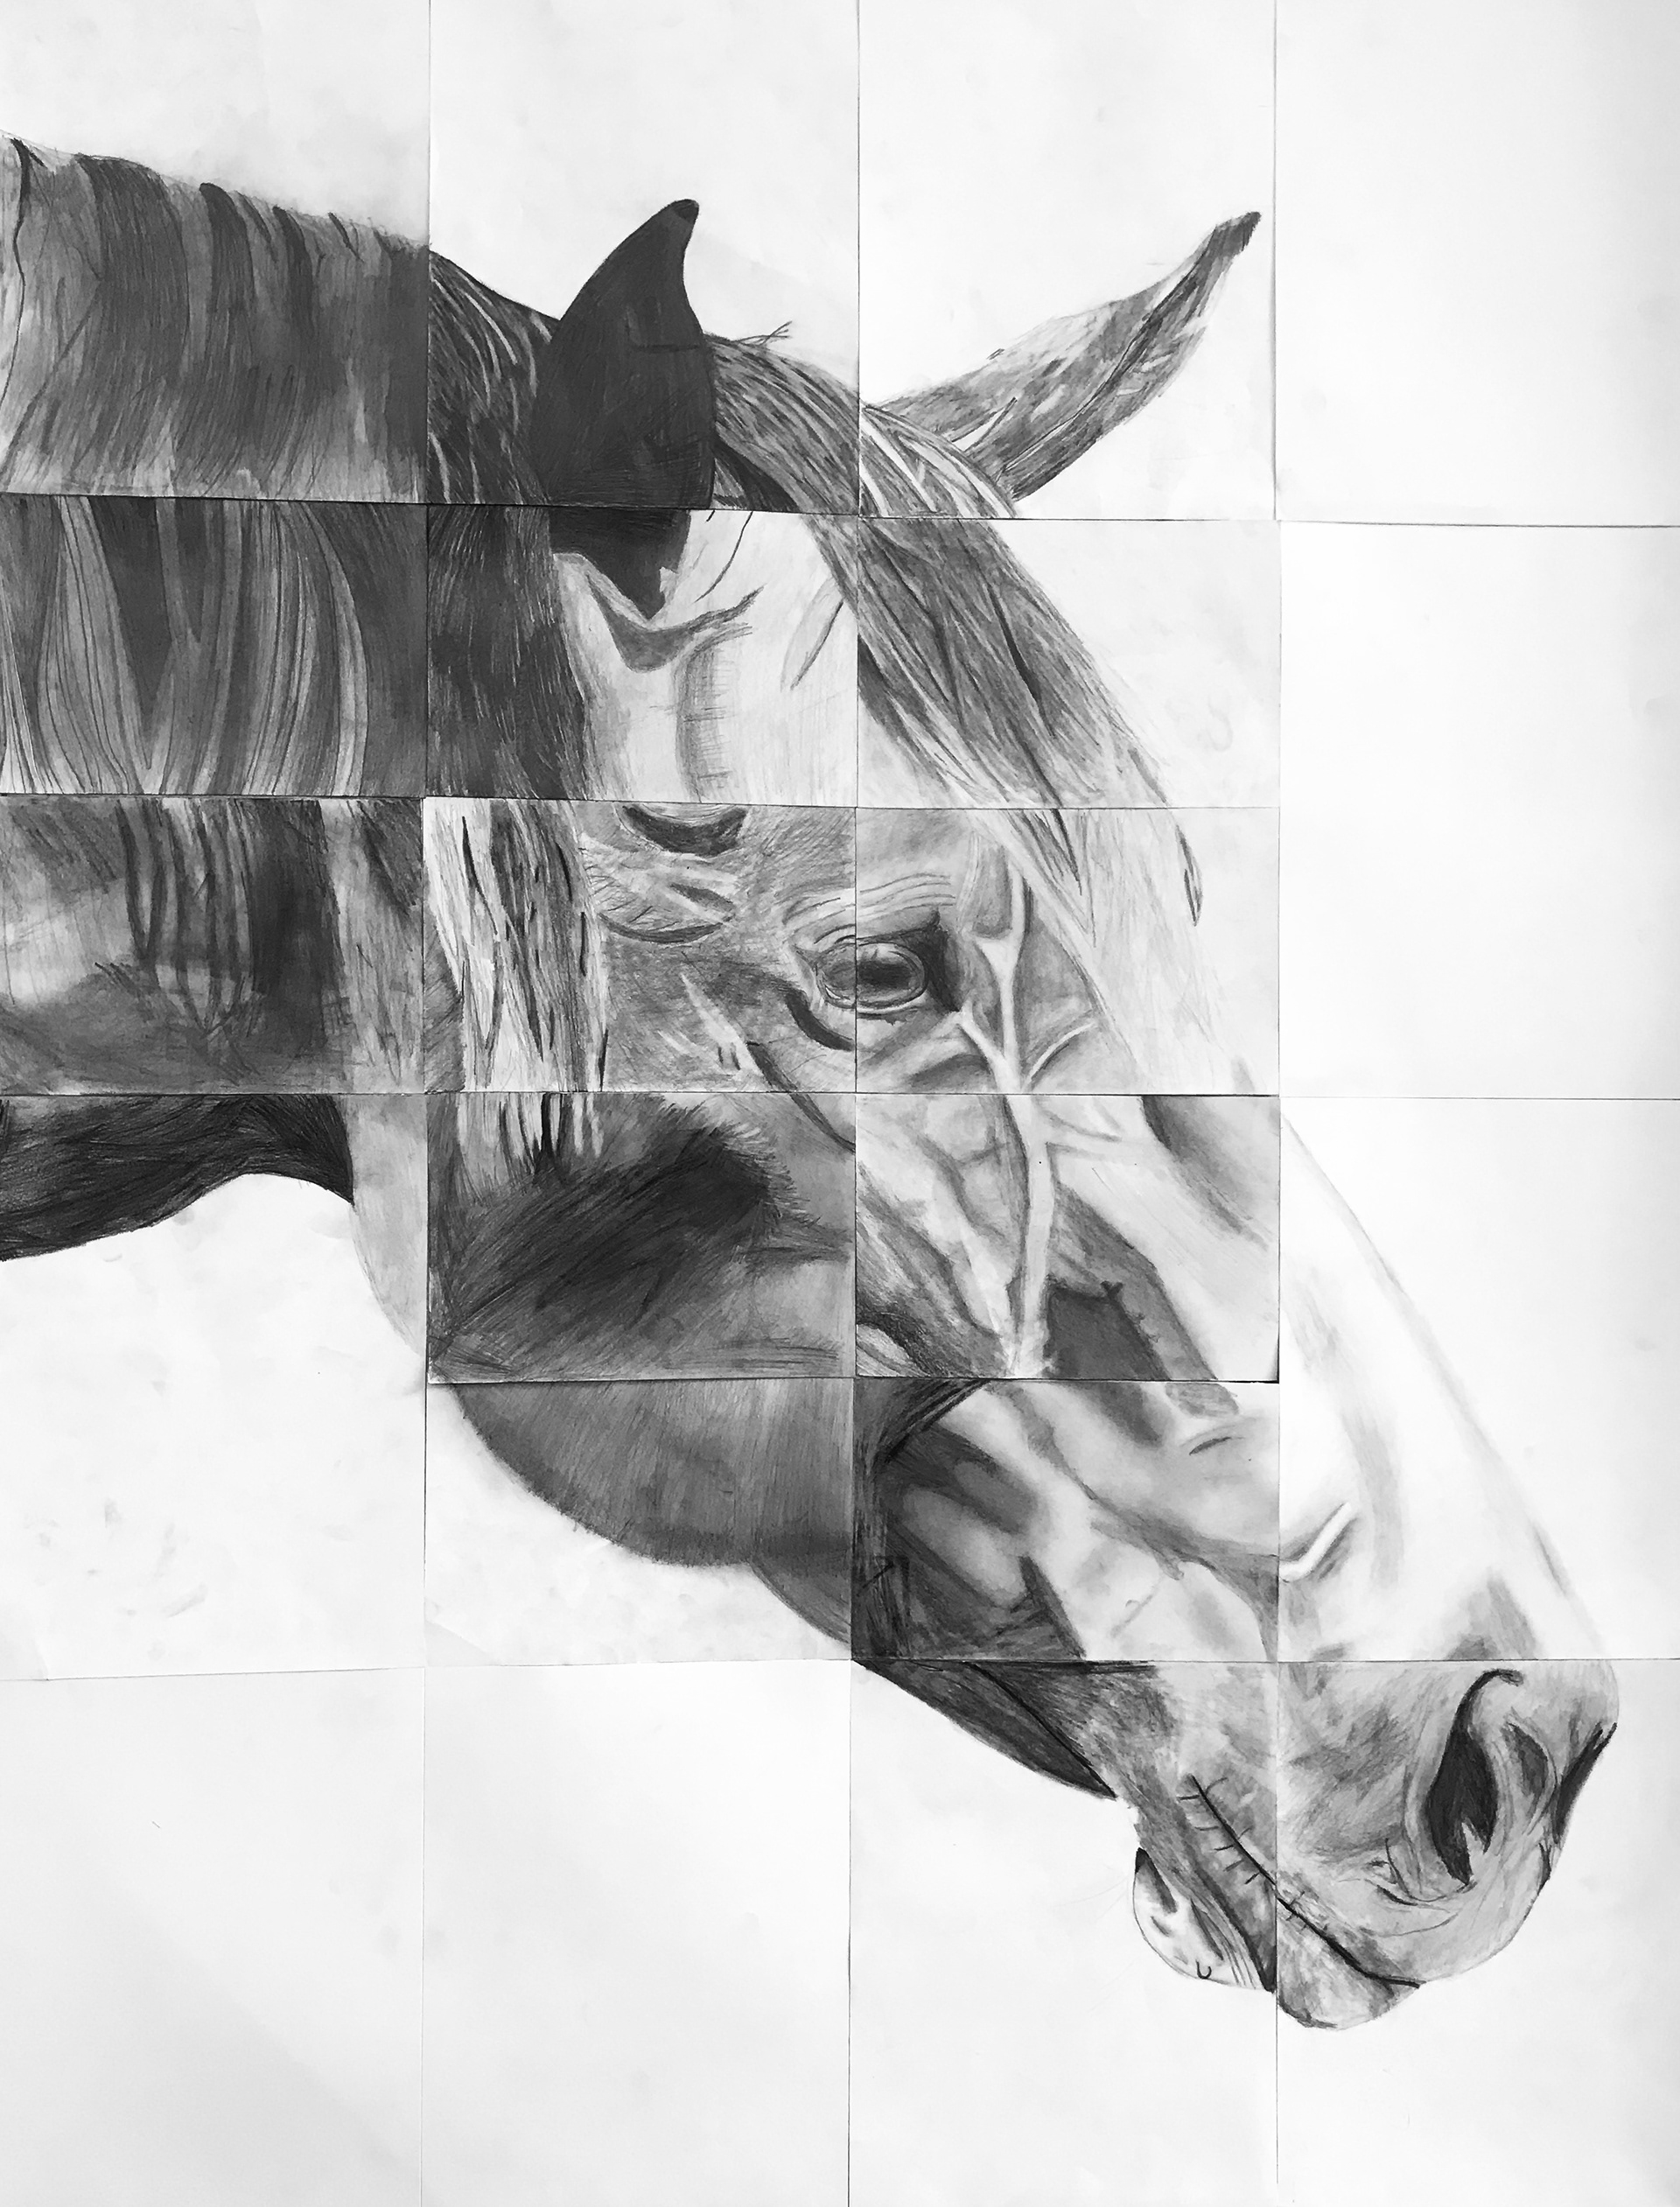
Y7CD, 2018-19
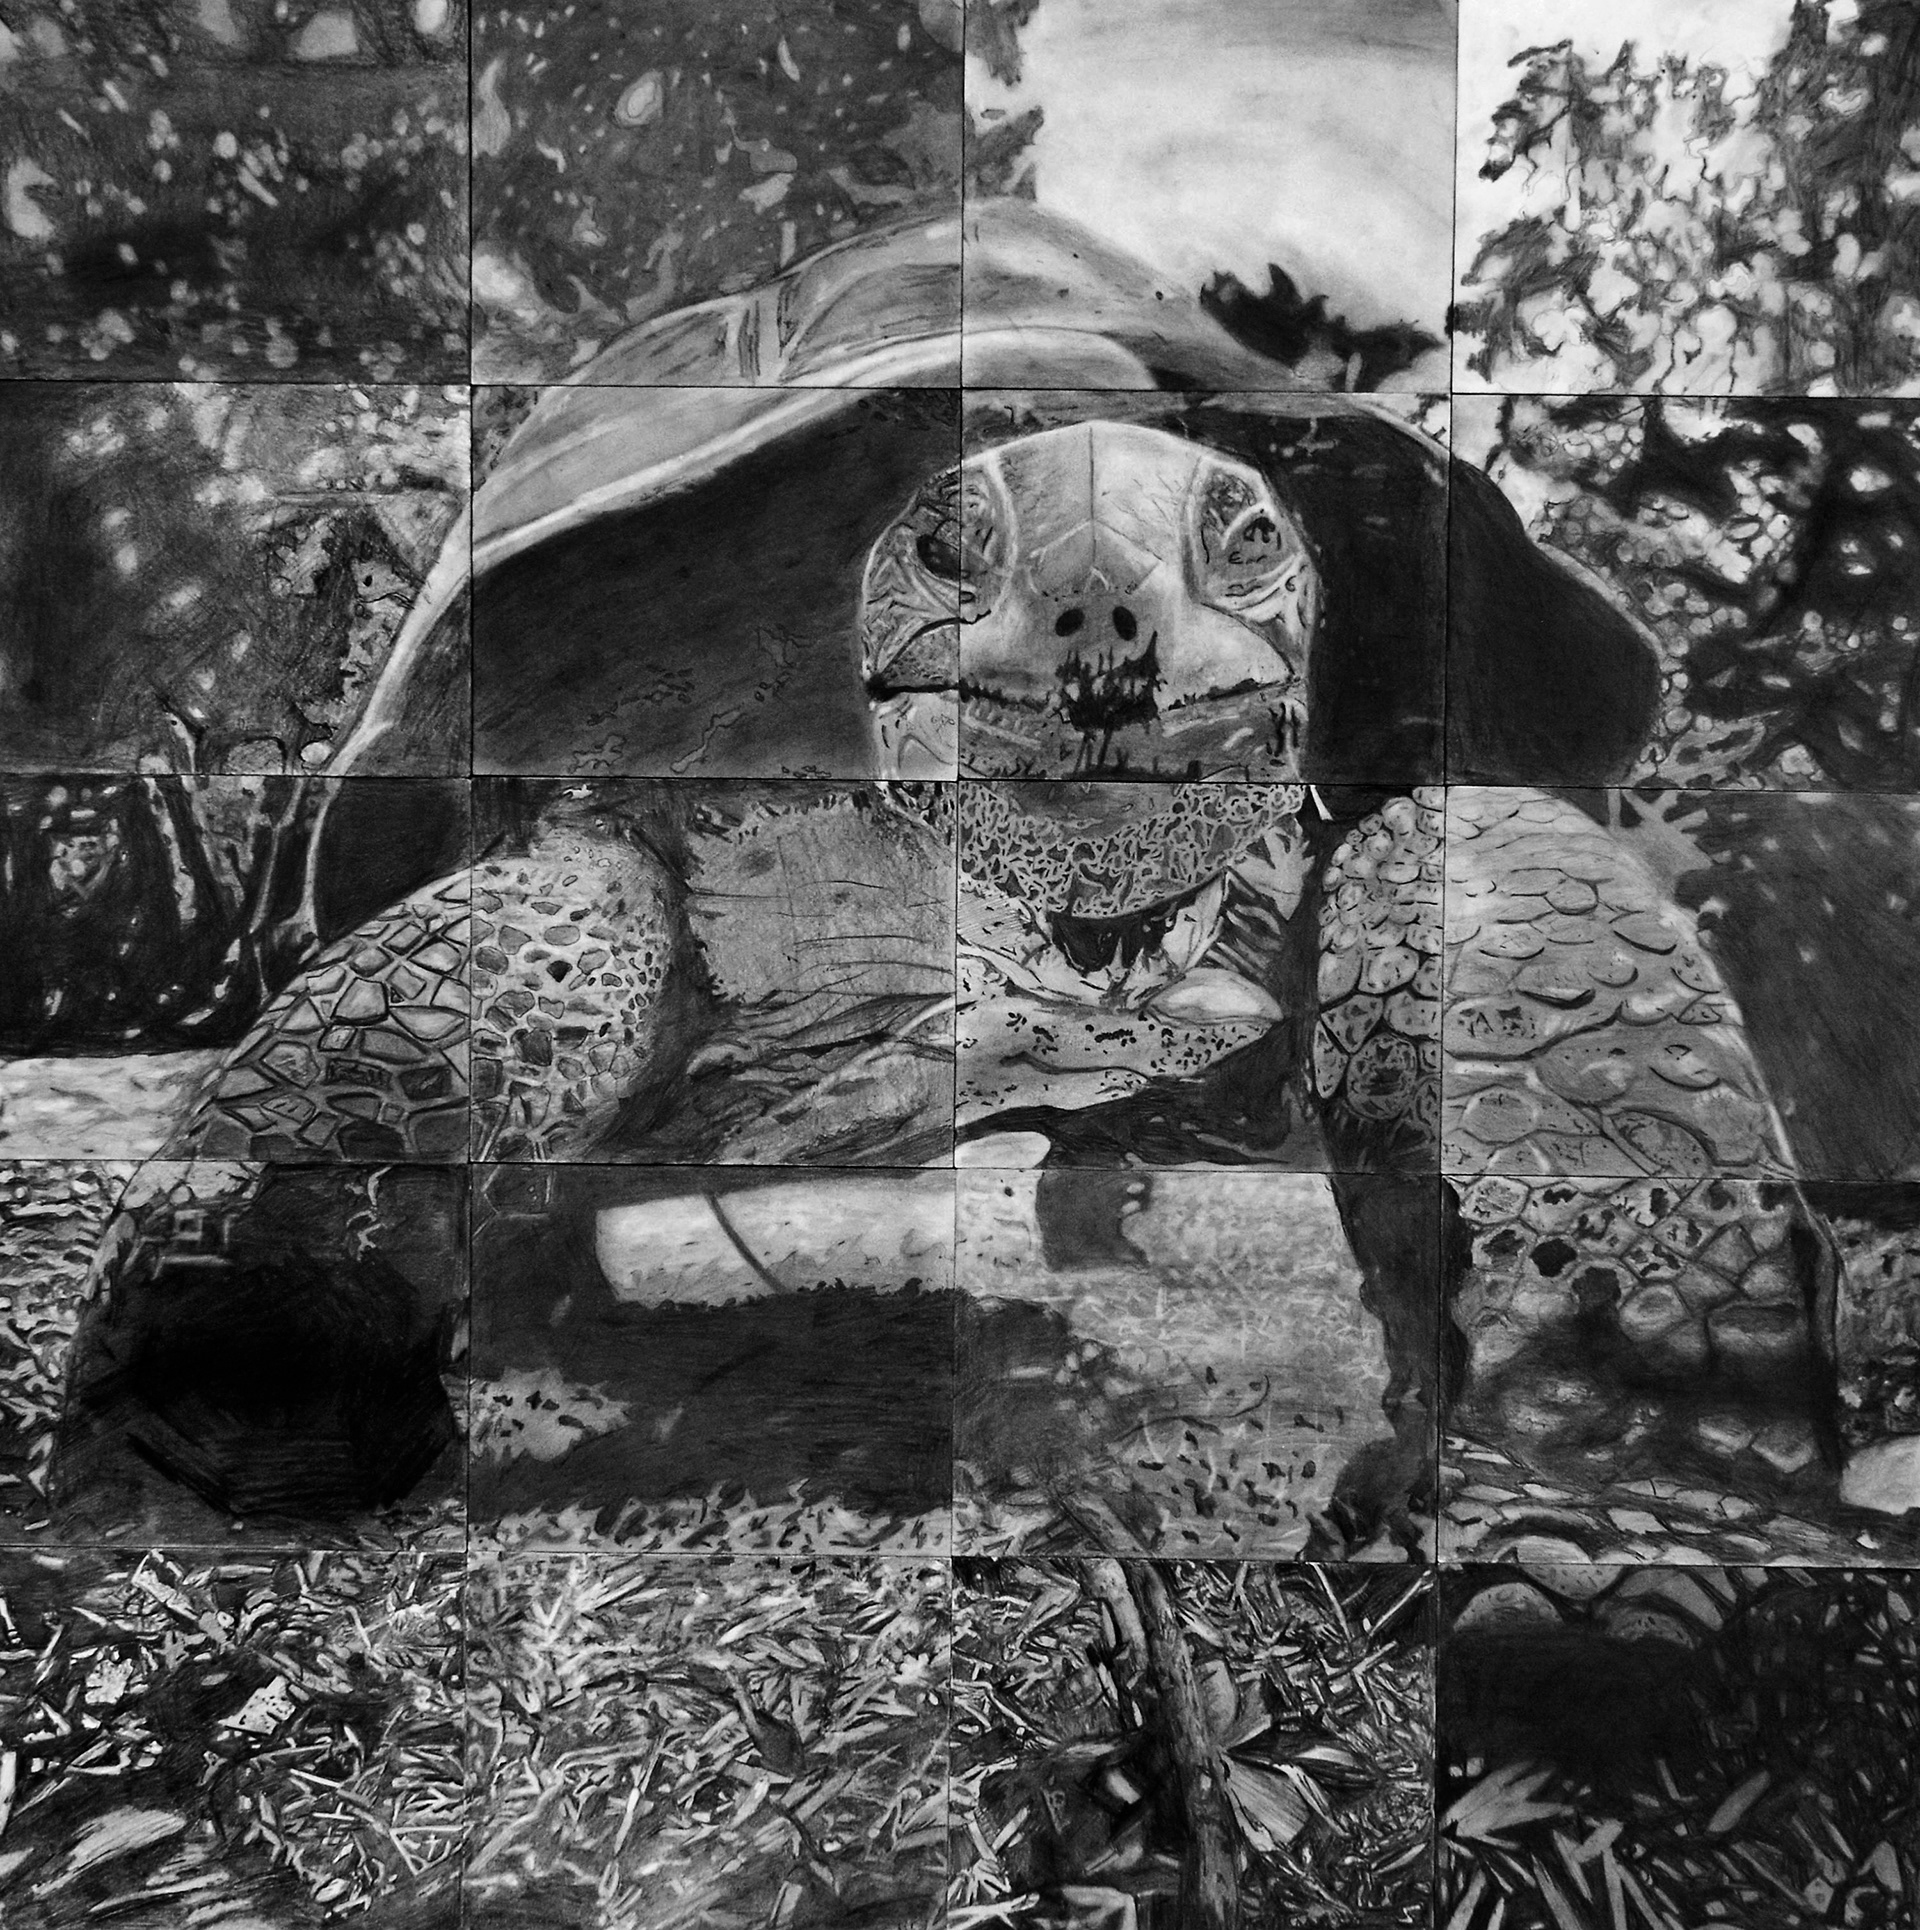
Y7SB, 2020-21
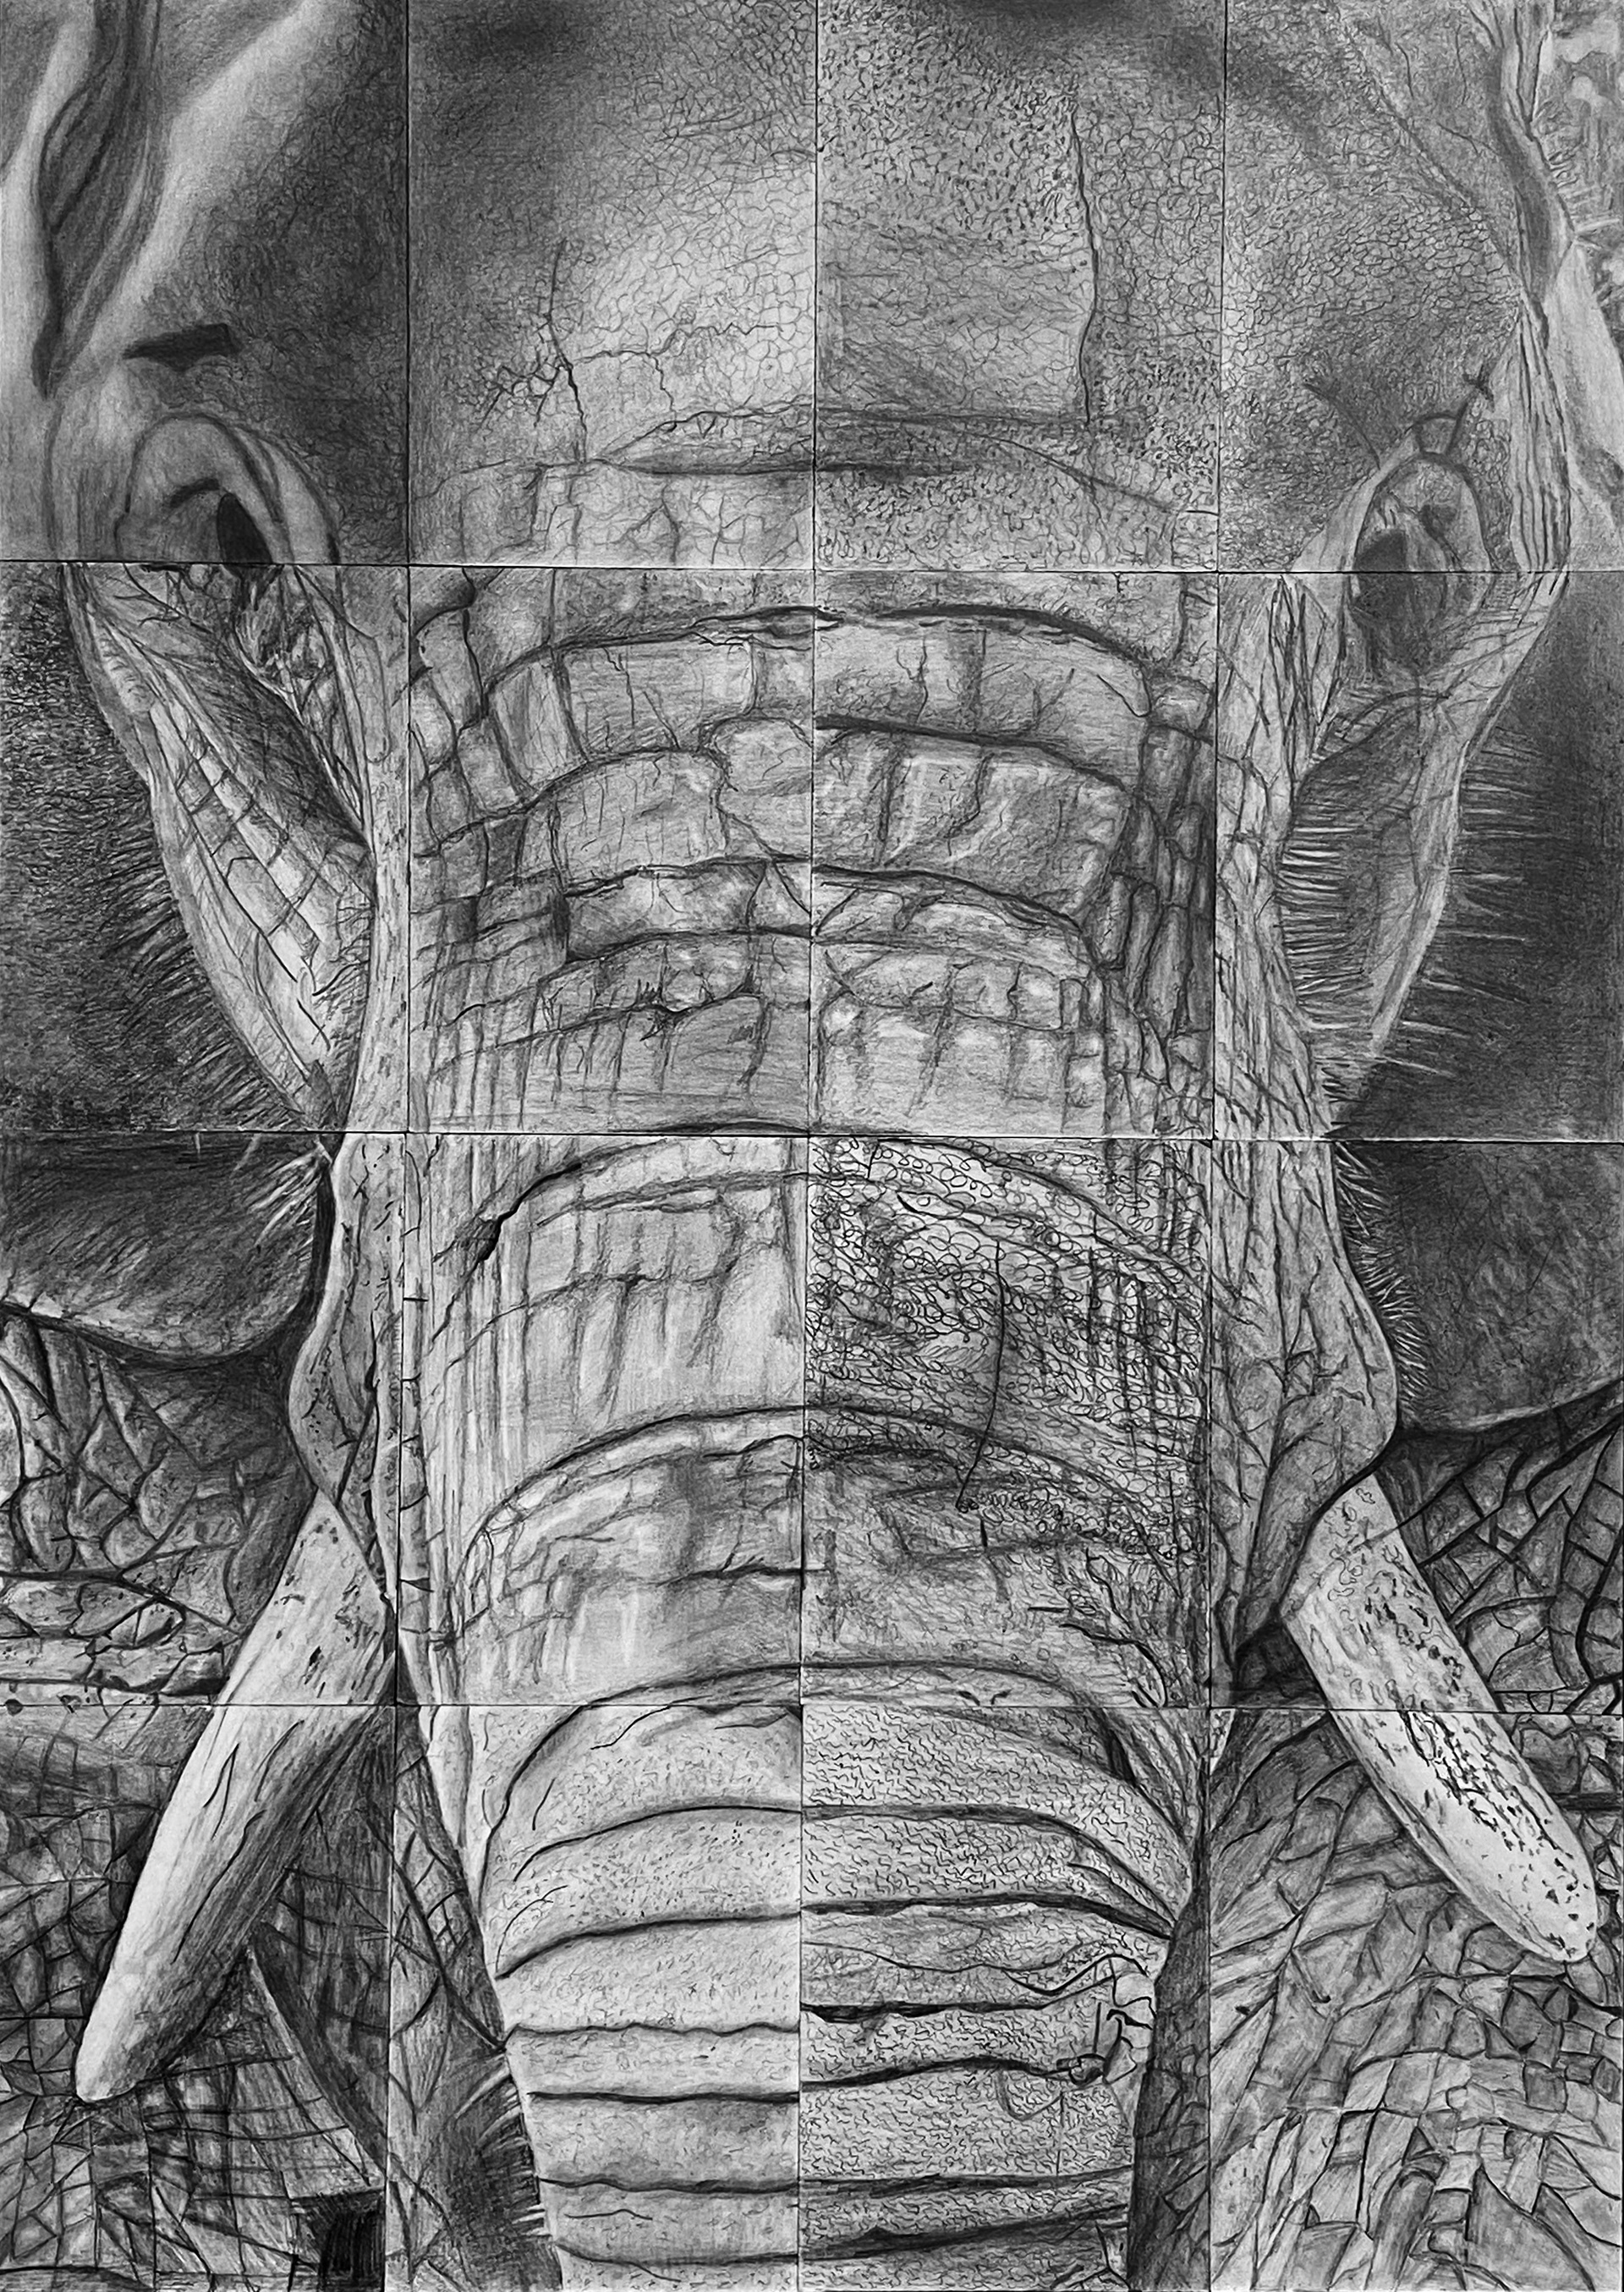
Y7MT, 2020-21
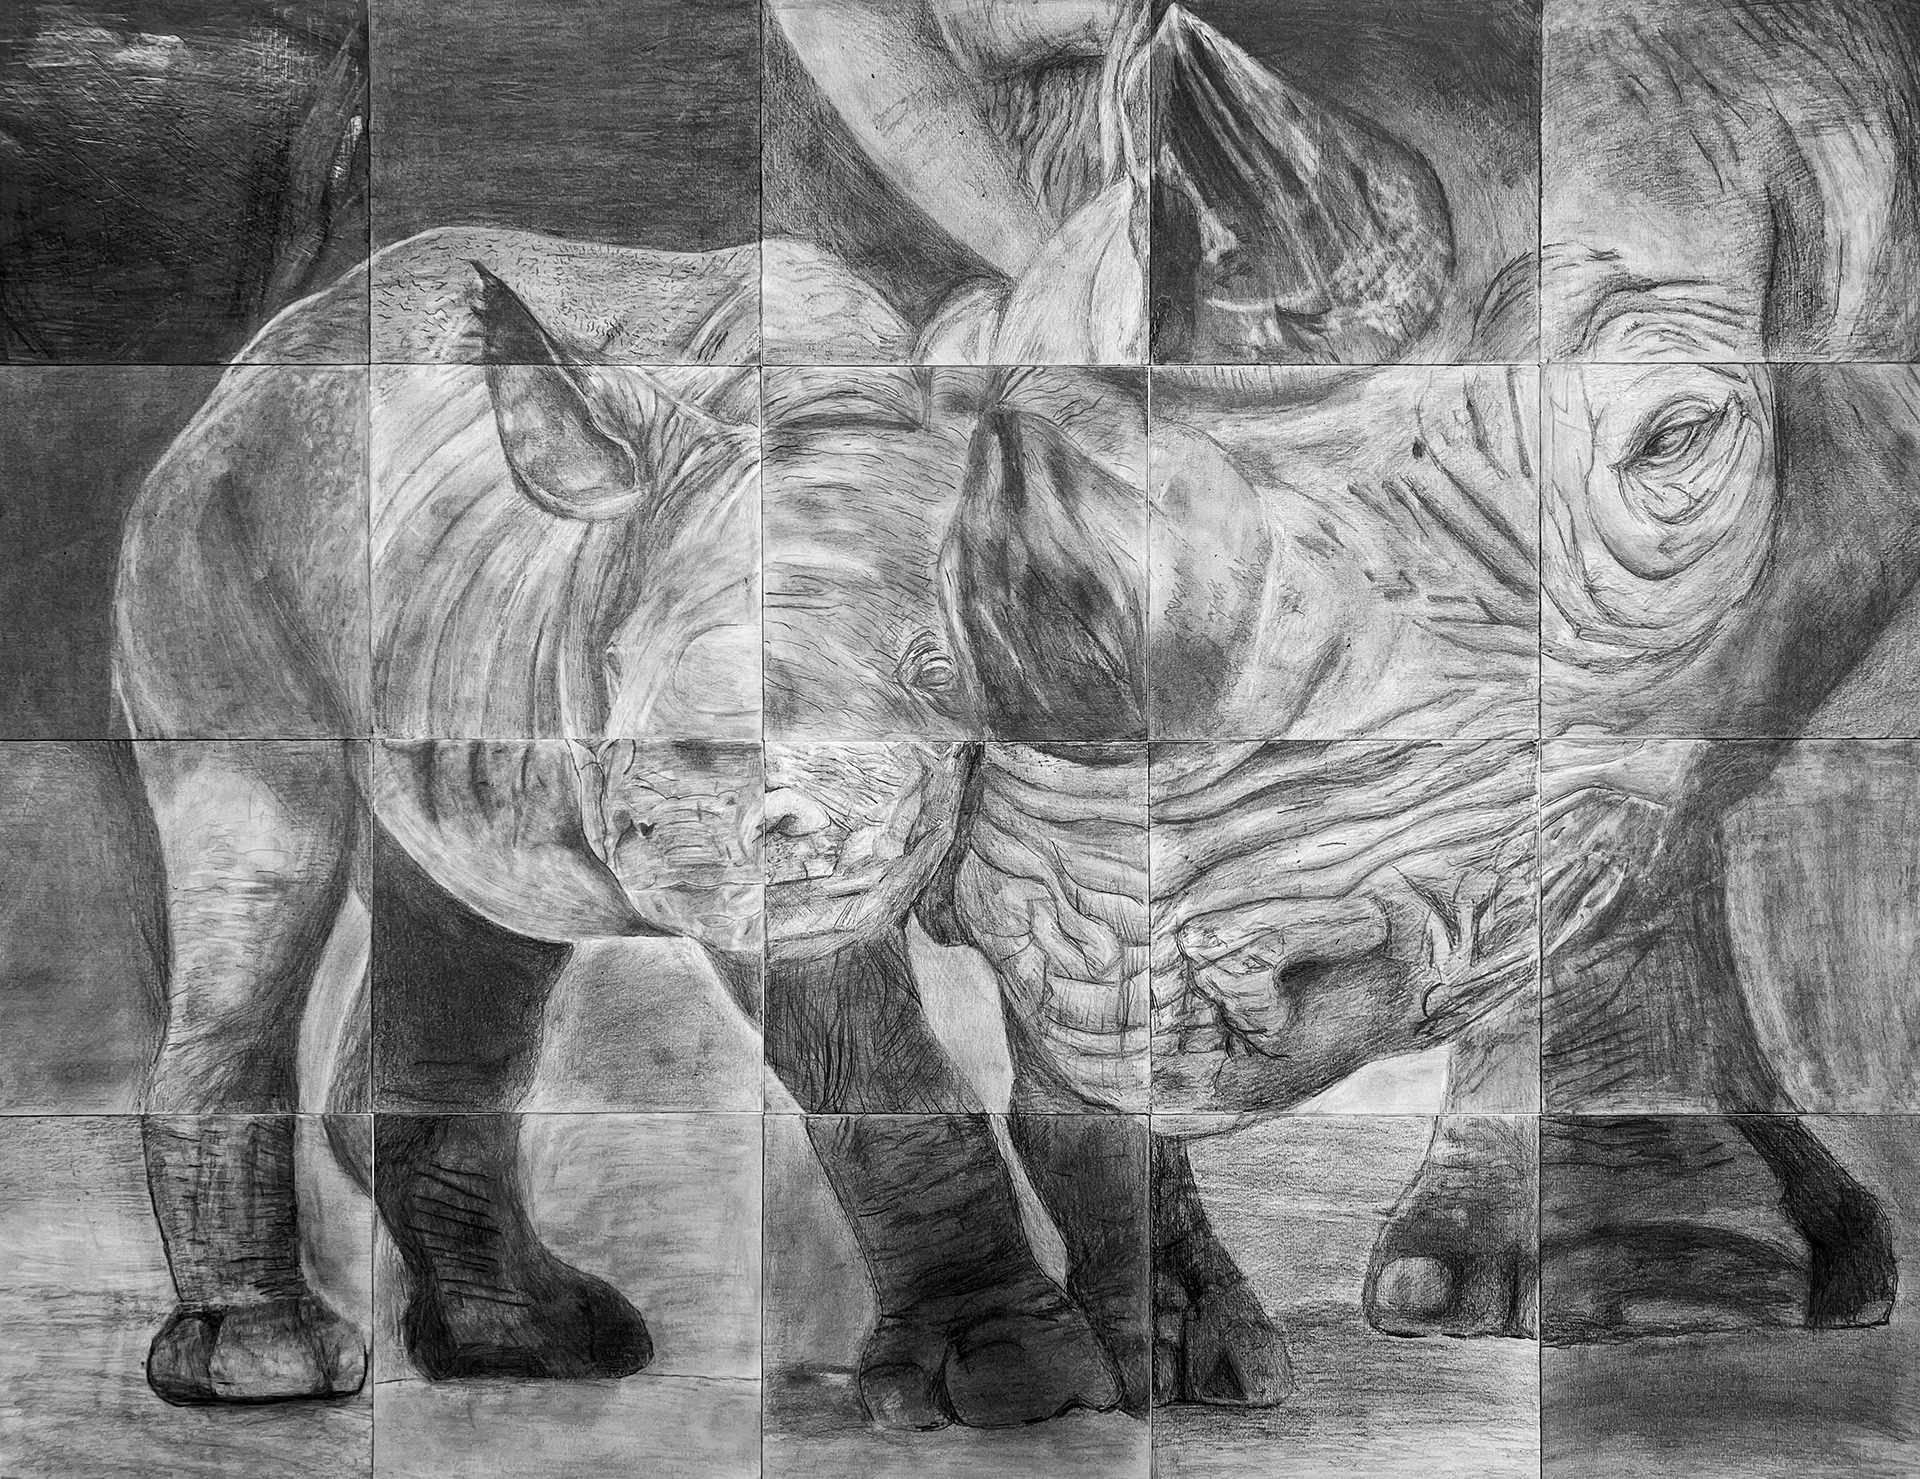
Y7MT, 2021-22
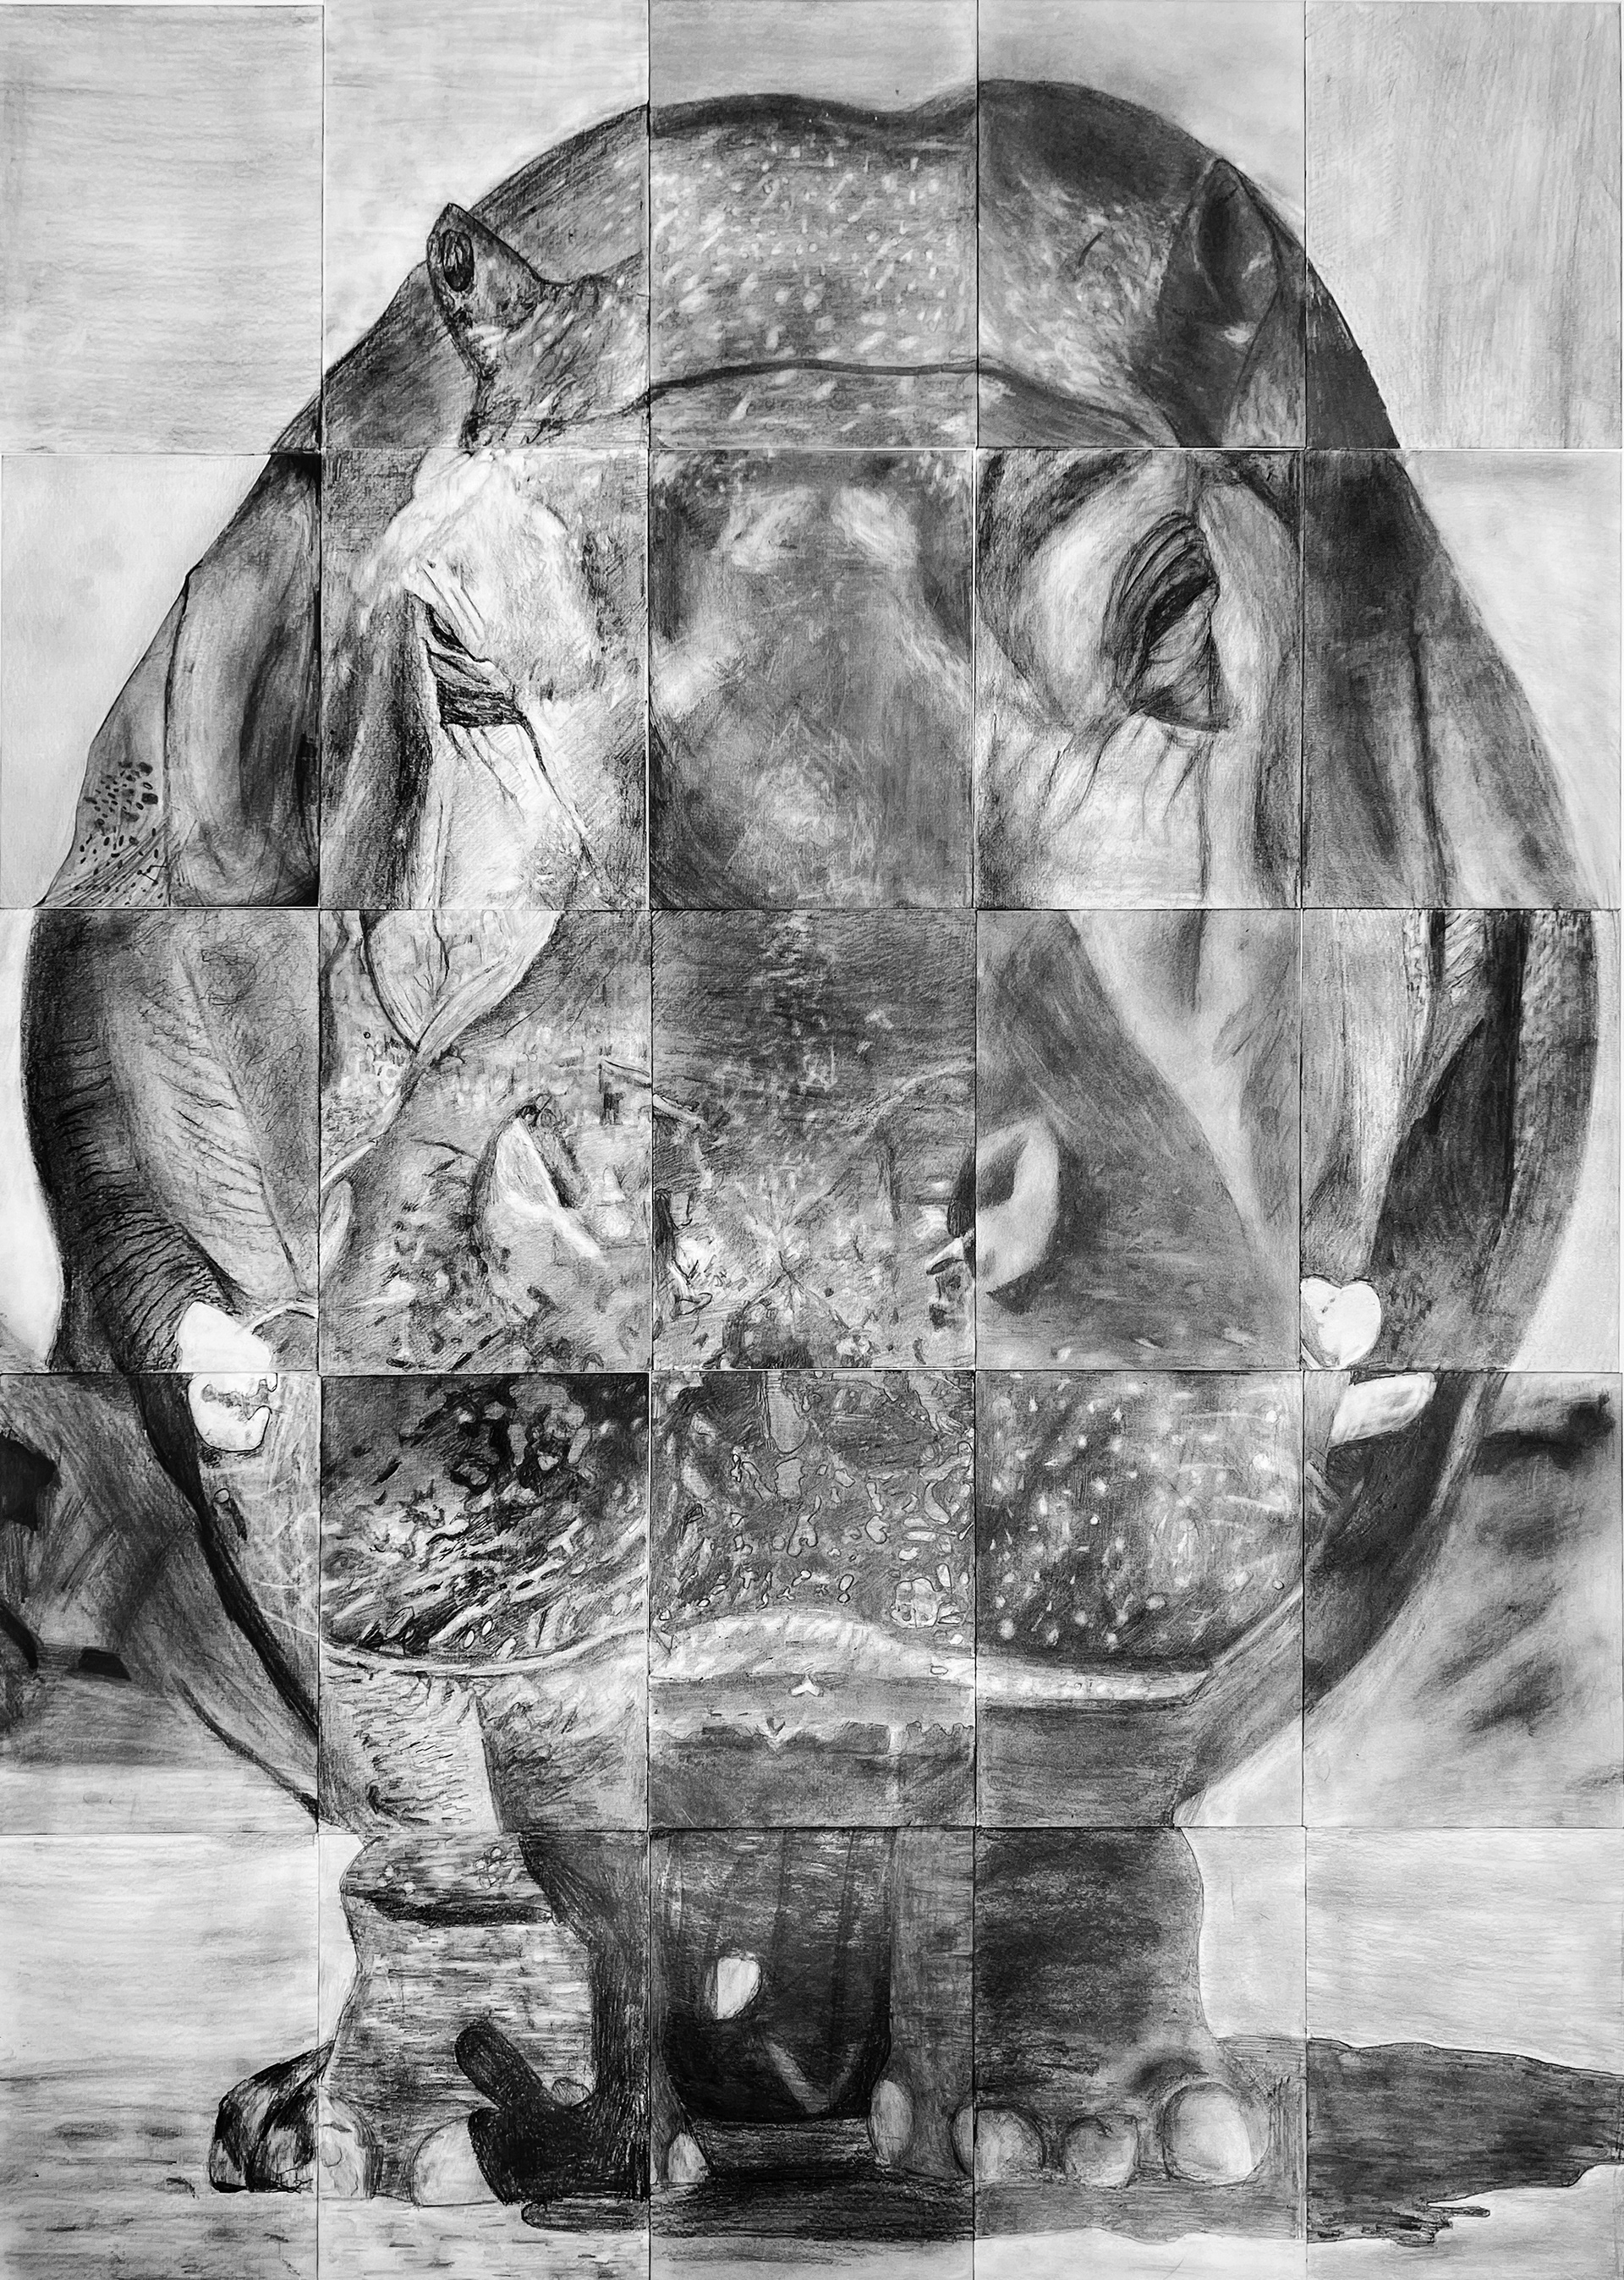
Y7BM, 2021-22
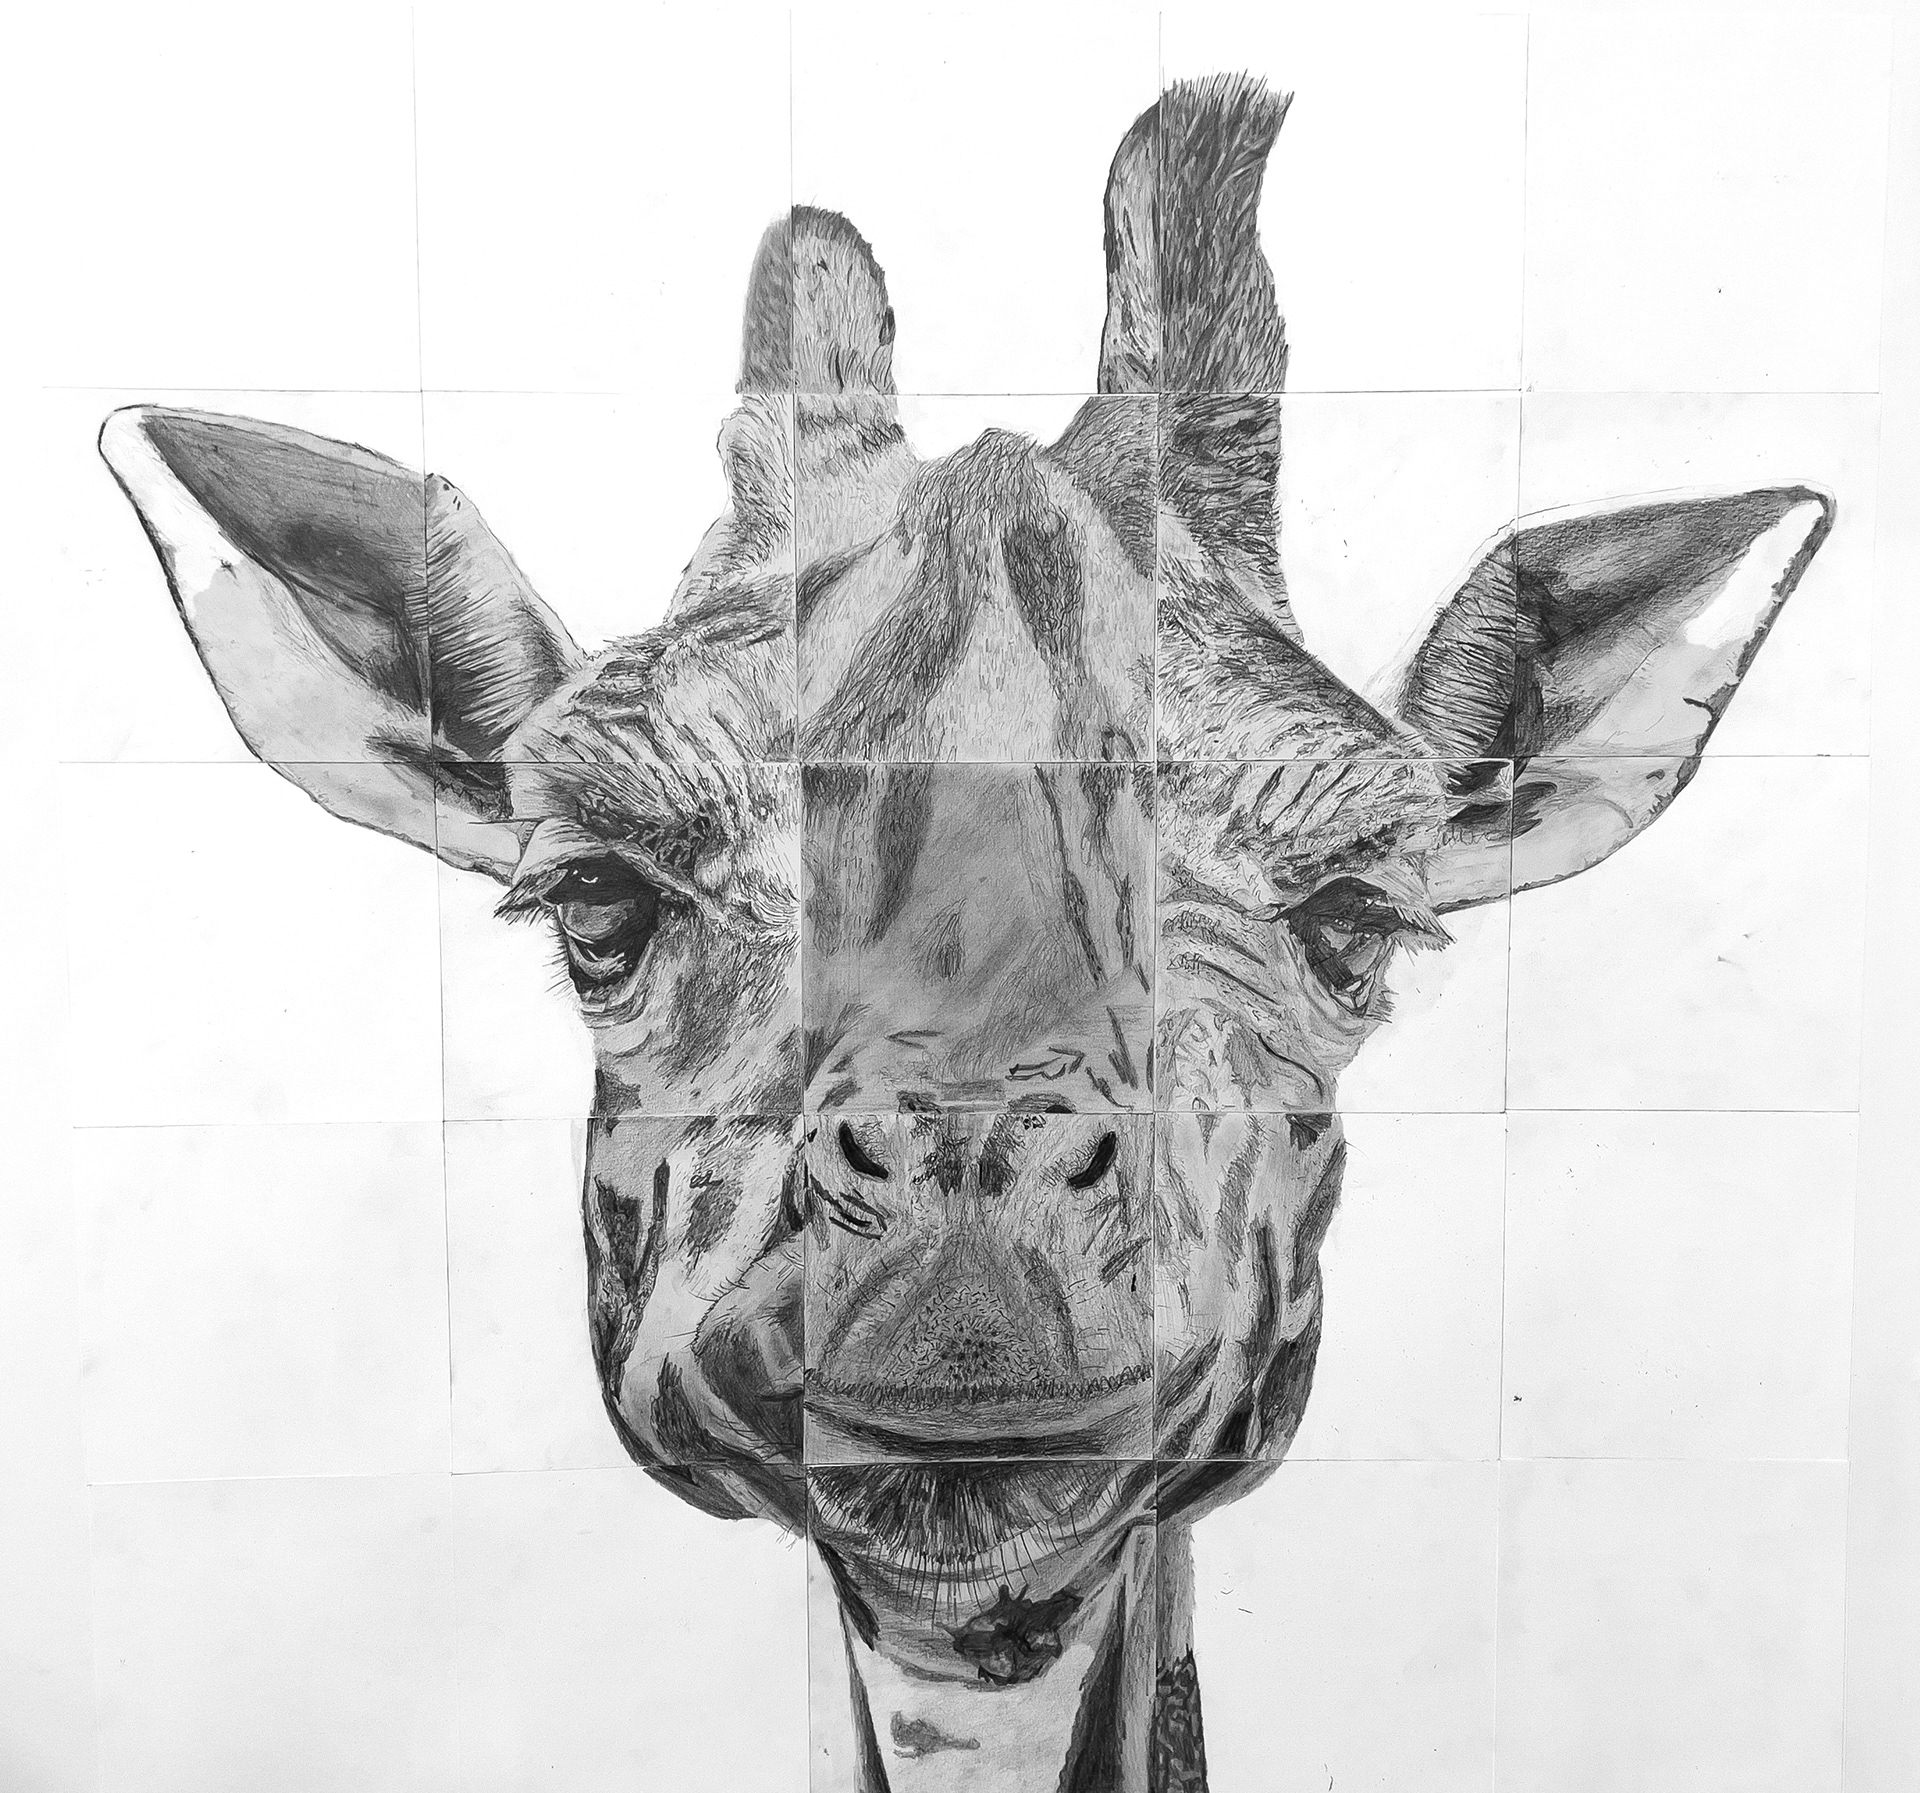
Y7ES, 2022-23
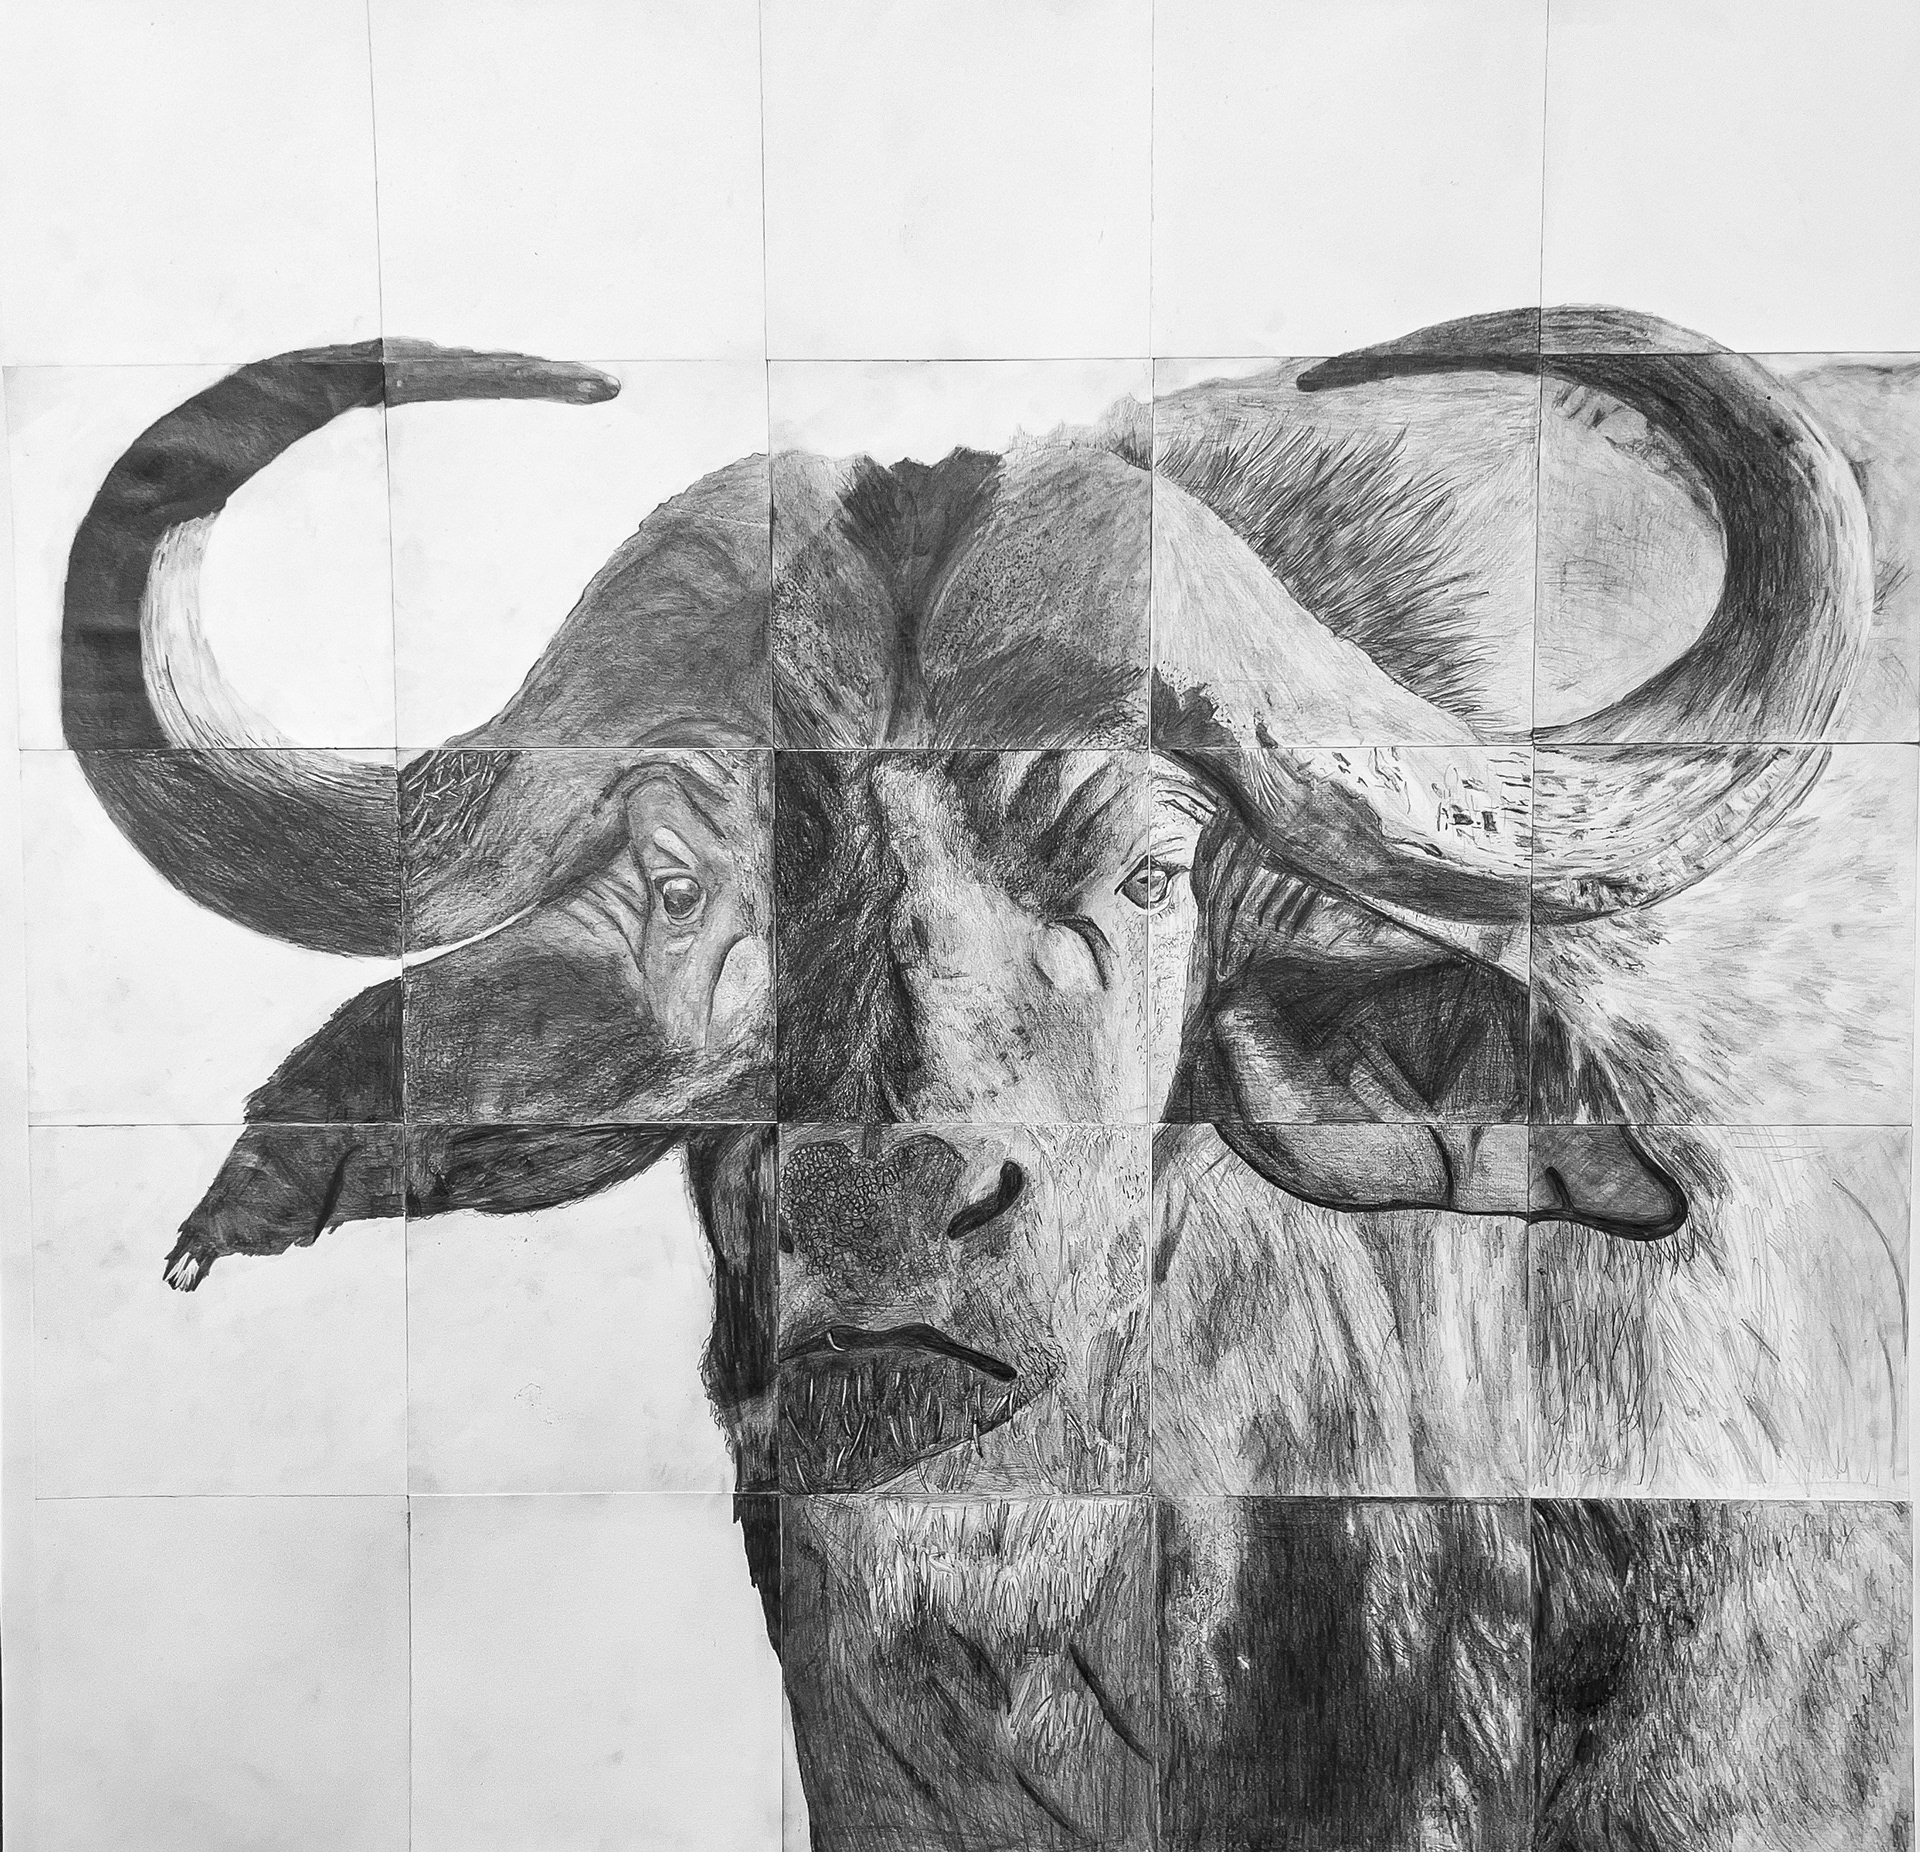
Y7RF, 2022-23
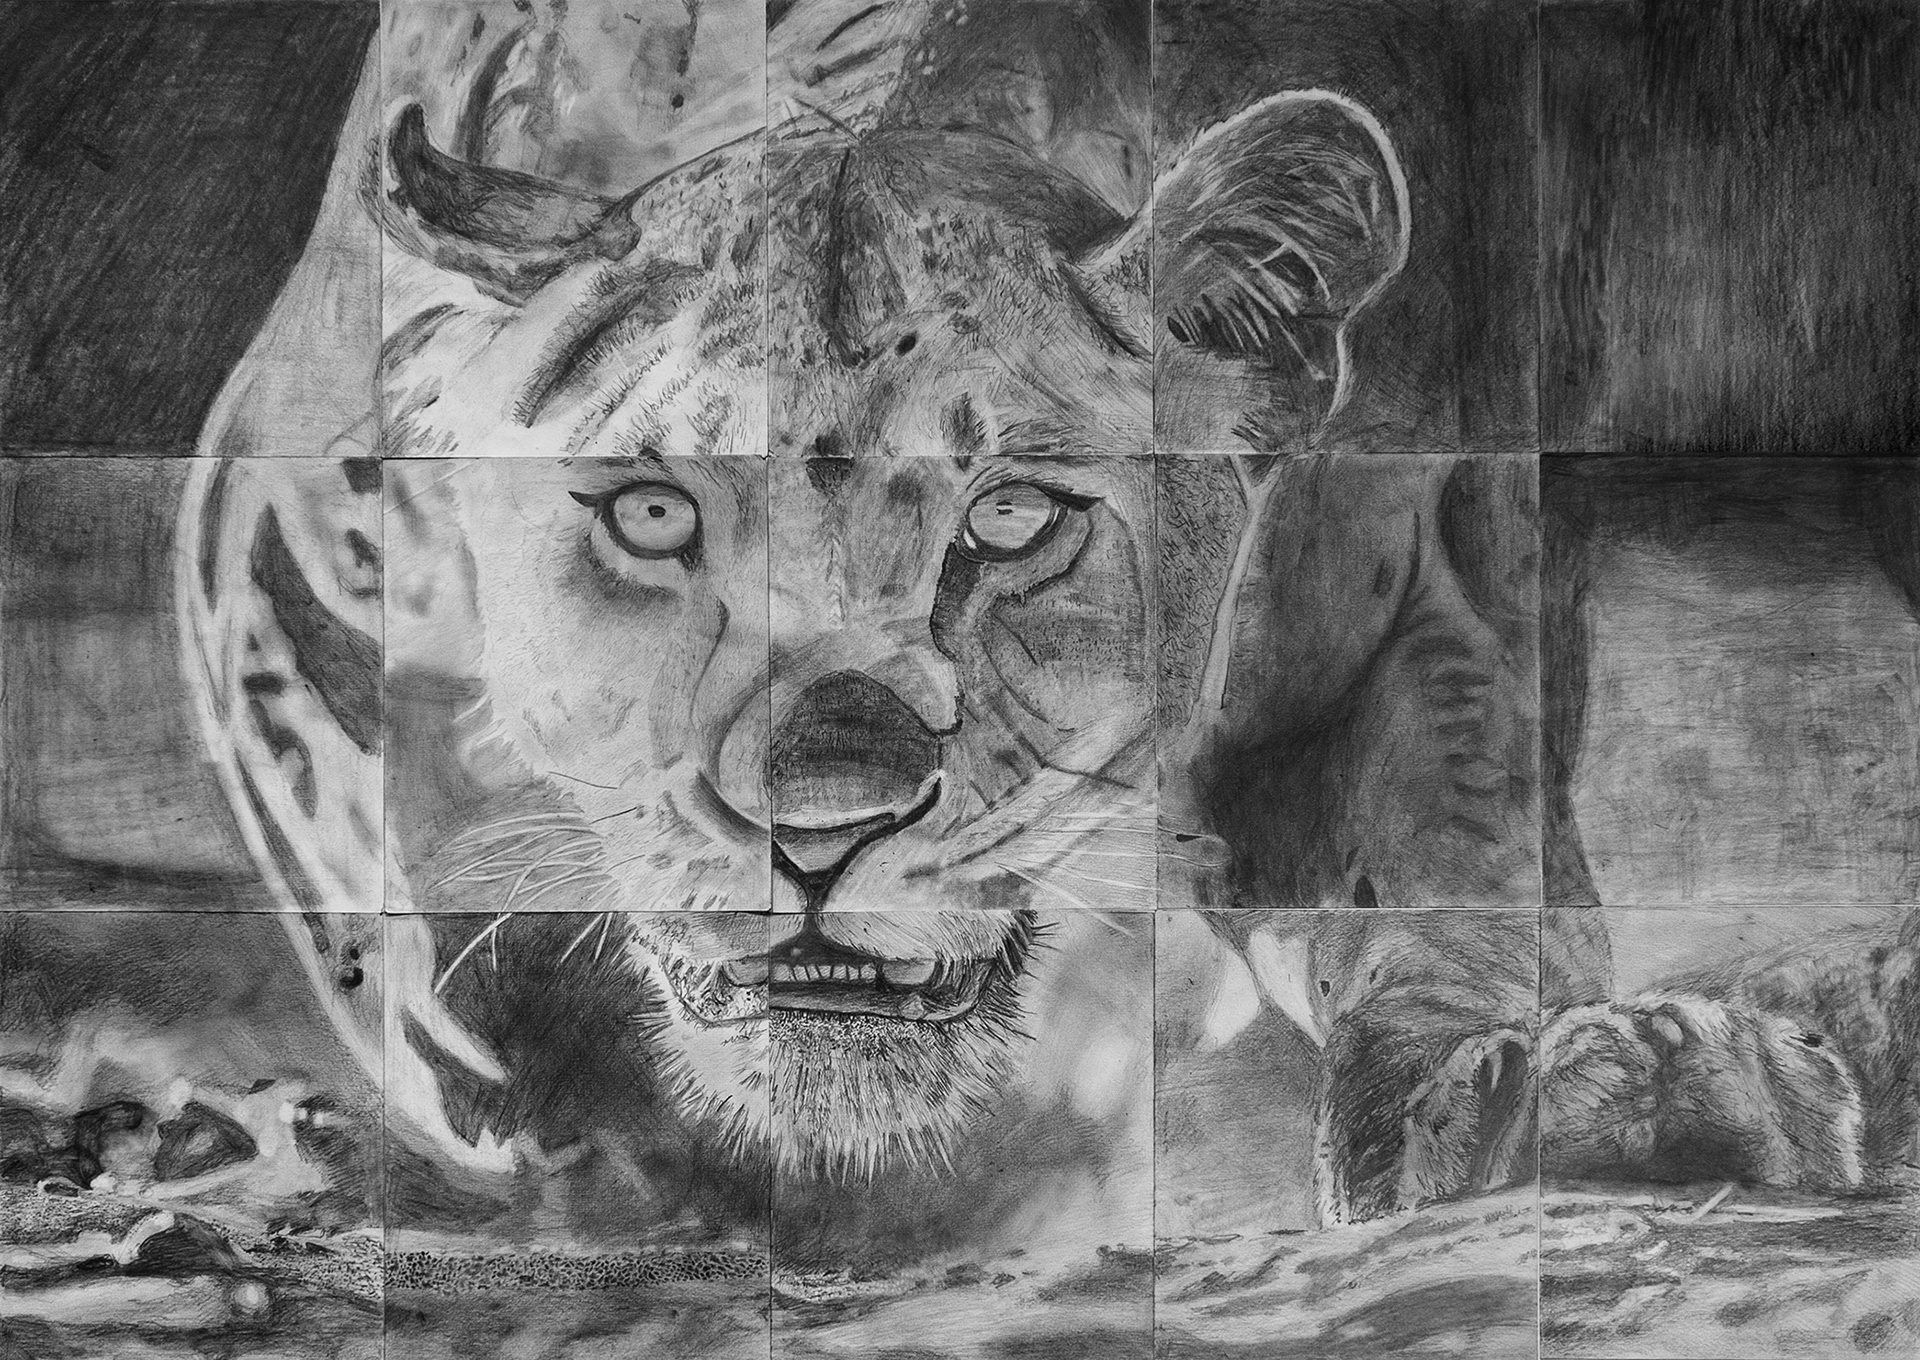
7RF, 2023-24
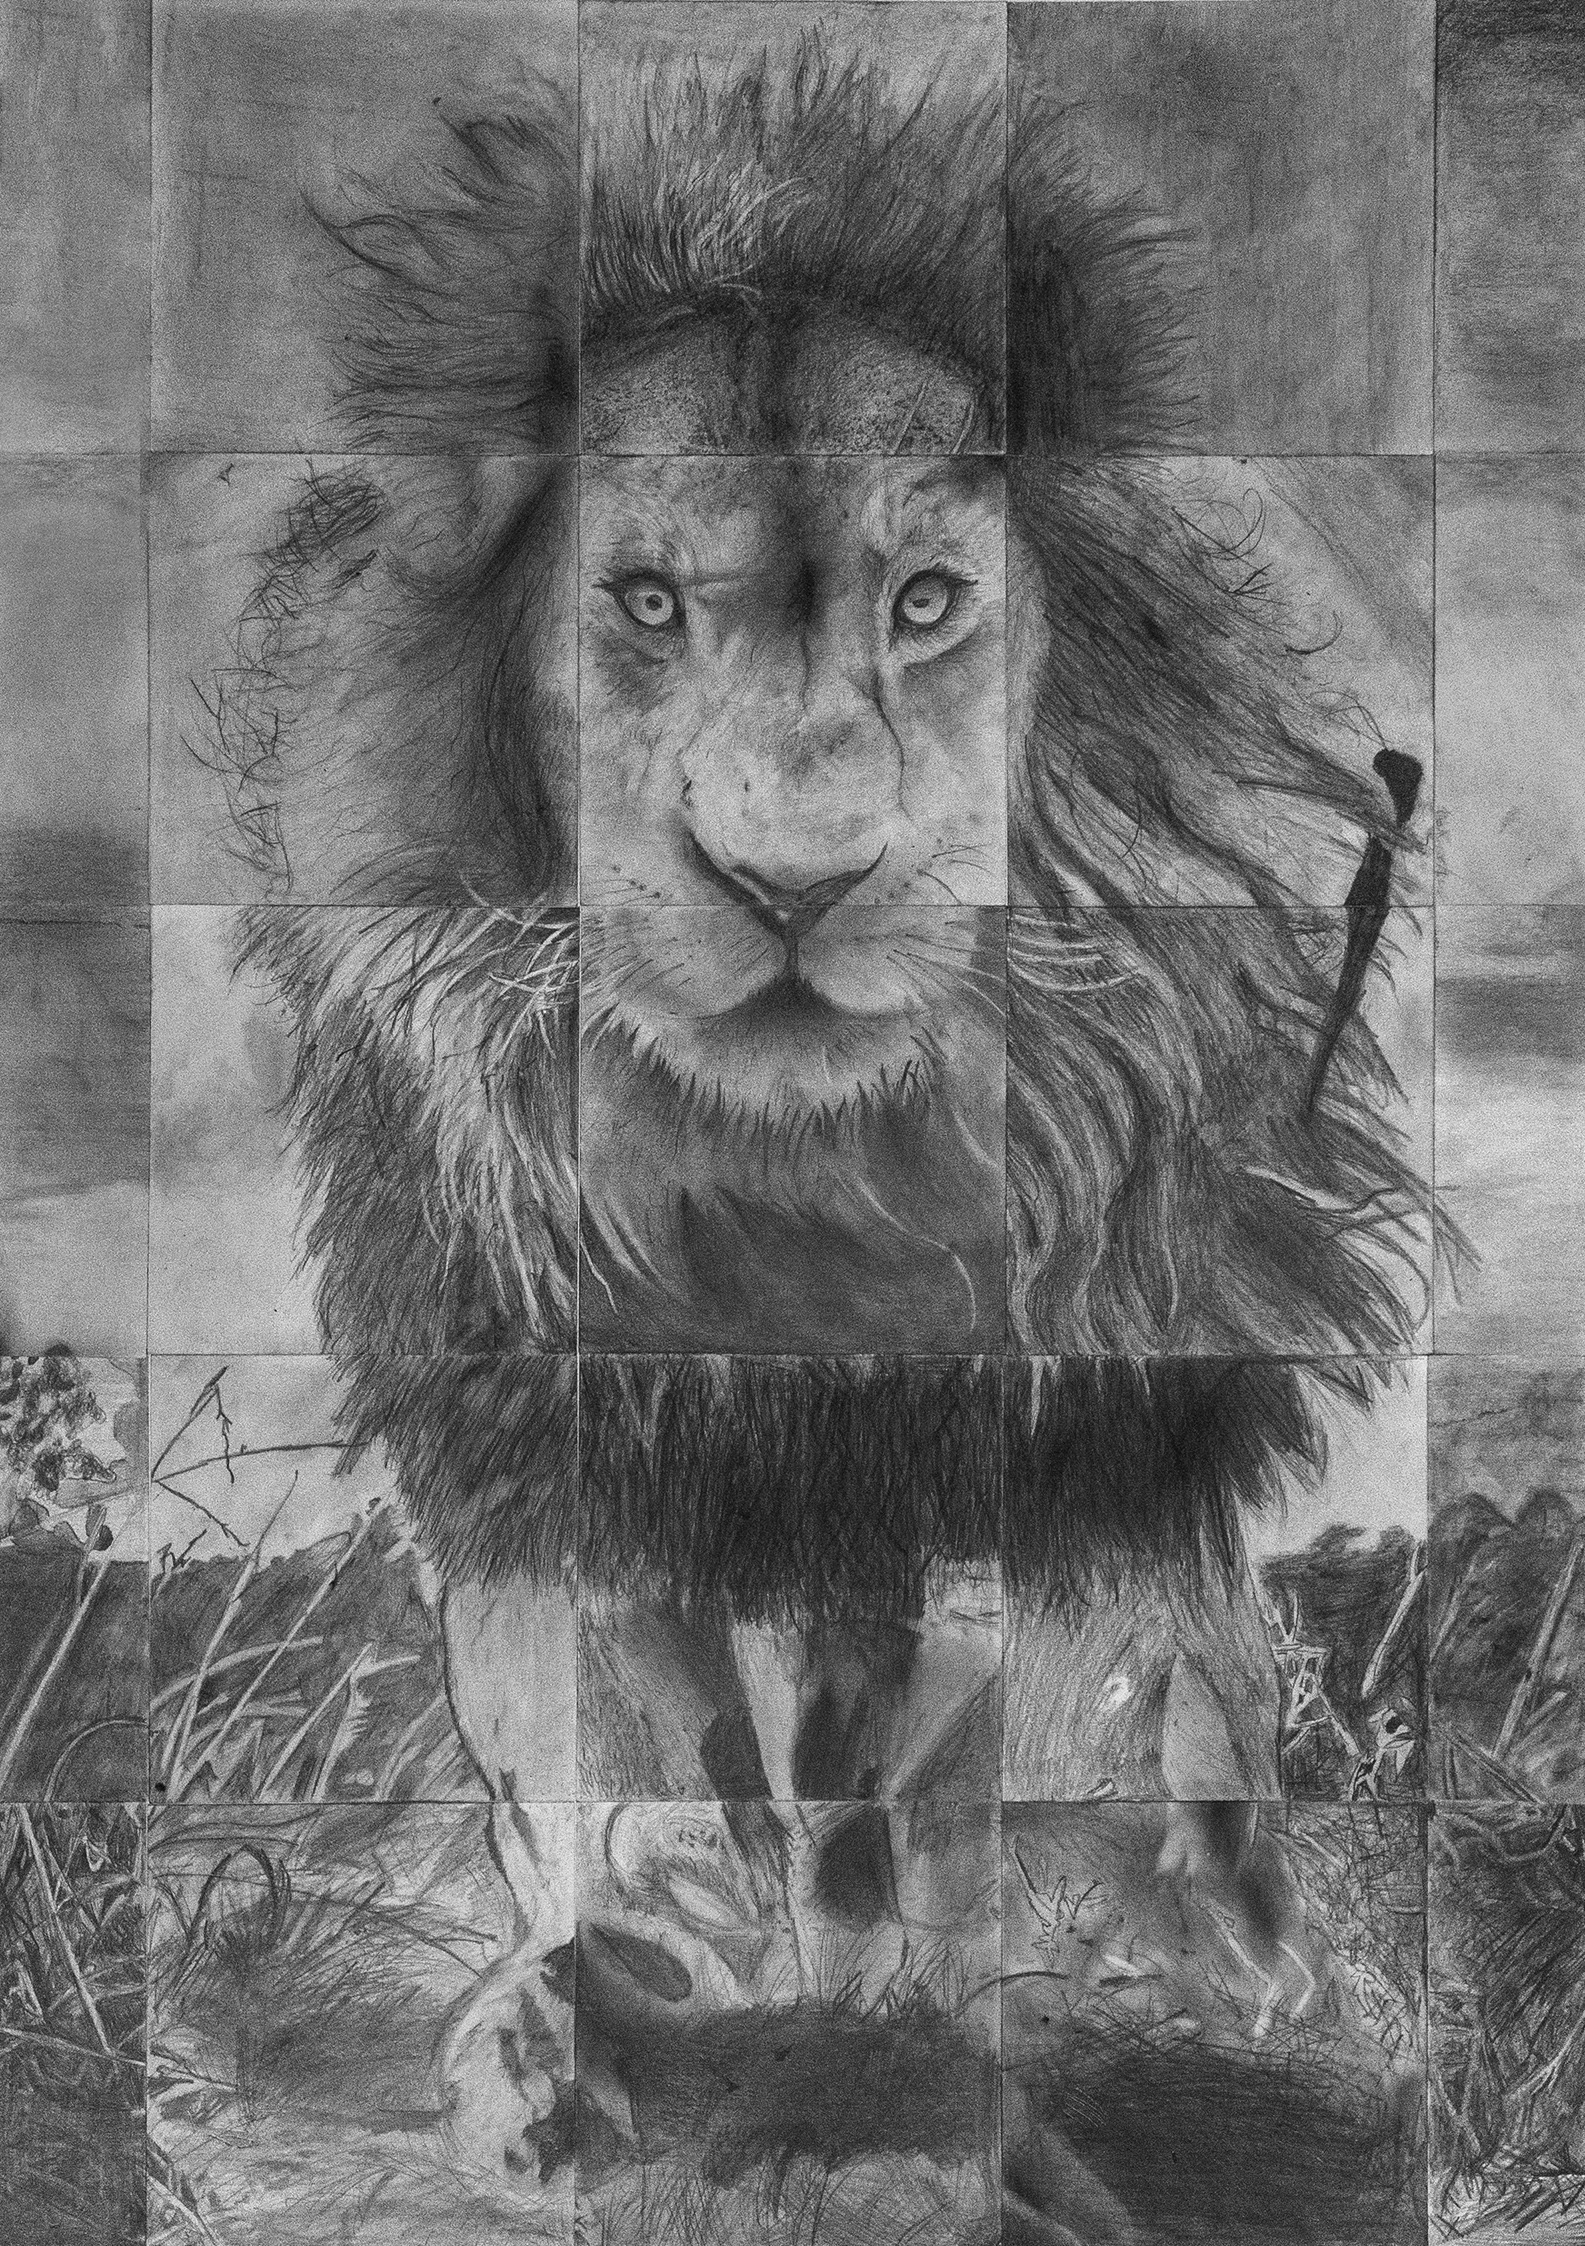
7ES, 2023-24
Extension task:
Ask your teacher for a more challenging section of the drawing.
Once you have finished your drawing, help someone else to finish theirs.
Once you have finished your drawing, help someone else to finish theirs.
Top Tips
• Keep checking your work frequently, comparing it both to the source photo
• Keep your pencil sharp and hold it at a shallow angle when shading
• Try not to apply too much pressure with your pencil when drawing the outlines
• Layer up your shading gradually, starting with the lightest tones
• Use the mark-making techniques you have learnt previously to add texture to your drawing
• Don't smudge so much that the shadows and highlights become a similar shade of grey
• Rest your wrist on a piece of scrap paper to prevent unwanted smudging