Learning Objectives:
• Use a full value range (highlights, midtones, core shadows, and reflected light) to create believable three-dimensional form
• Apply appropriate edge control using soft, hard, and lost edges to accurately represent the anatomy of each facial feature and achieve smooth, natural transitions between values.
• Evaluate and adjust shading so that all facial features harmonise in lighting, value strength, and texture, contributing to a cohesive and realistic final portrait.
Your task:
Once you have drawn the facial features, you can shade the hair, then the clothes and then the skin.
Be sure to draw the hair and clothes first, as it will make shading the skin much easier afterwards. This is because you can gauge how light or dark each part of the skin is when you have the hair to compare it with.
Refer back to the previous lessons to remind yourself of the skills and tips taught.
What you will need:
Sketching paper (or your sketchbook), a soft pencil (preferably 2B or 4B), eraser, blending stump (or cotton bud) and a pencil sharpener.
1. Drawing hair (recap):
You will see that I shaded the skin first, which was the wrong way round. Do it the correct way and you will find it easier!
2. Shading skin (recap):
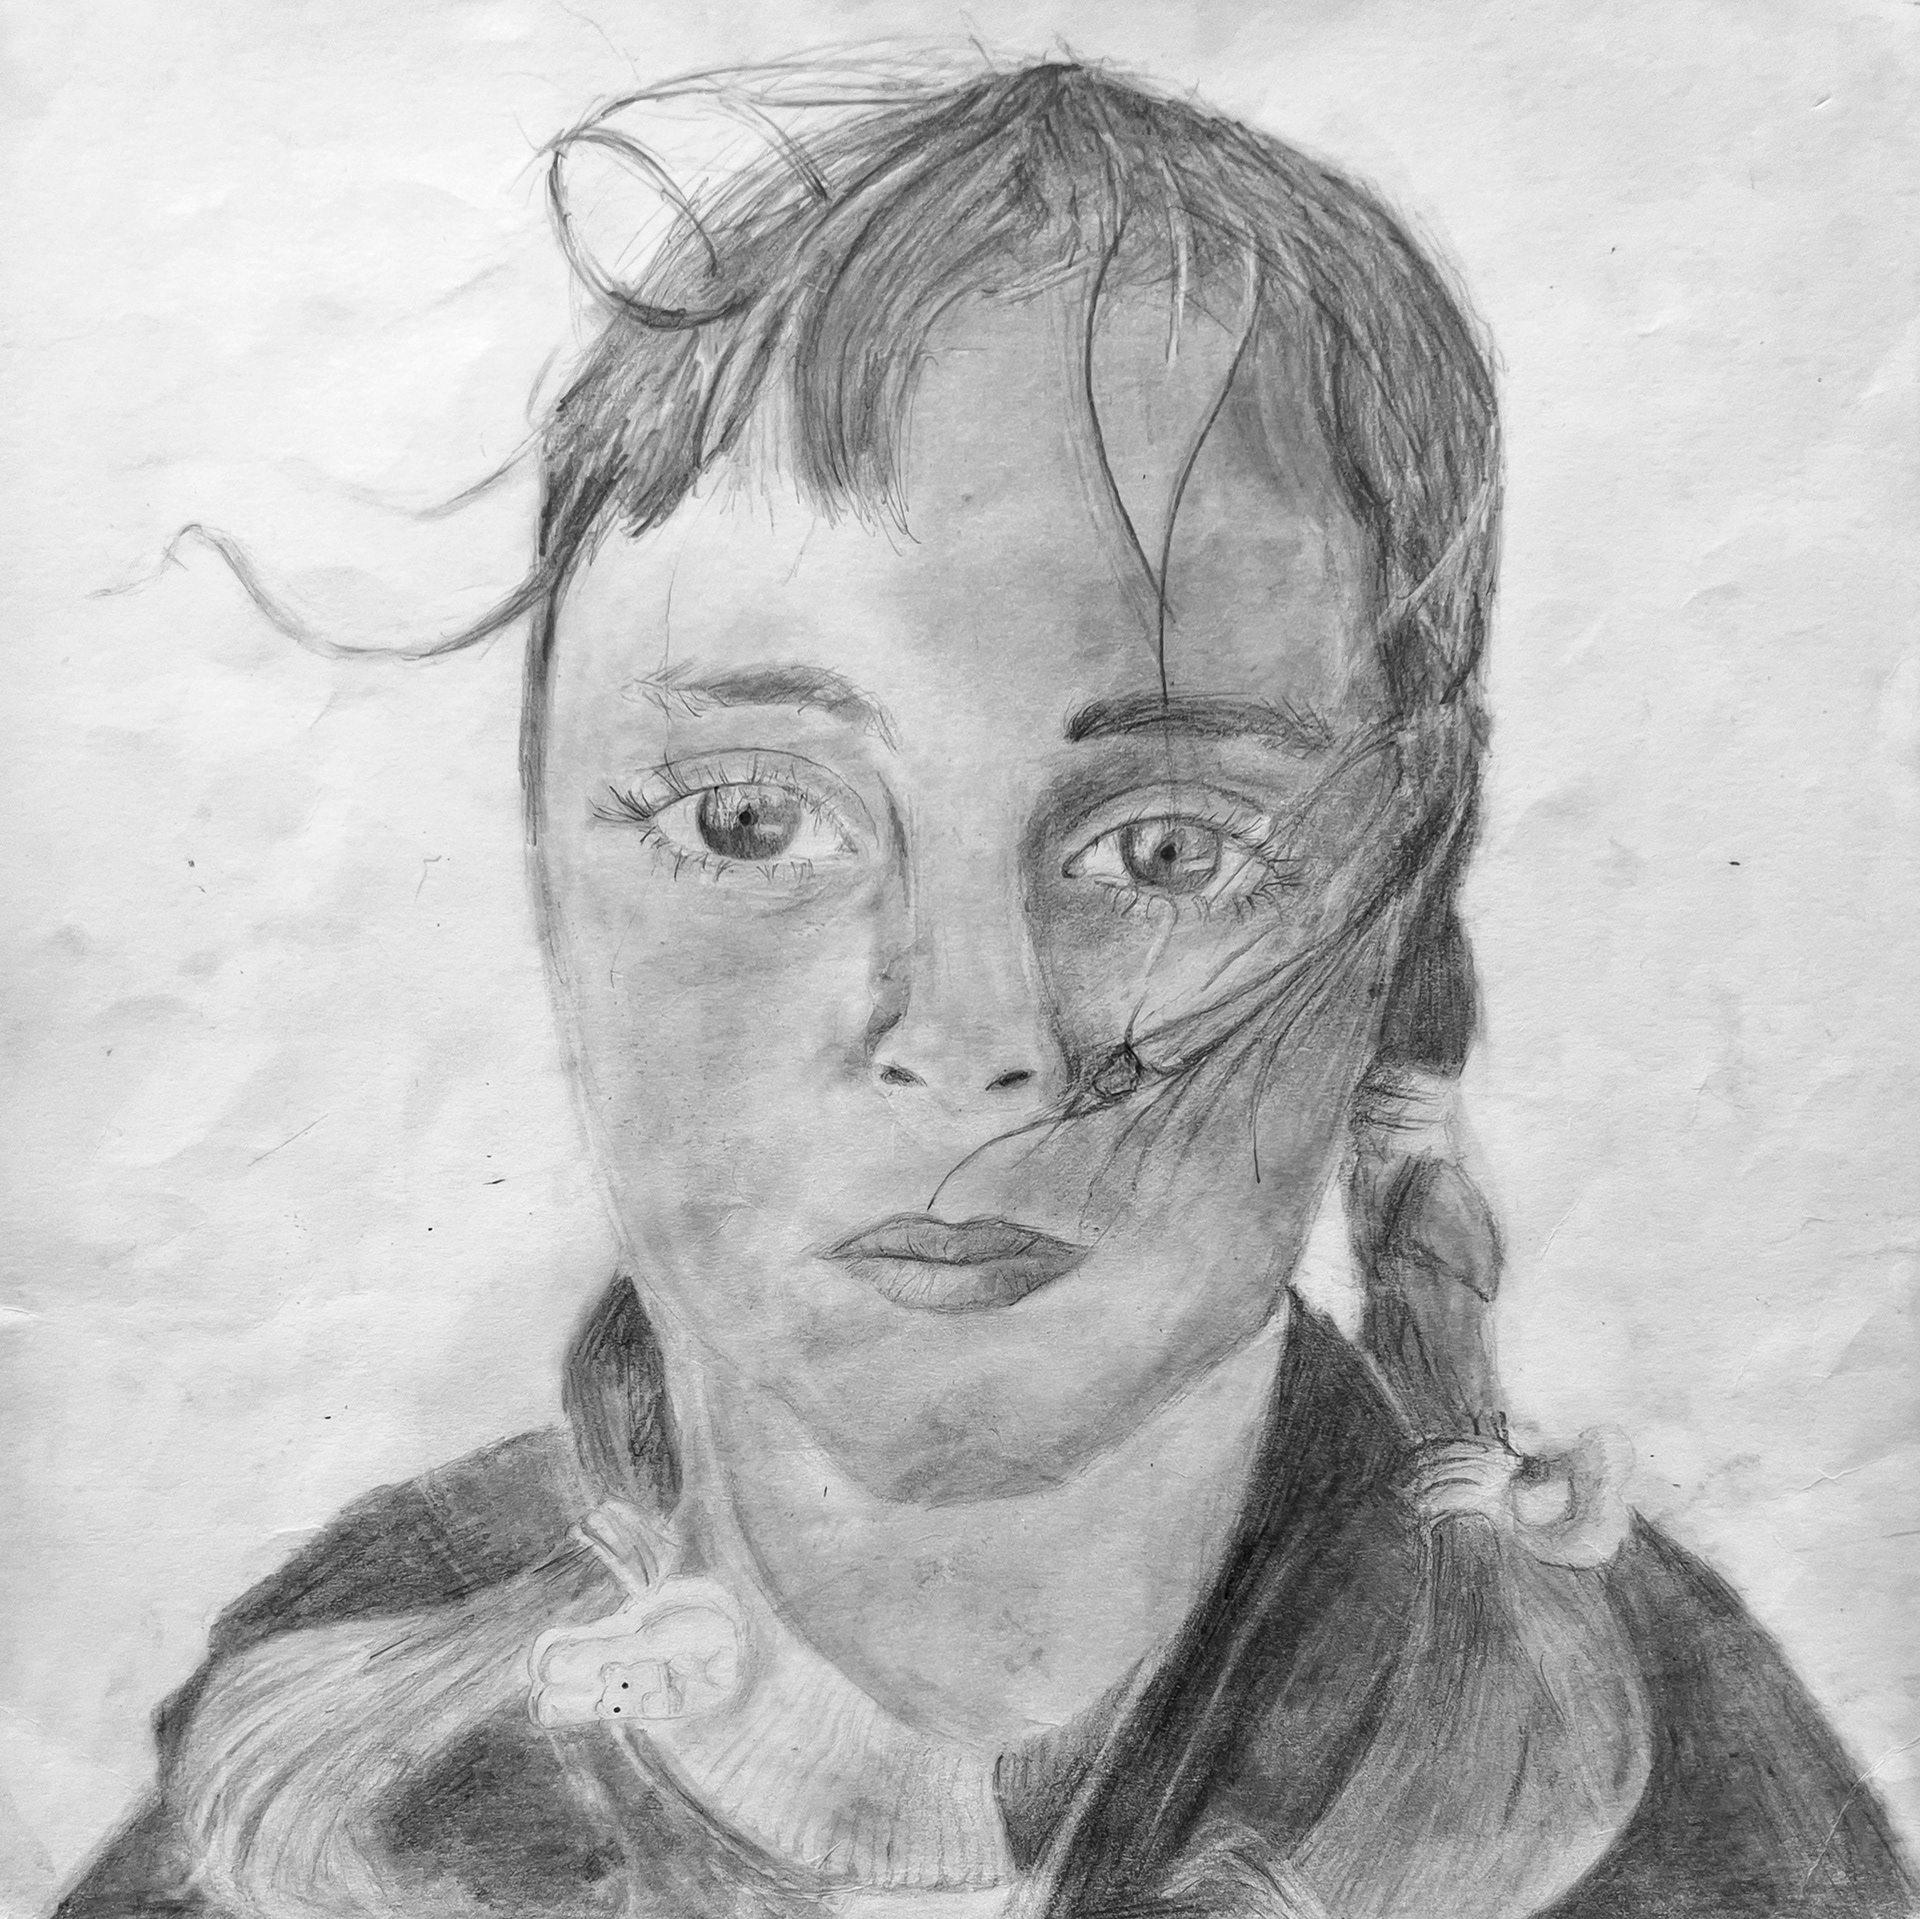
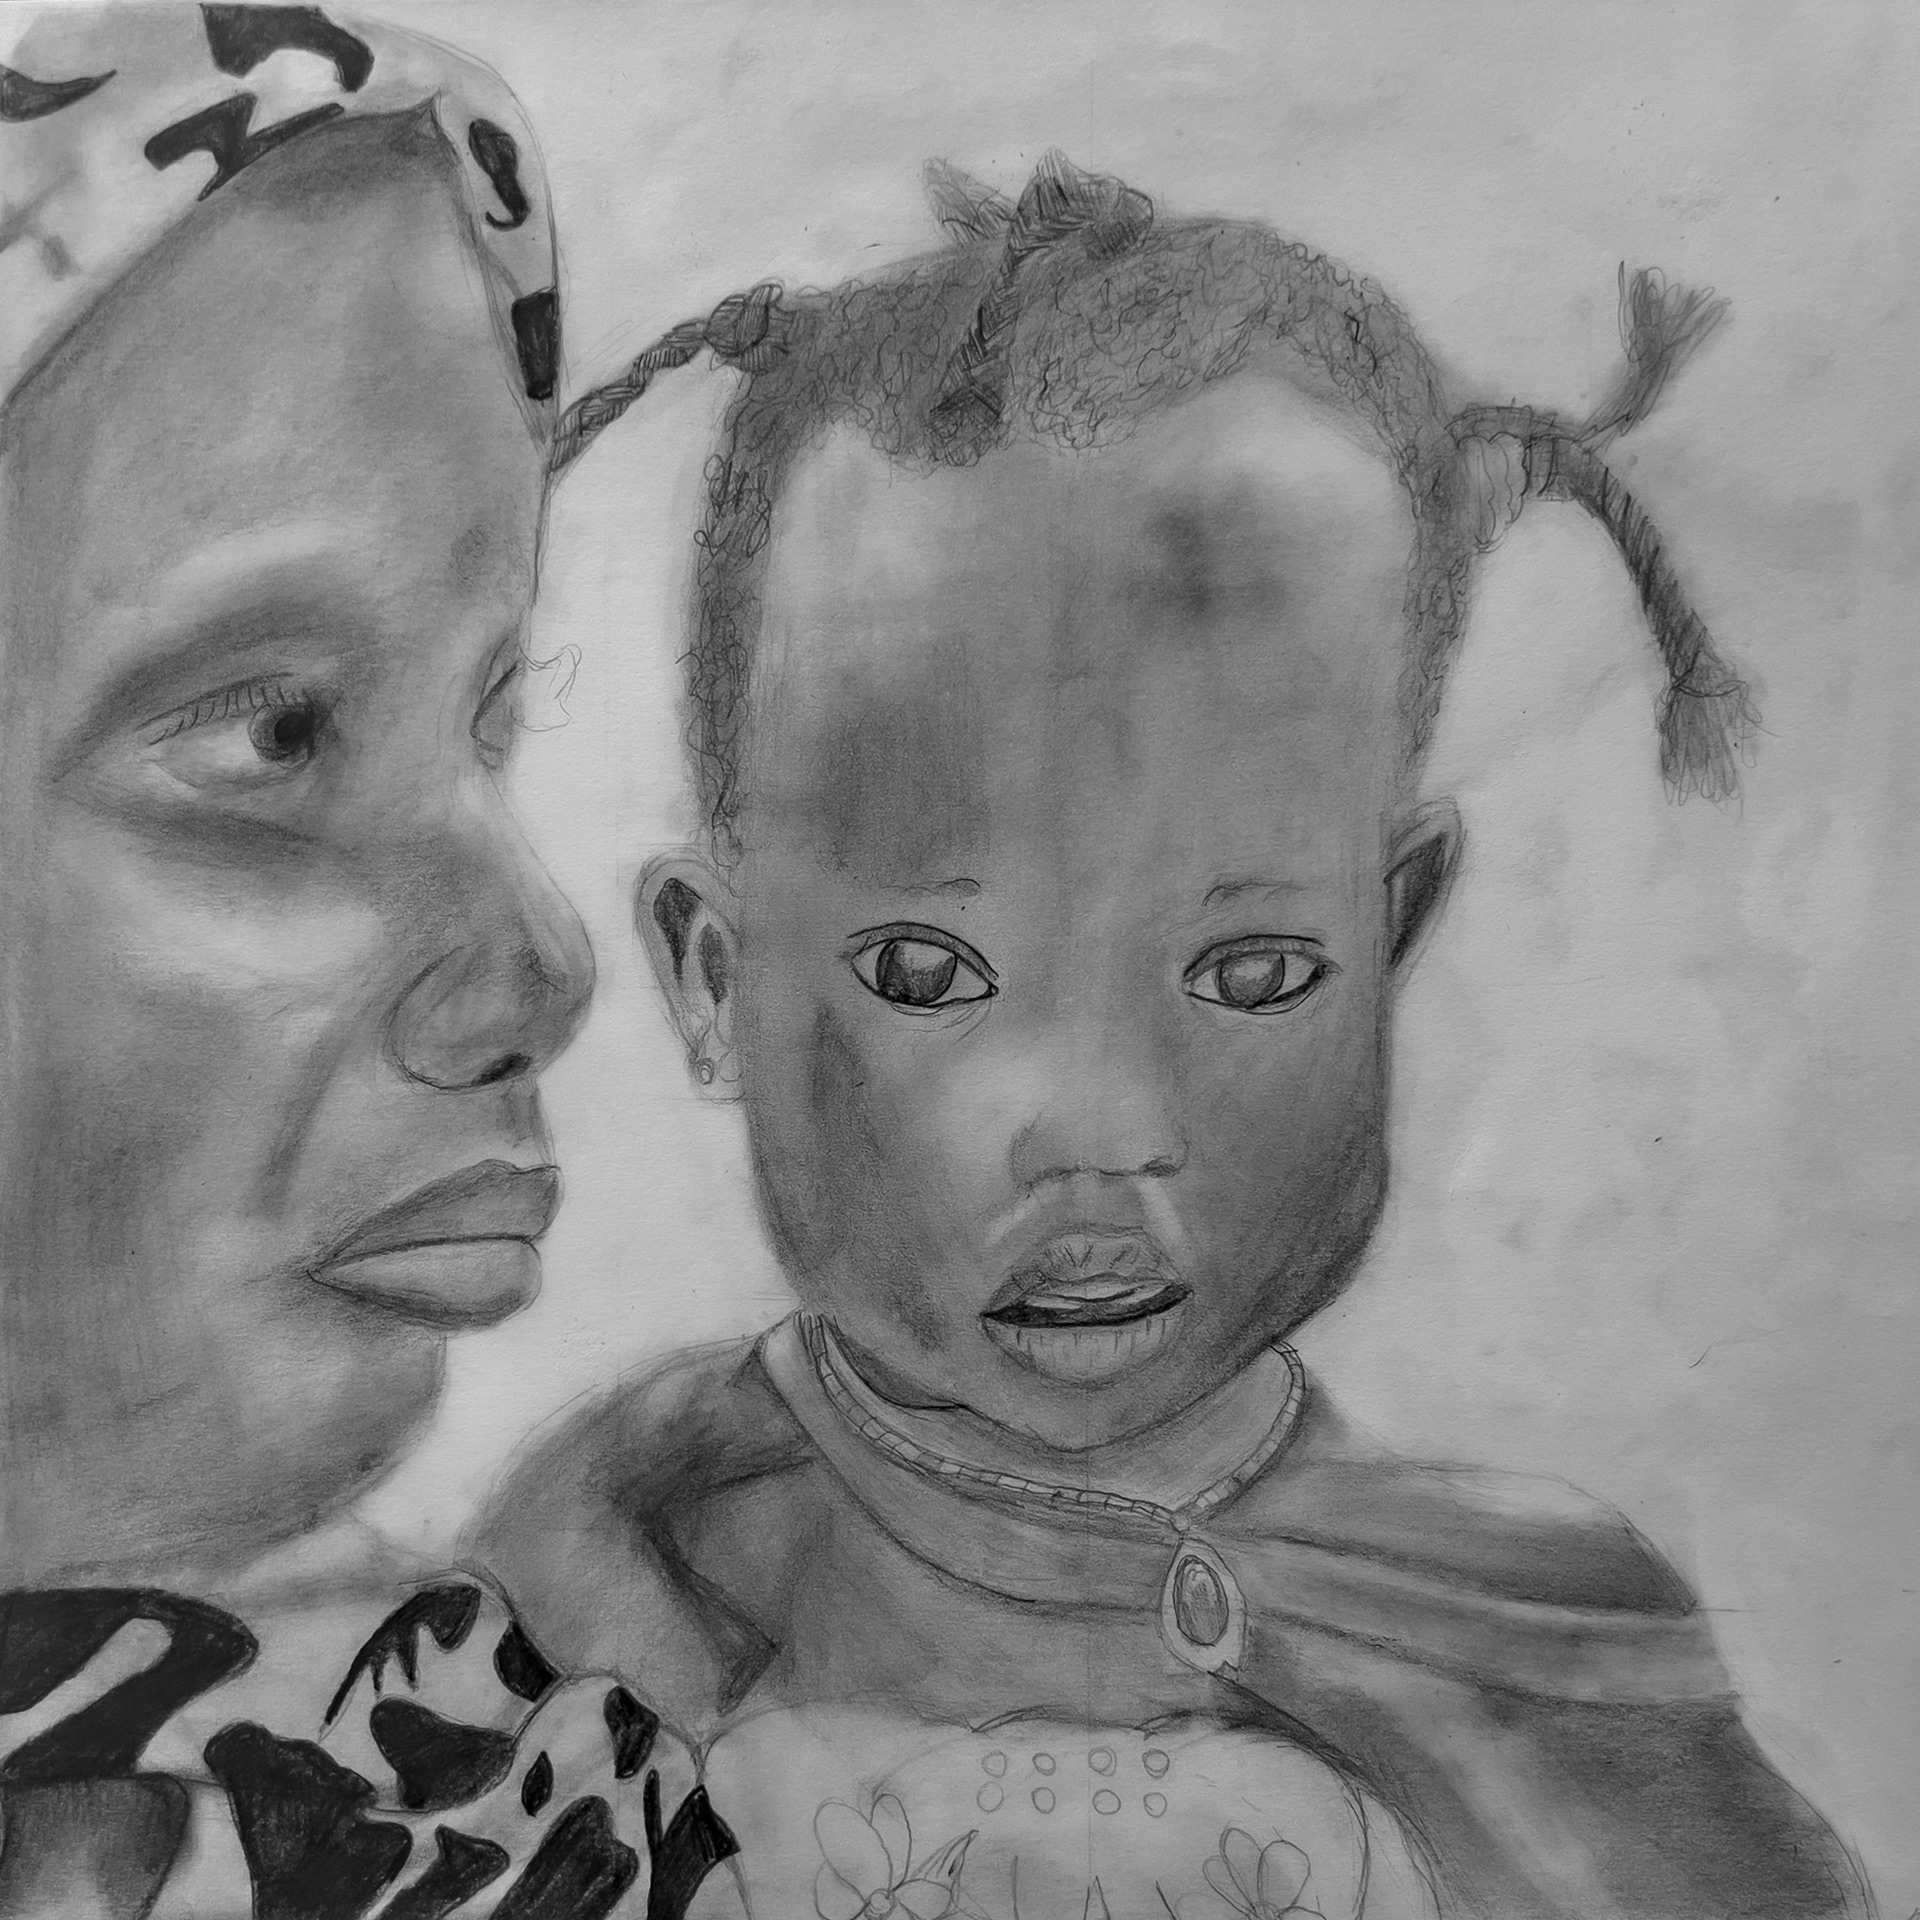
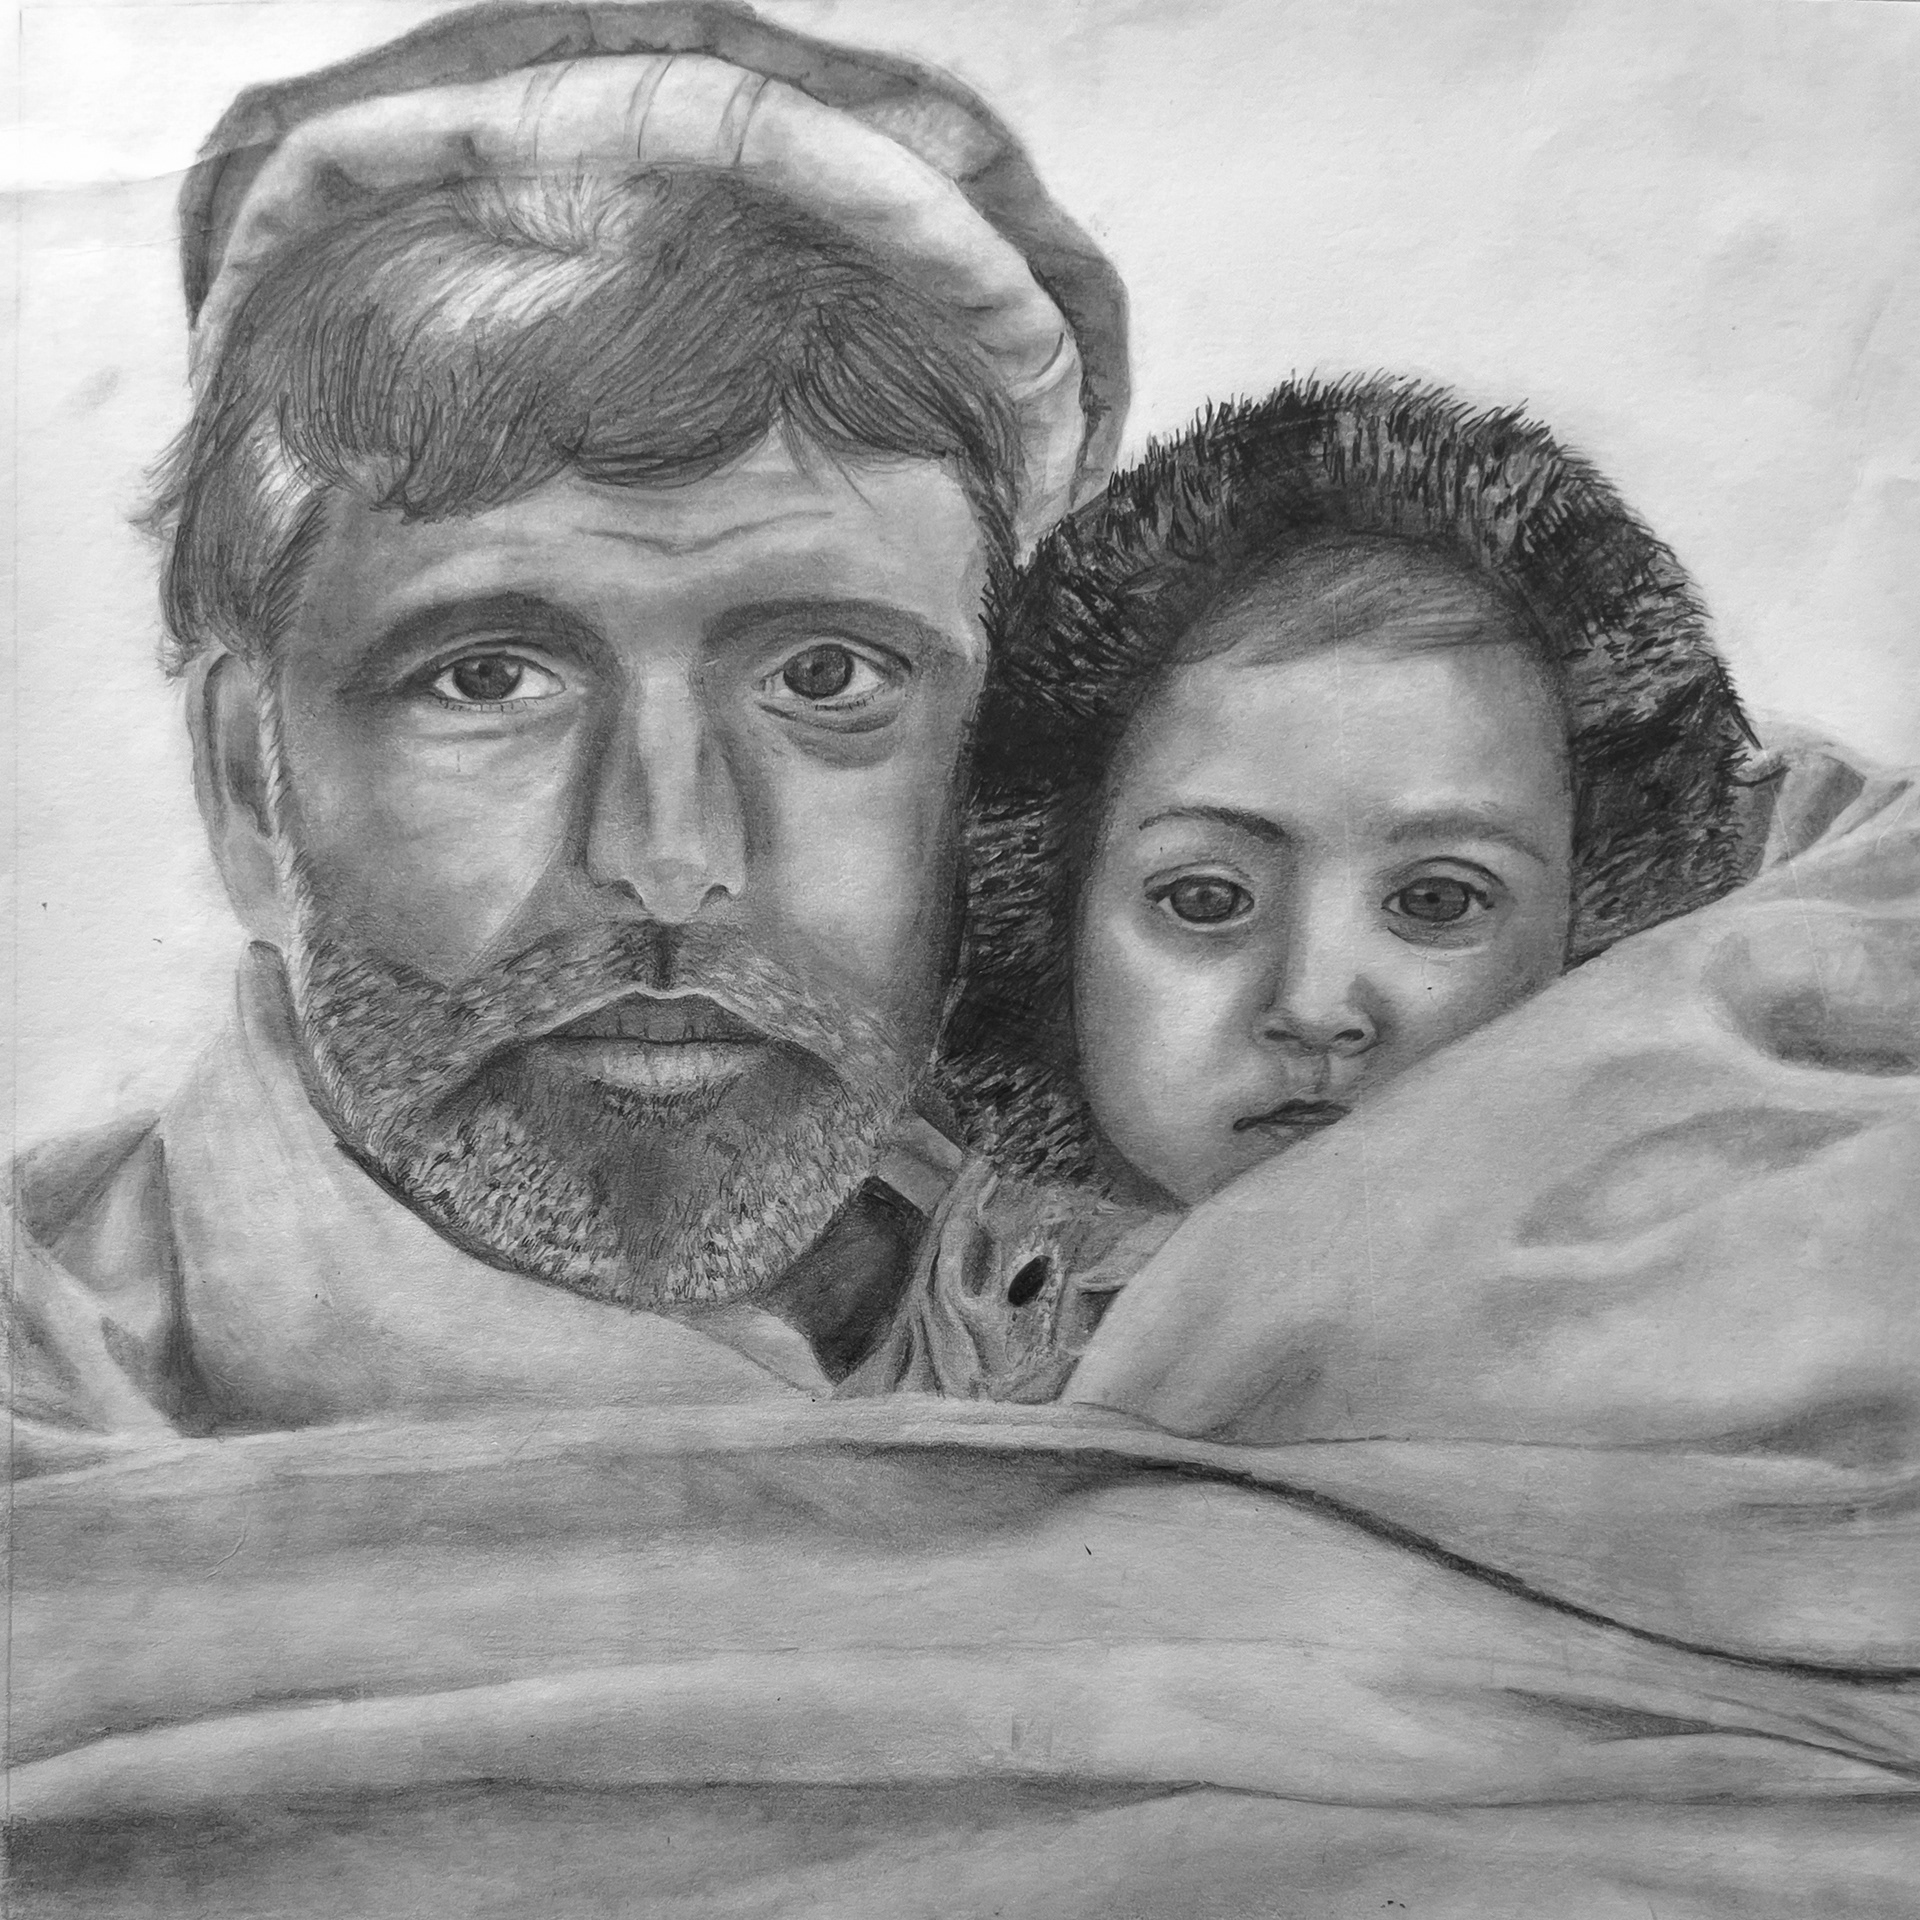
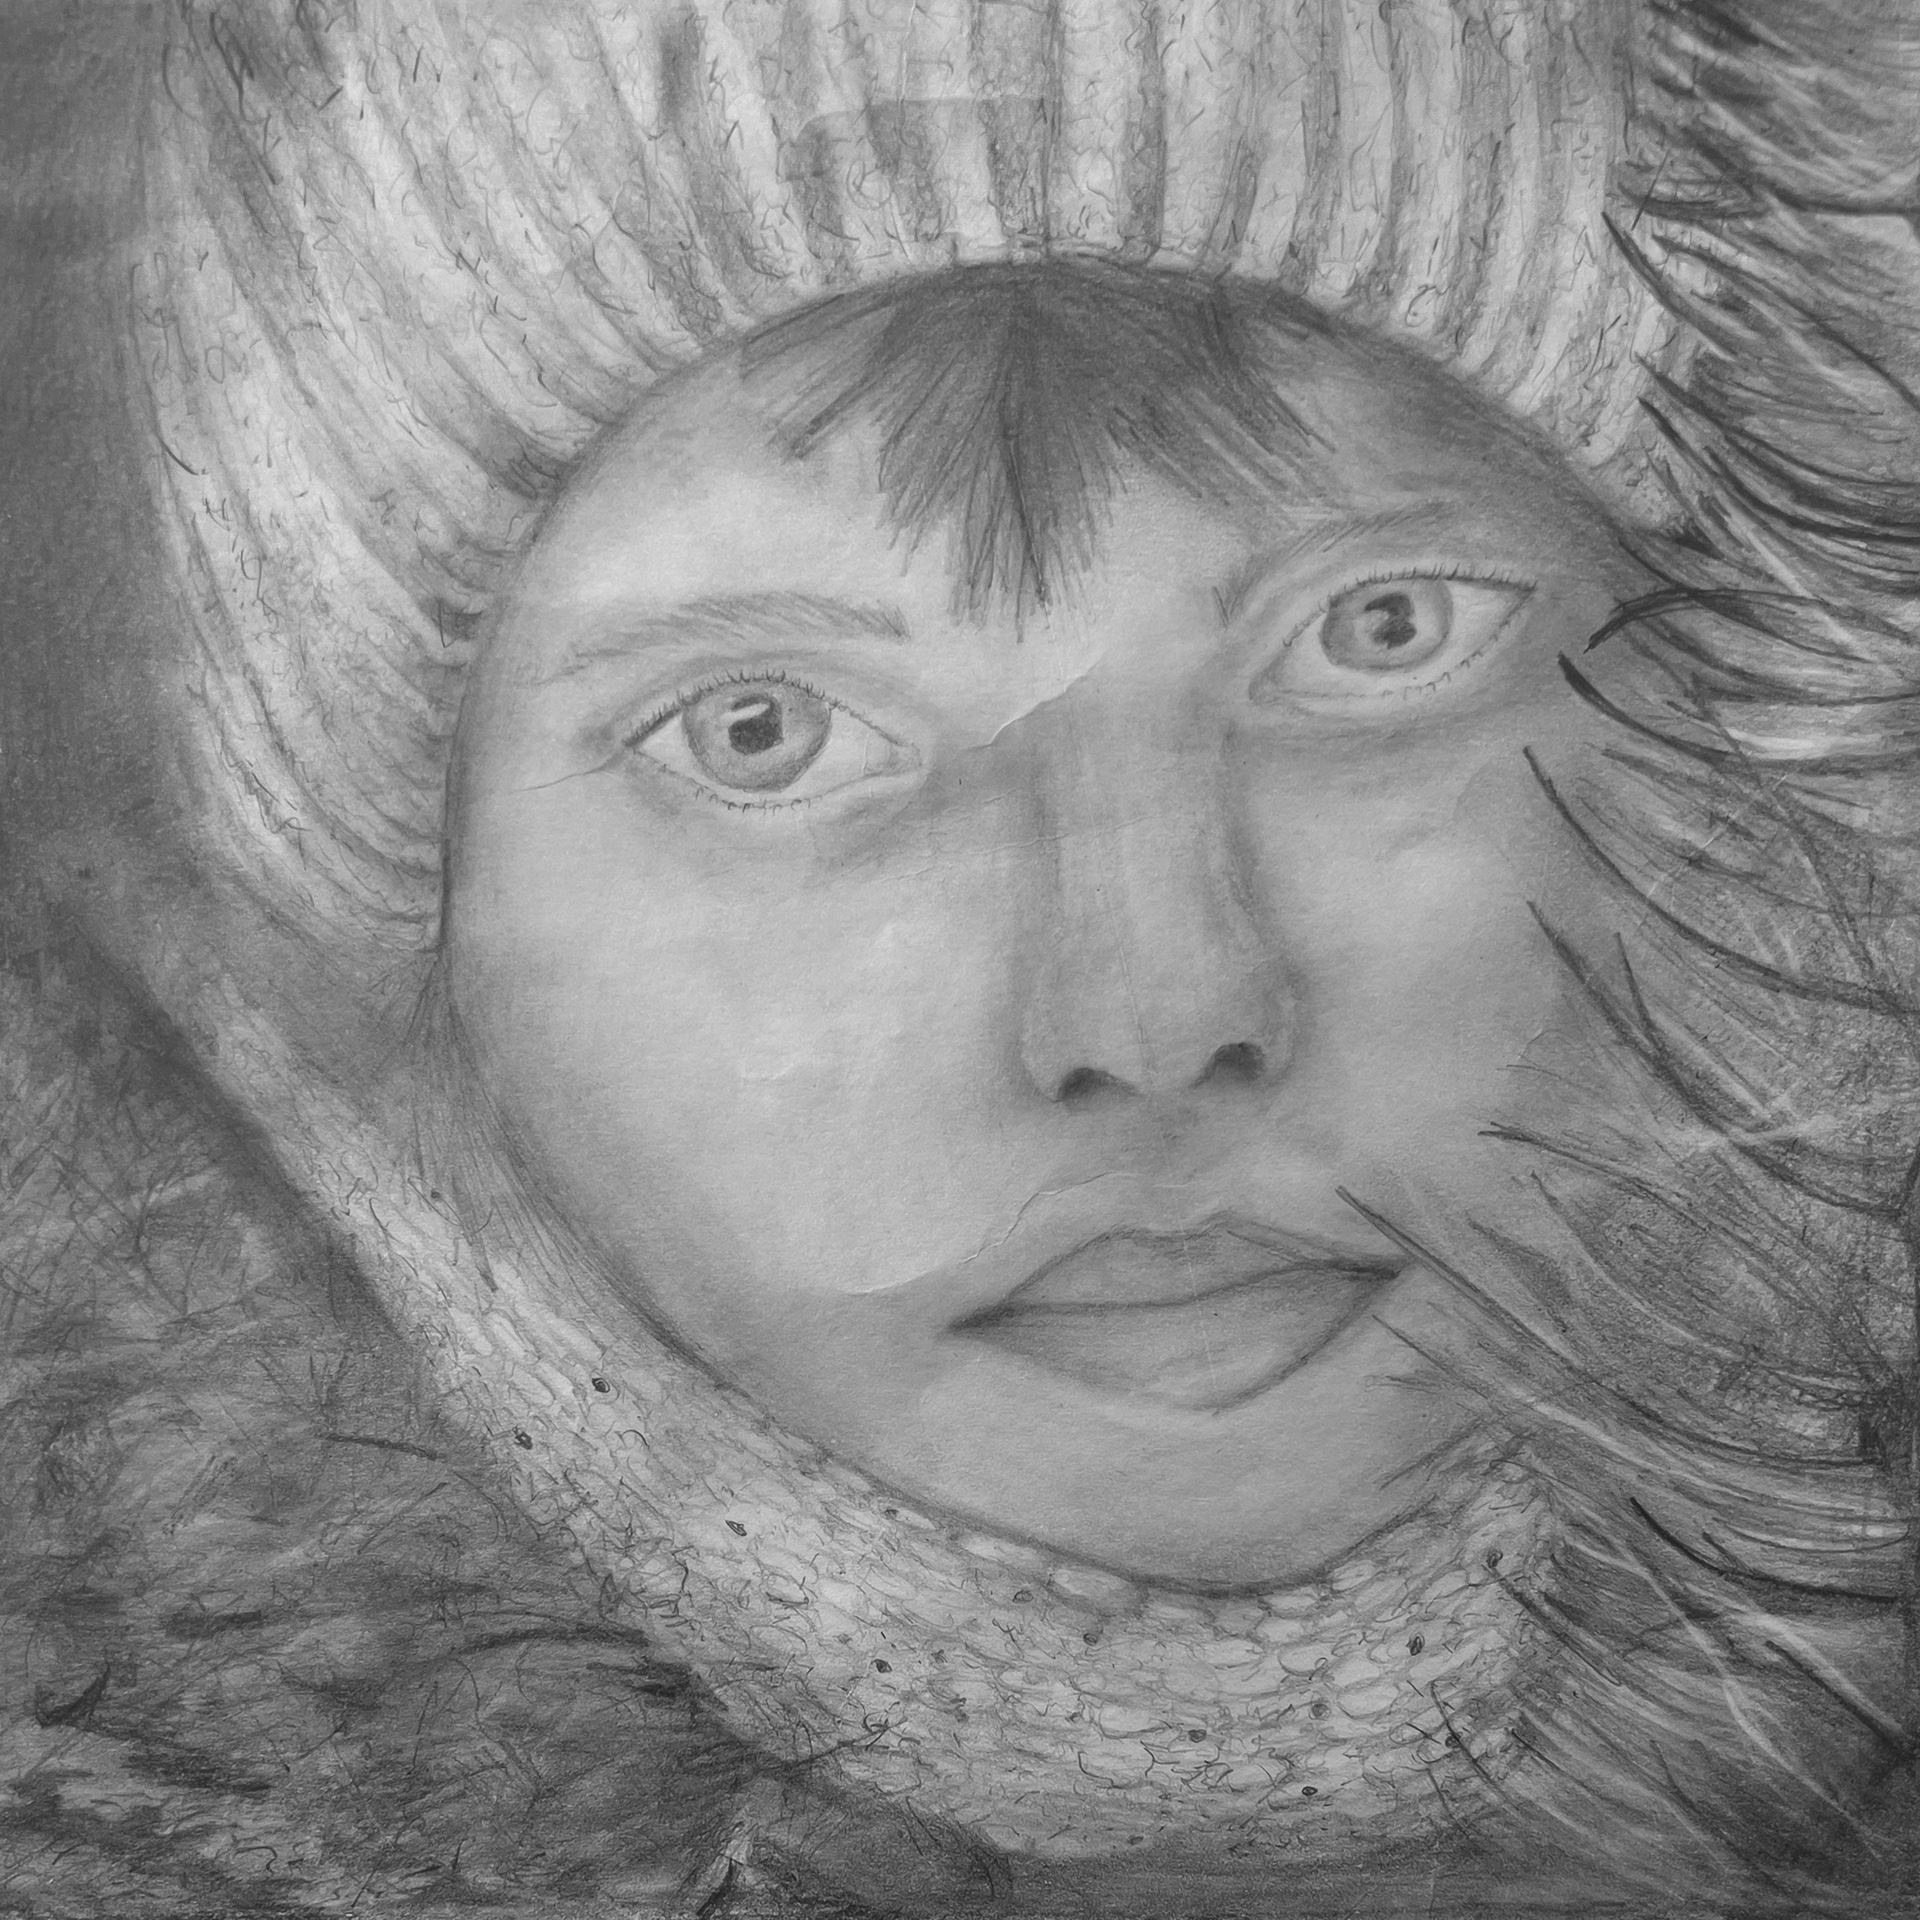
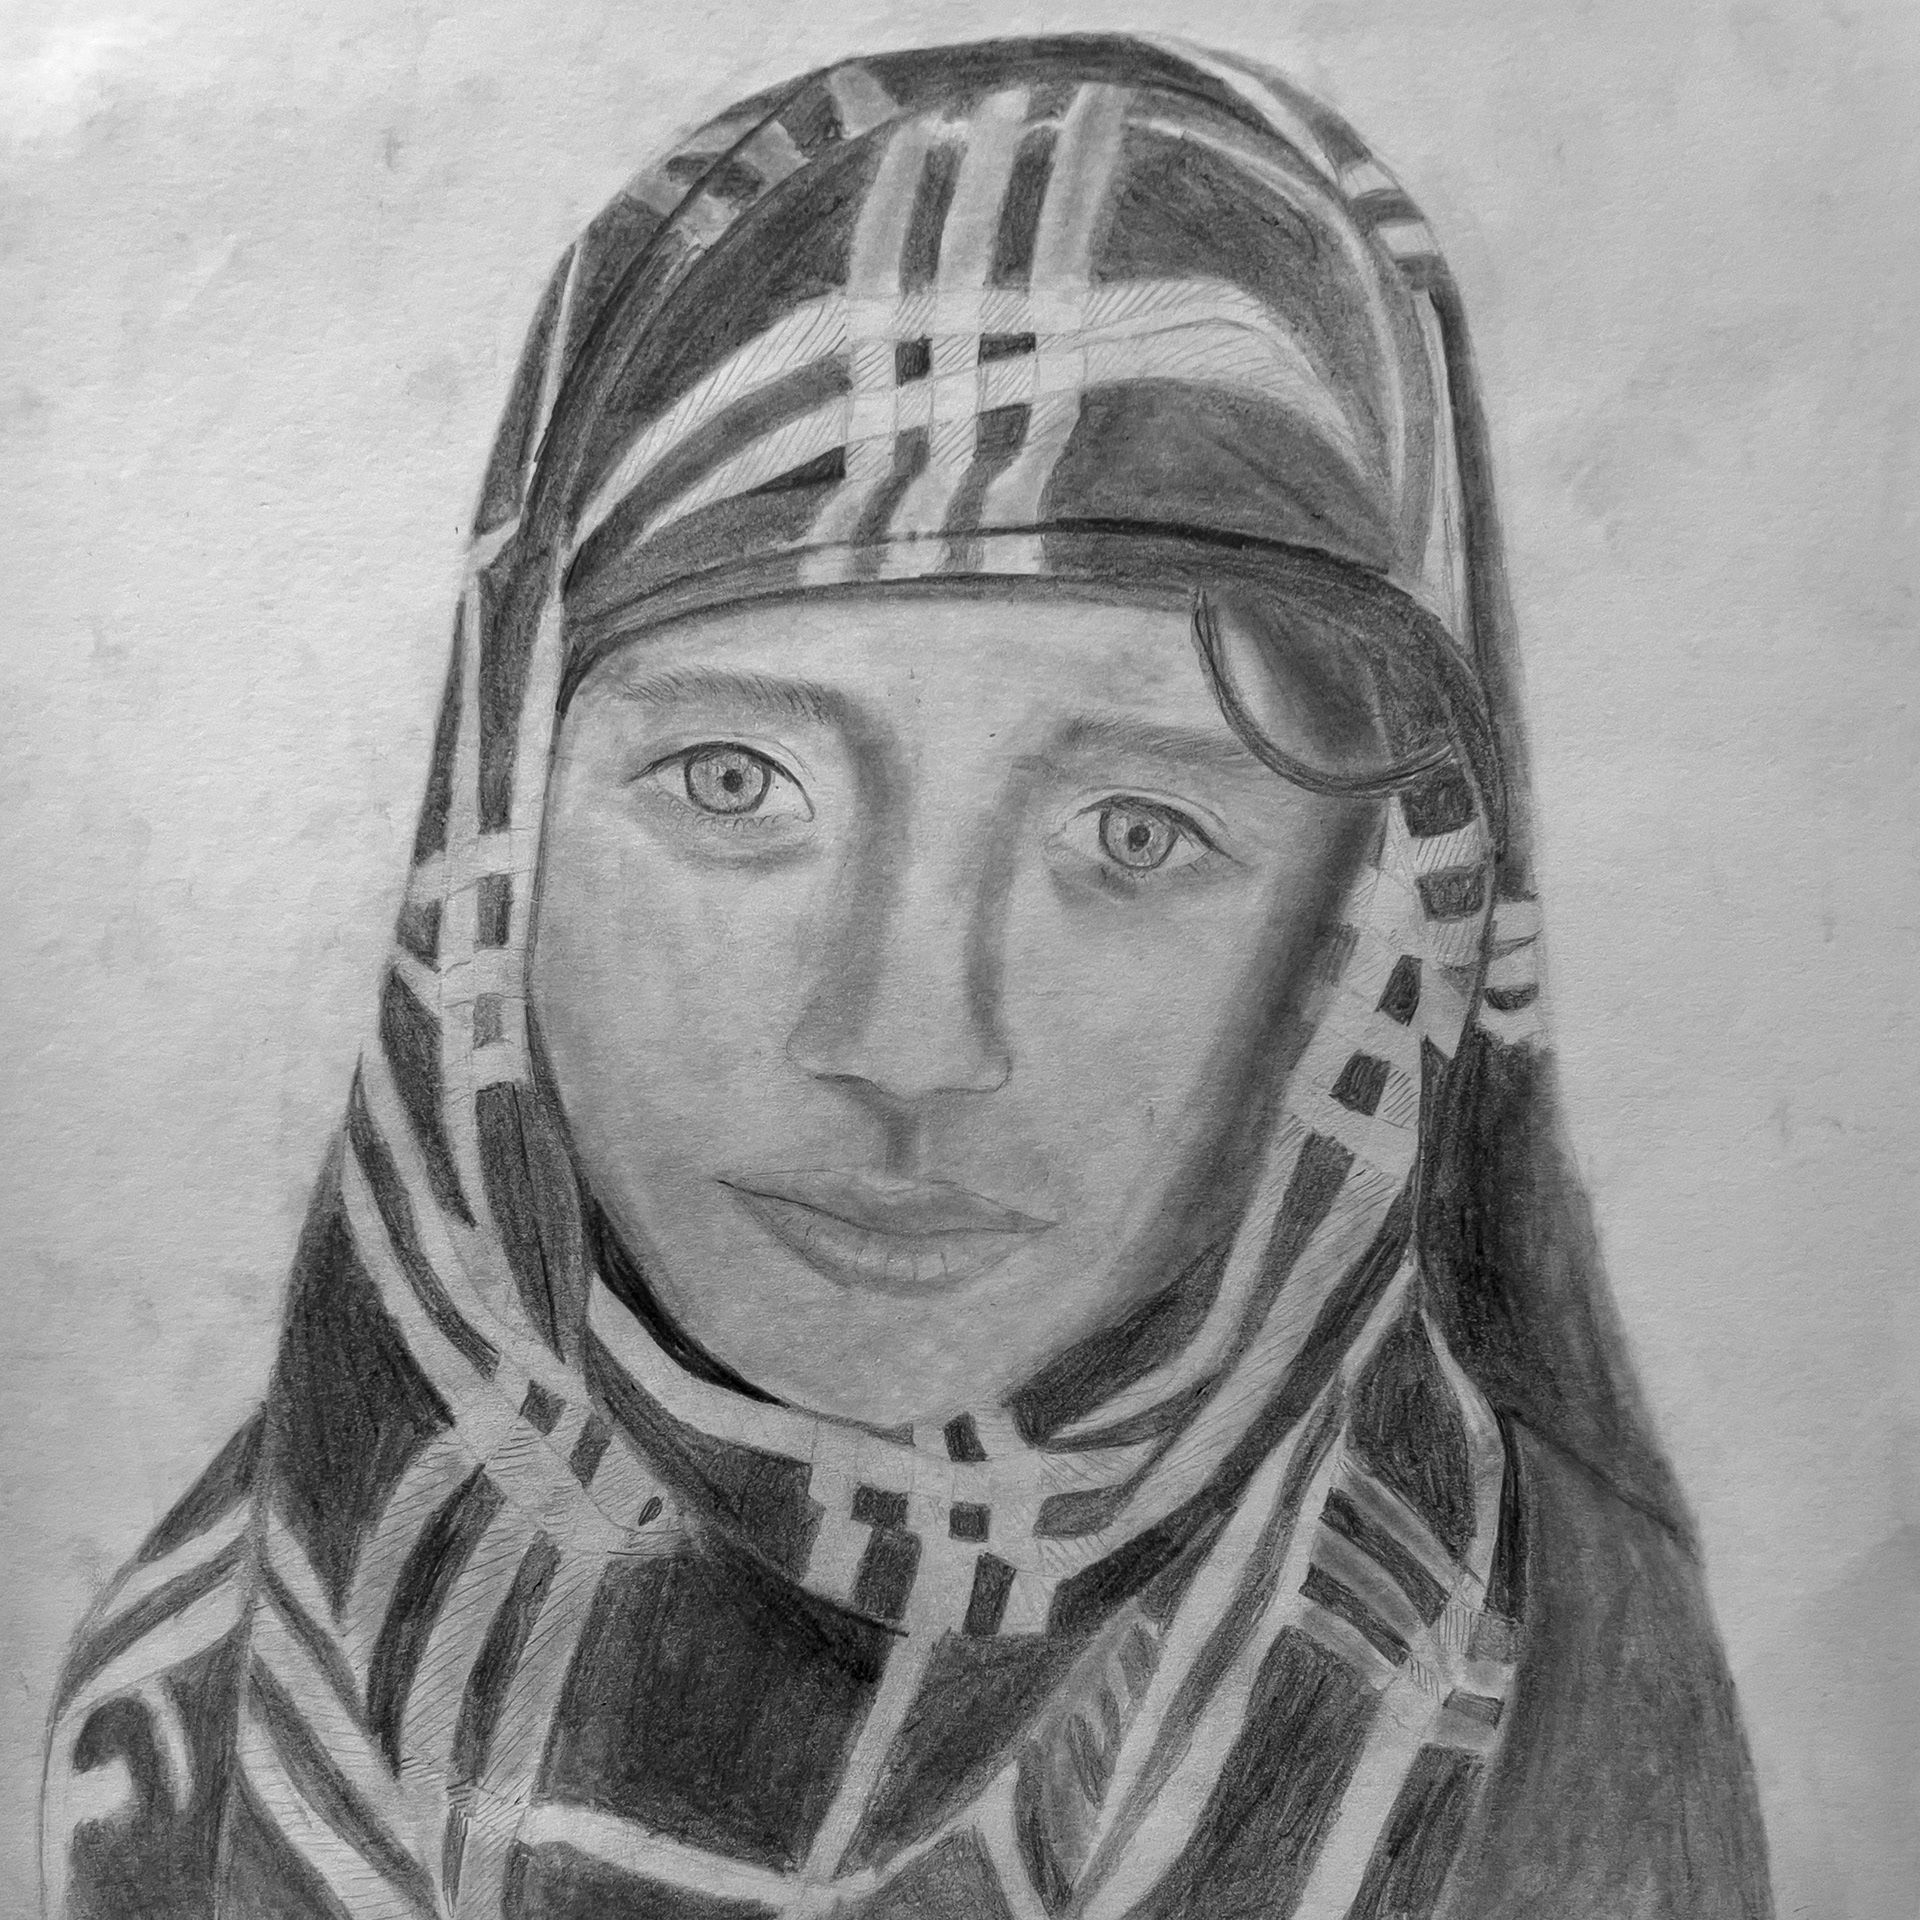
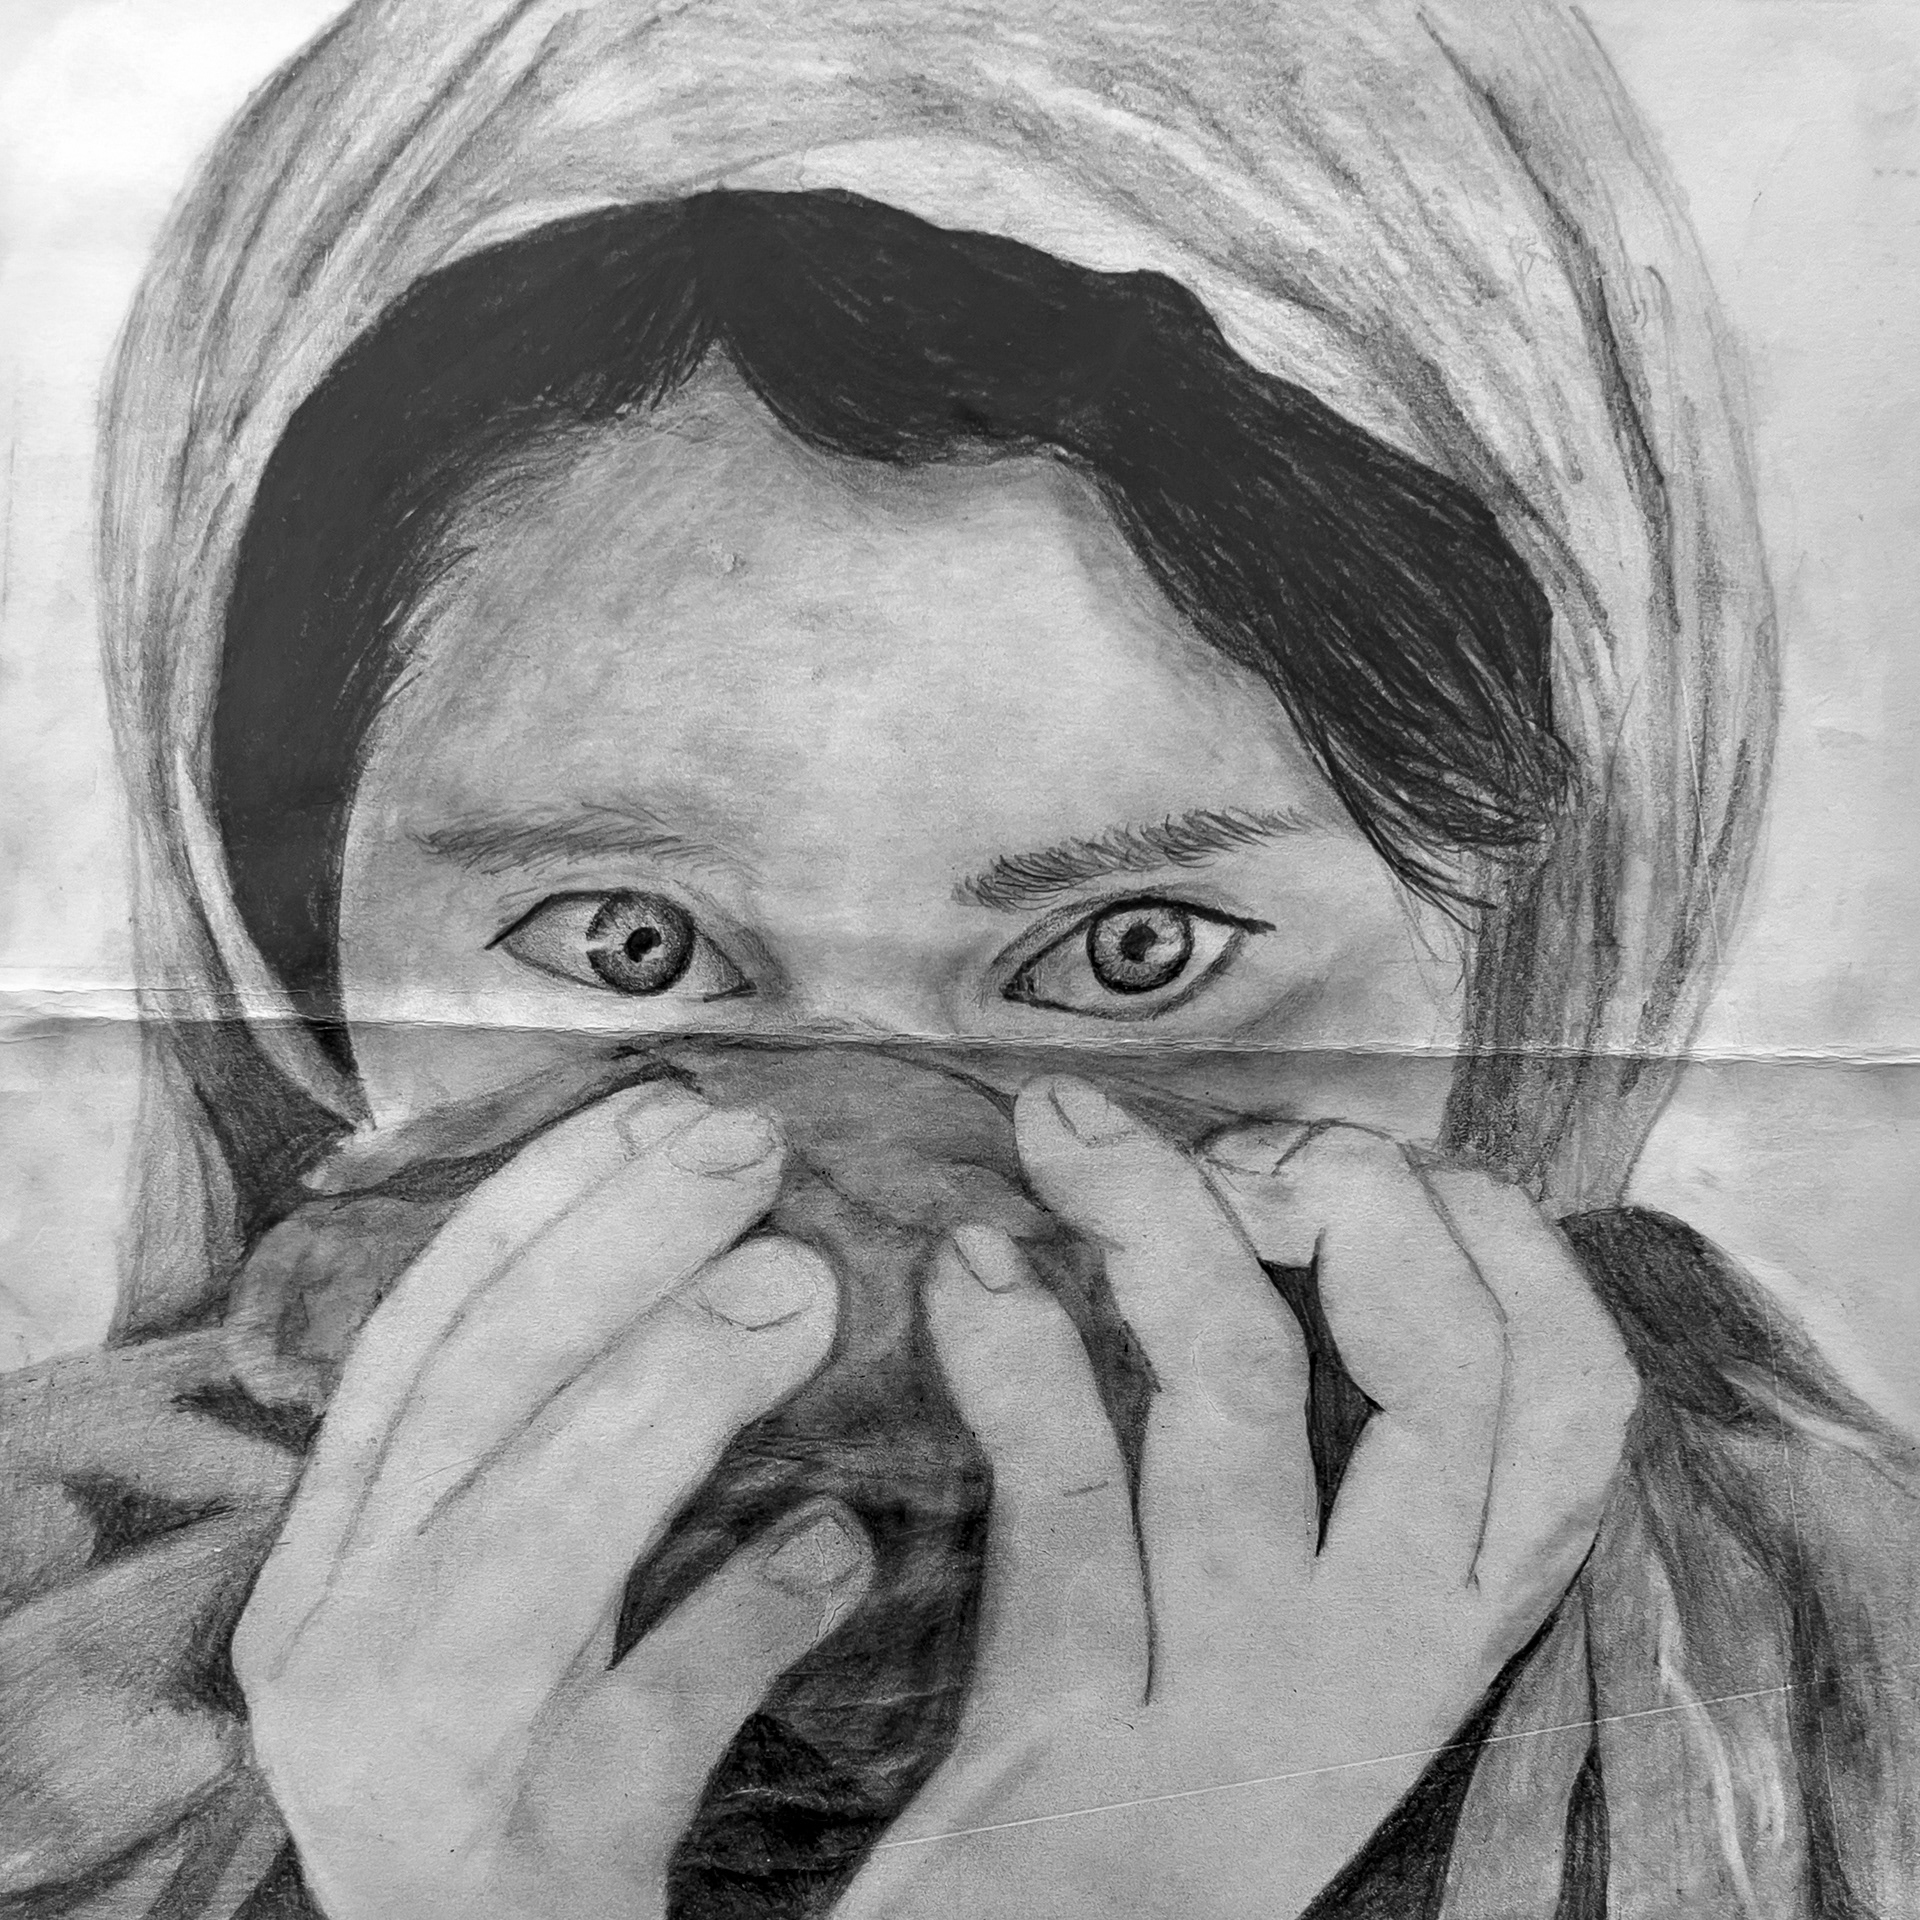
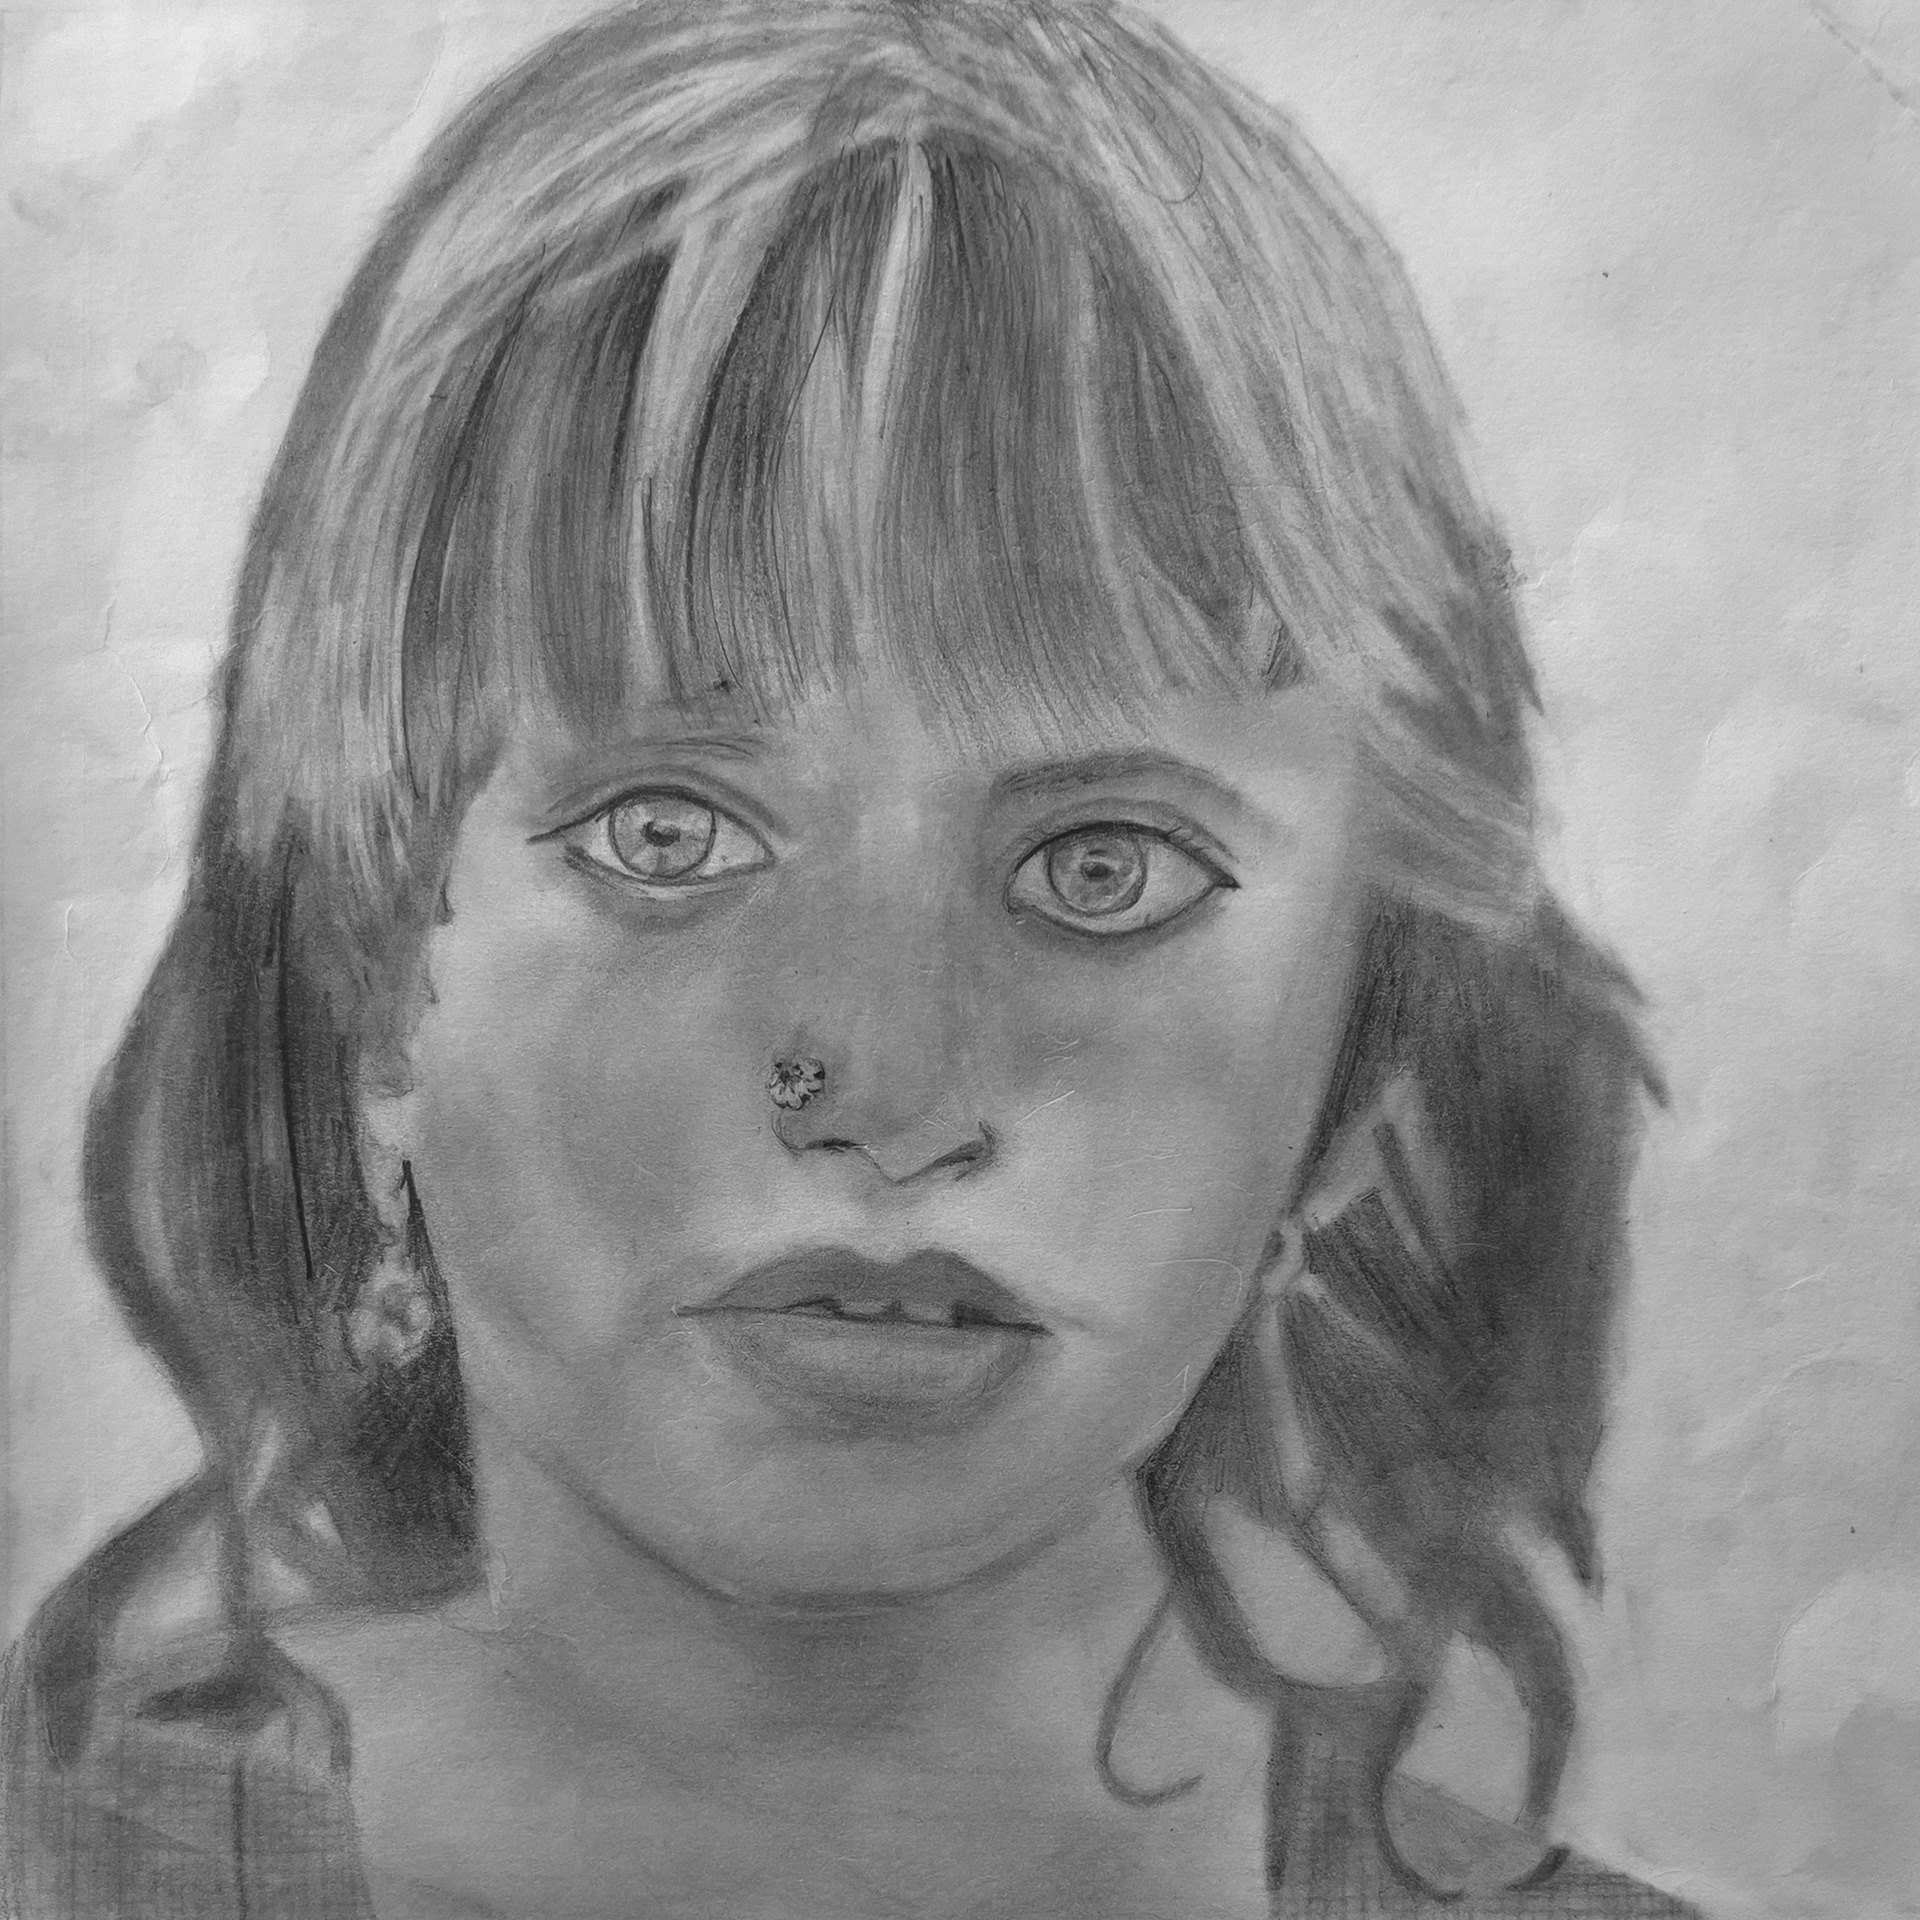
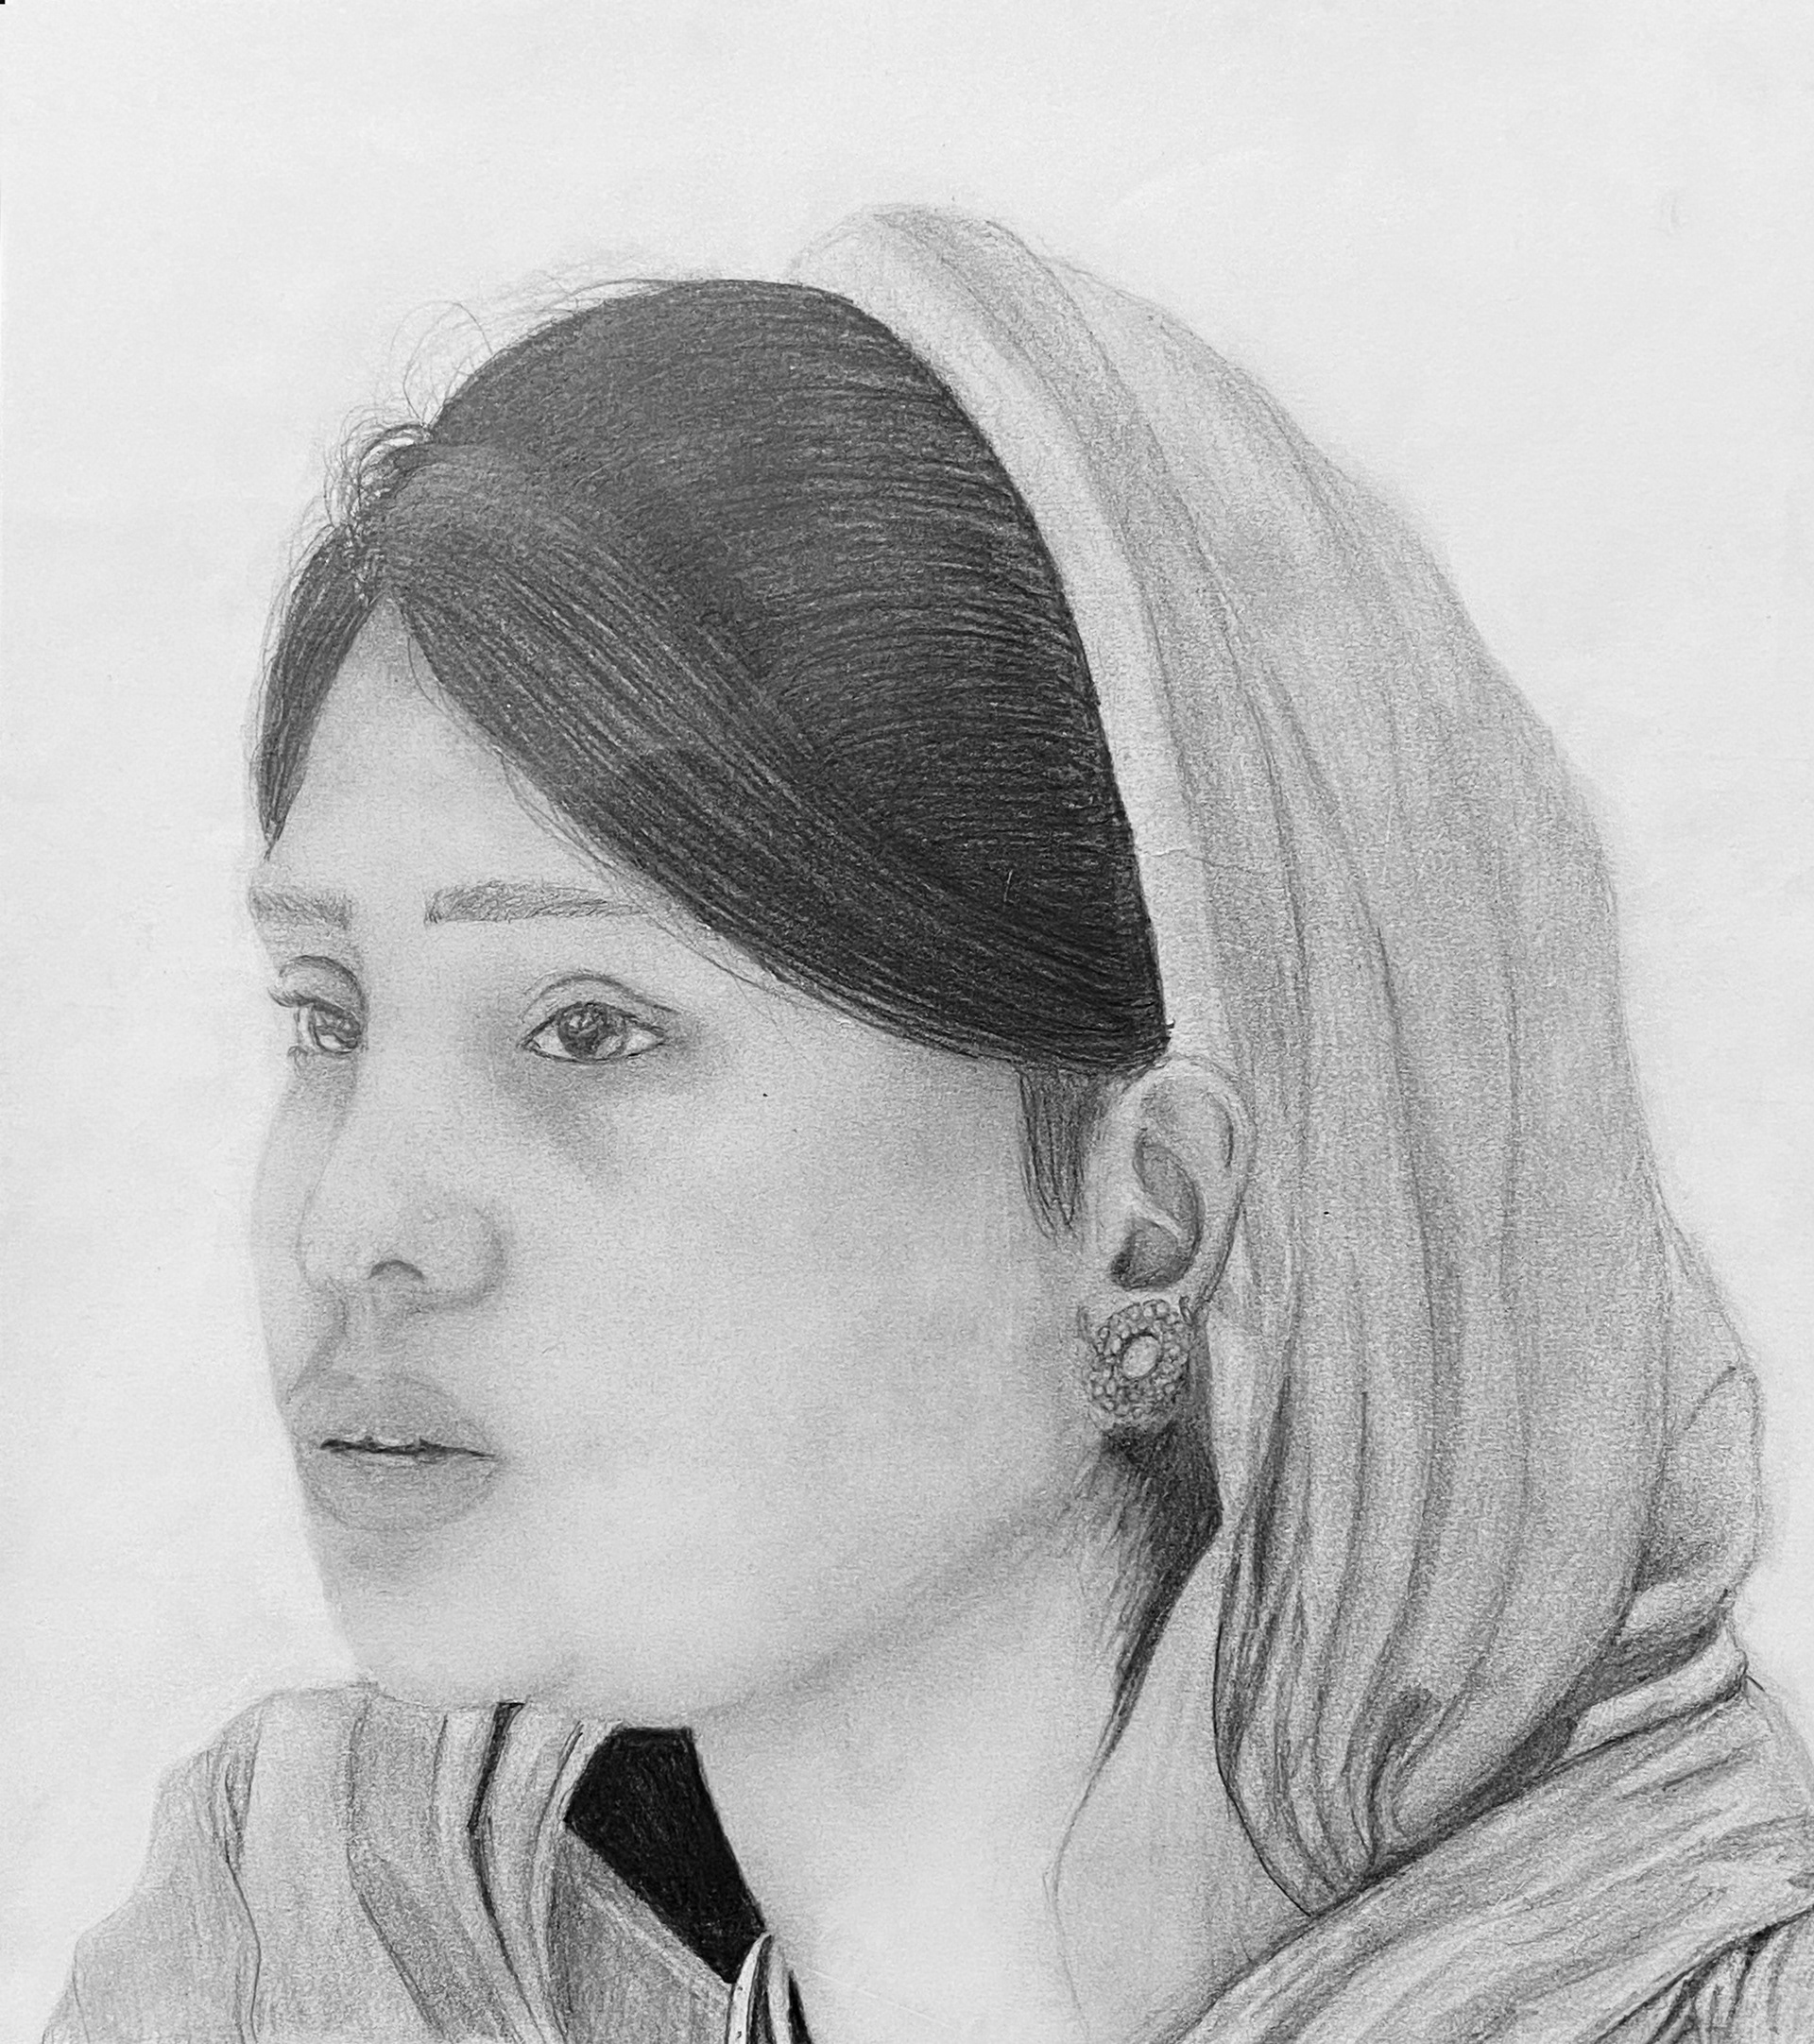
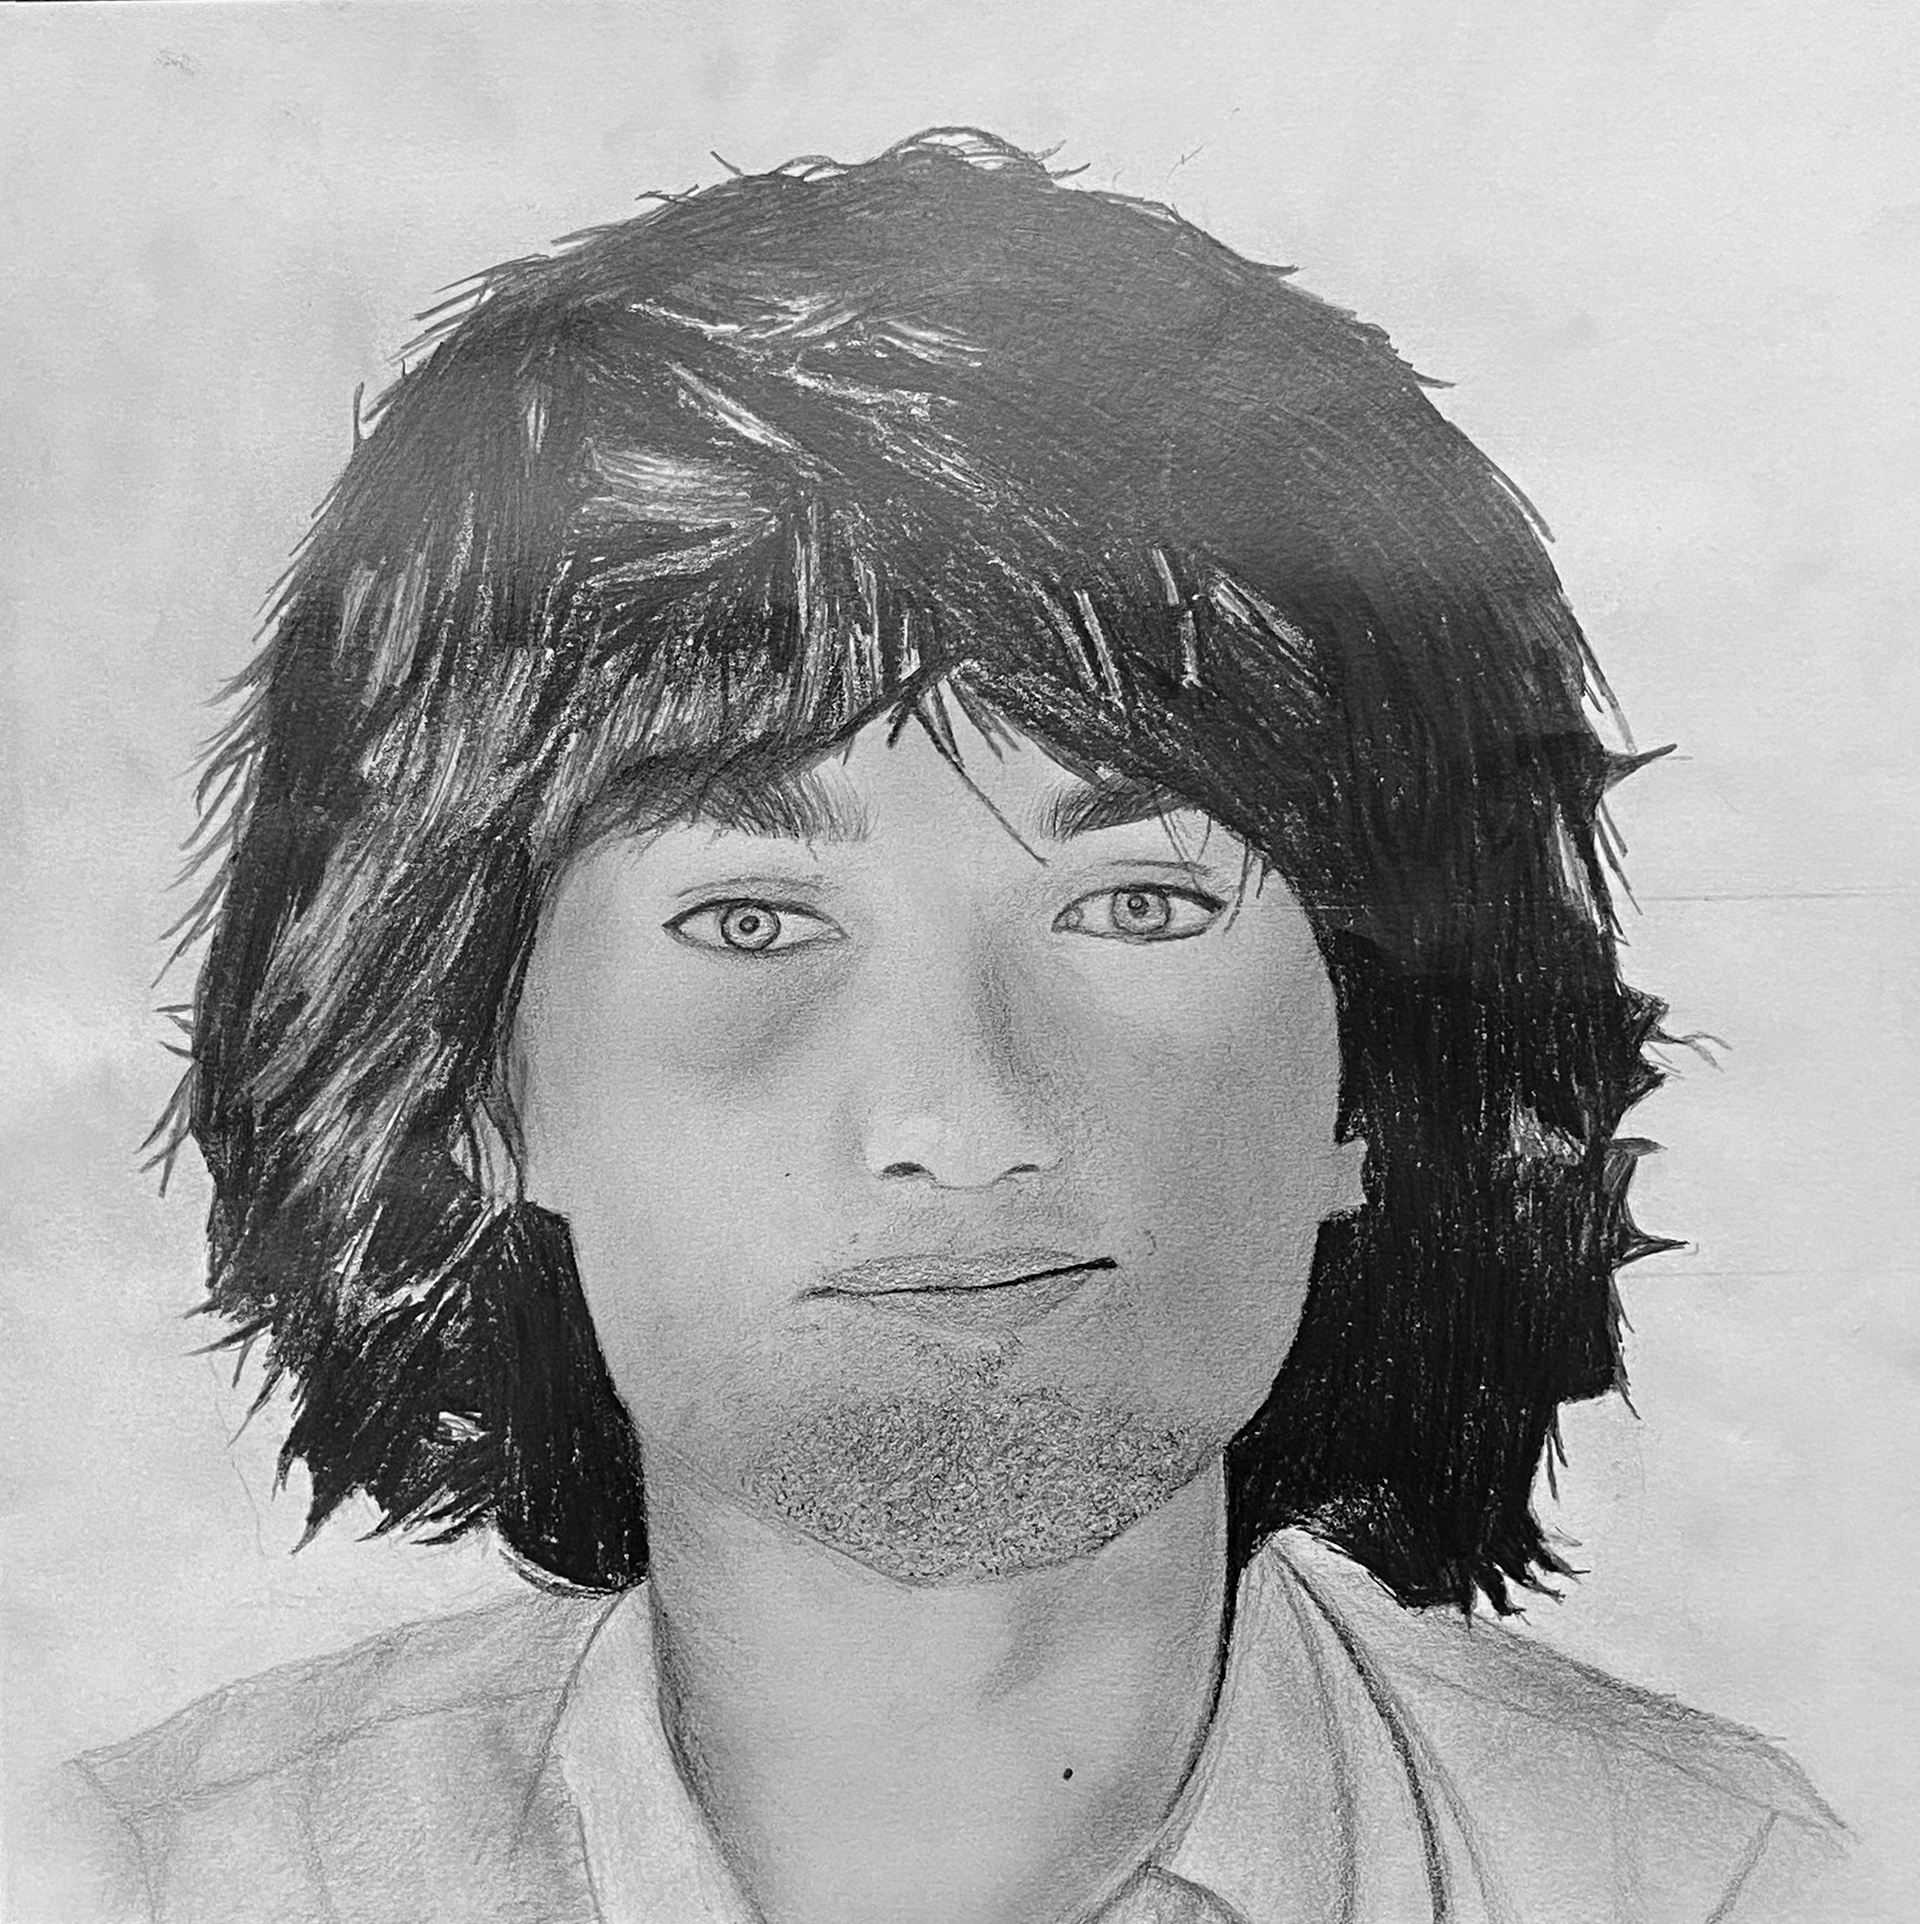
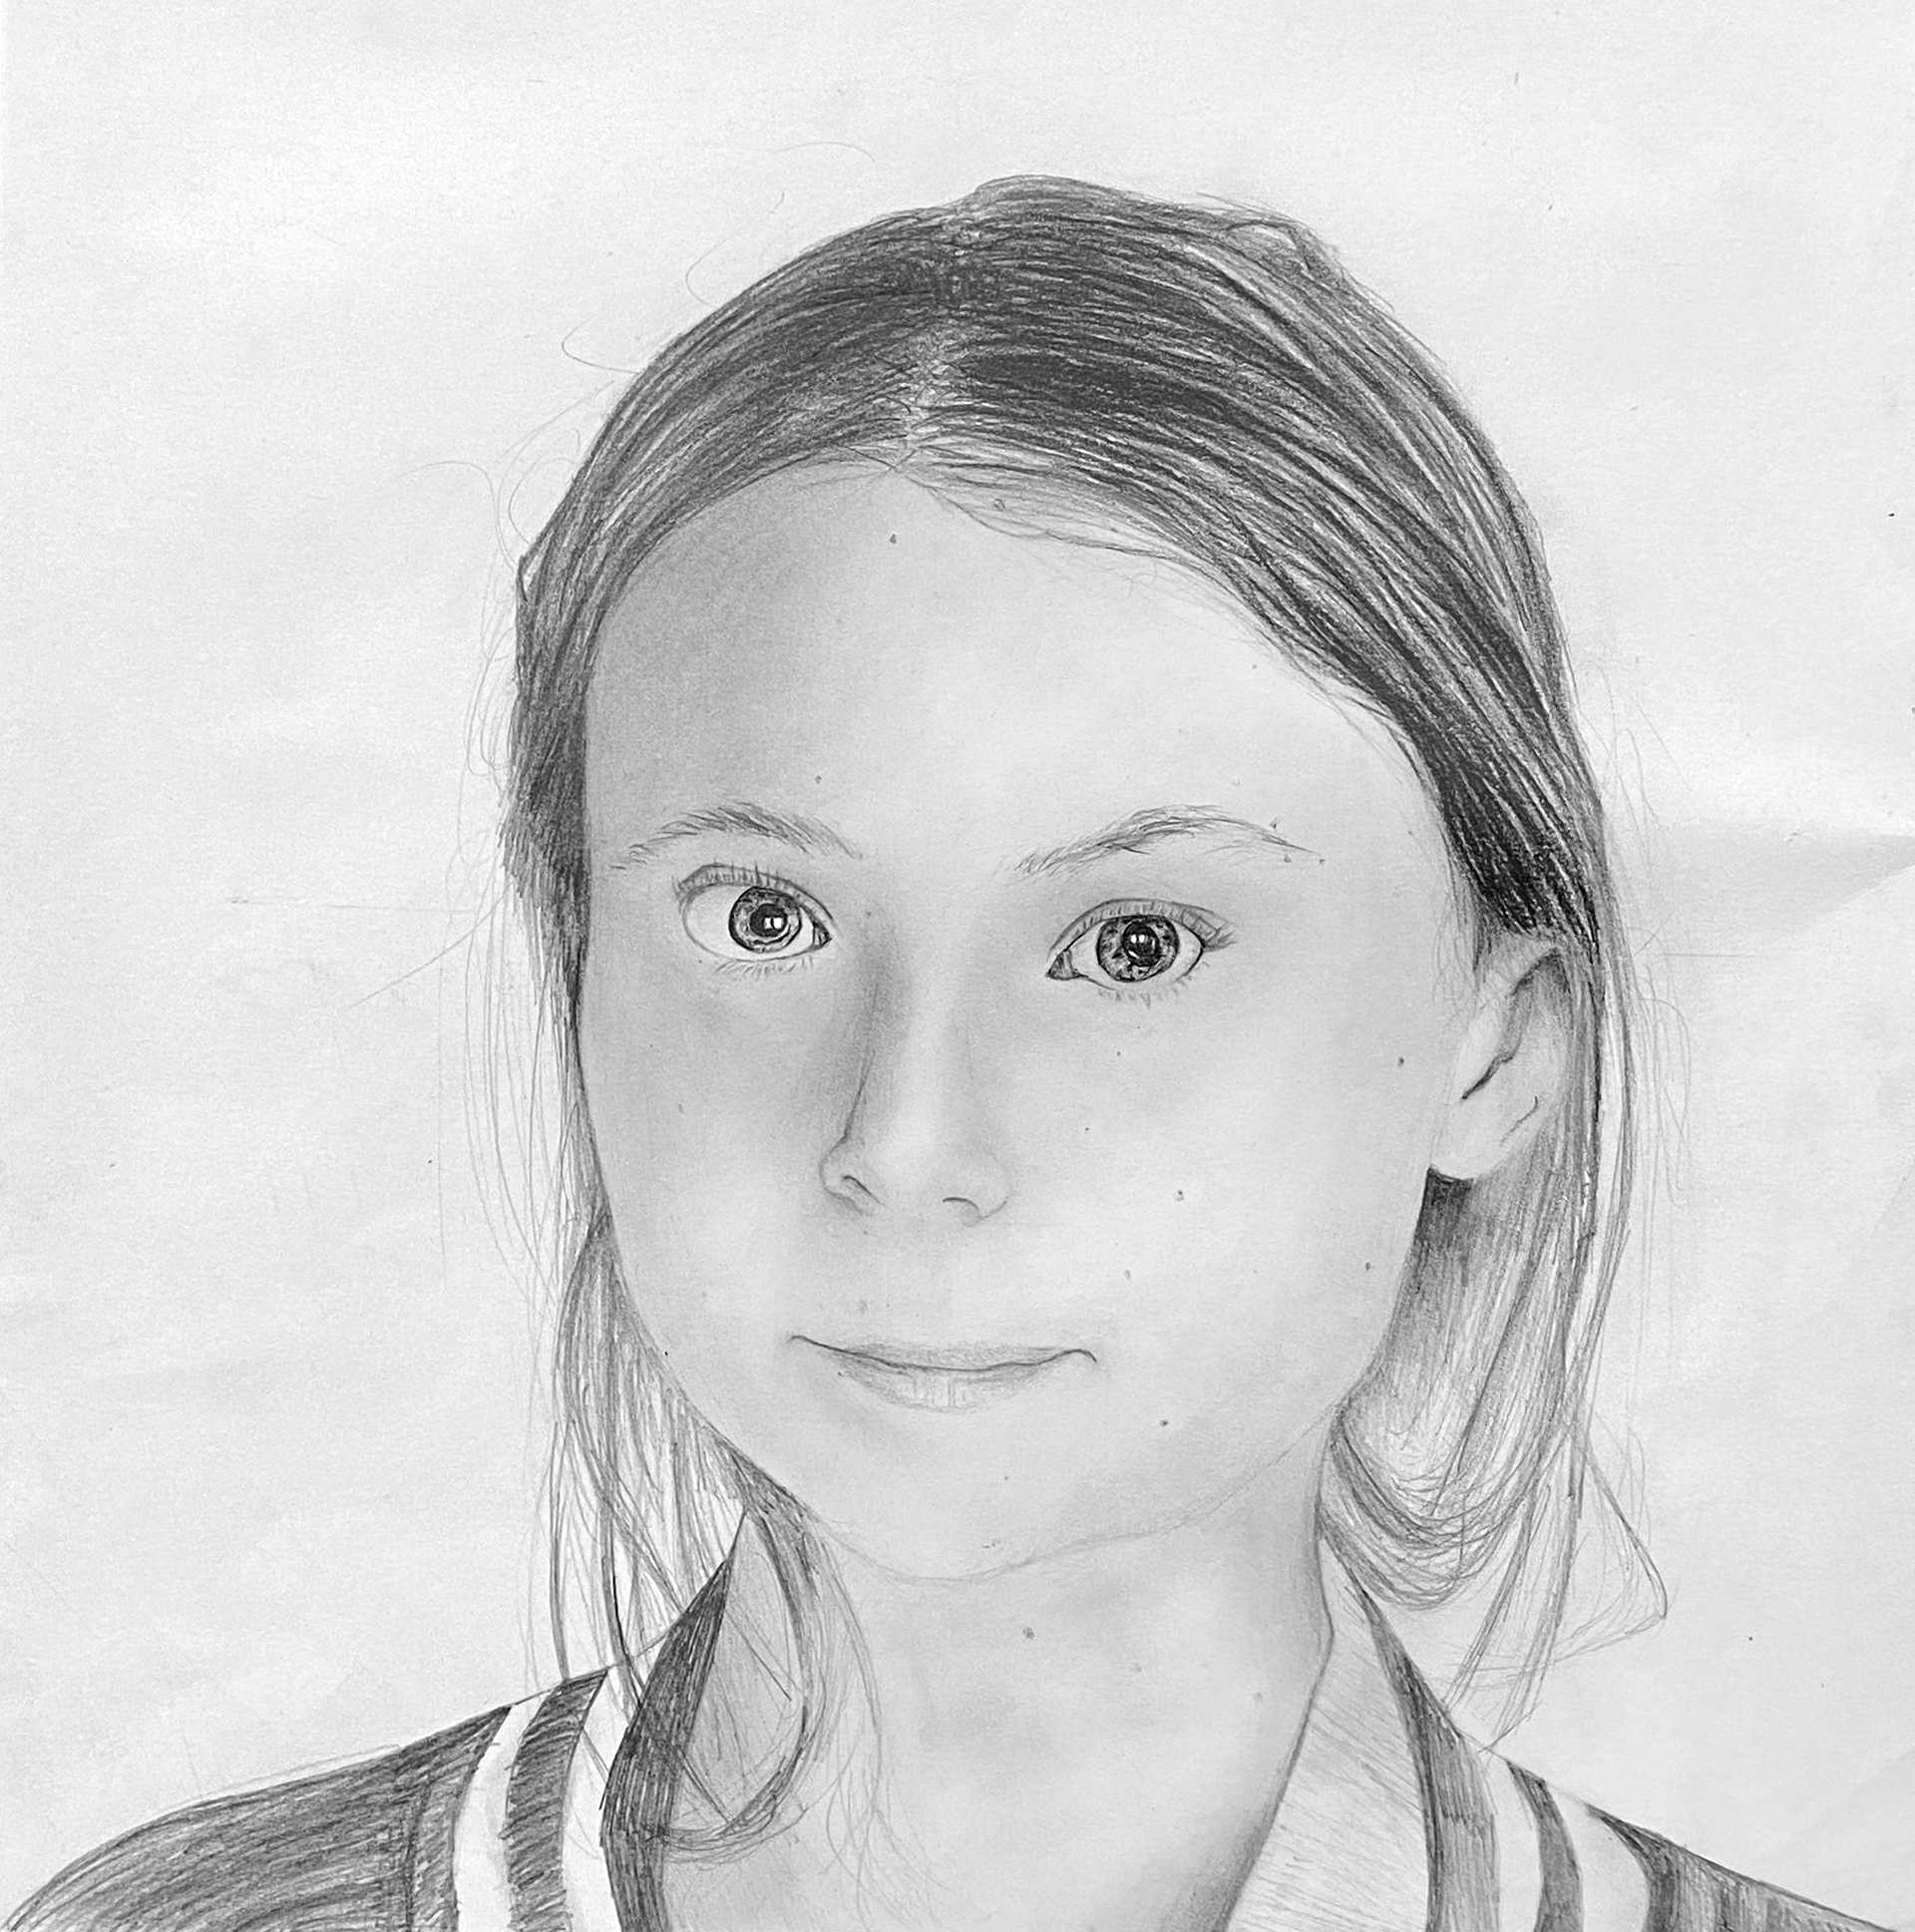
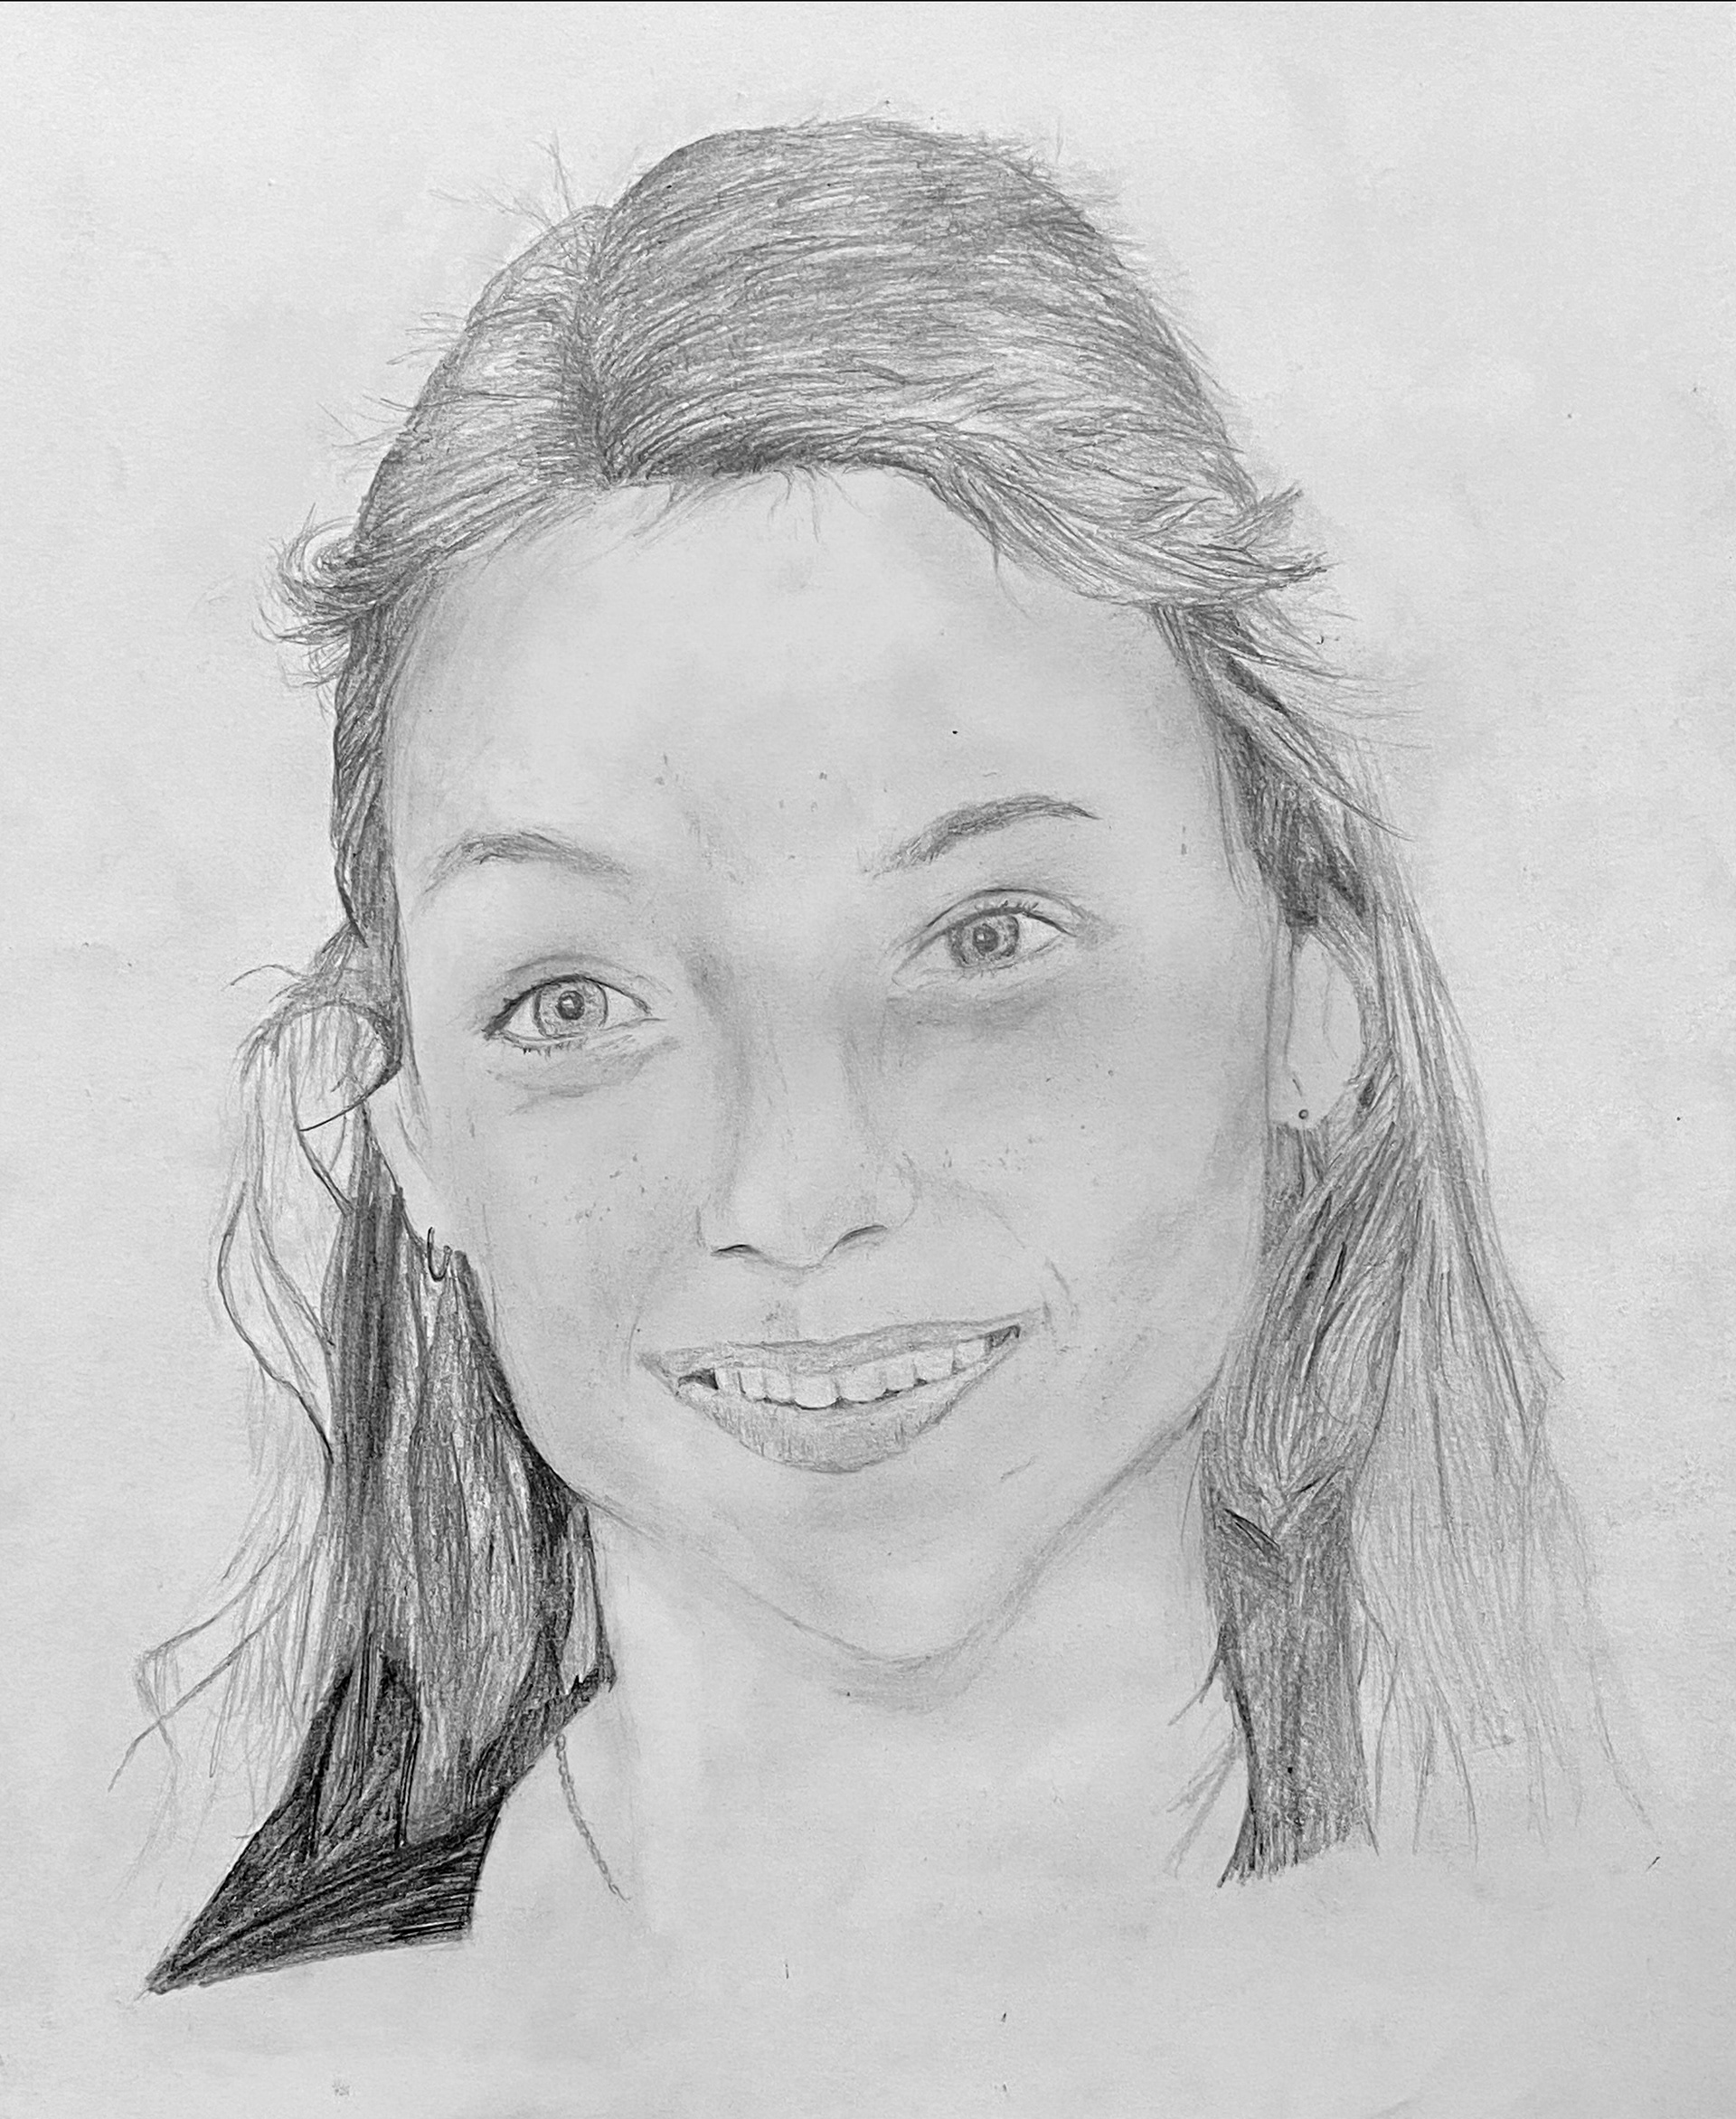
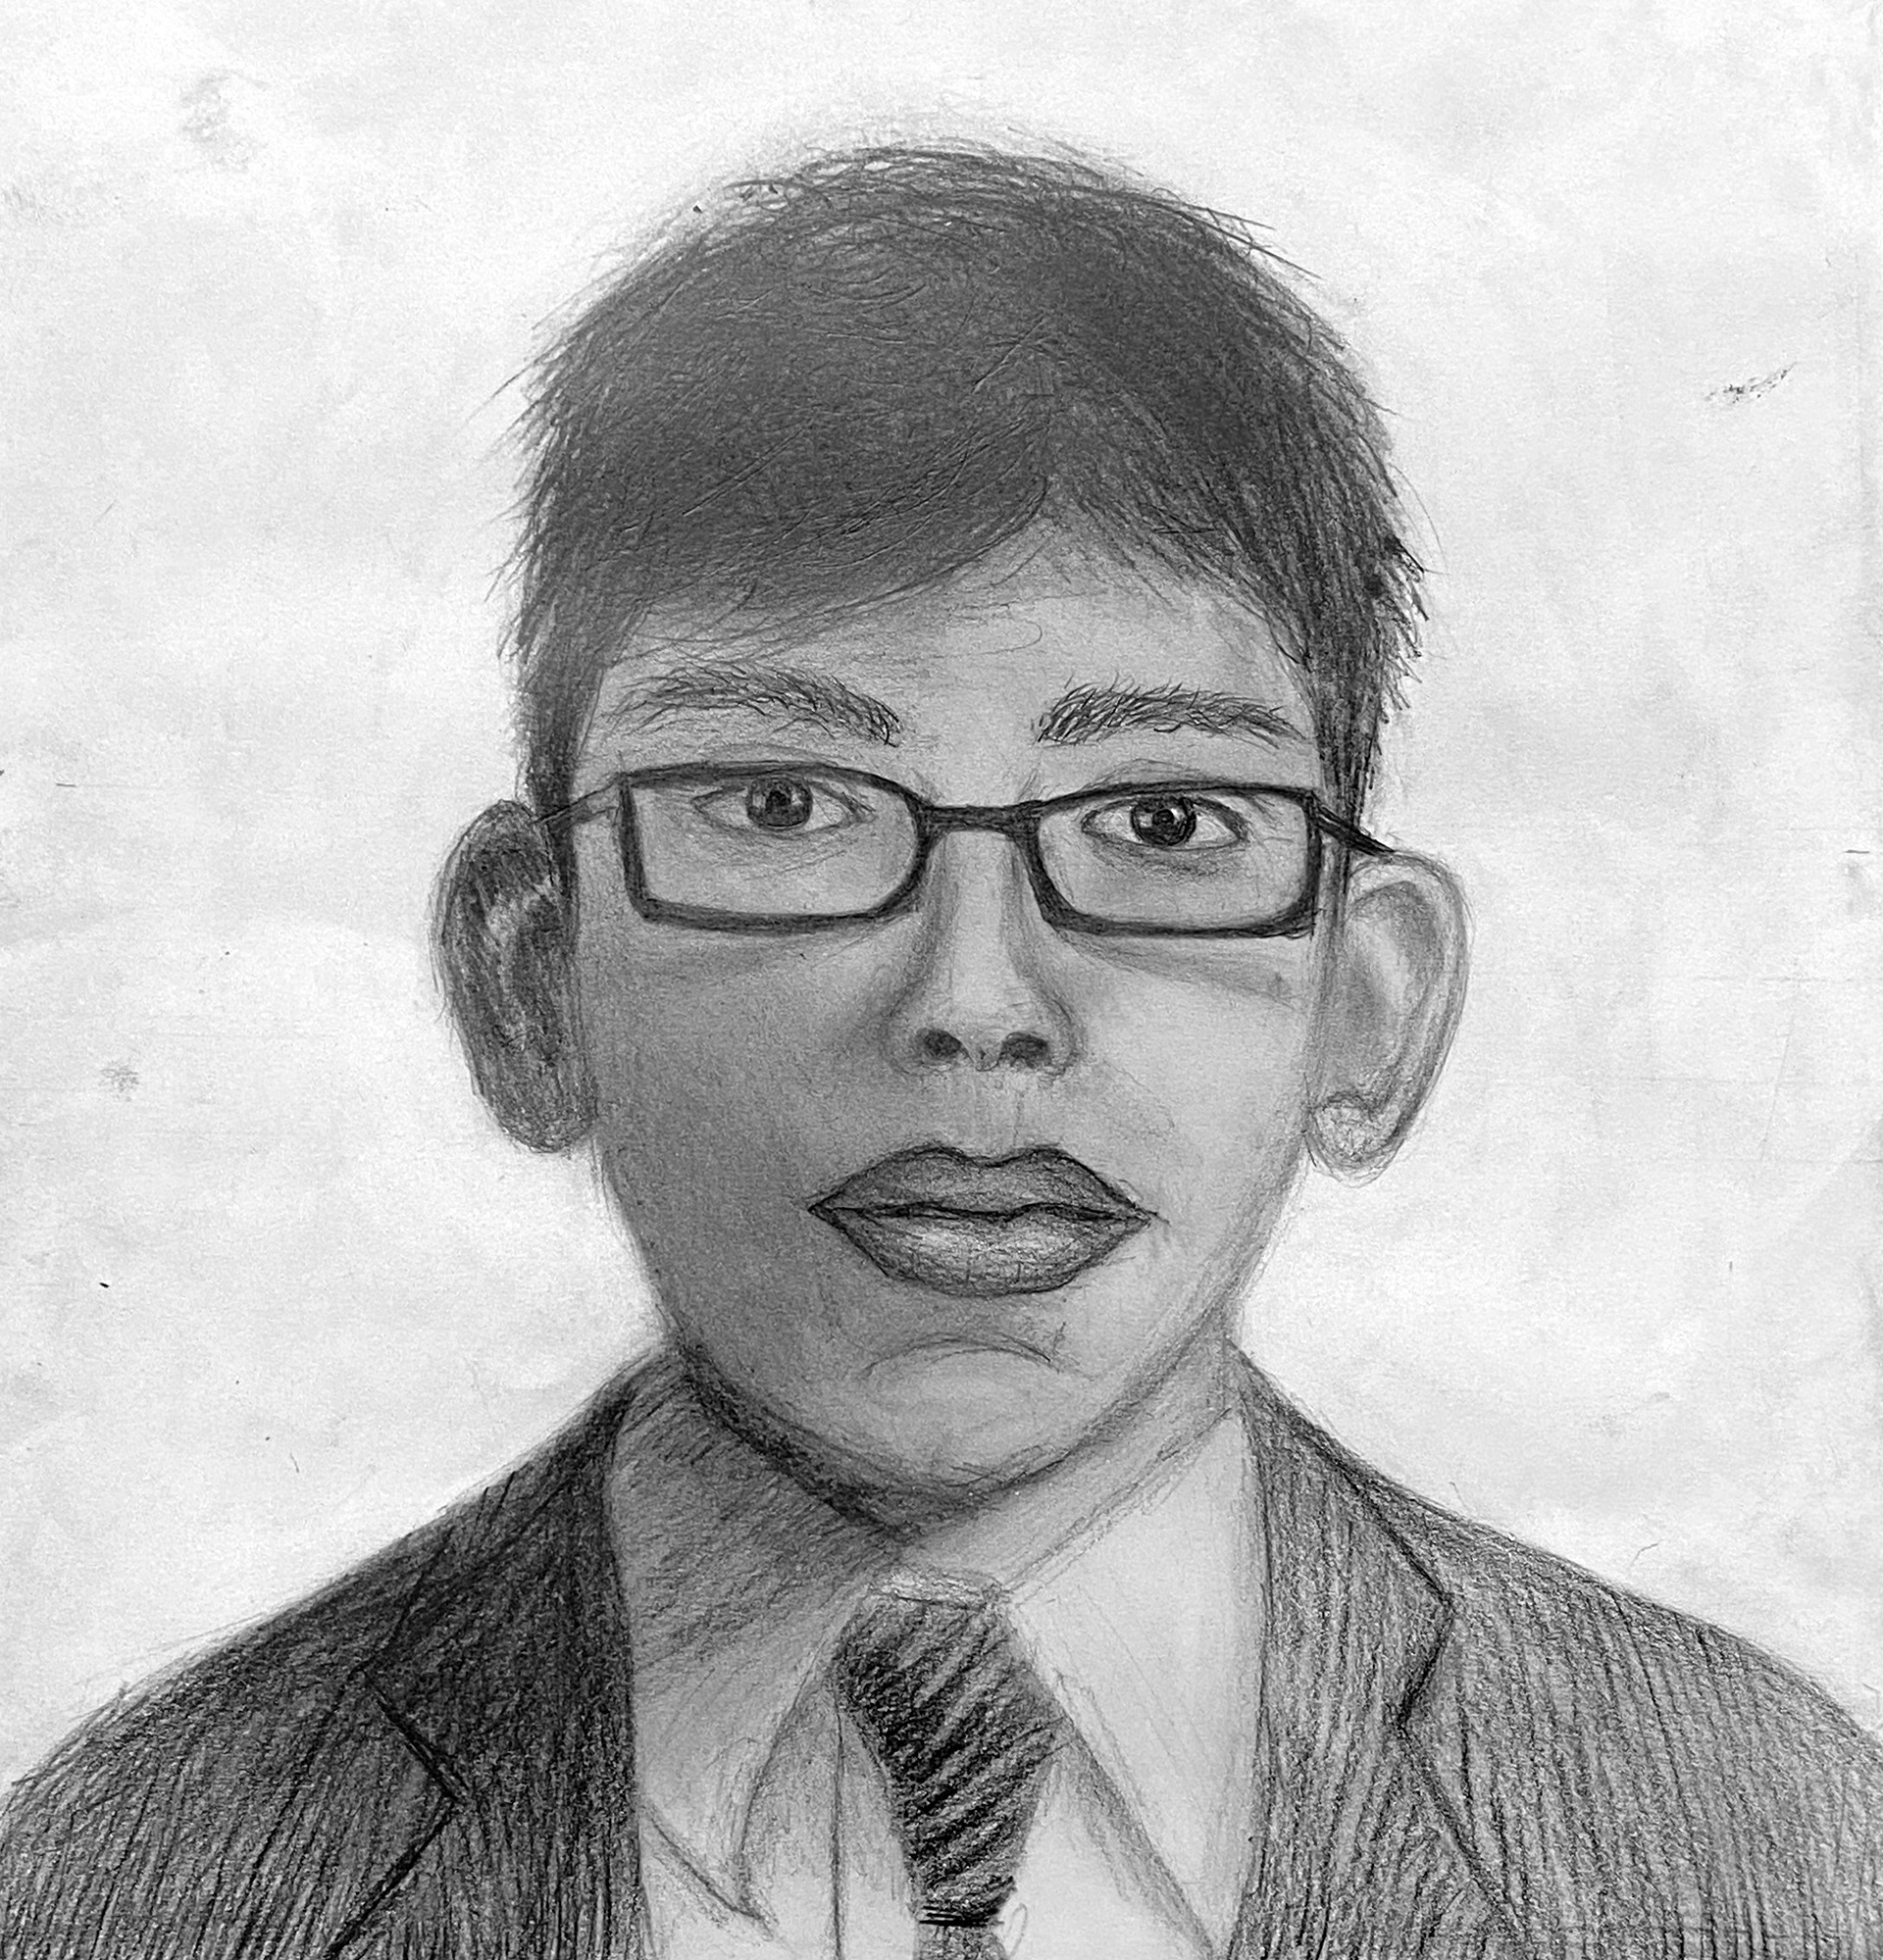
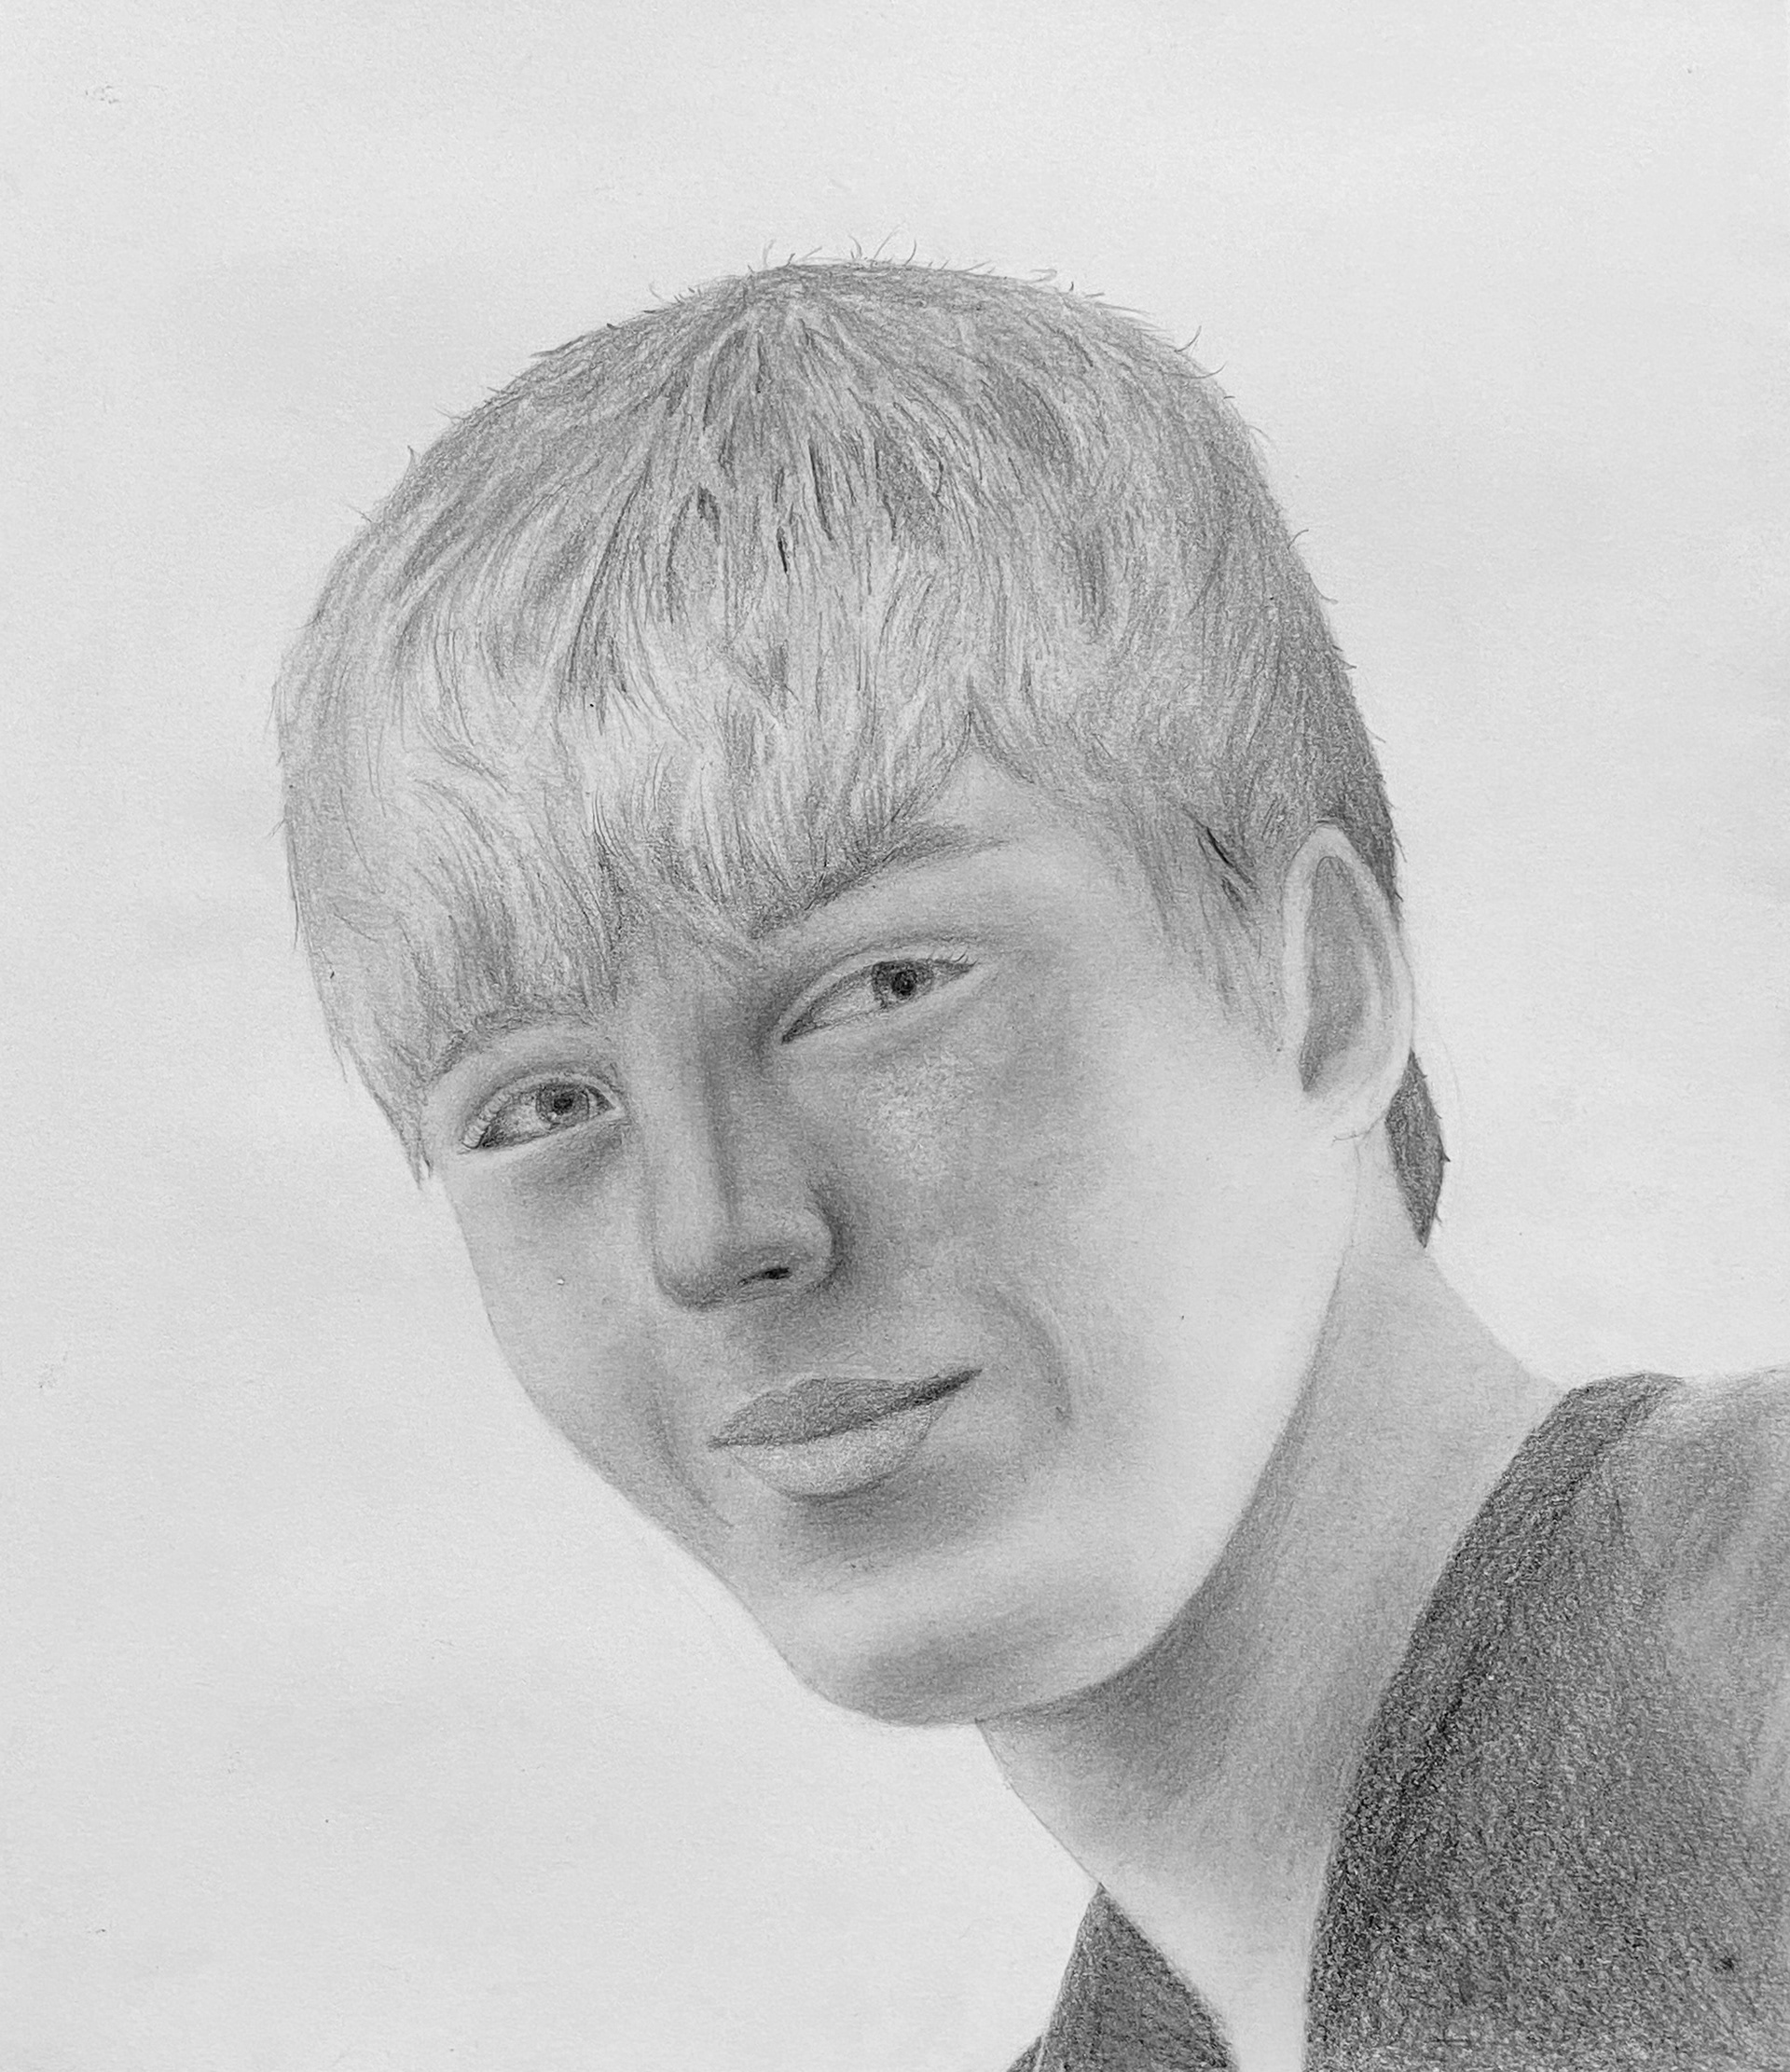
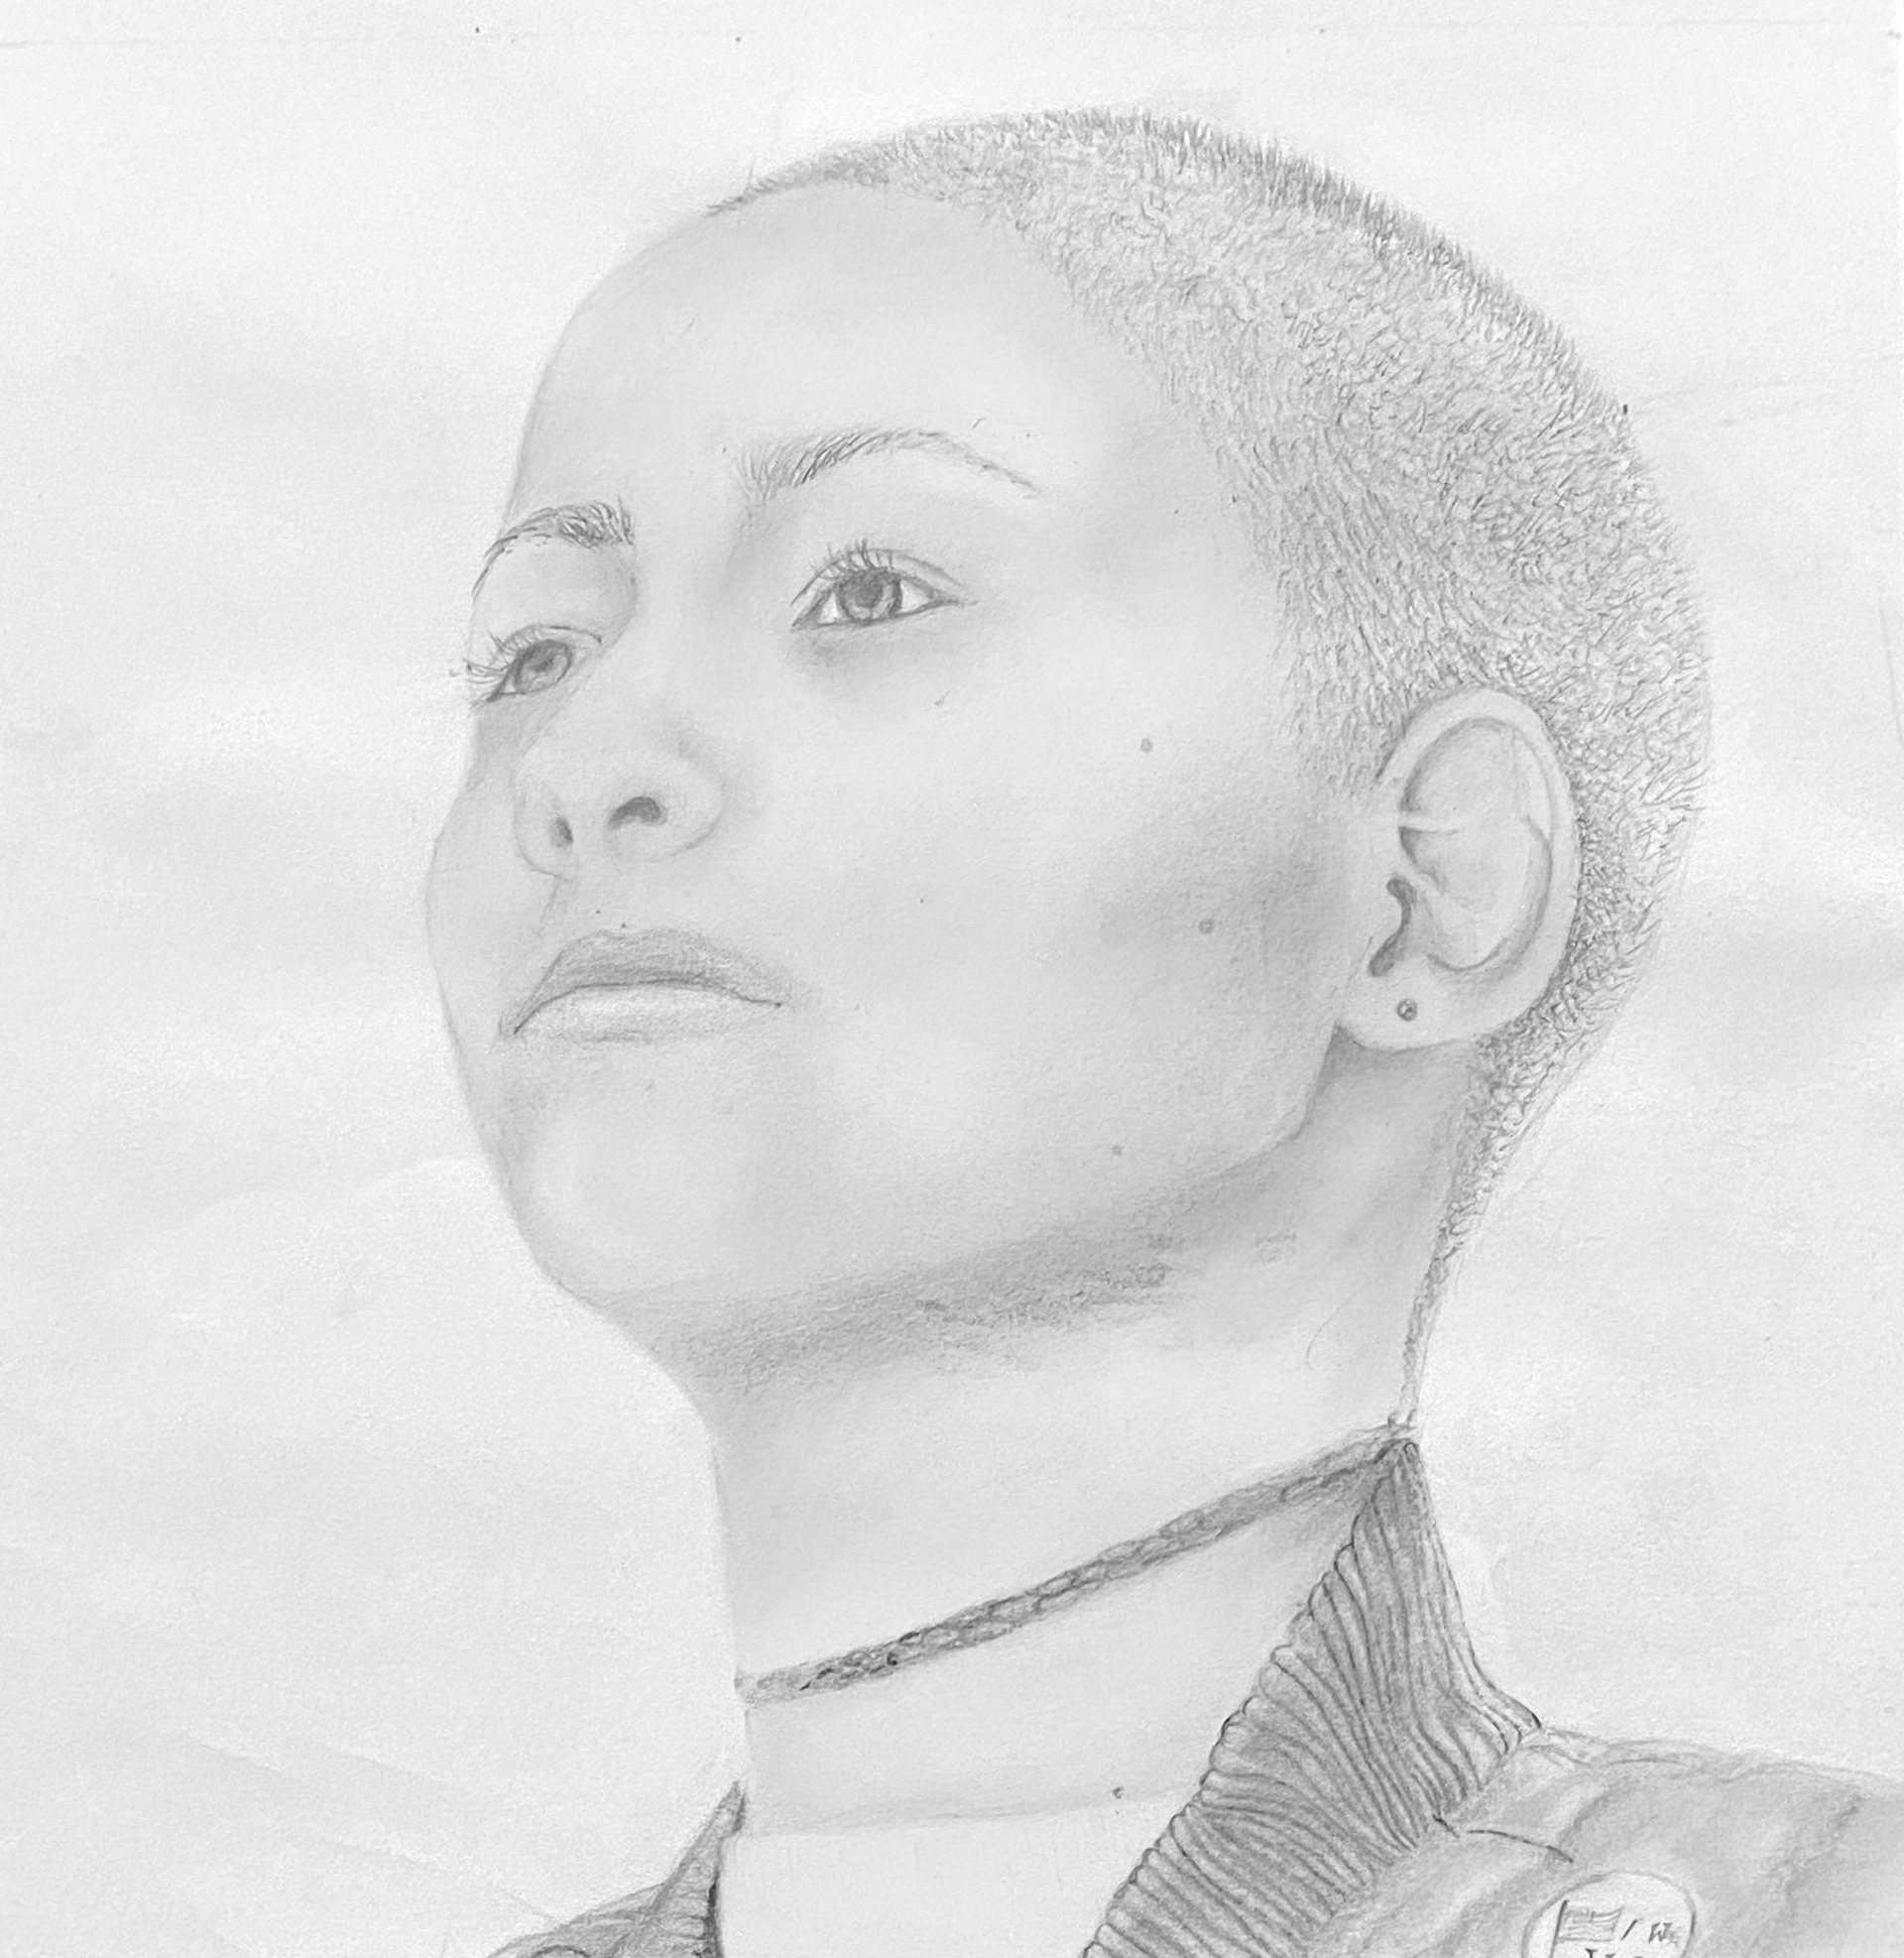
Examples of previous students' drawings:
What have each of these students done well in their drawings and what might they have improved on?
'Children who have changed the world' (2021):

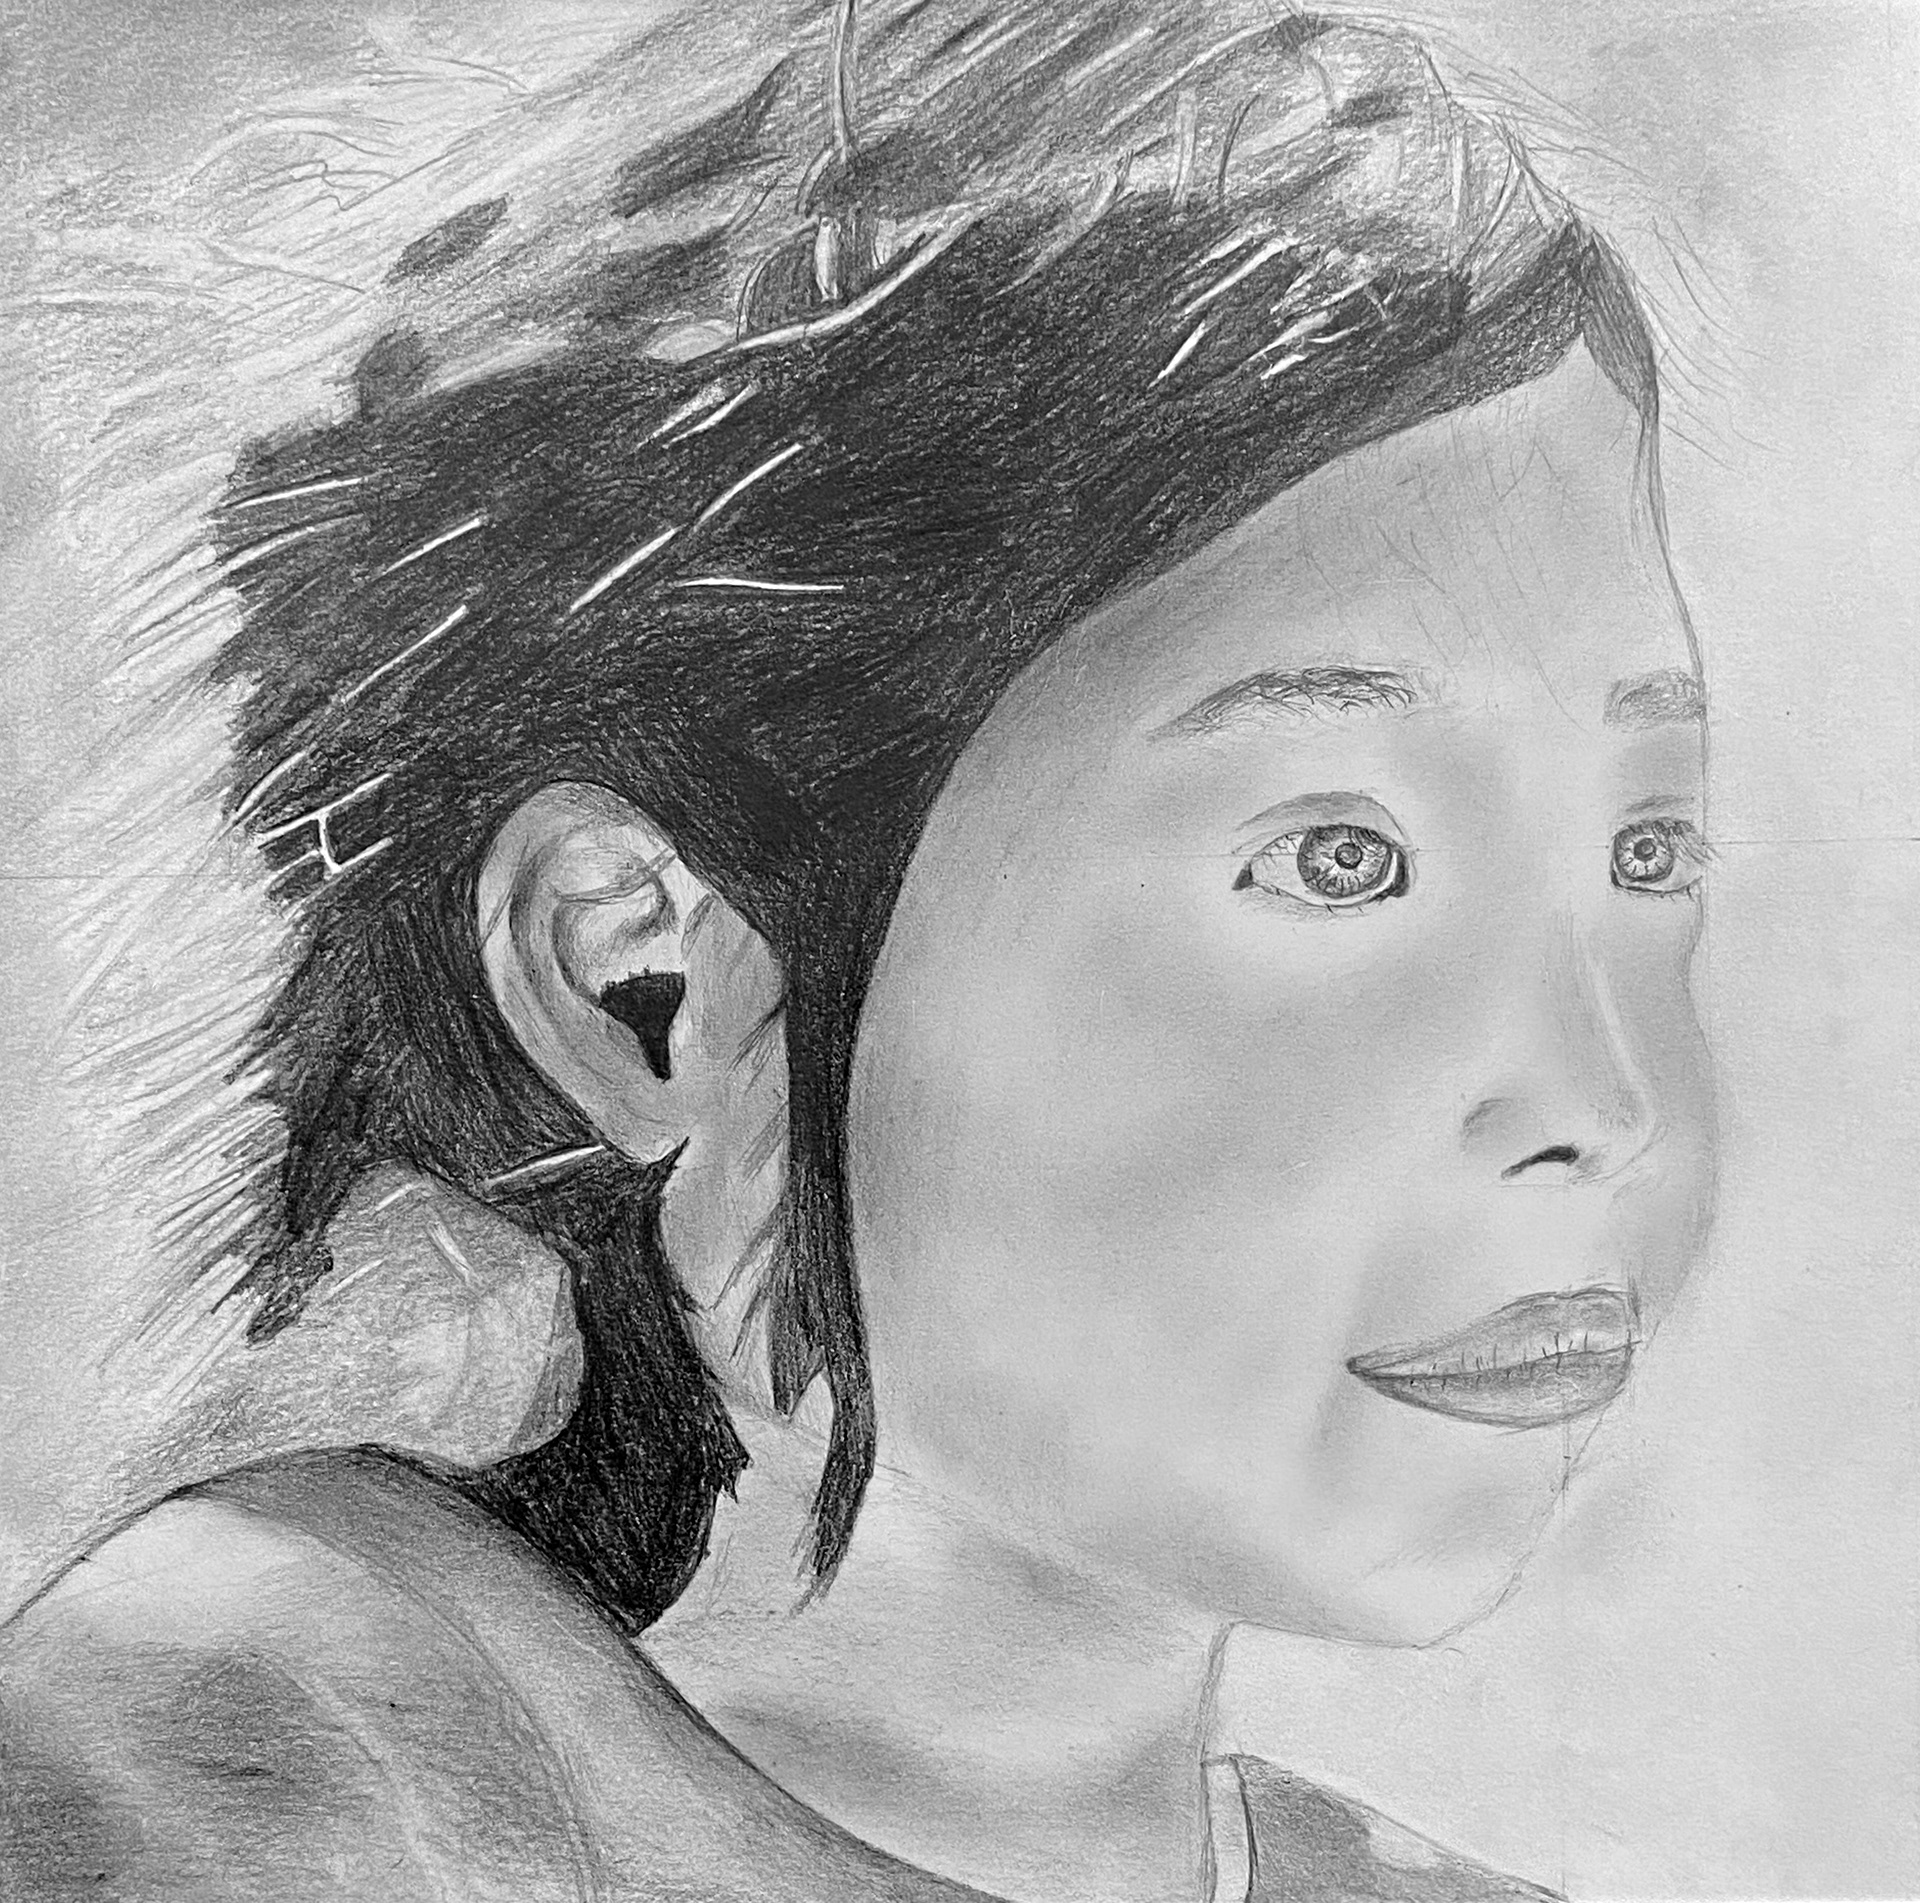
'Refugee Portraits' (2022):