Learning Objectives:
• To look closely and critically at a work of art
• To add precise details to key areas (eyes, hair, skin texture) to increase clarity, accuracy, and realism in your portrait.
• To review the portrait as a whole and make adjustments so that all features match in lighting, contrast, and texture.
• To add precise details to key areas (eyes, hair, skin texture) to increase clarity, accuracy, and realism in your portrait.
• To review the portrait as a whole and make adjustments so that all features match in lighting, contrast, and texture.
What you will need:
Sketching paper (or your sketchbook), a soft pencil (preferably 2B or 4B), an eraser, a blending stump (or cotton bud), and a pencil sharpener.
Your task:
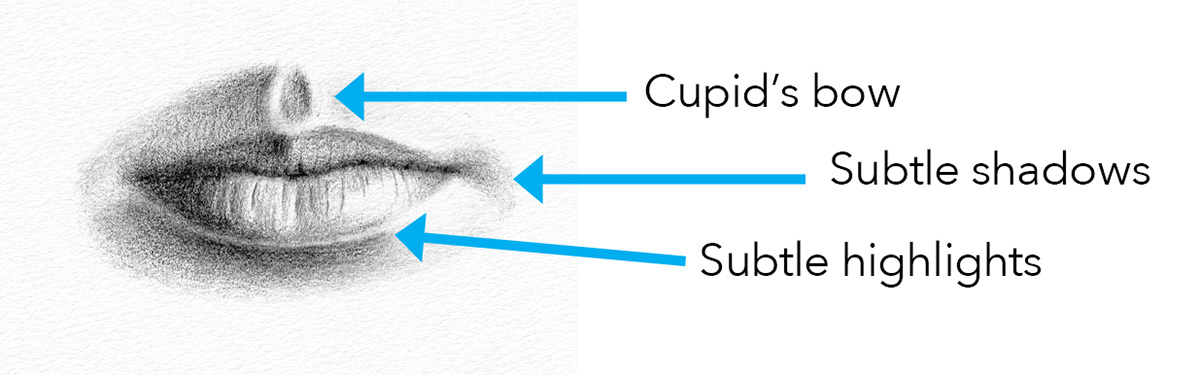
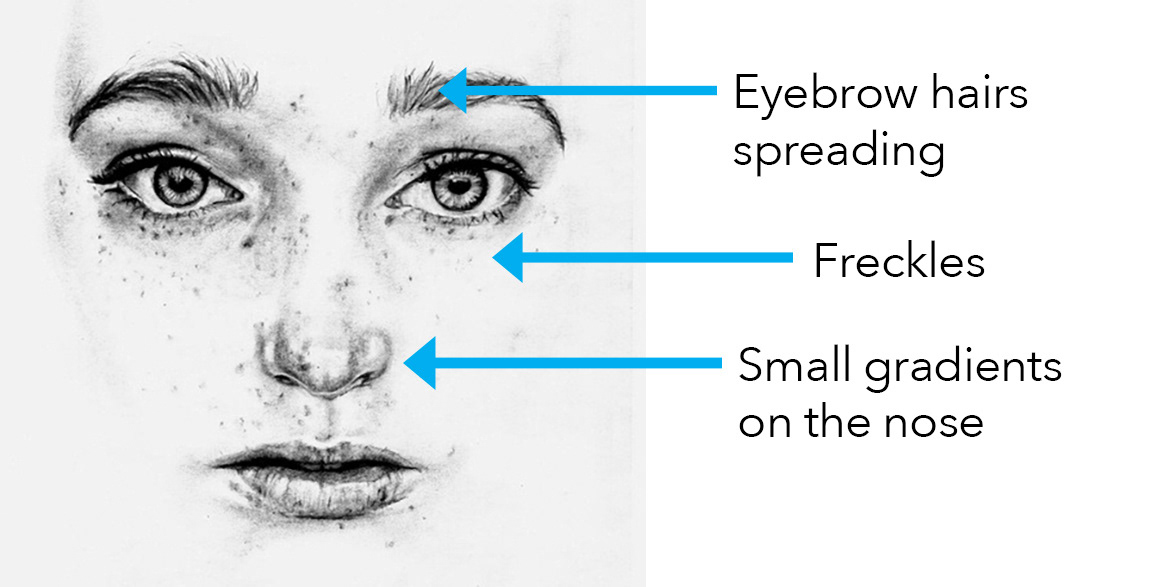
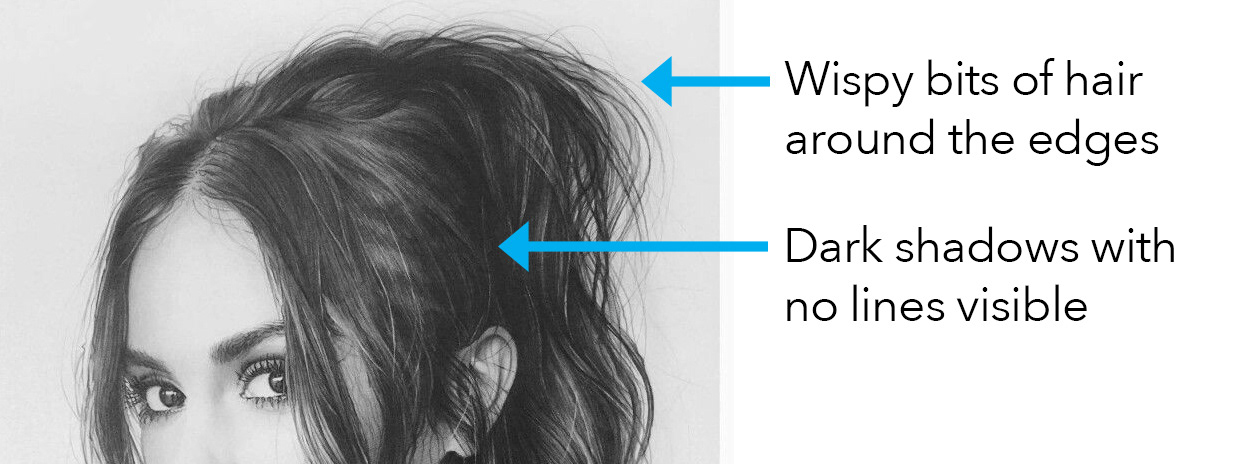
This is the last stage of your drawing, so you should be close to finishing. It is the part where you look at your work with fresh eyes. Look really closely at both your drawing and the photograph and play a little game of 'spot the difference'. It is by adding all of the small, subtle details, textures and gradients that you turn a good drawing into an excellent drawing.
Below are some examples of the sorts of things you might look out for in your own work. However, every portrait is different, so some things will not be relevant to your work and you may spot other things not listed here.
Neatening-up and finishing off:
When you are done, use an eraser to remove any unwanted smudges around the outside of your portrait. Then you're done!
Don't forget to upload a photo of your work and keep the original drawing safe until you can hand it in.
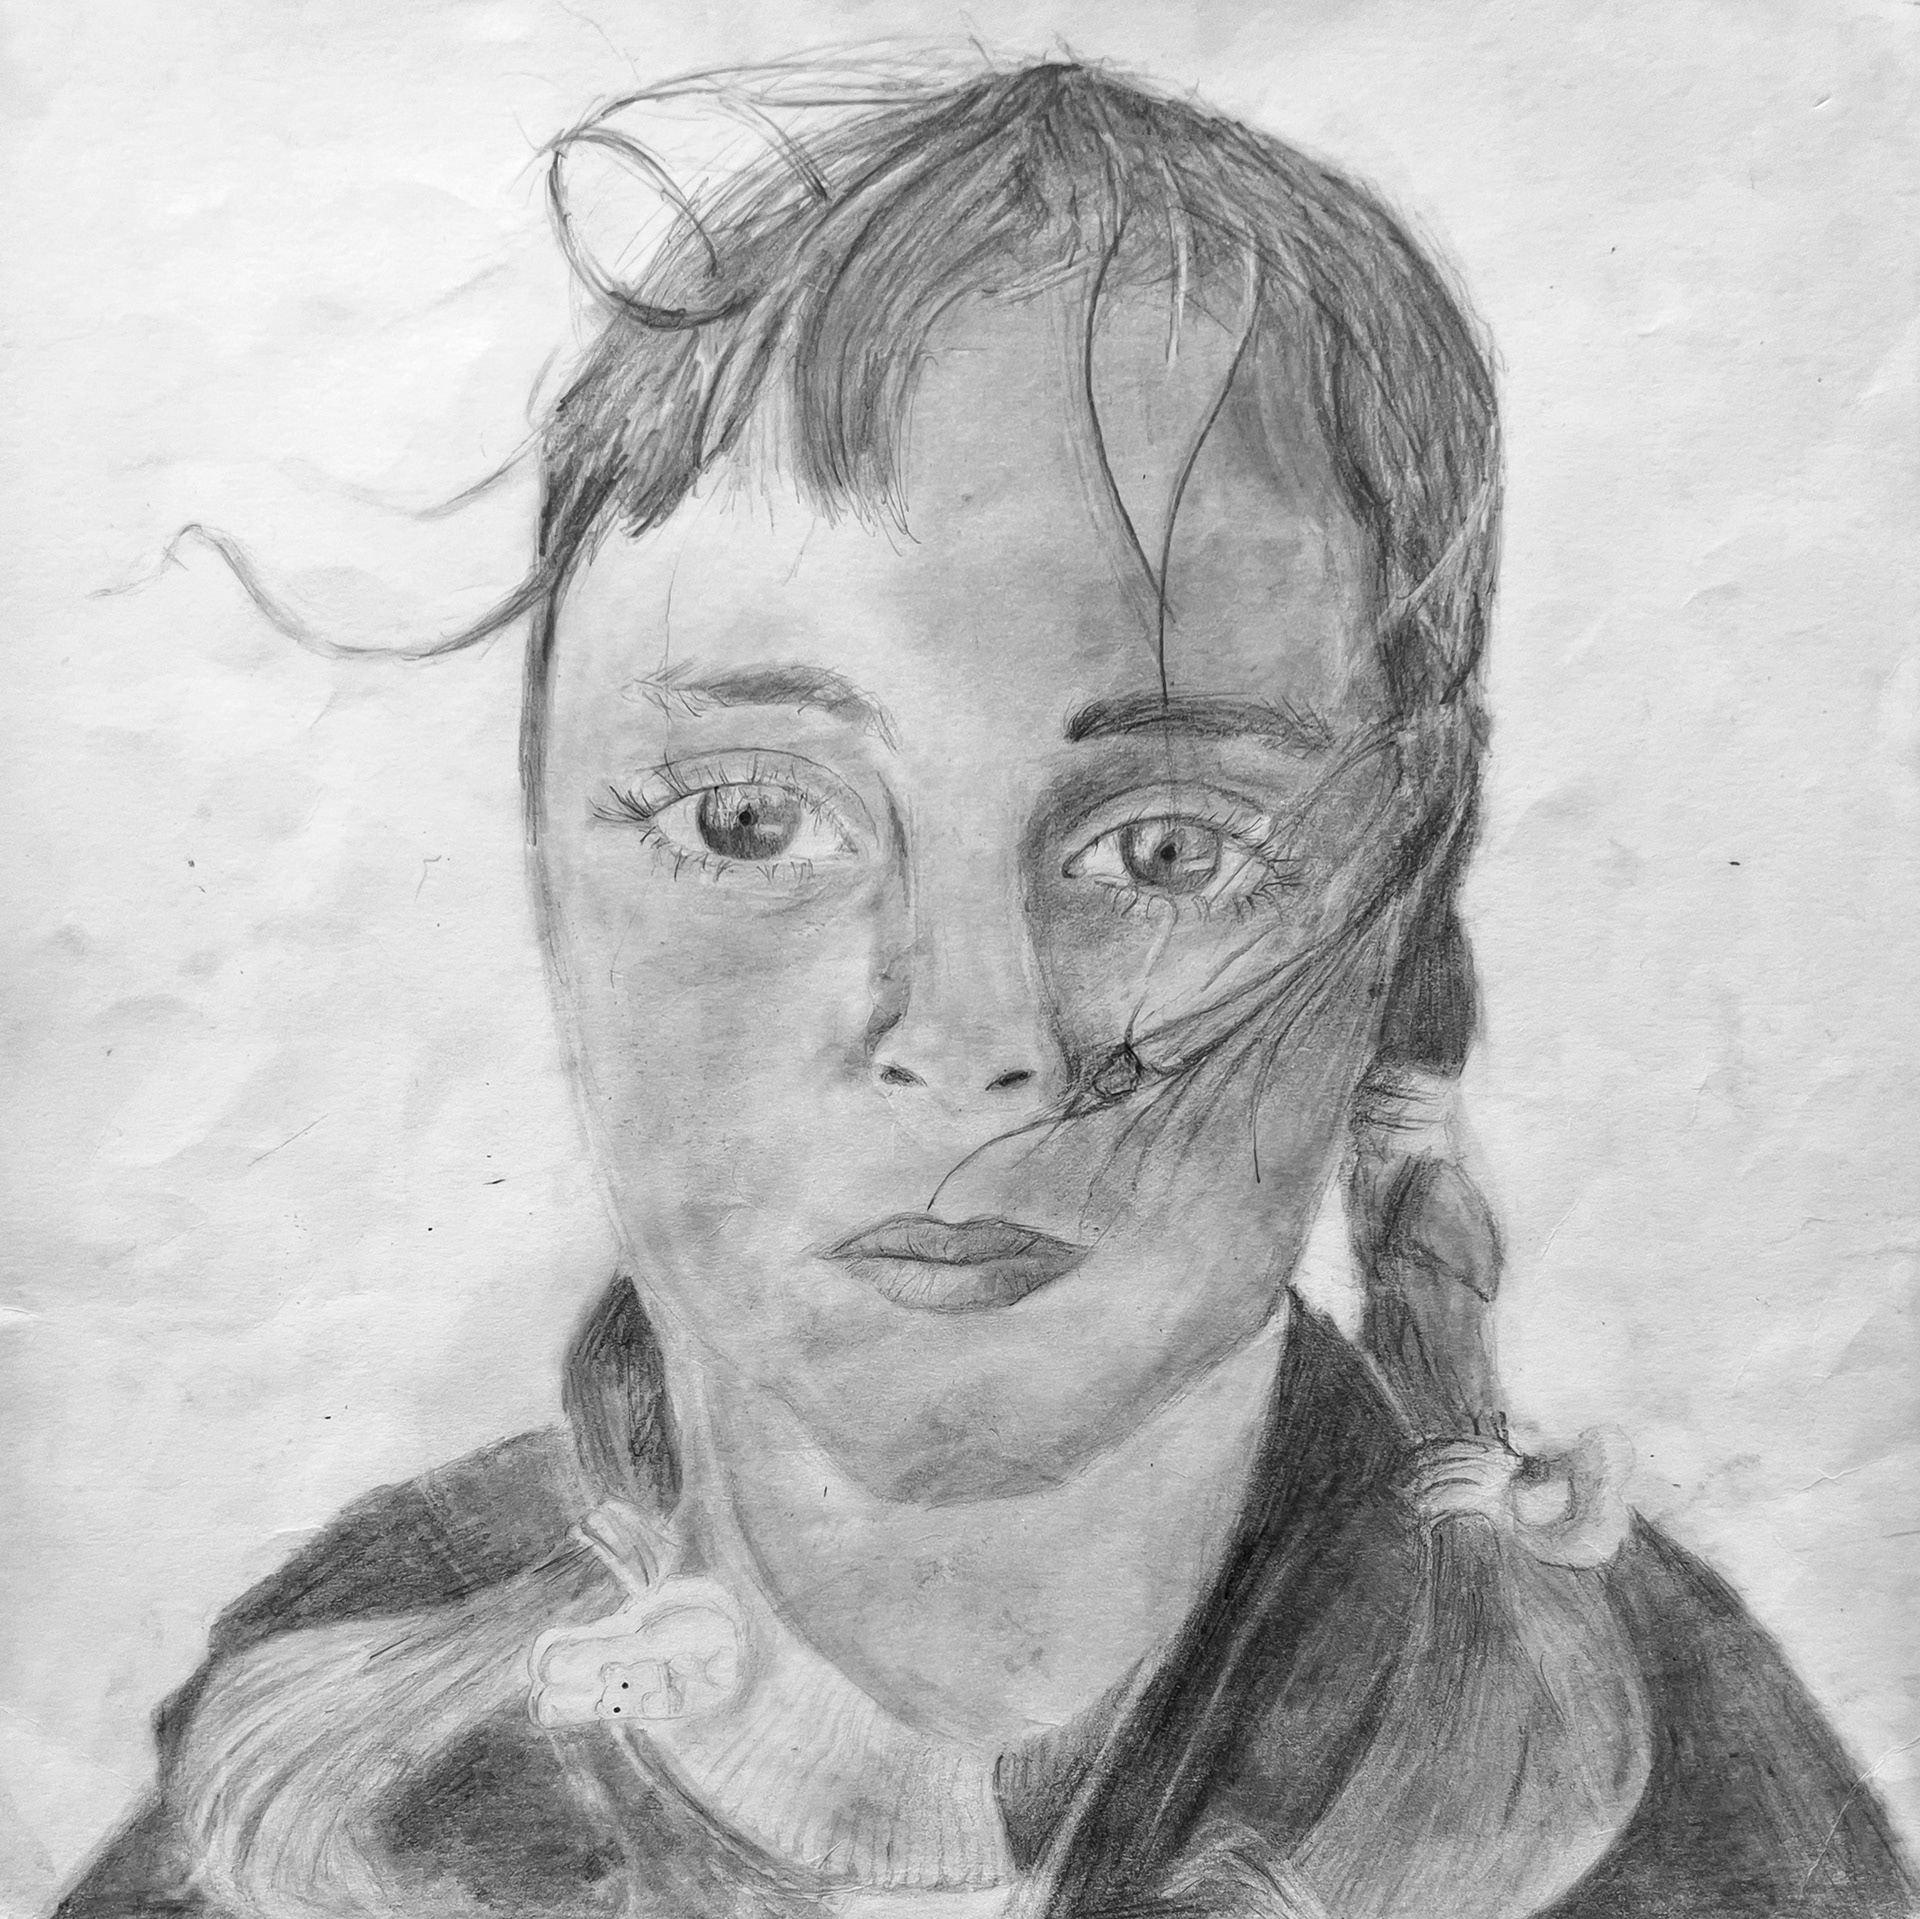
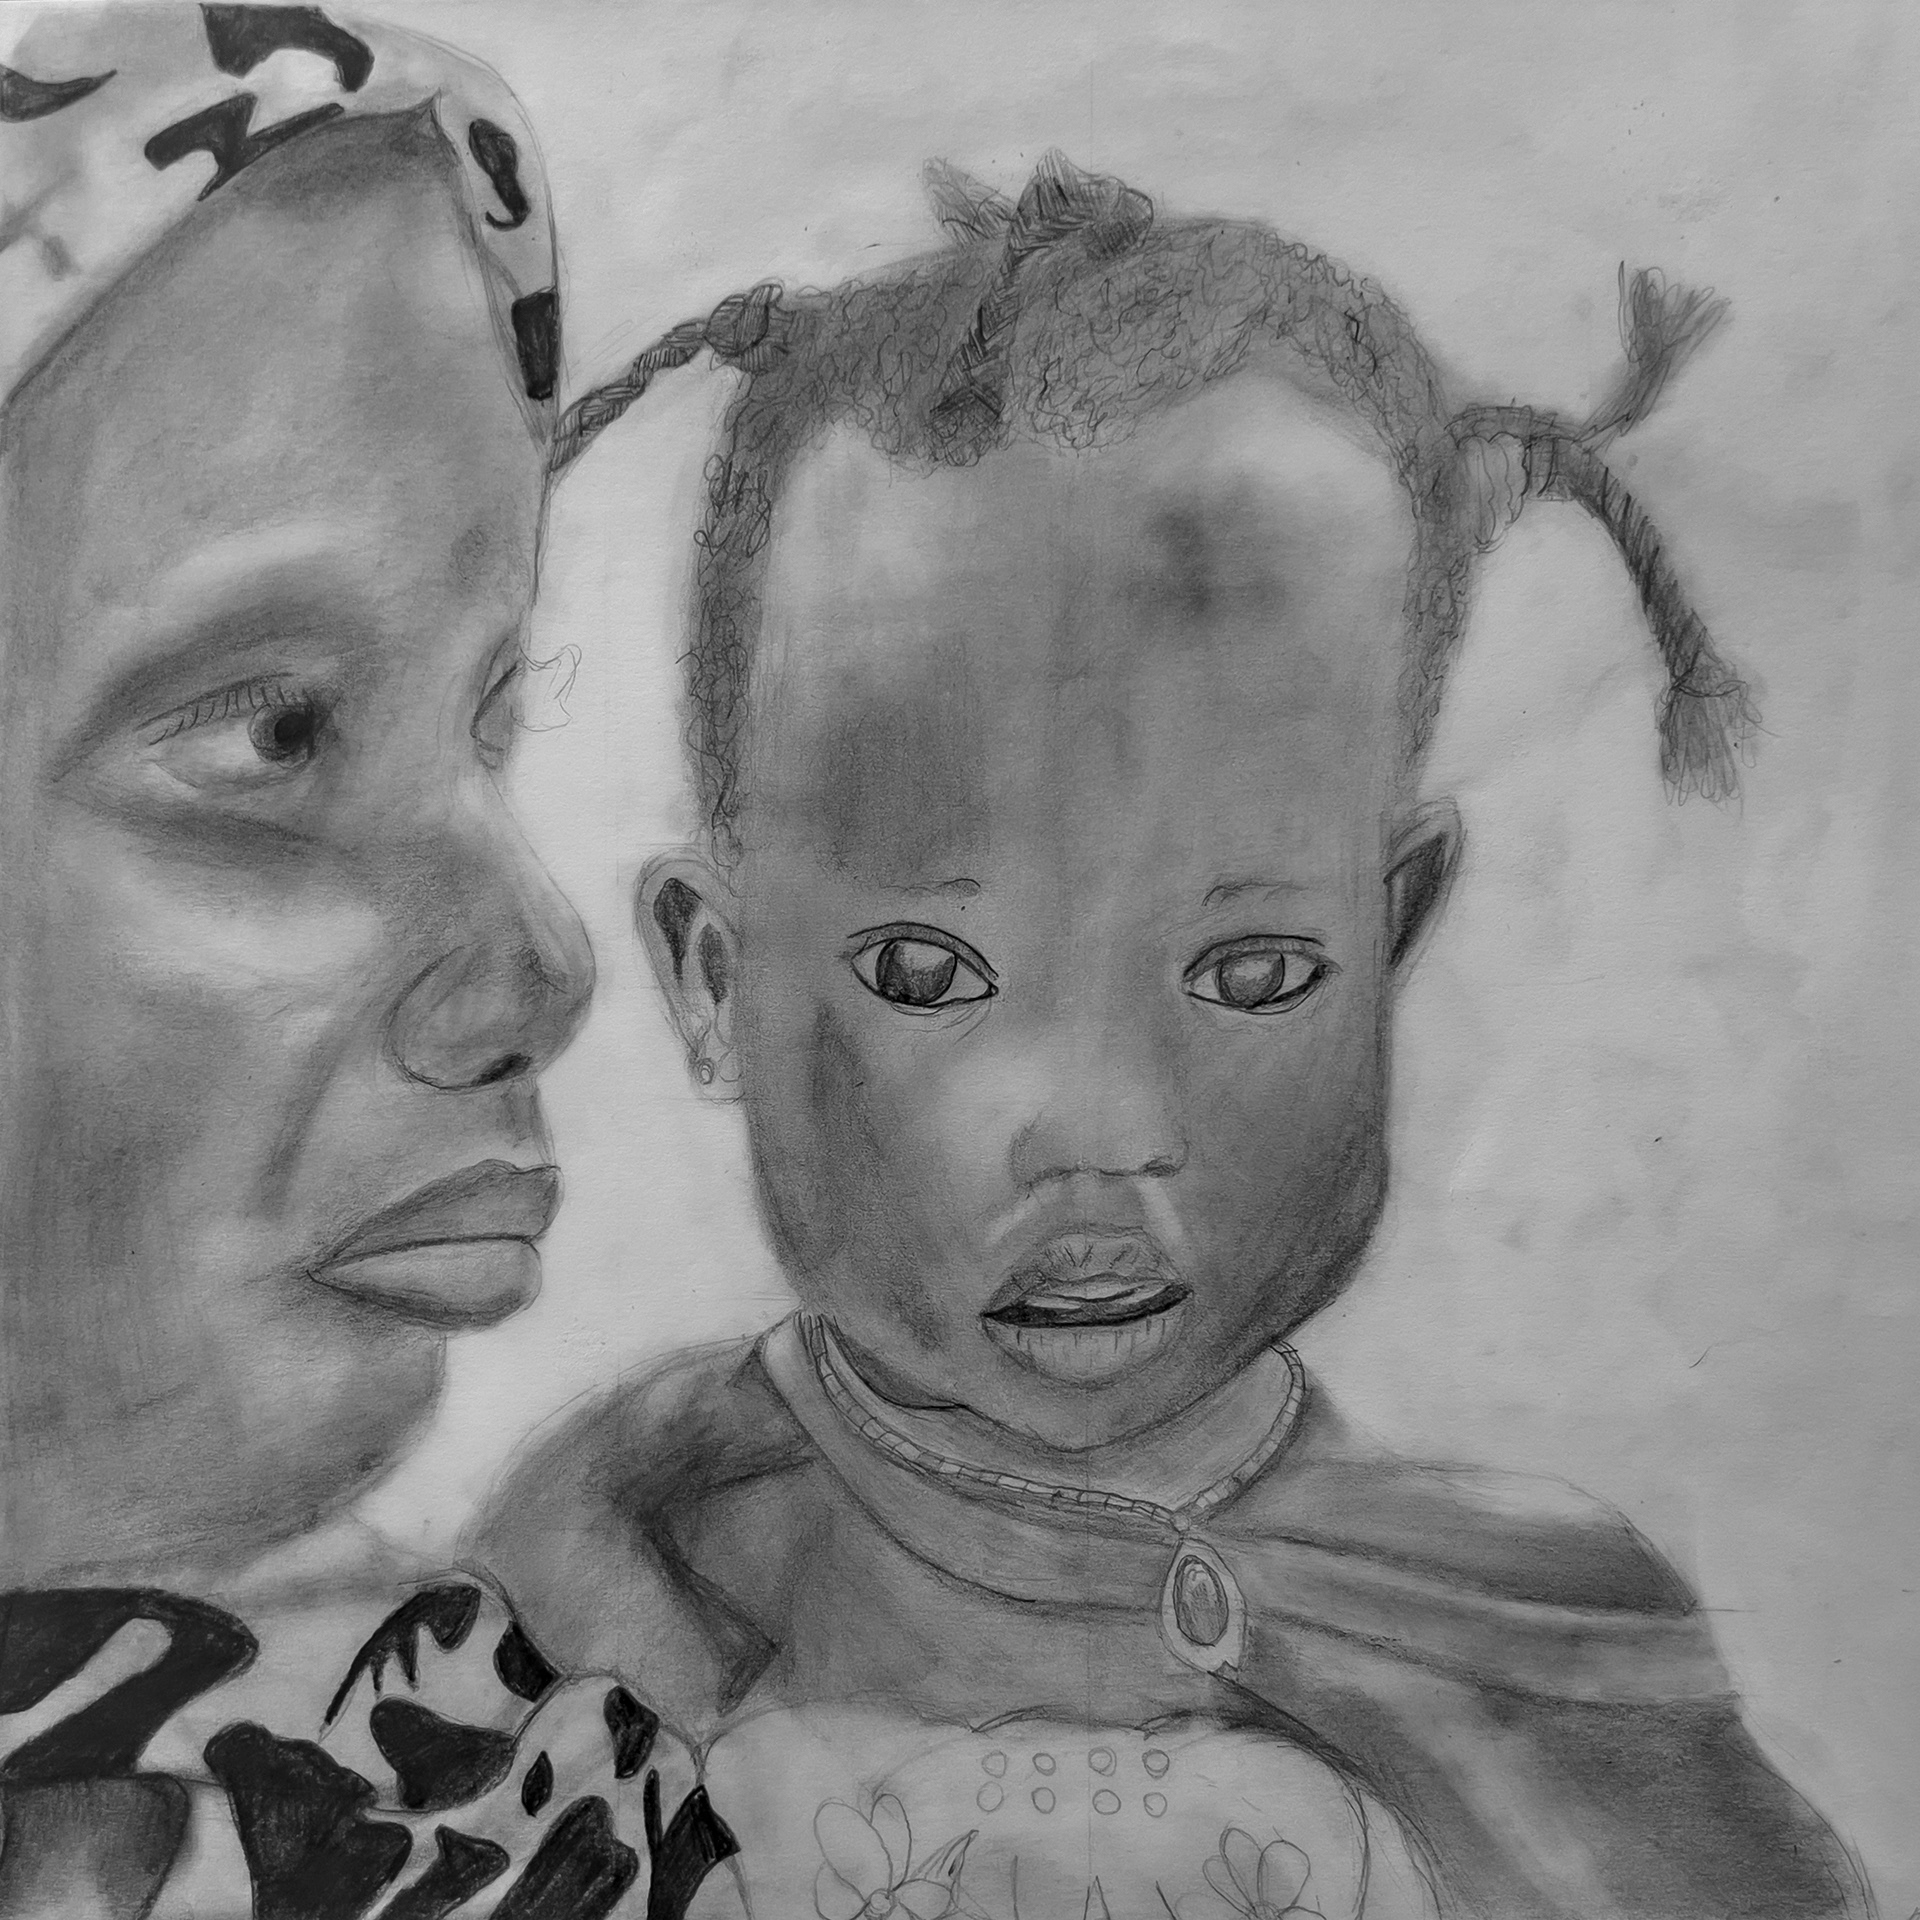
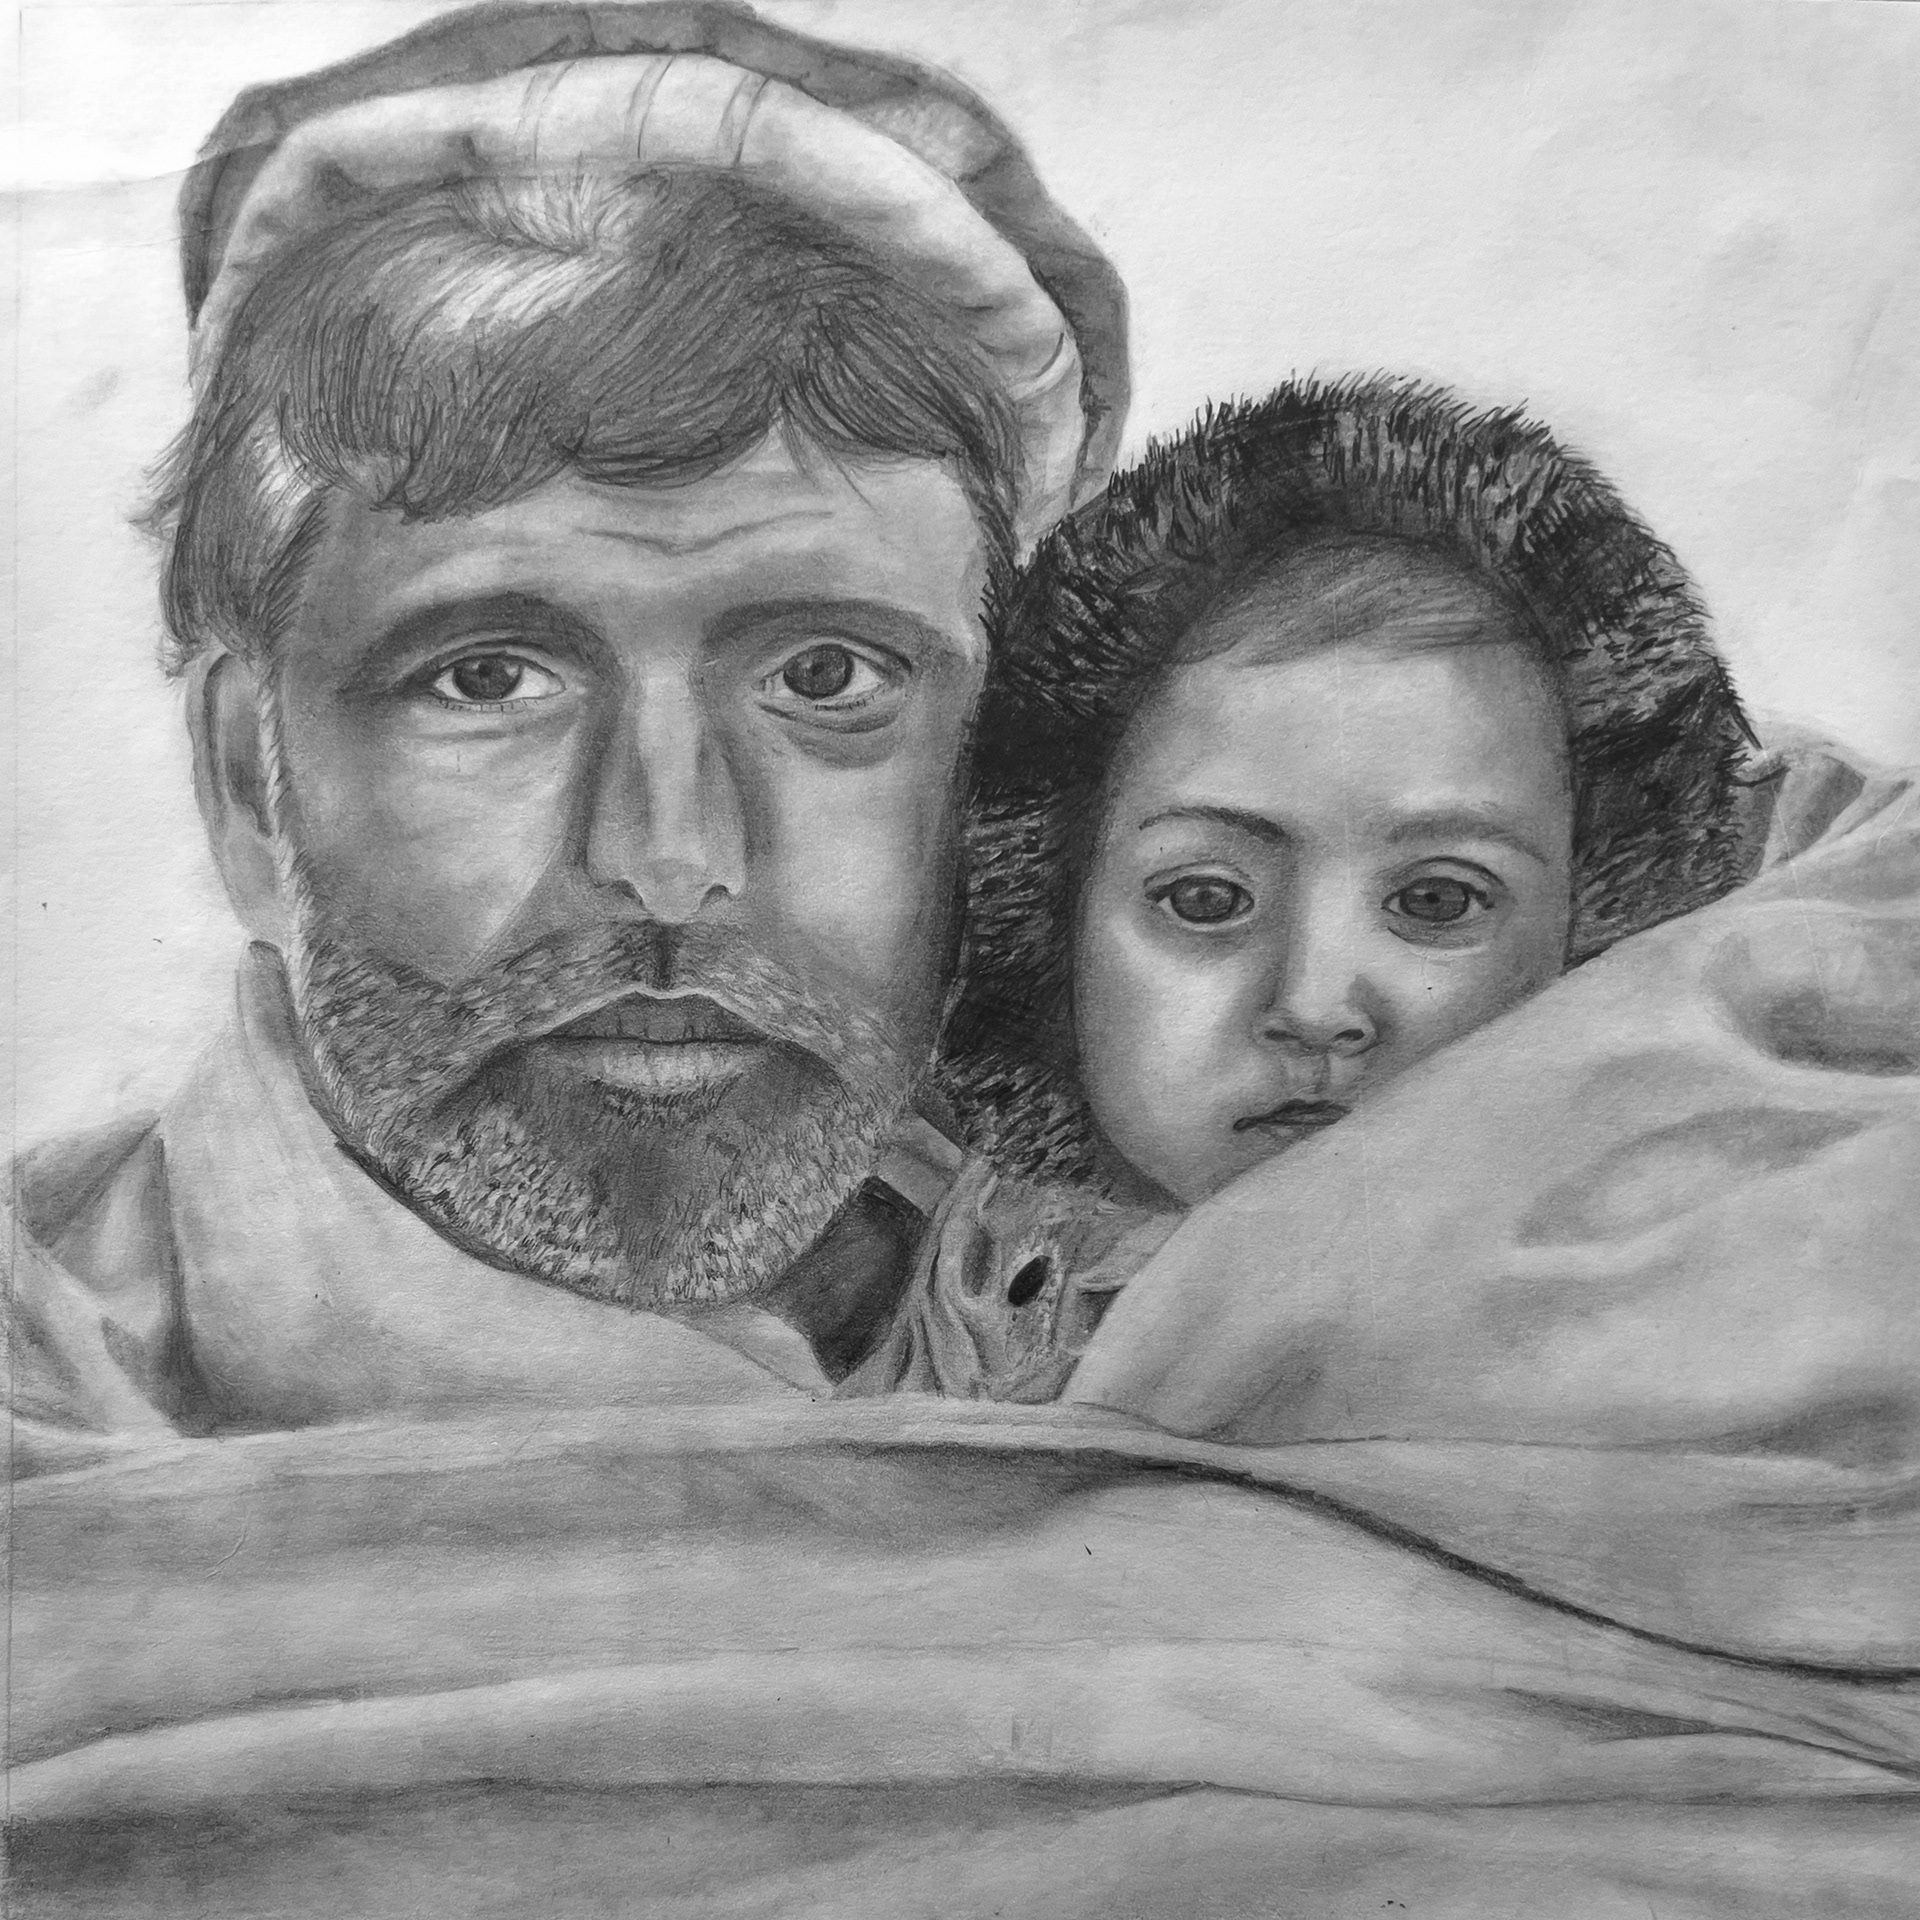
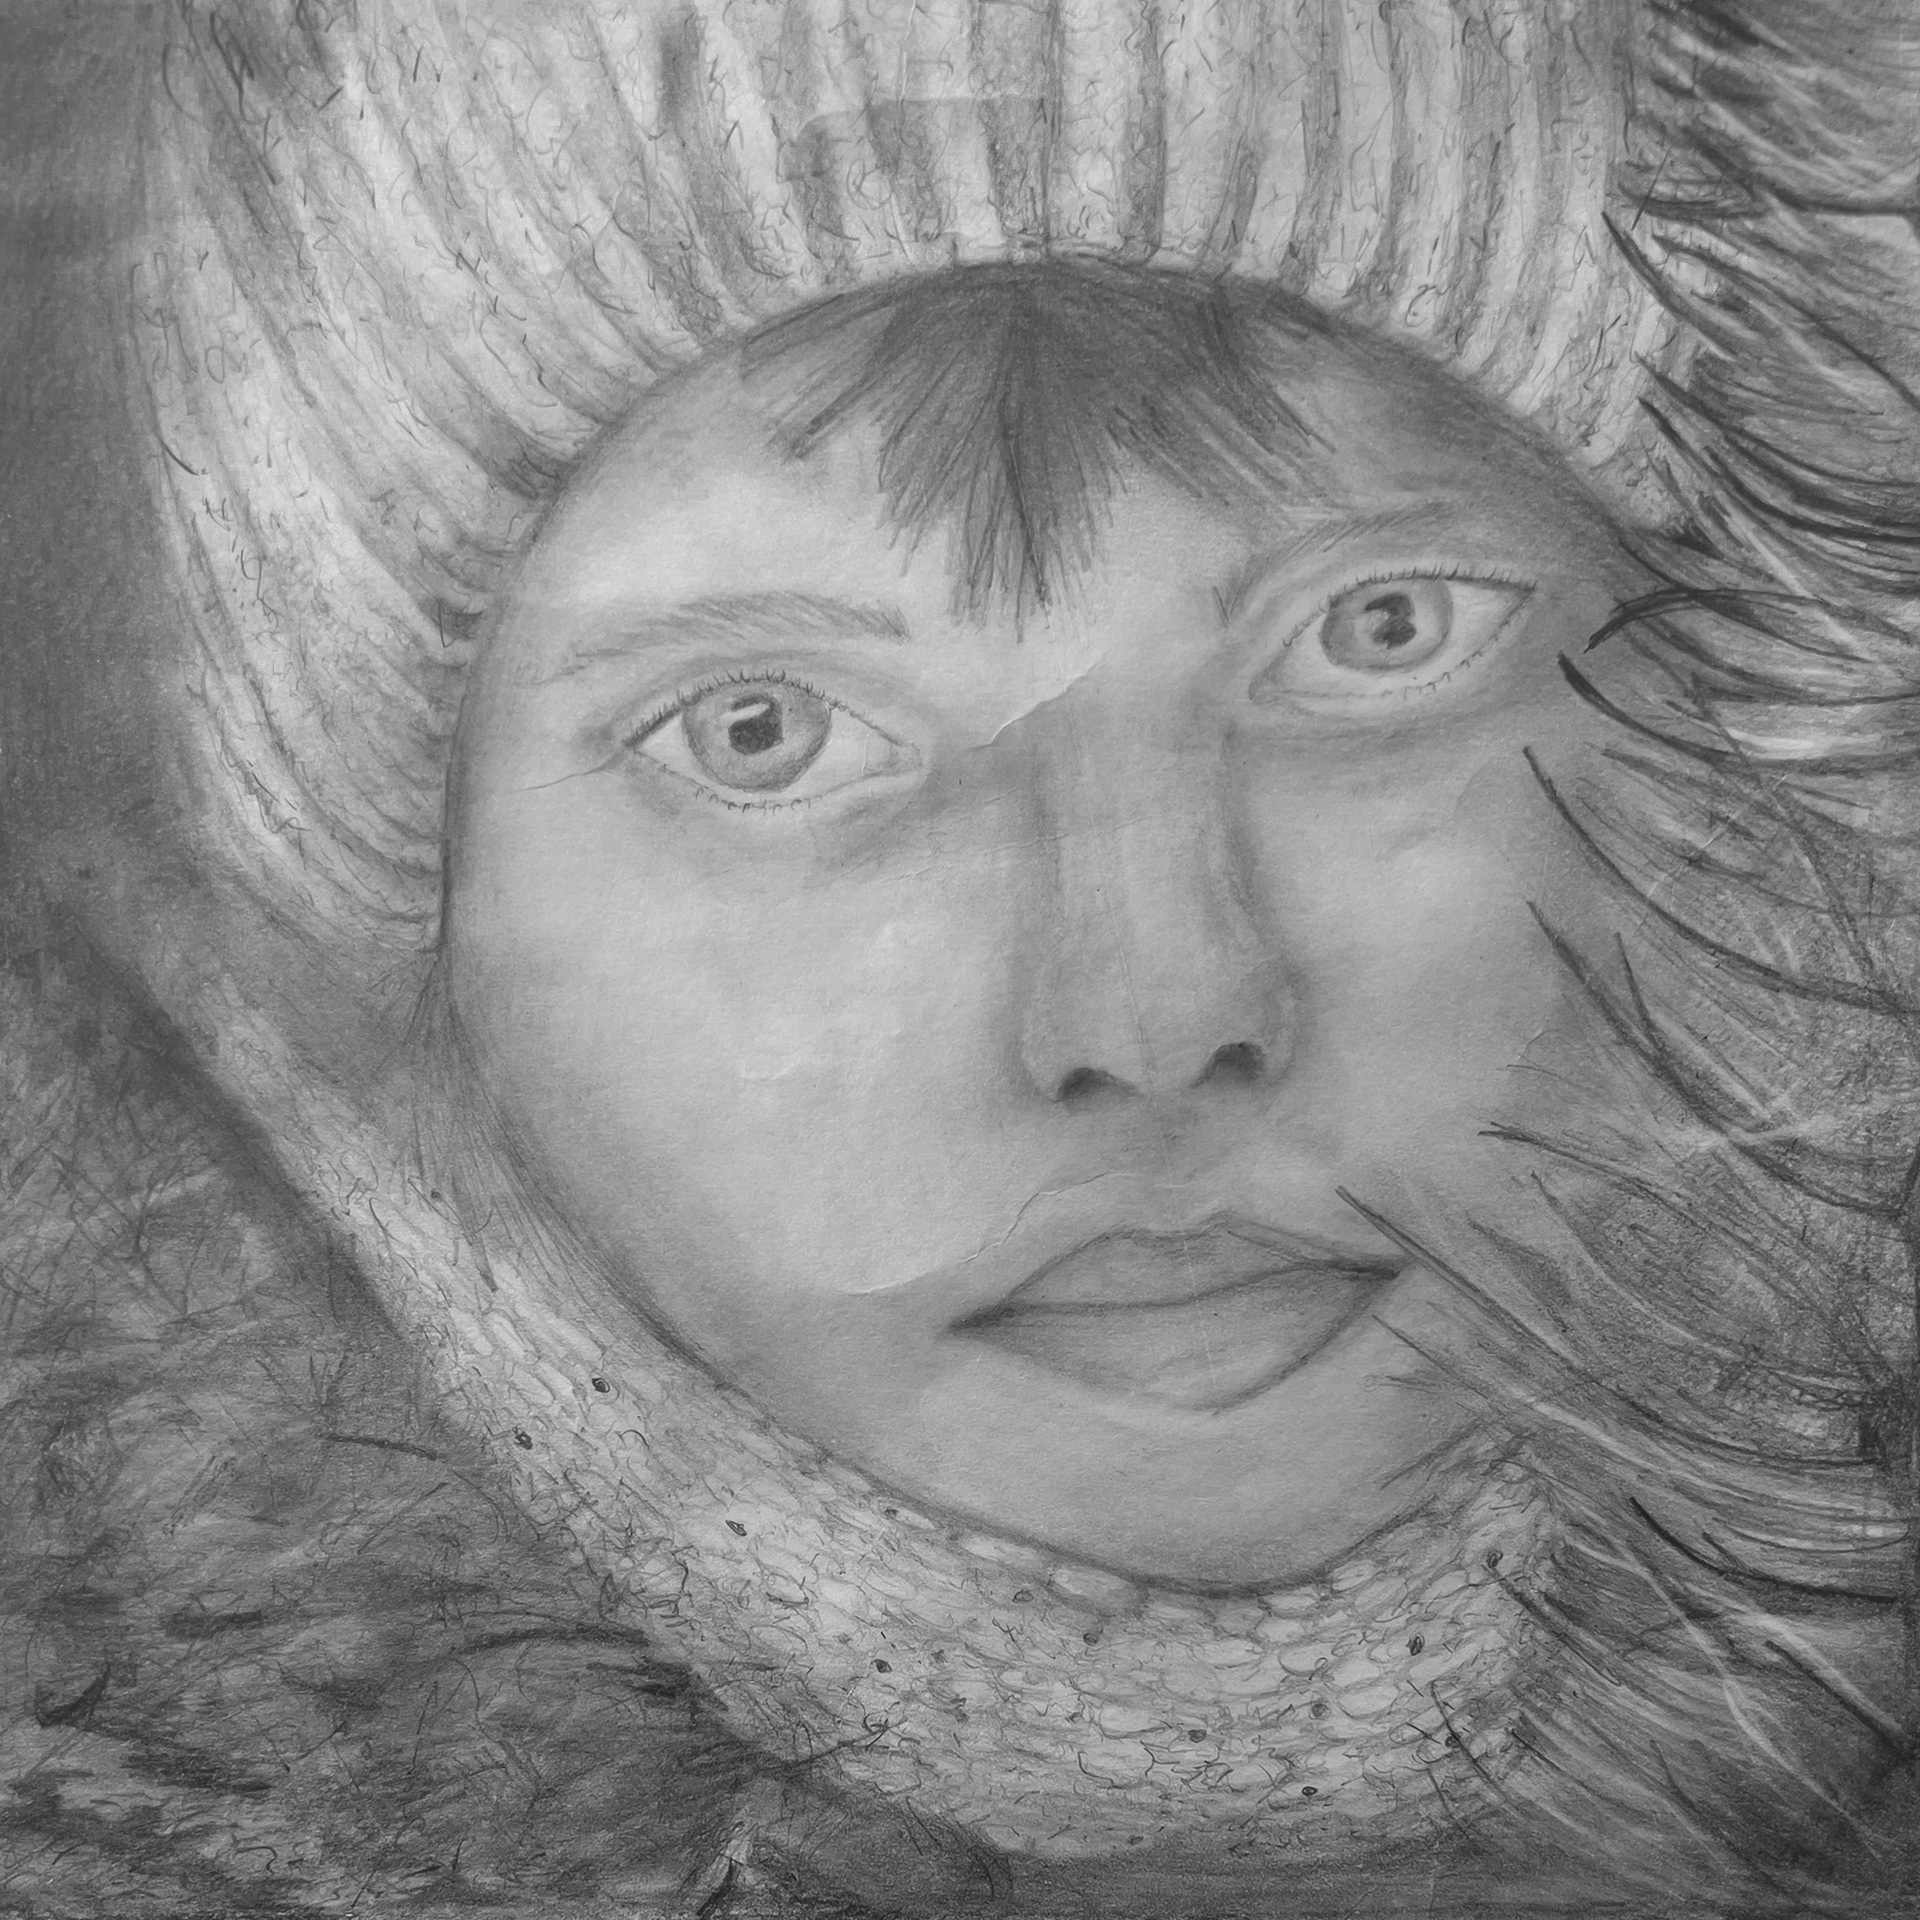
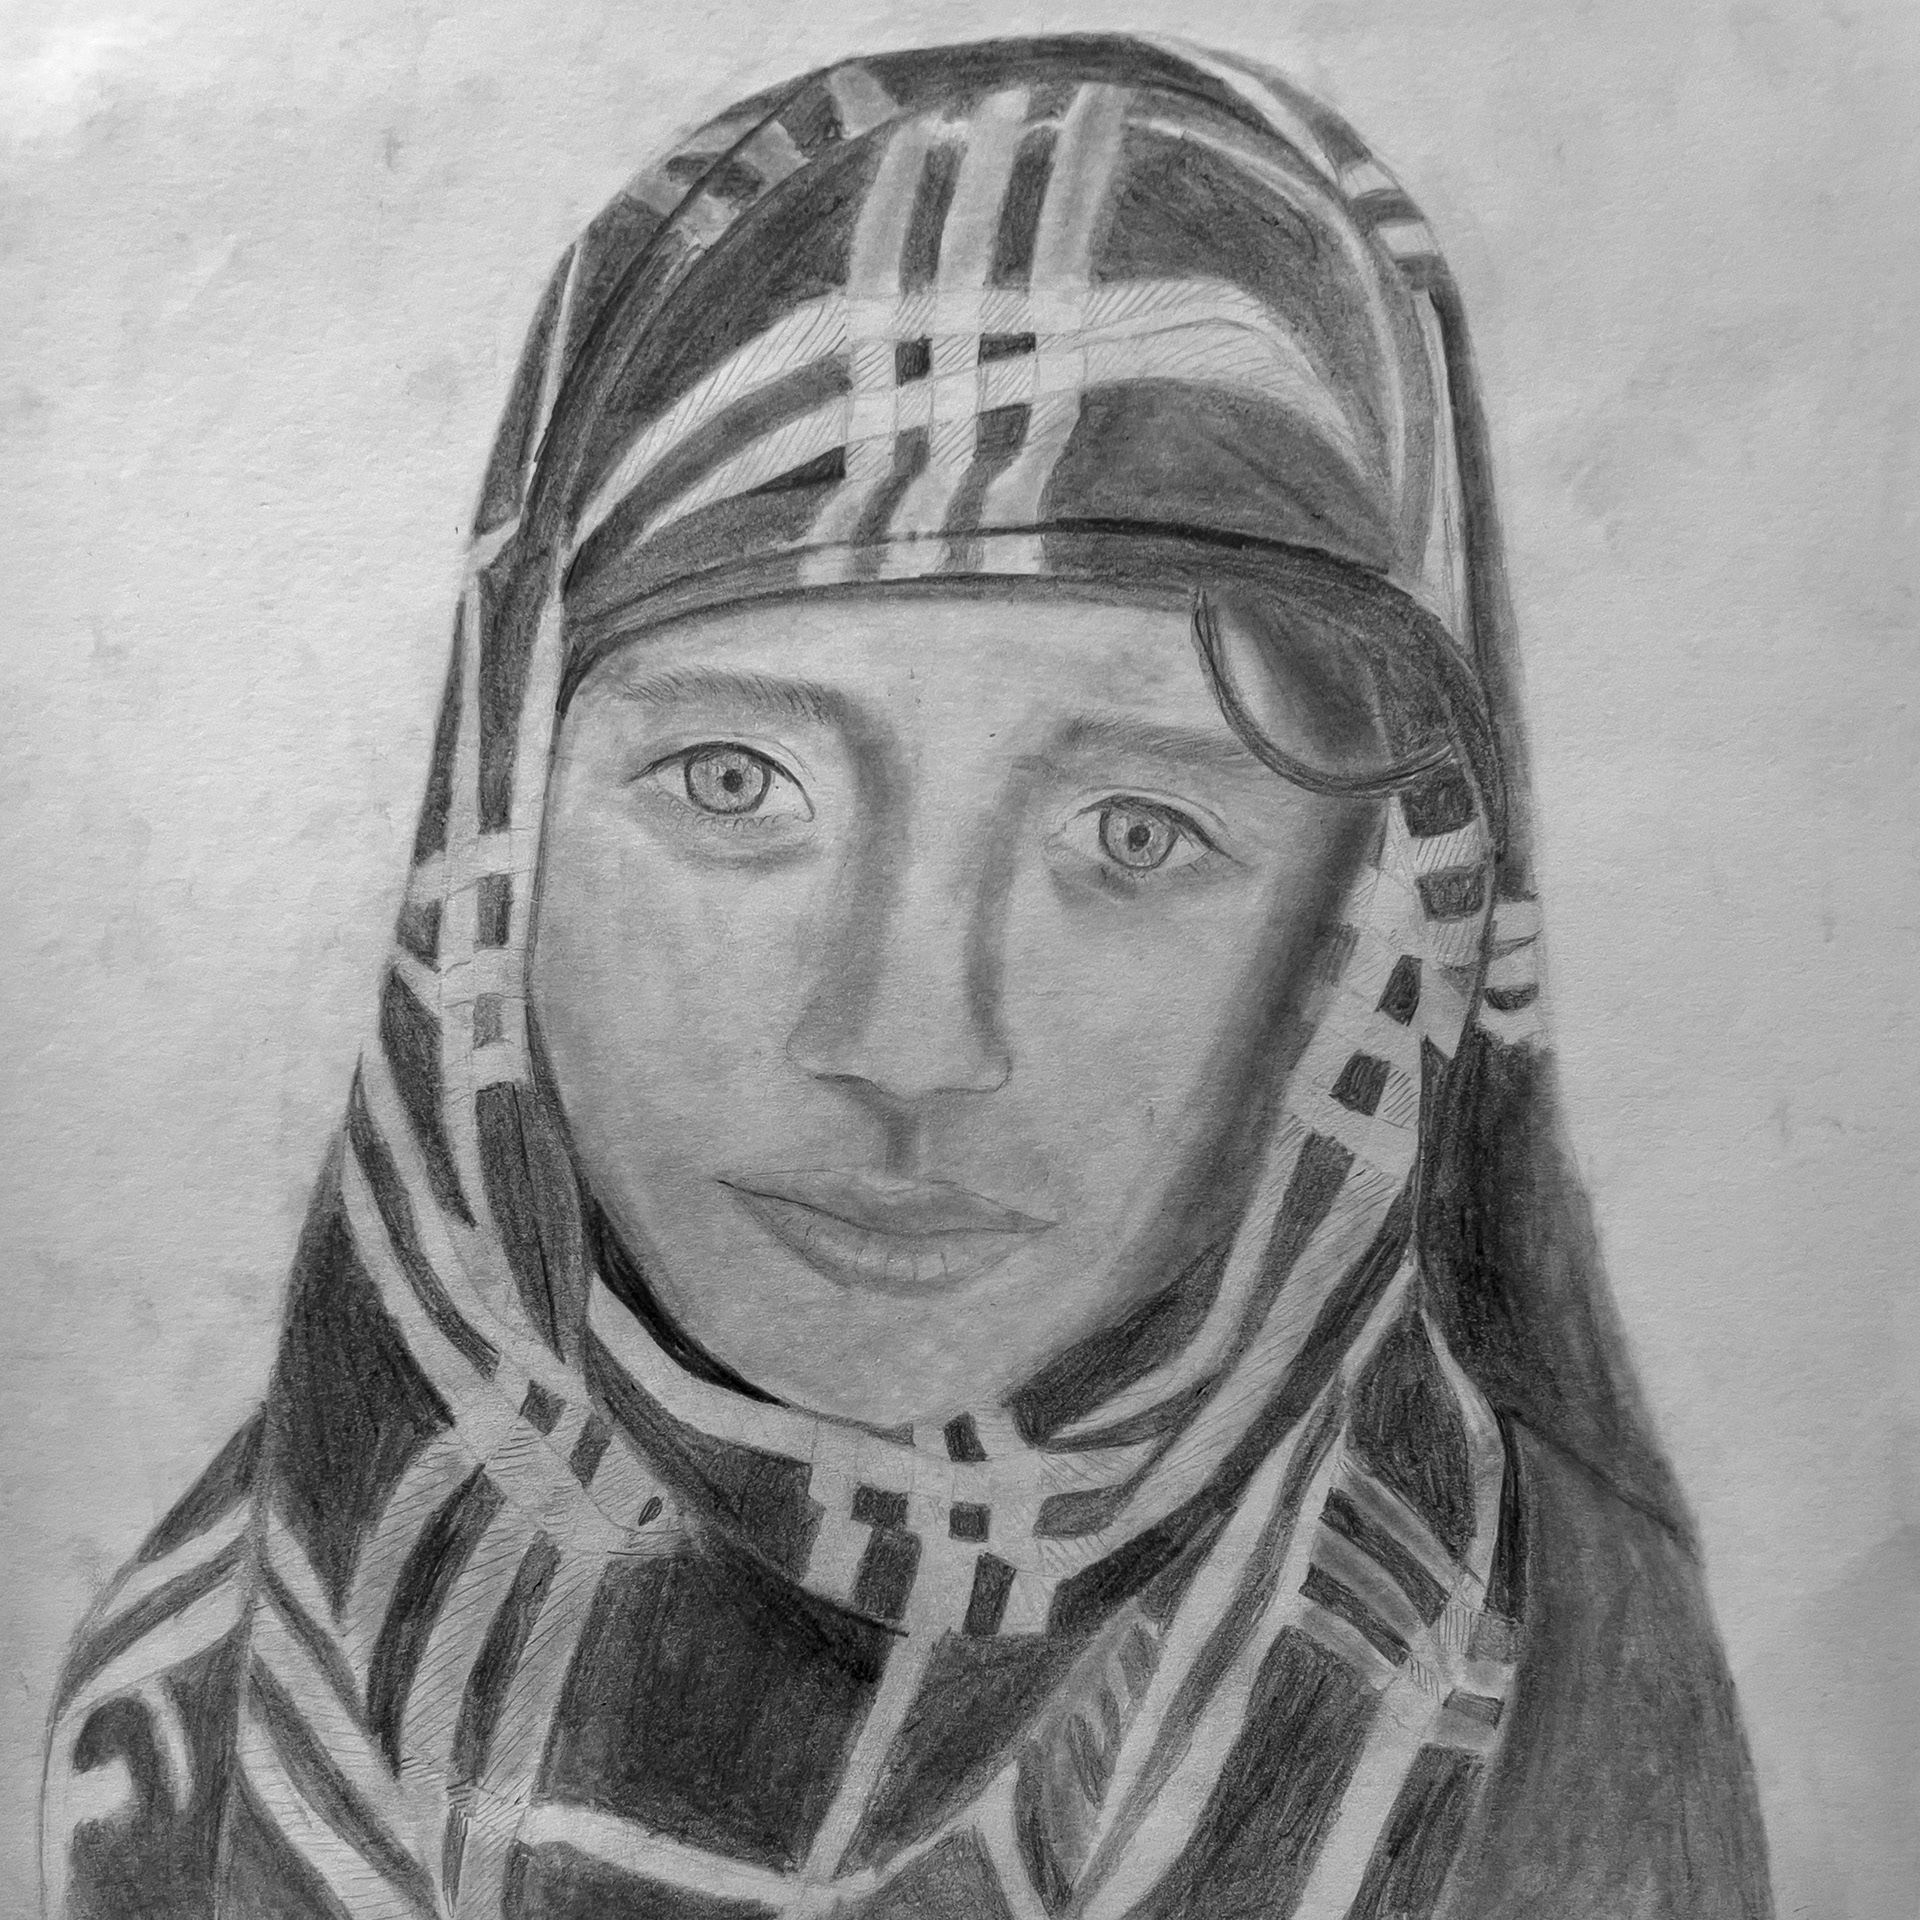
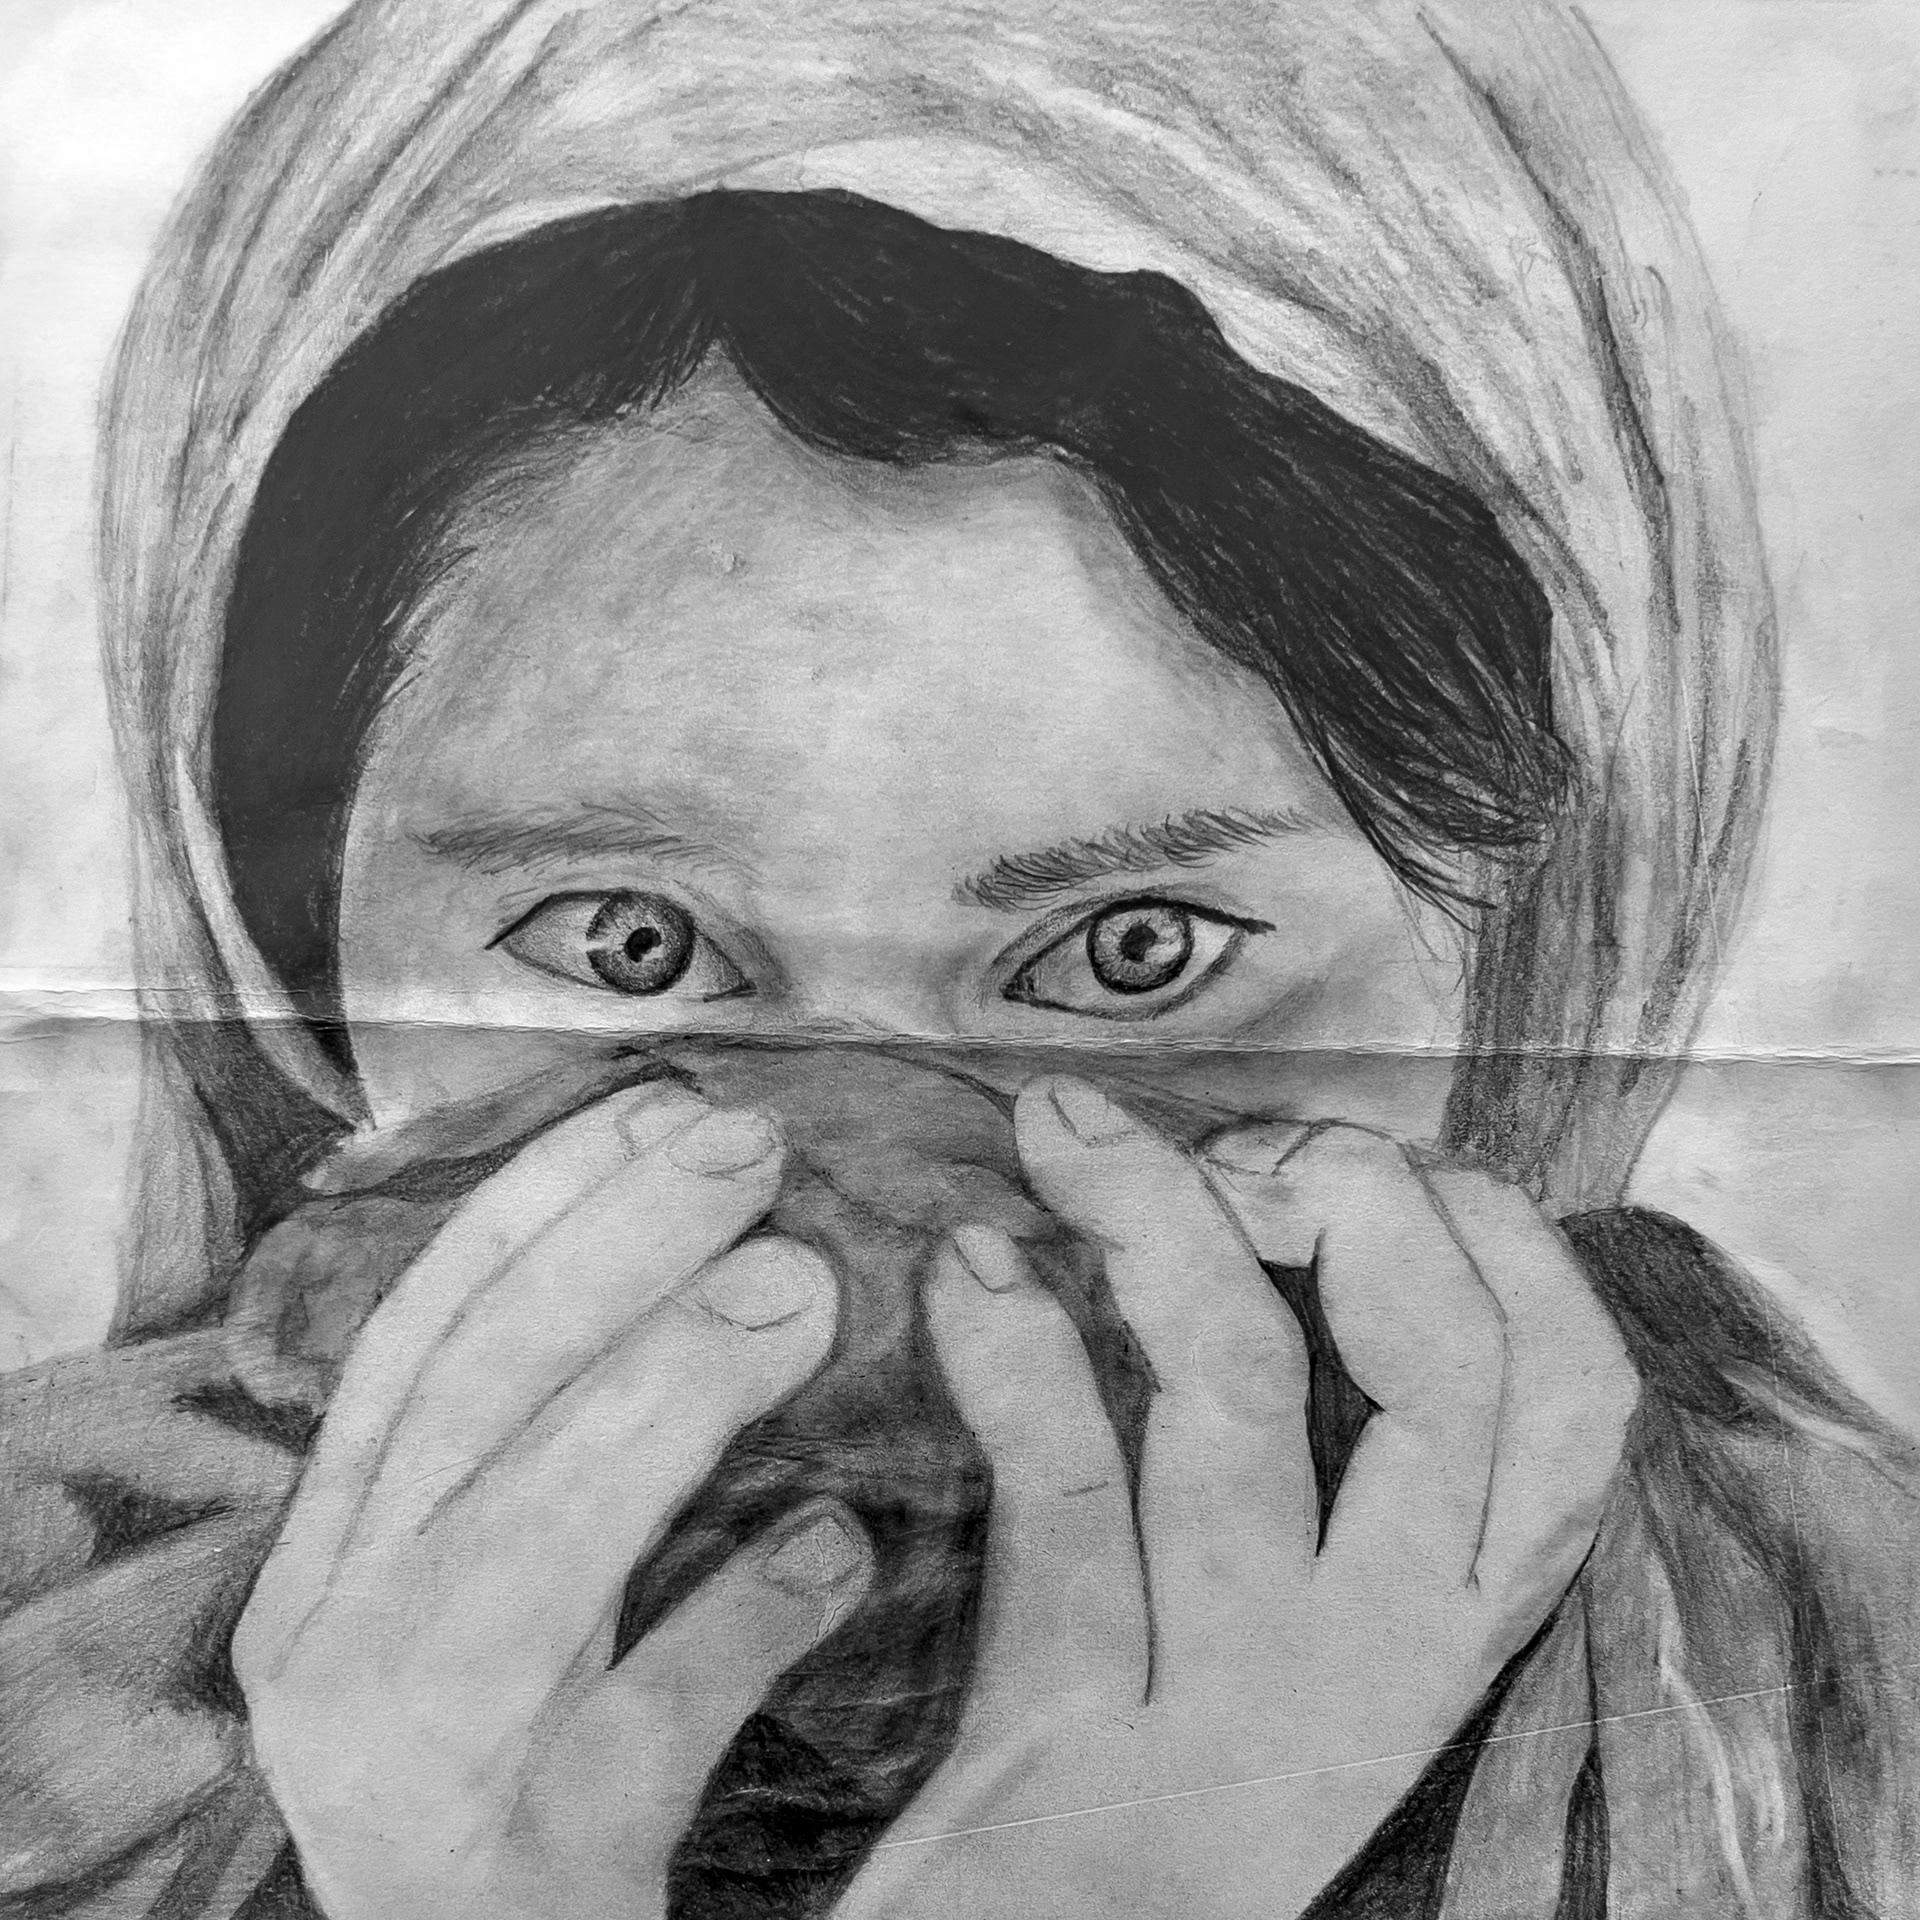
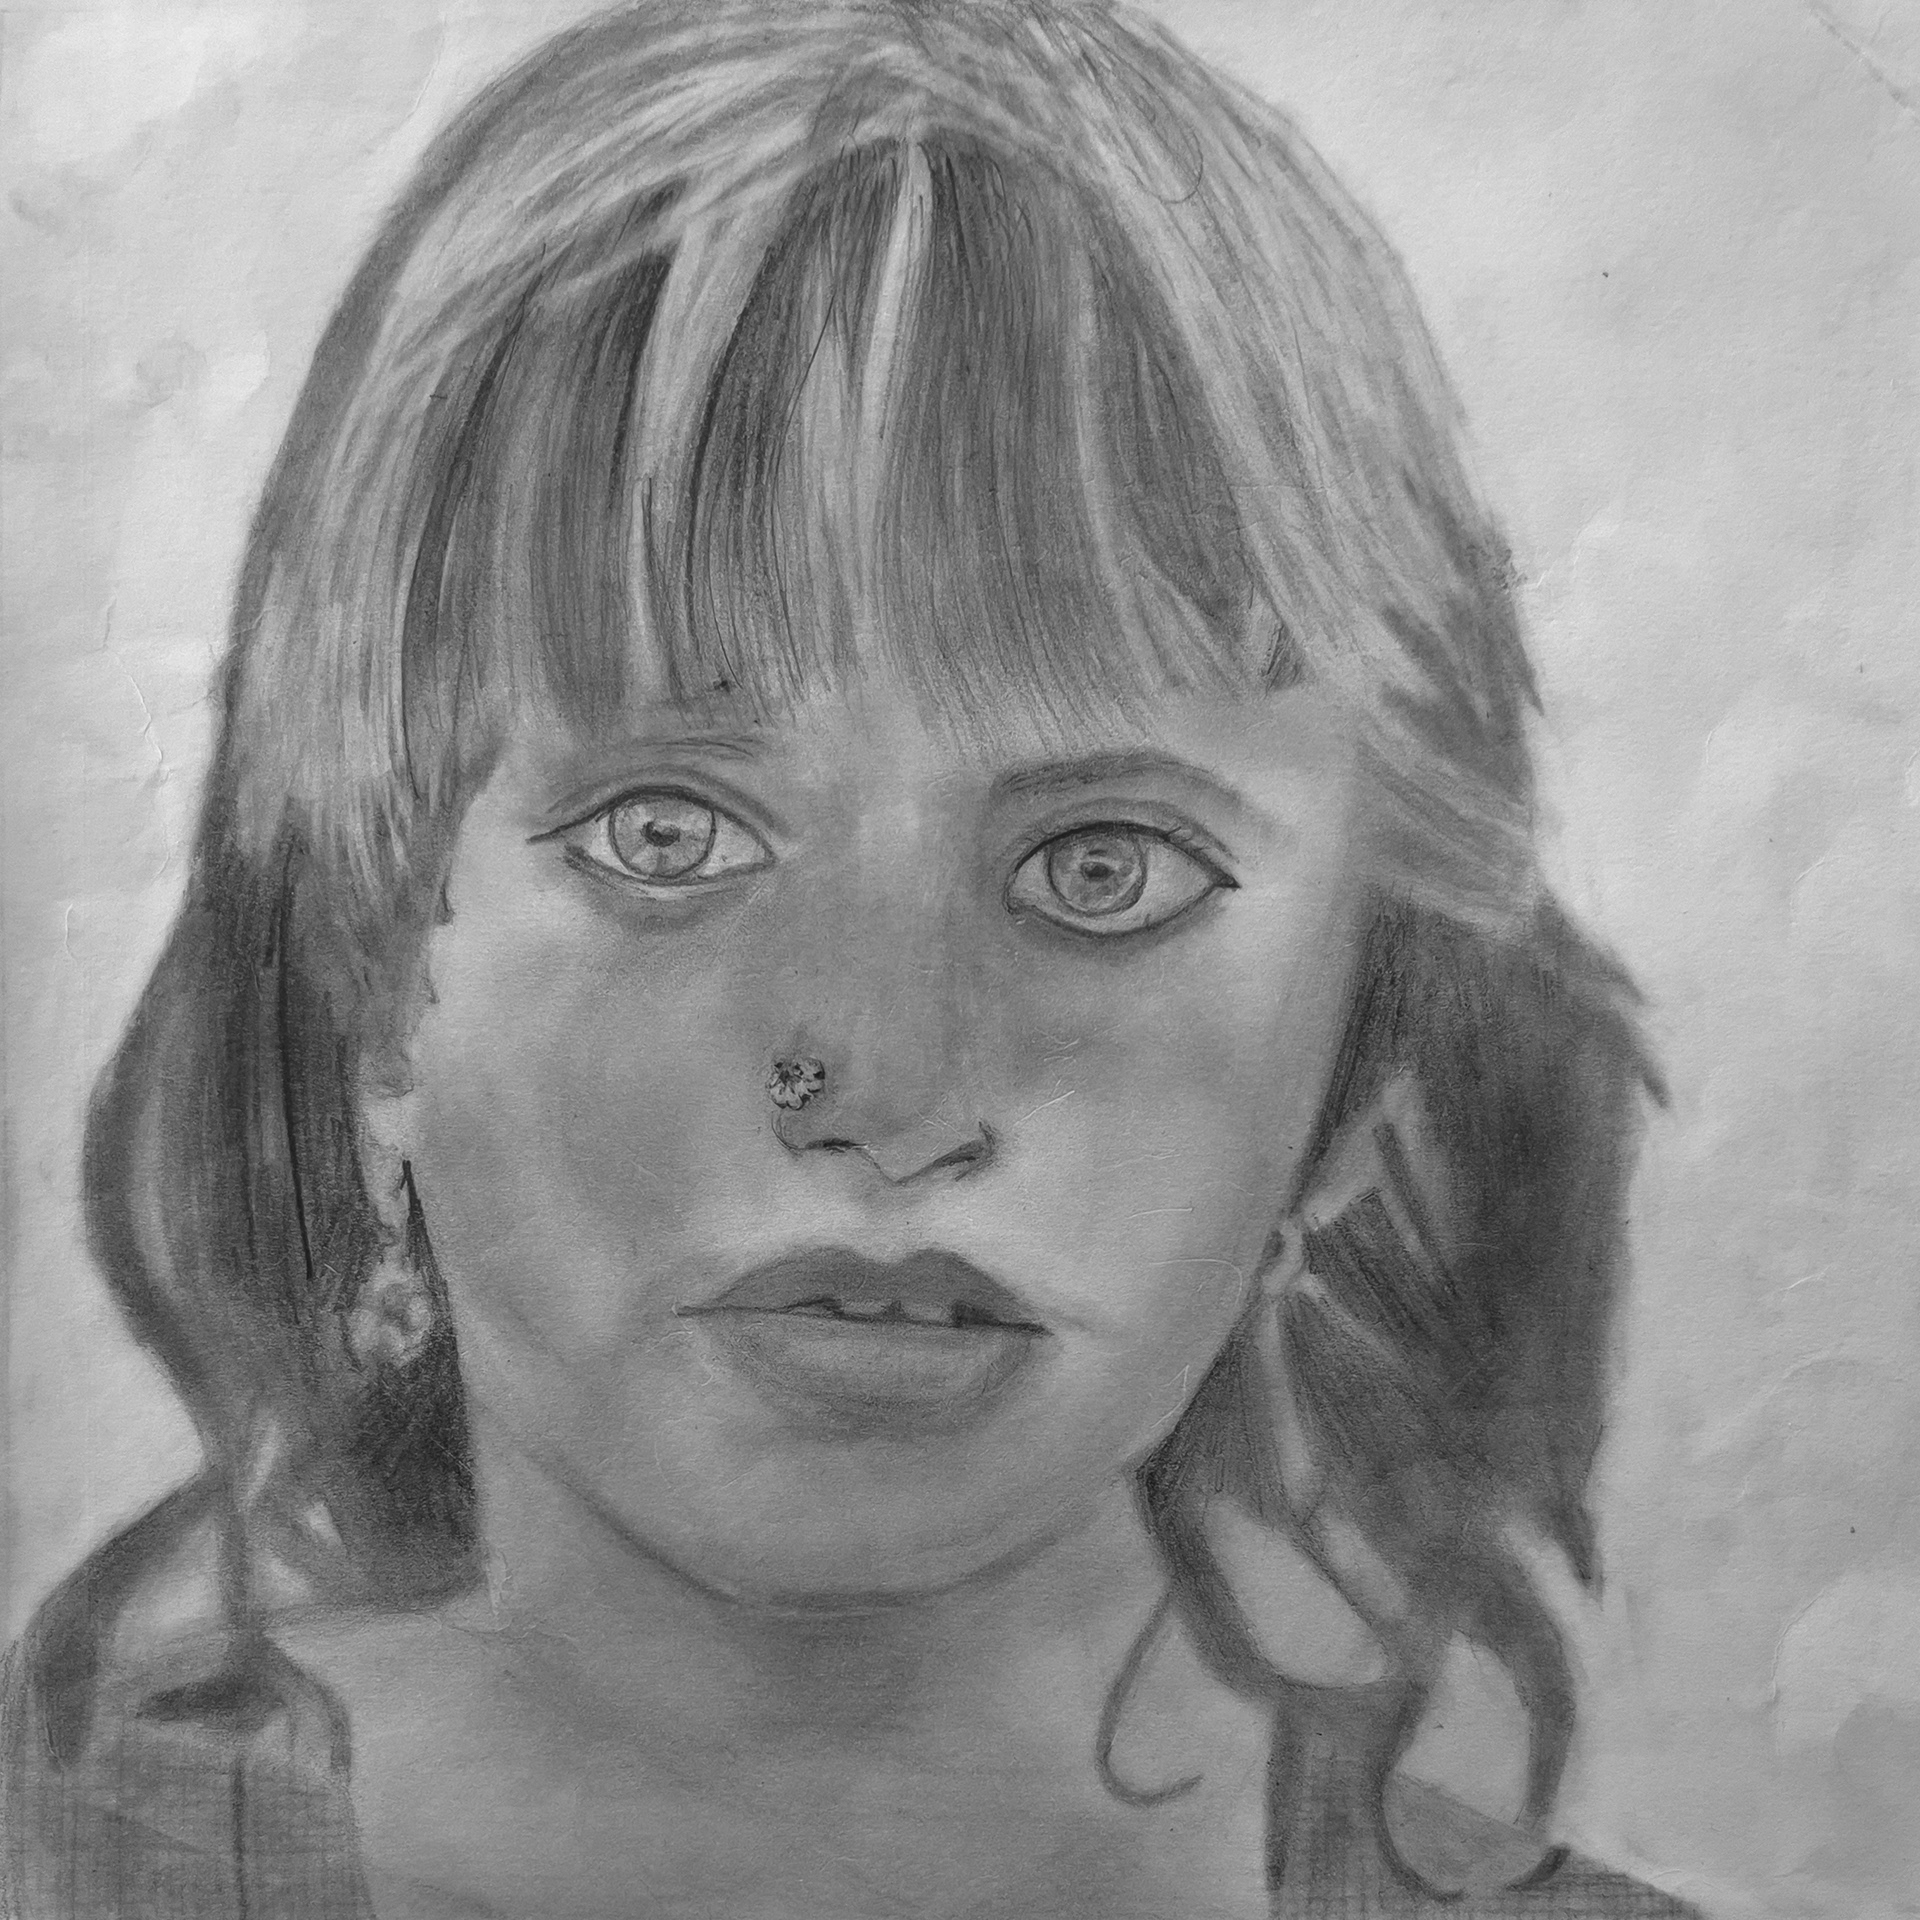
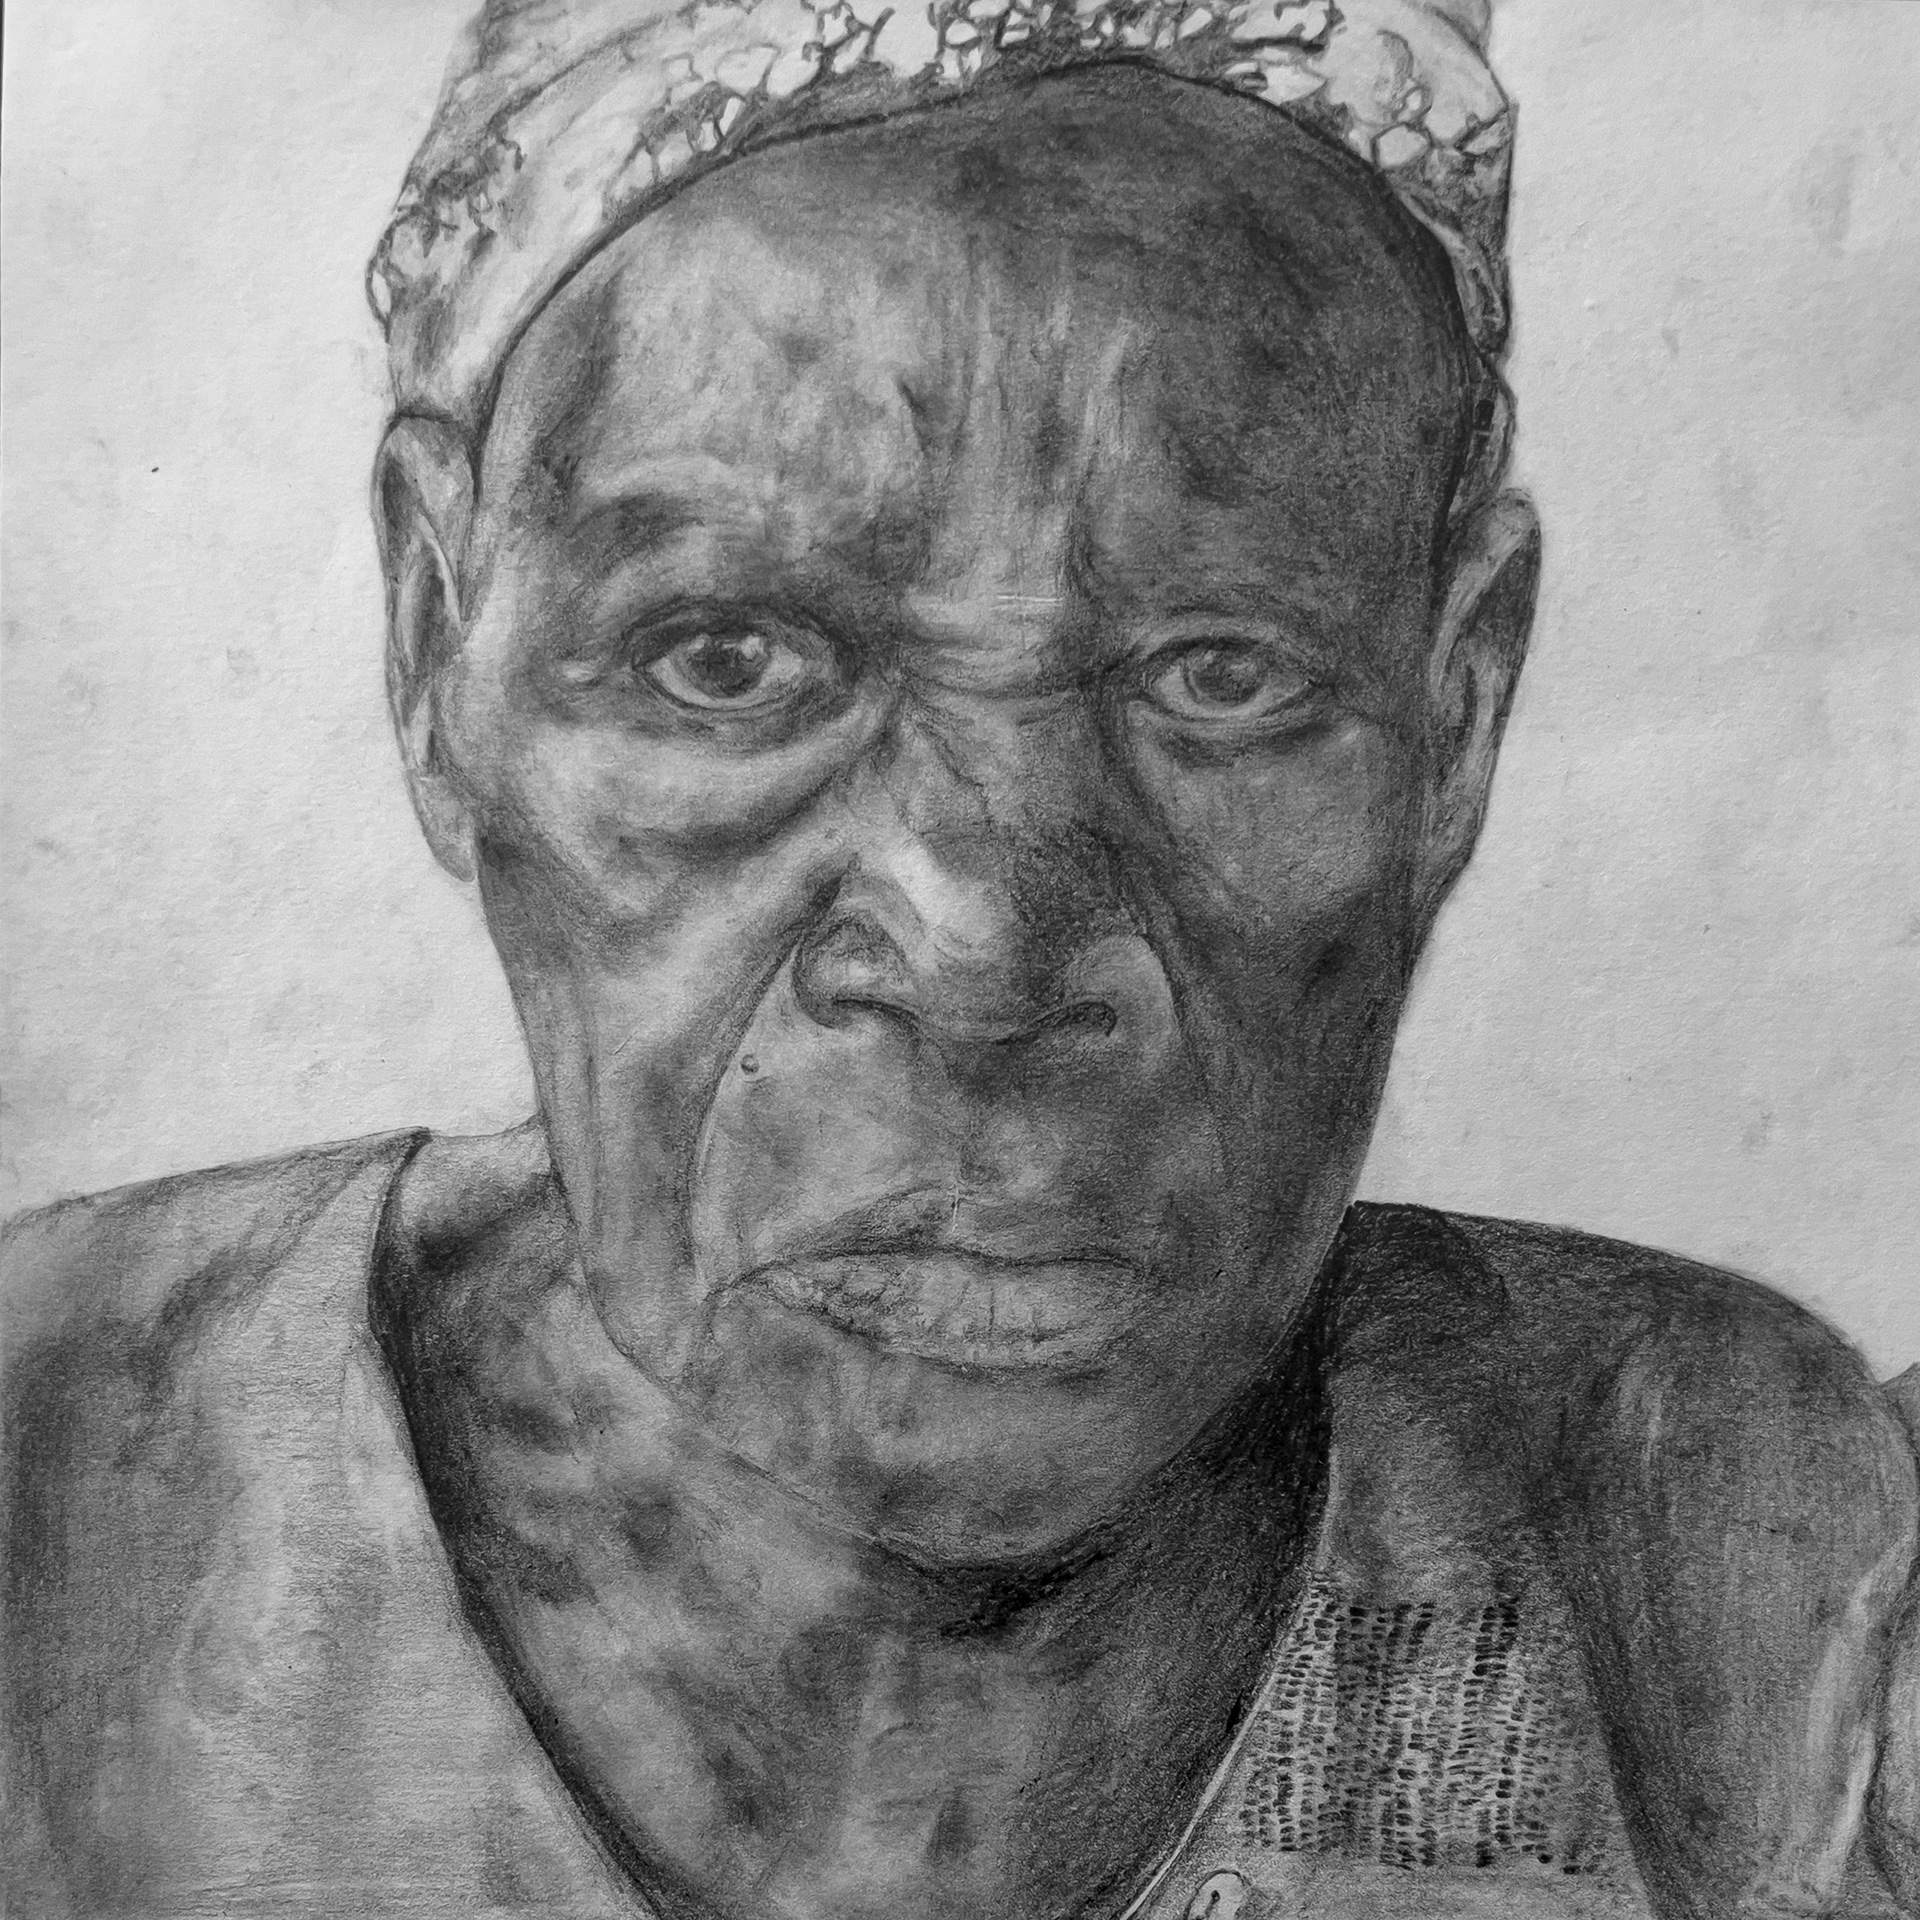
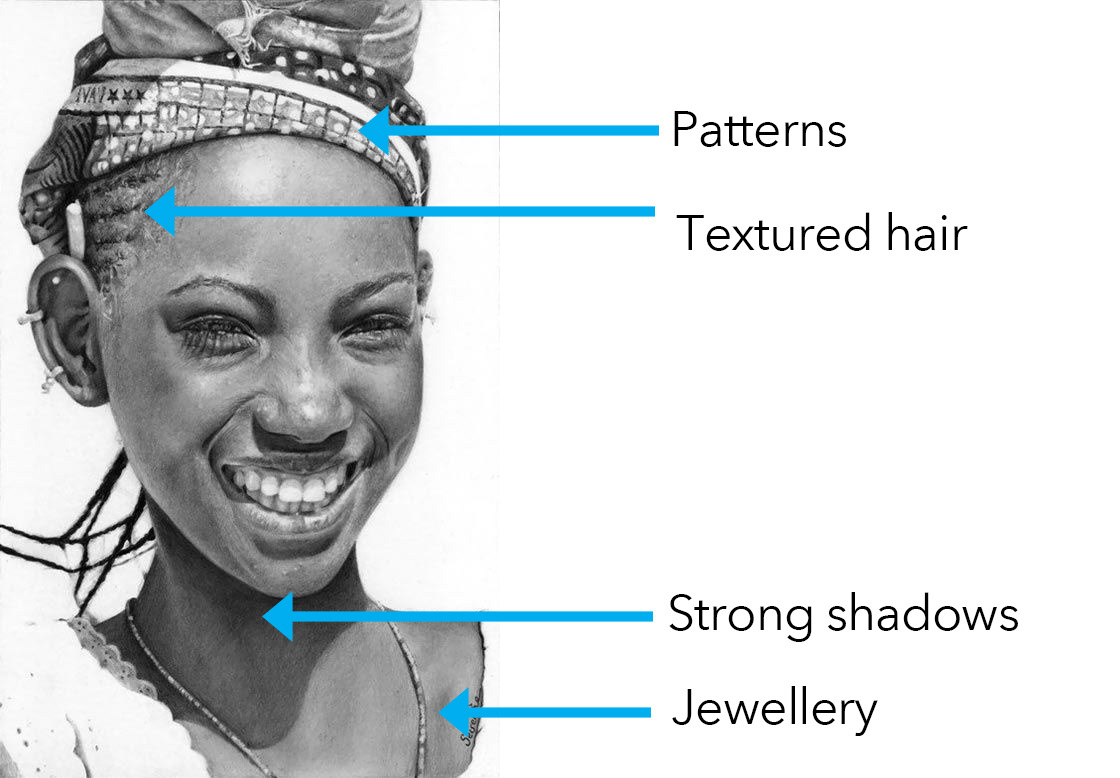
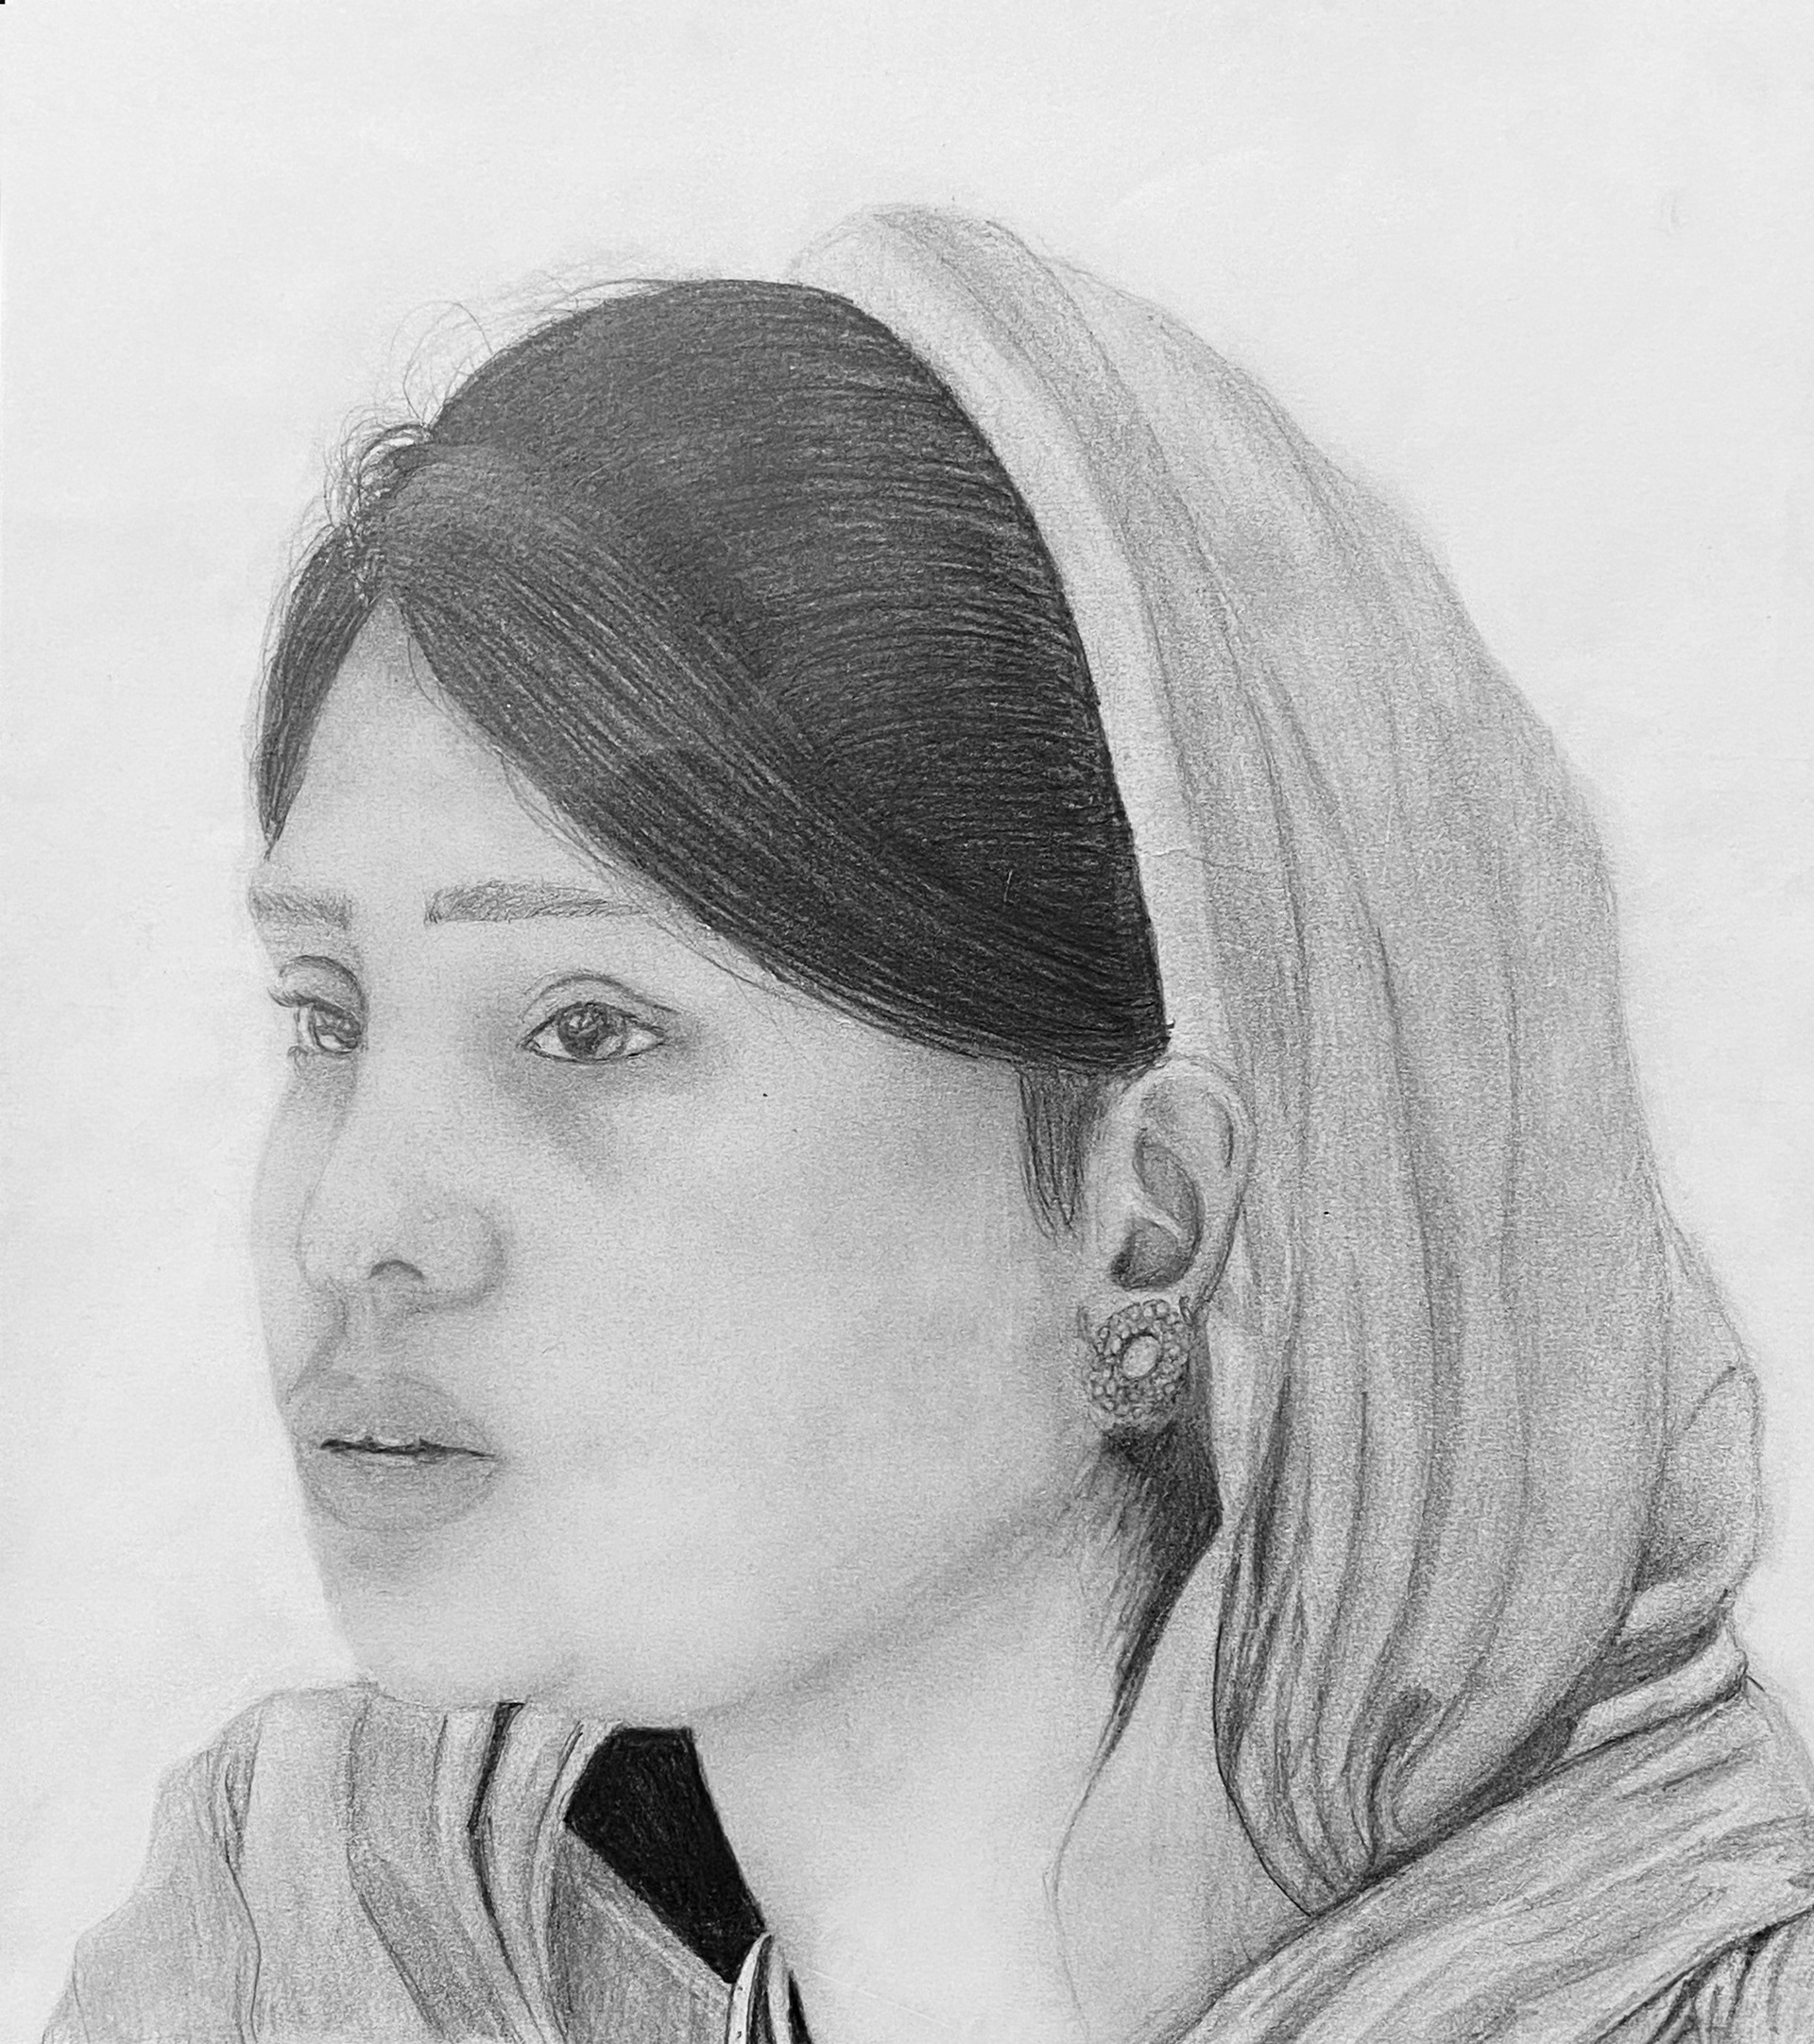
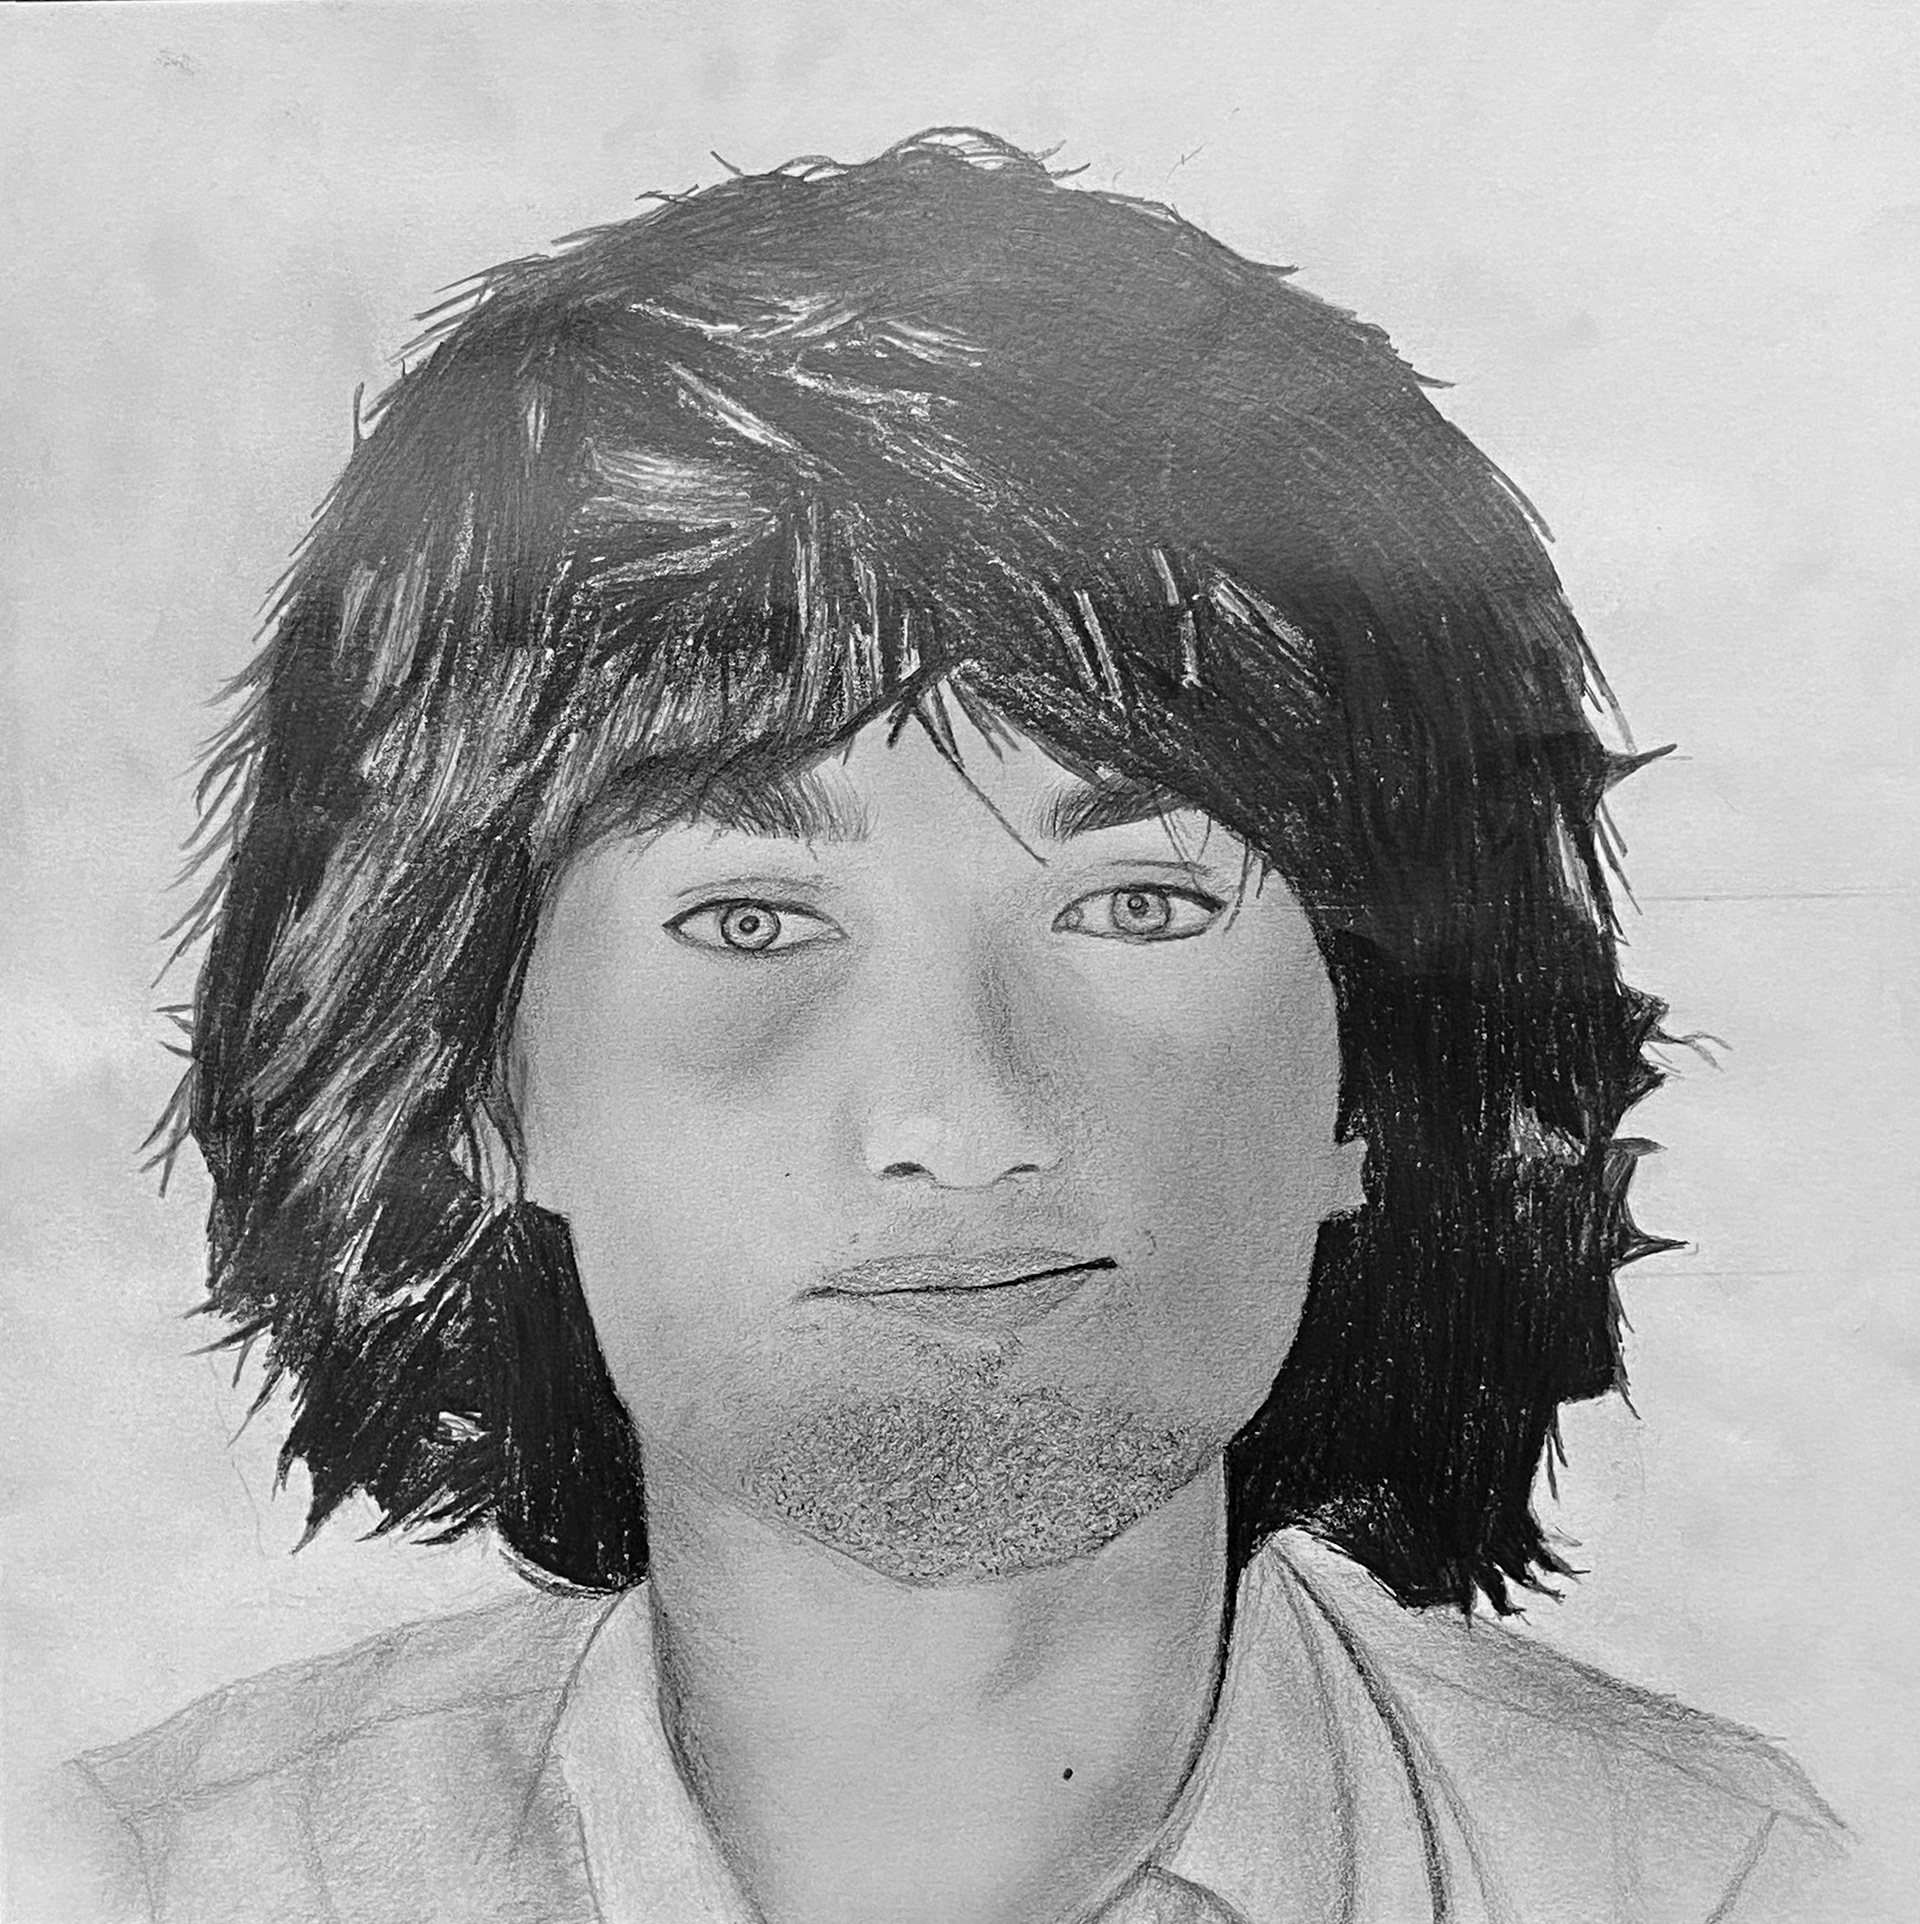
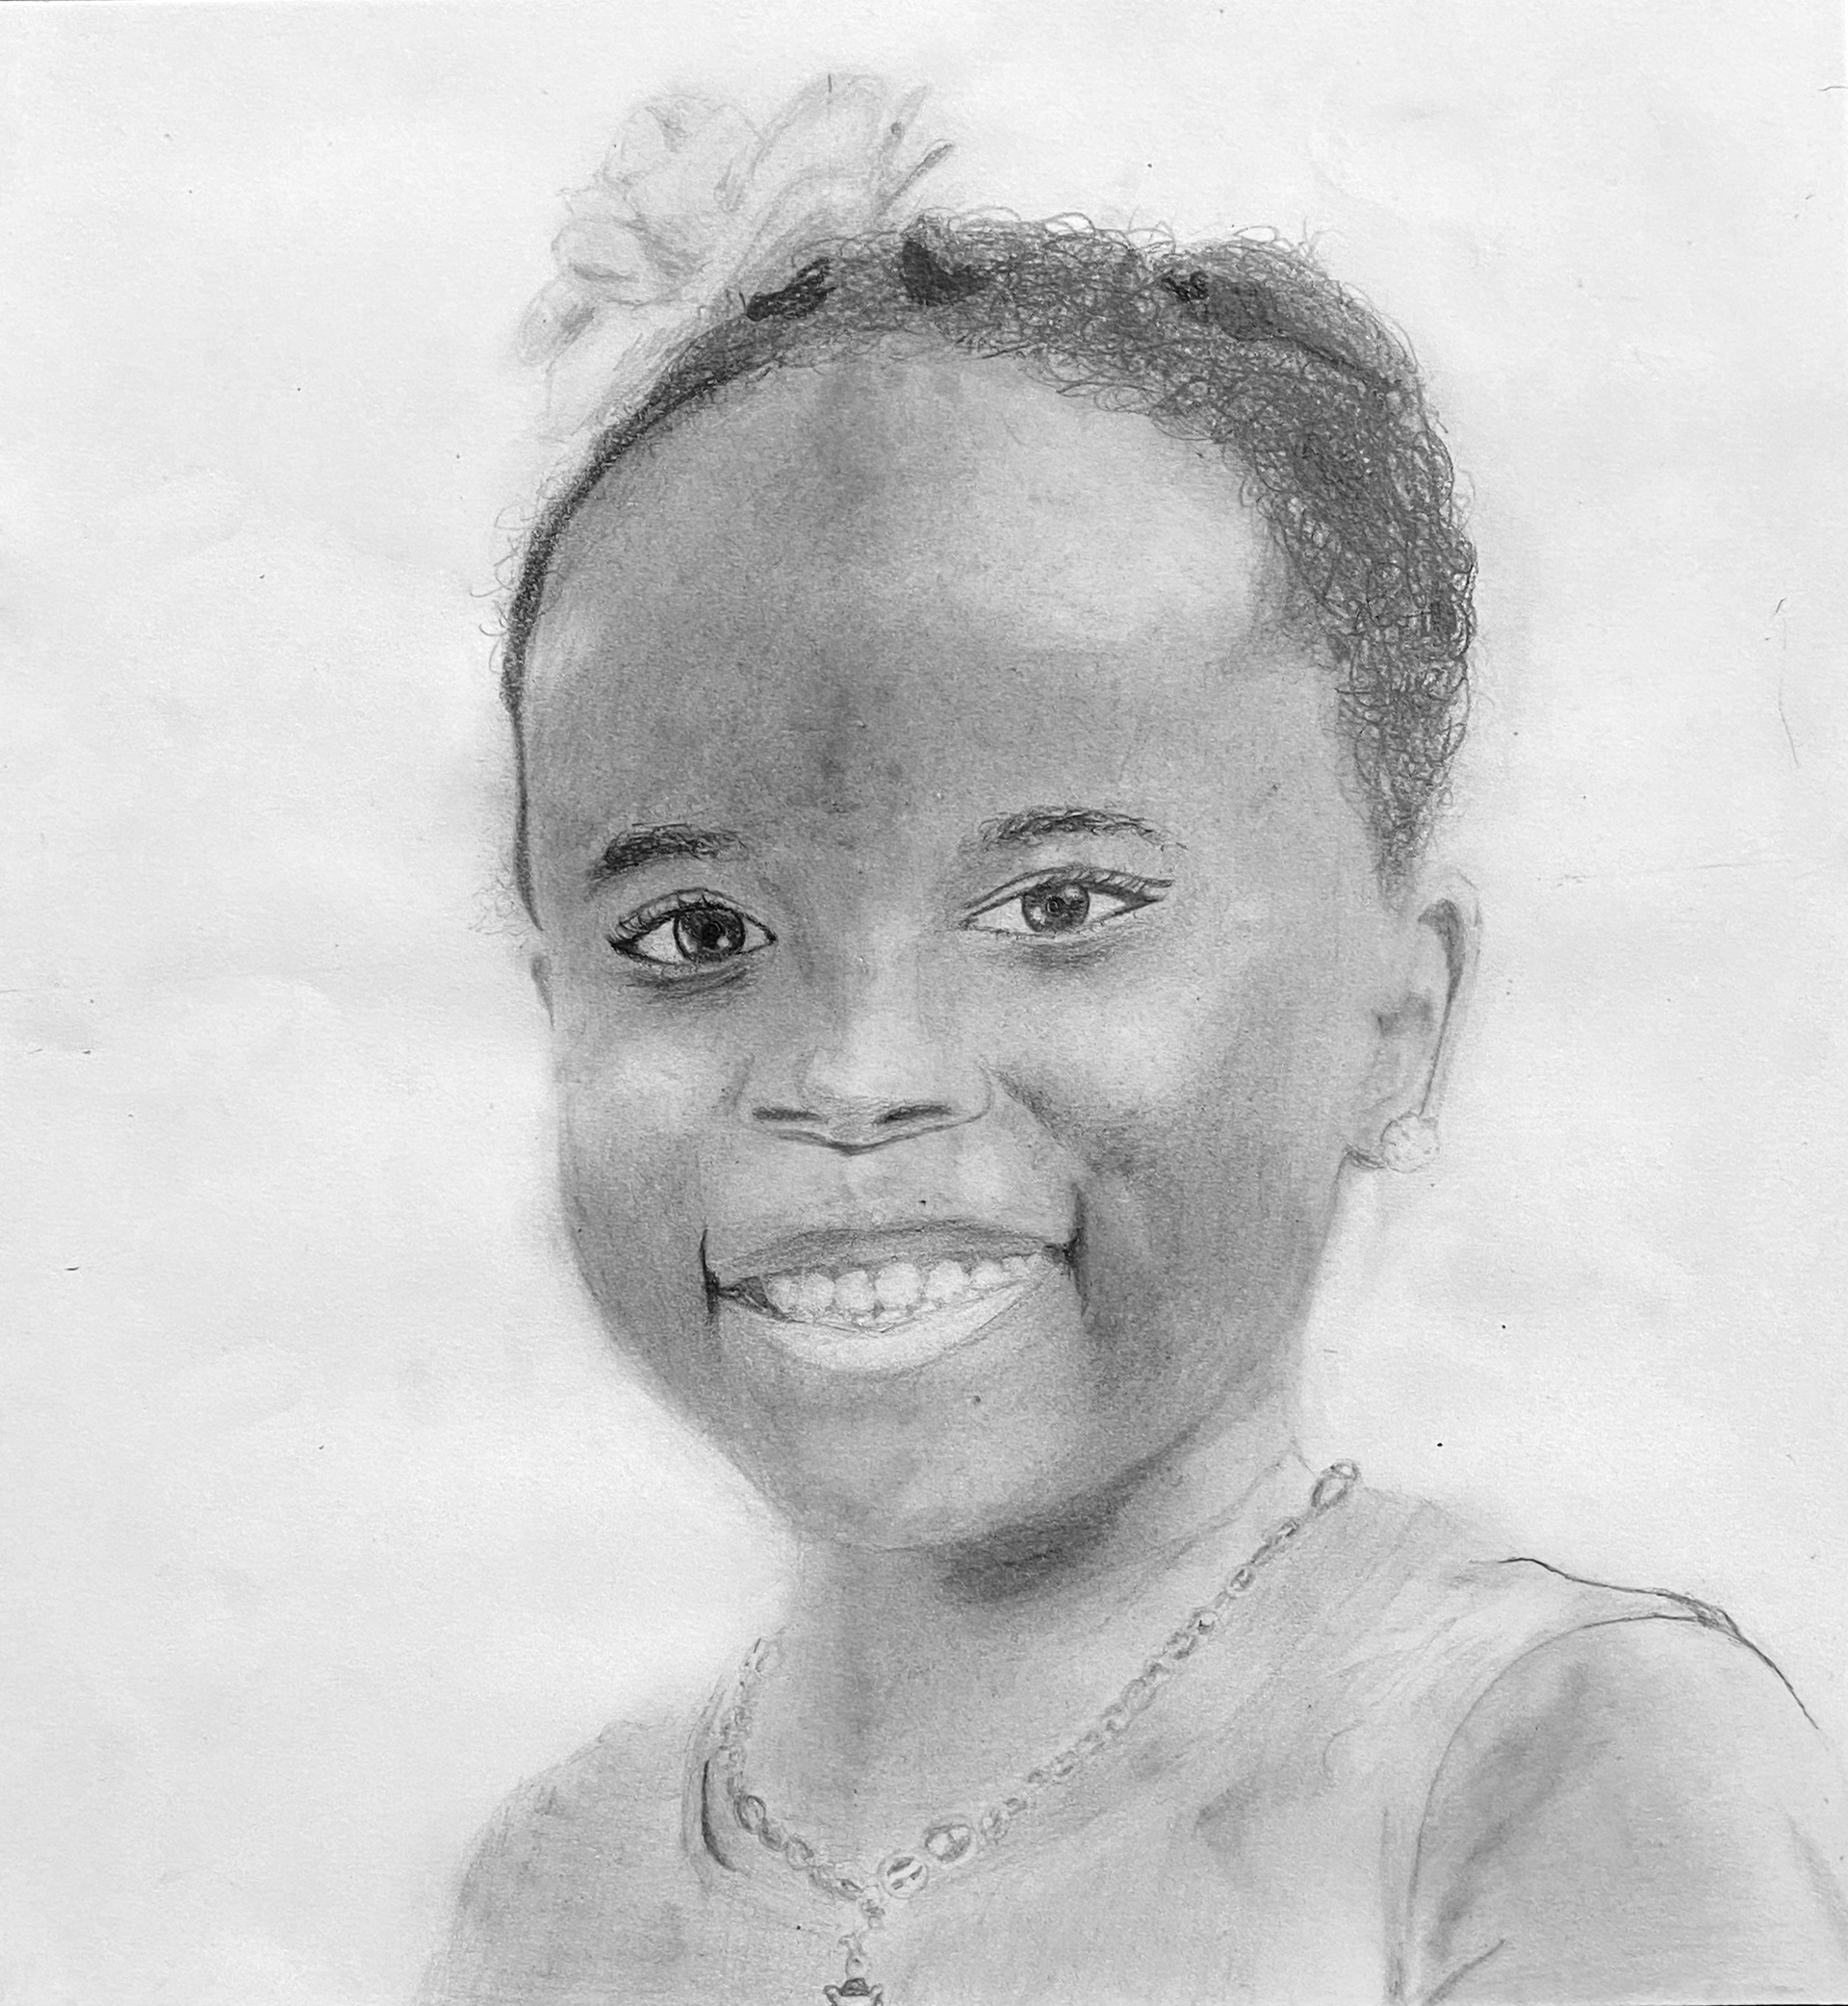
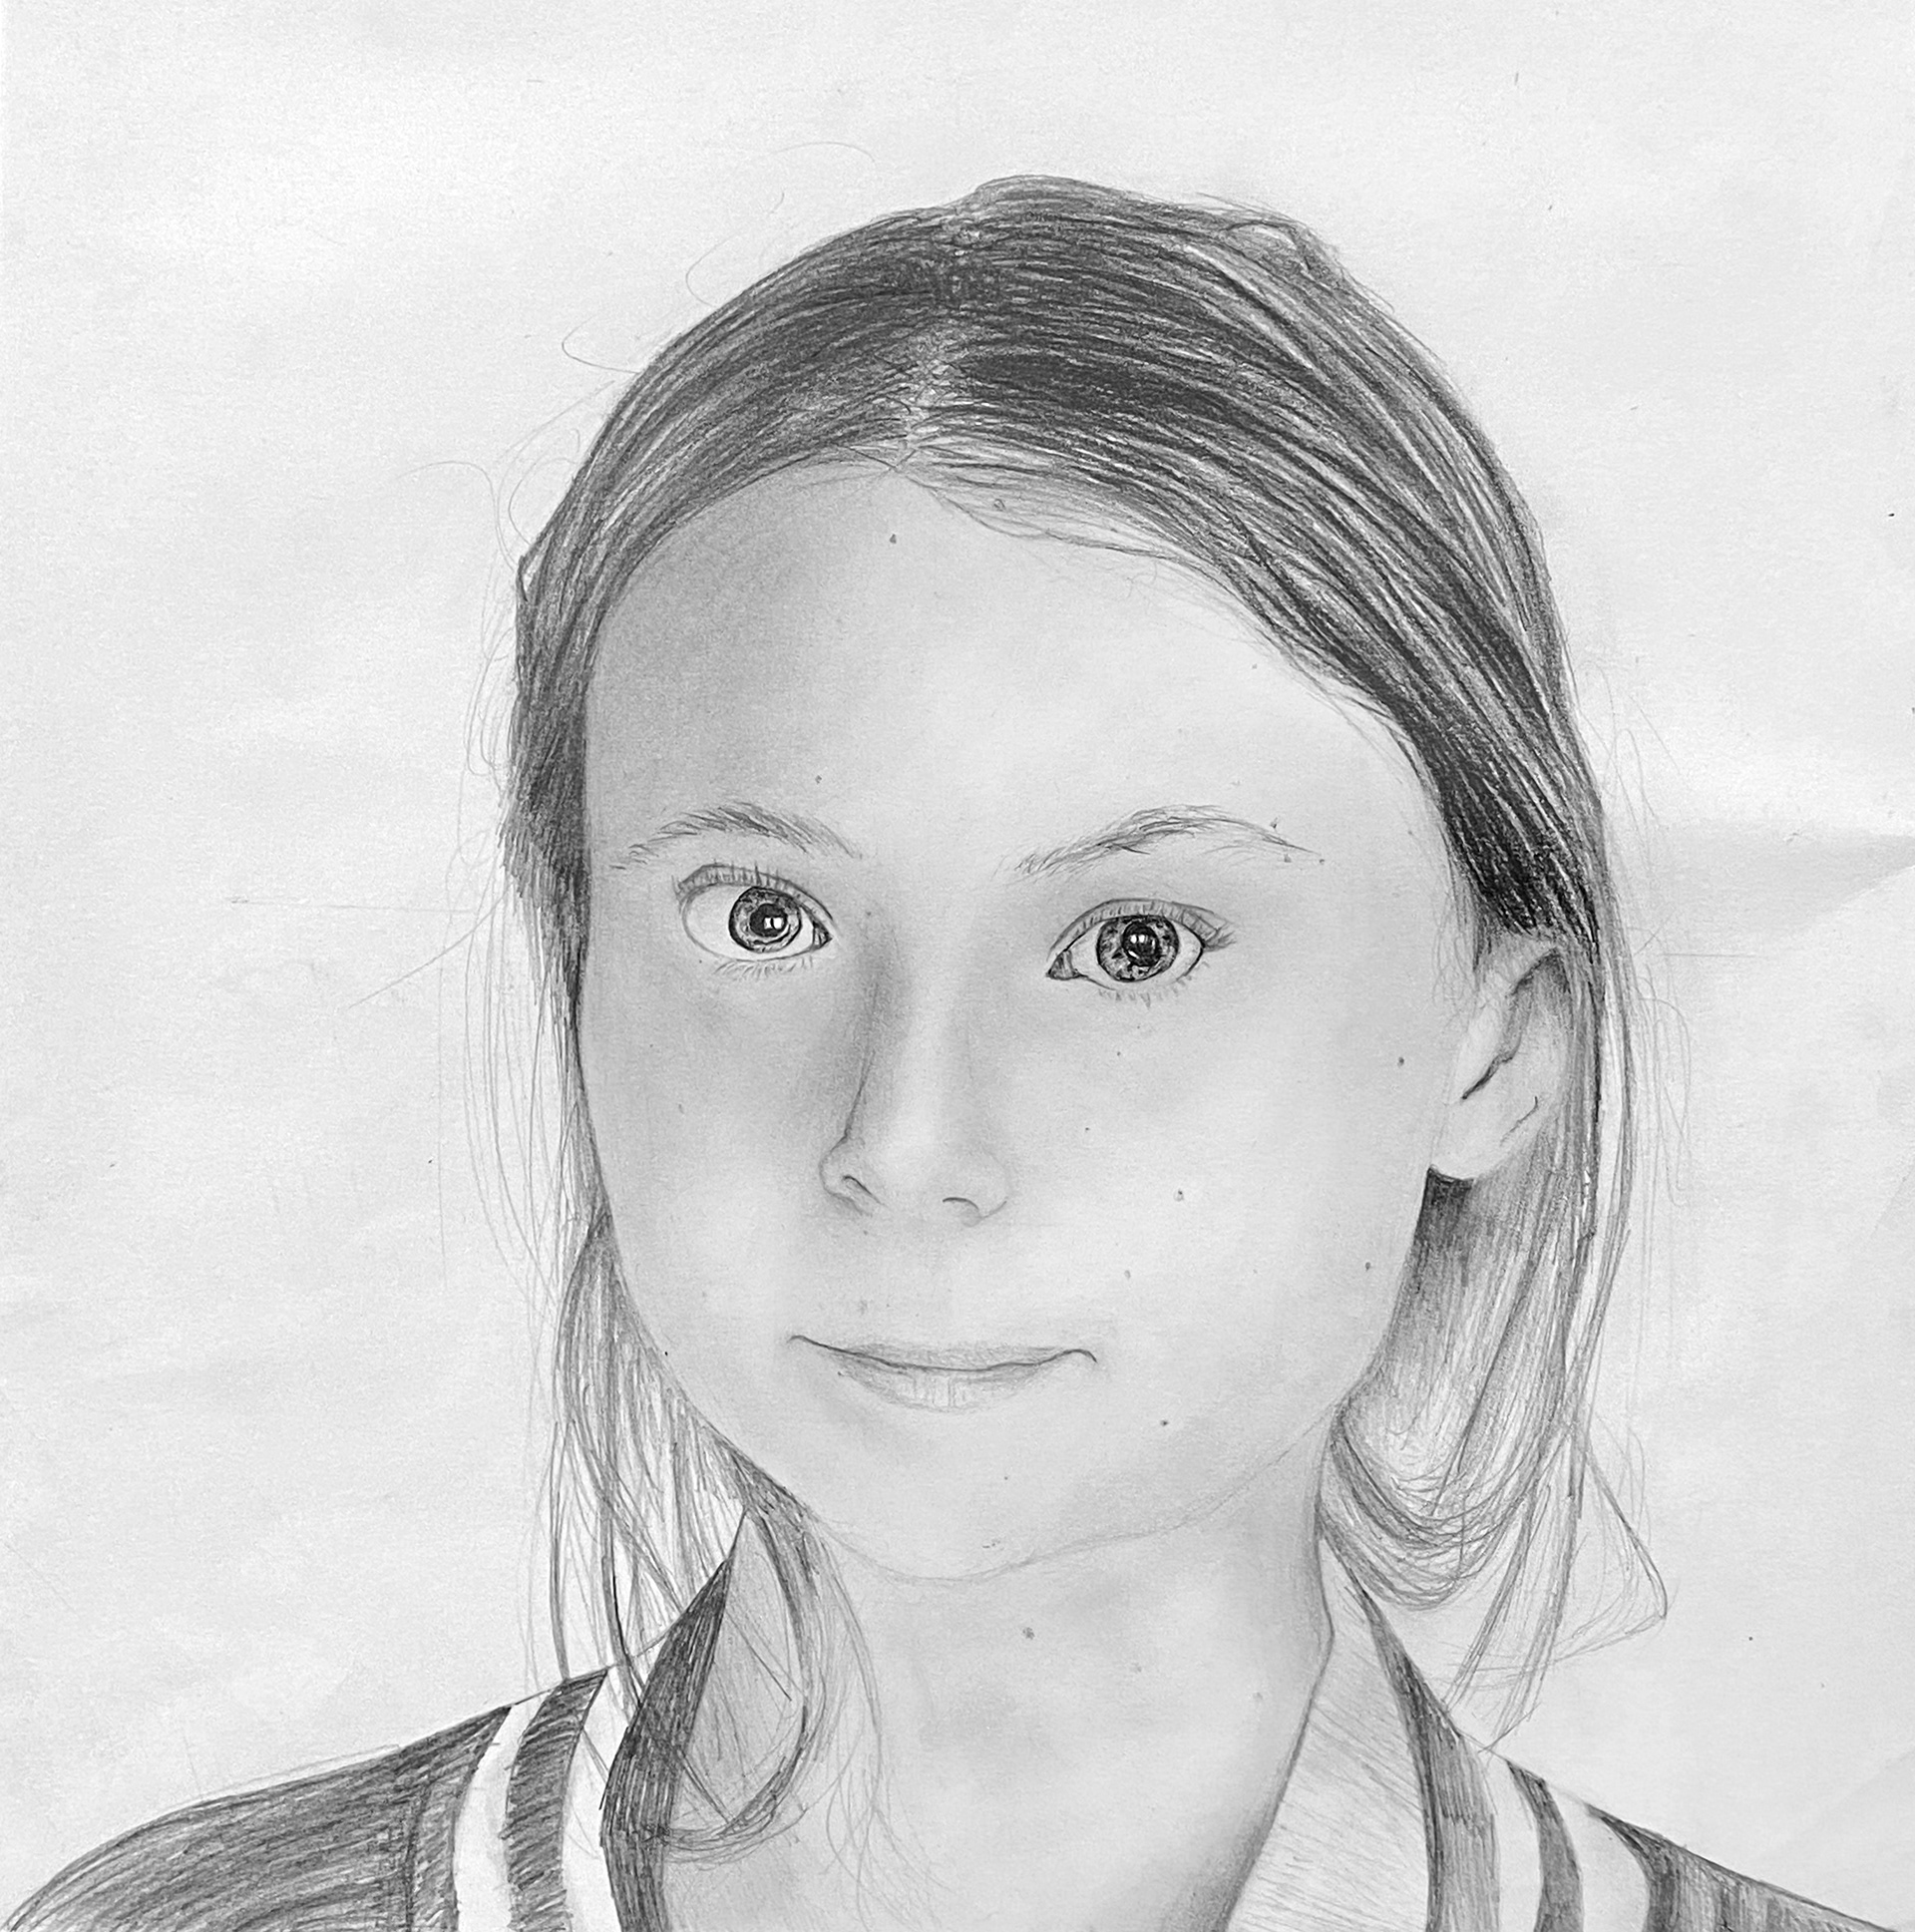
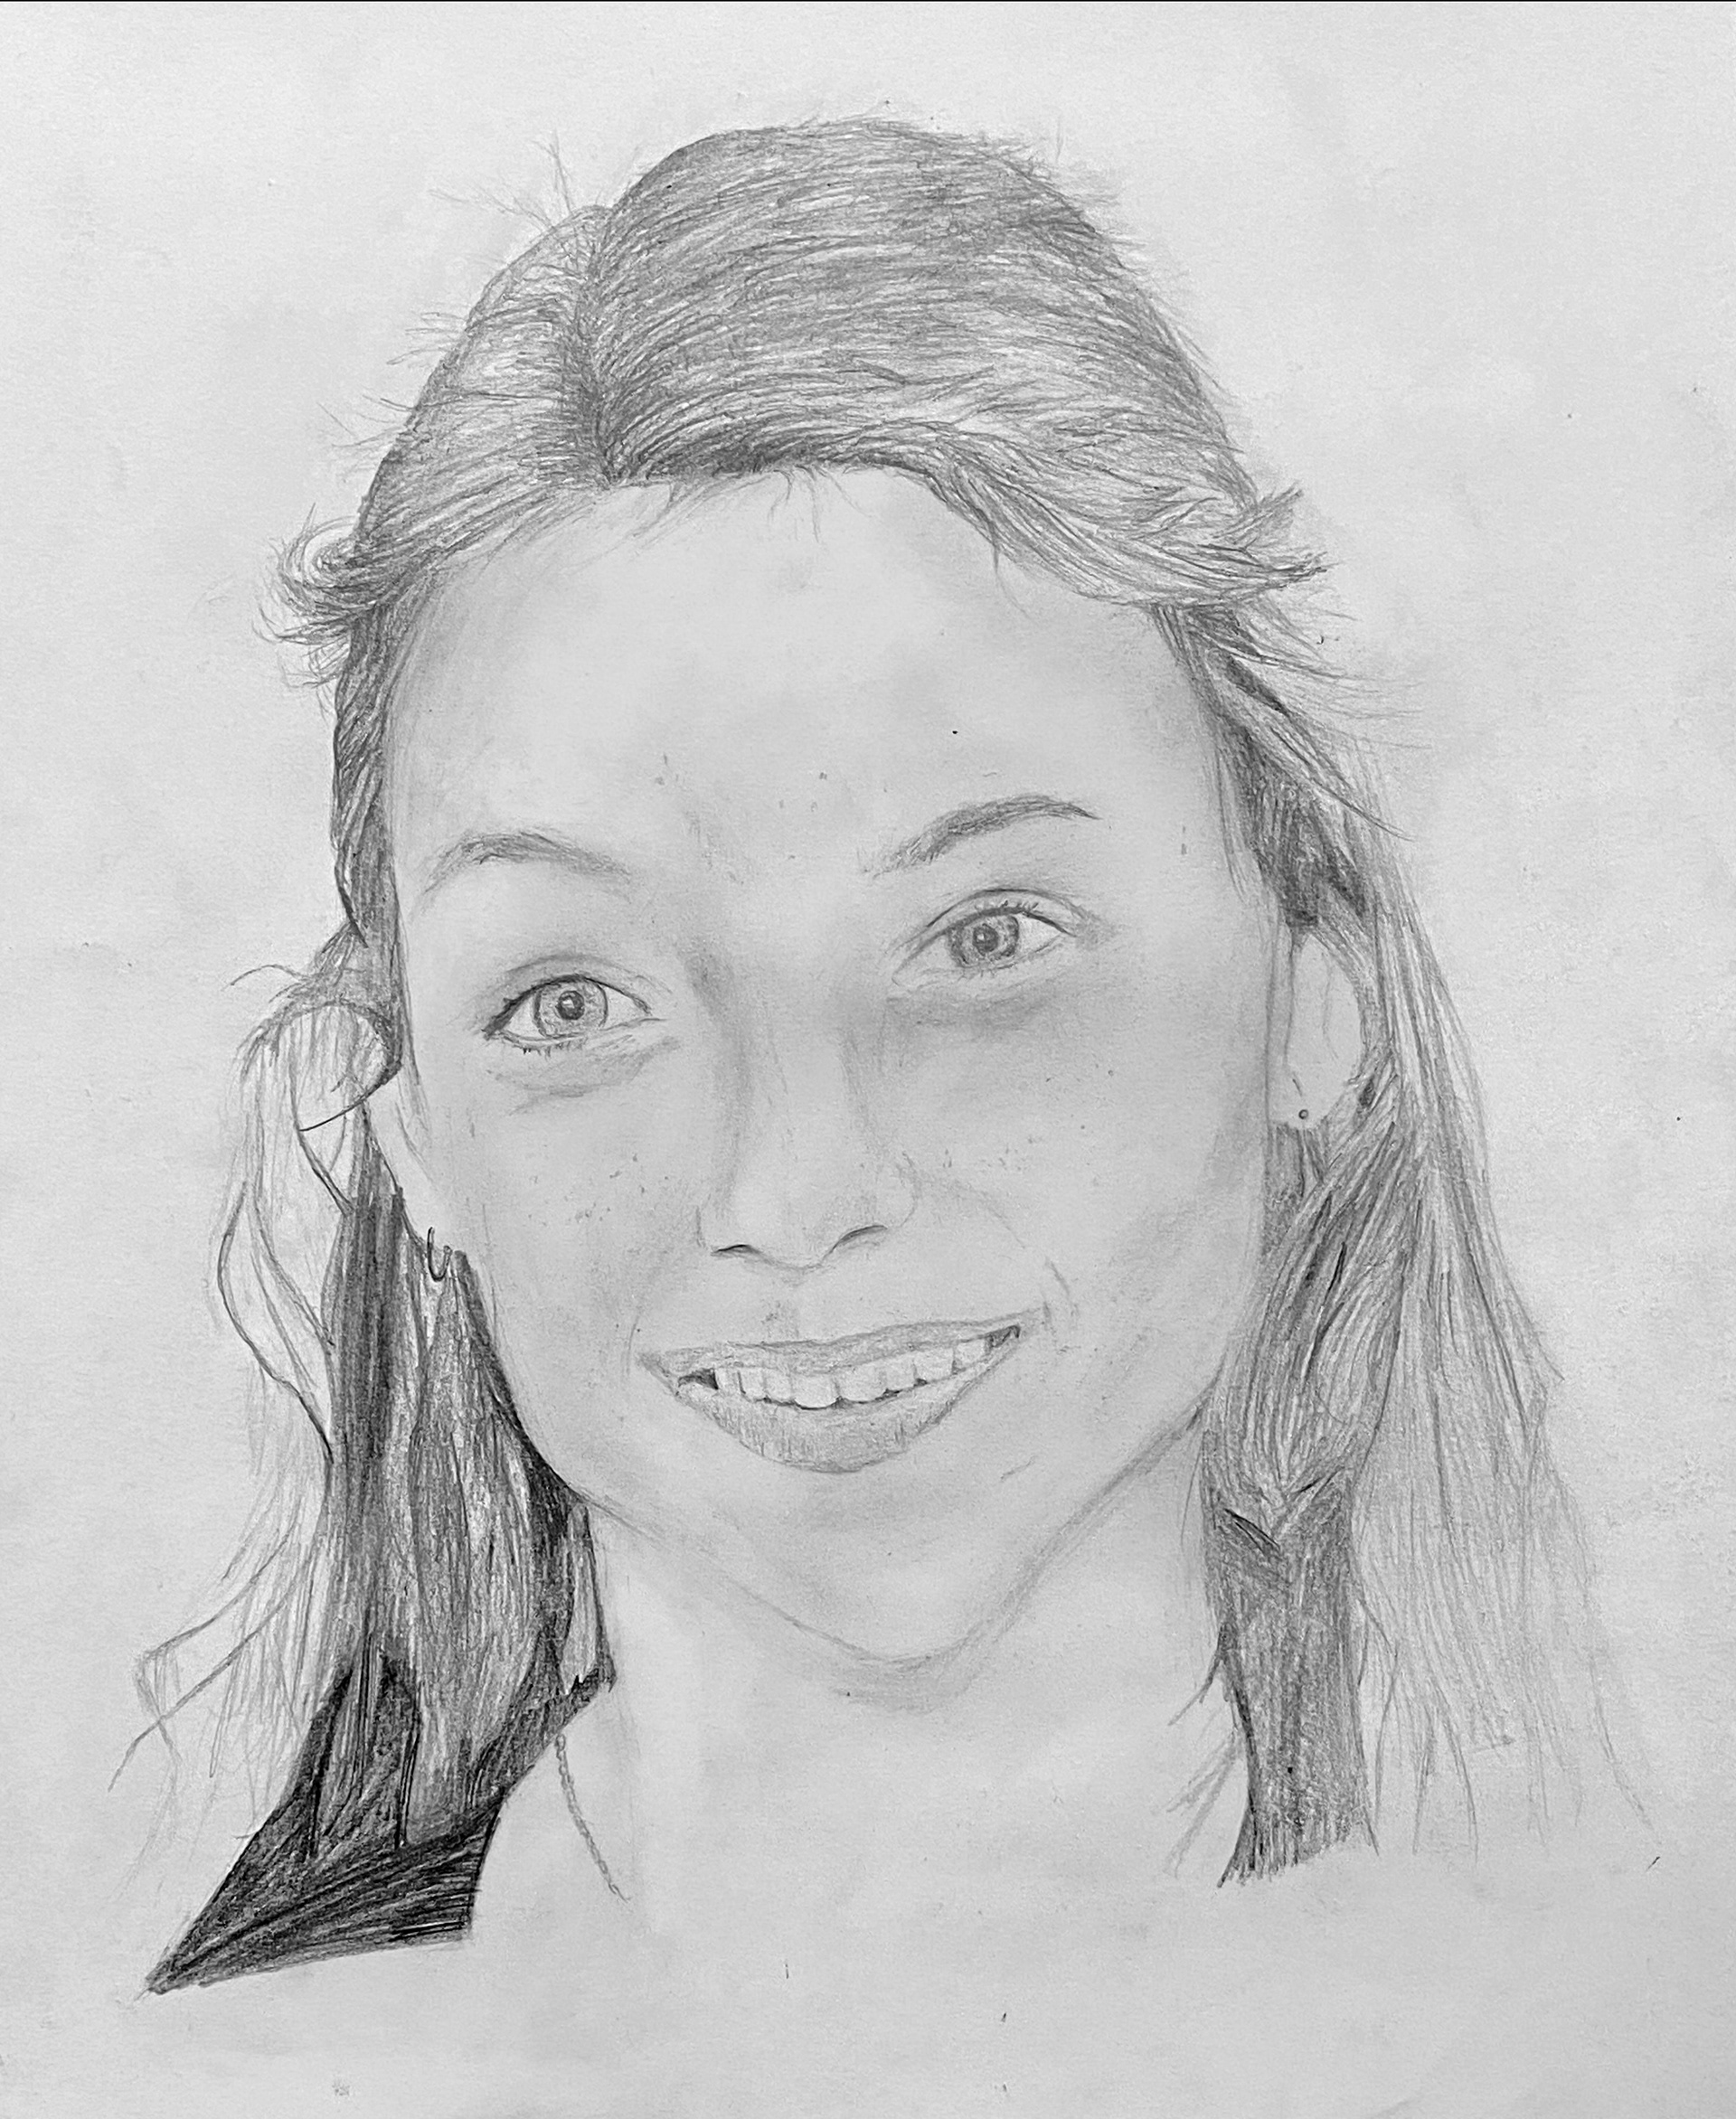
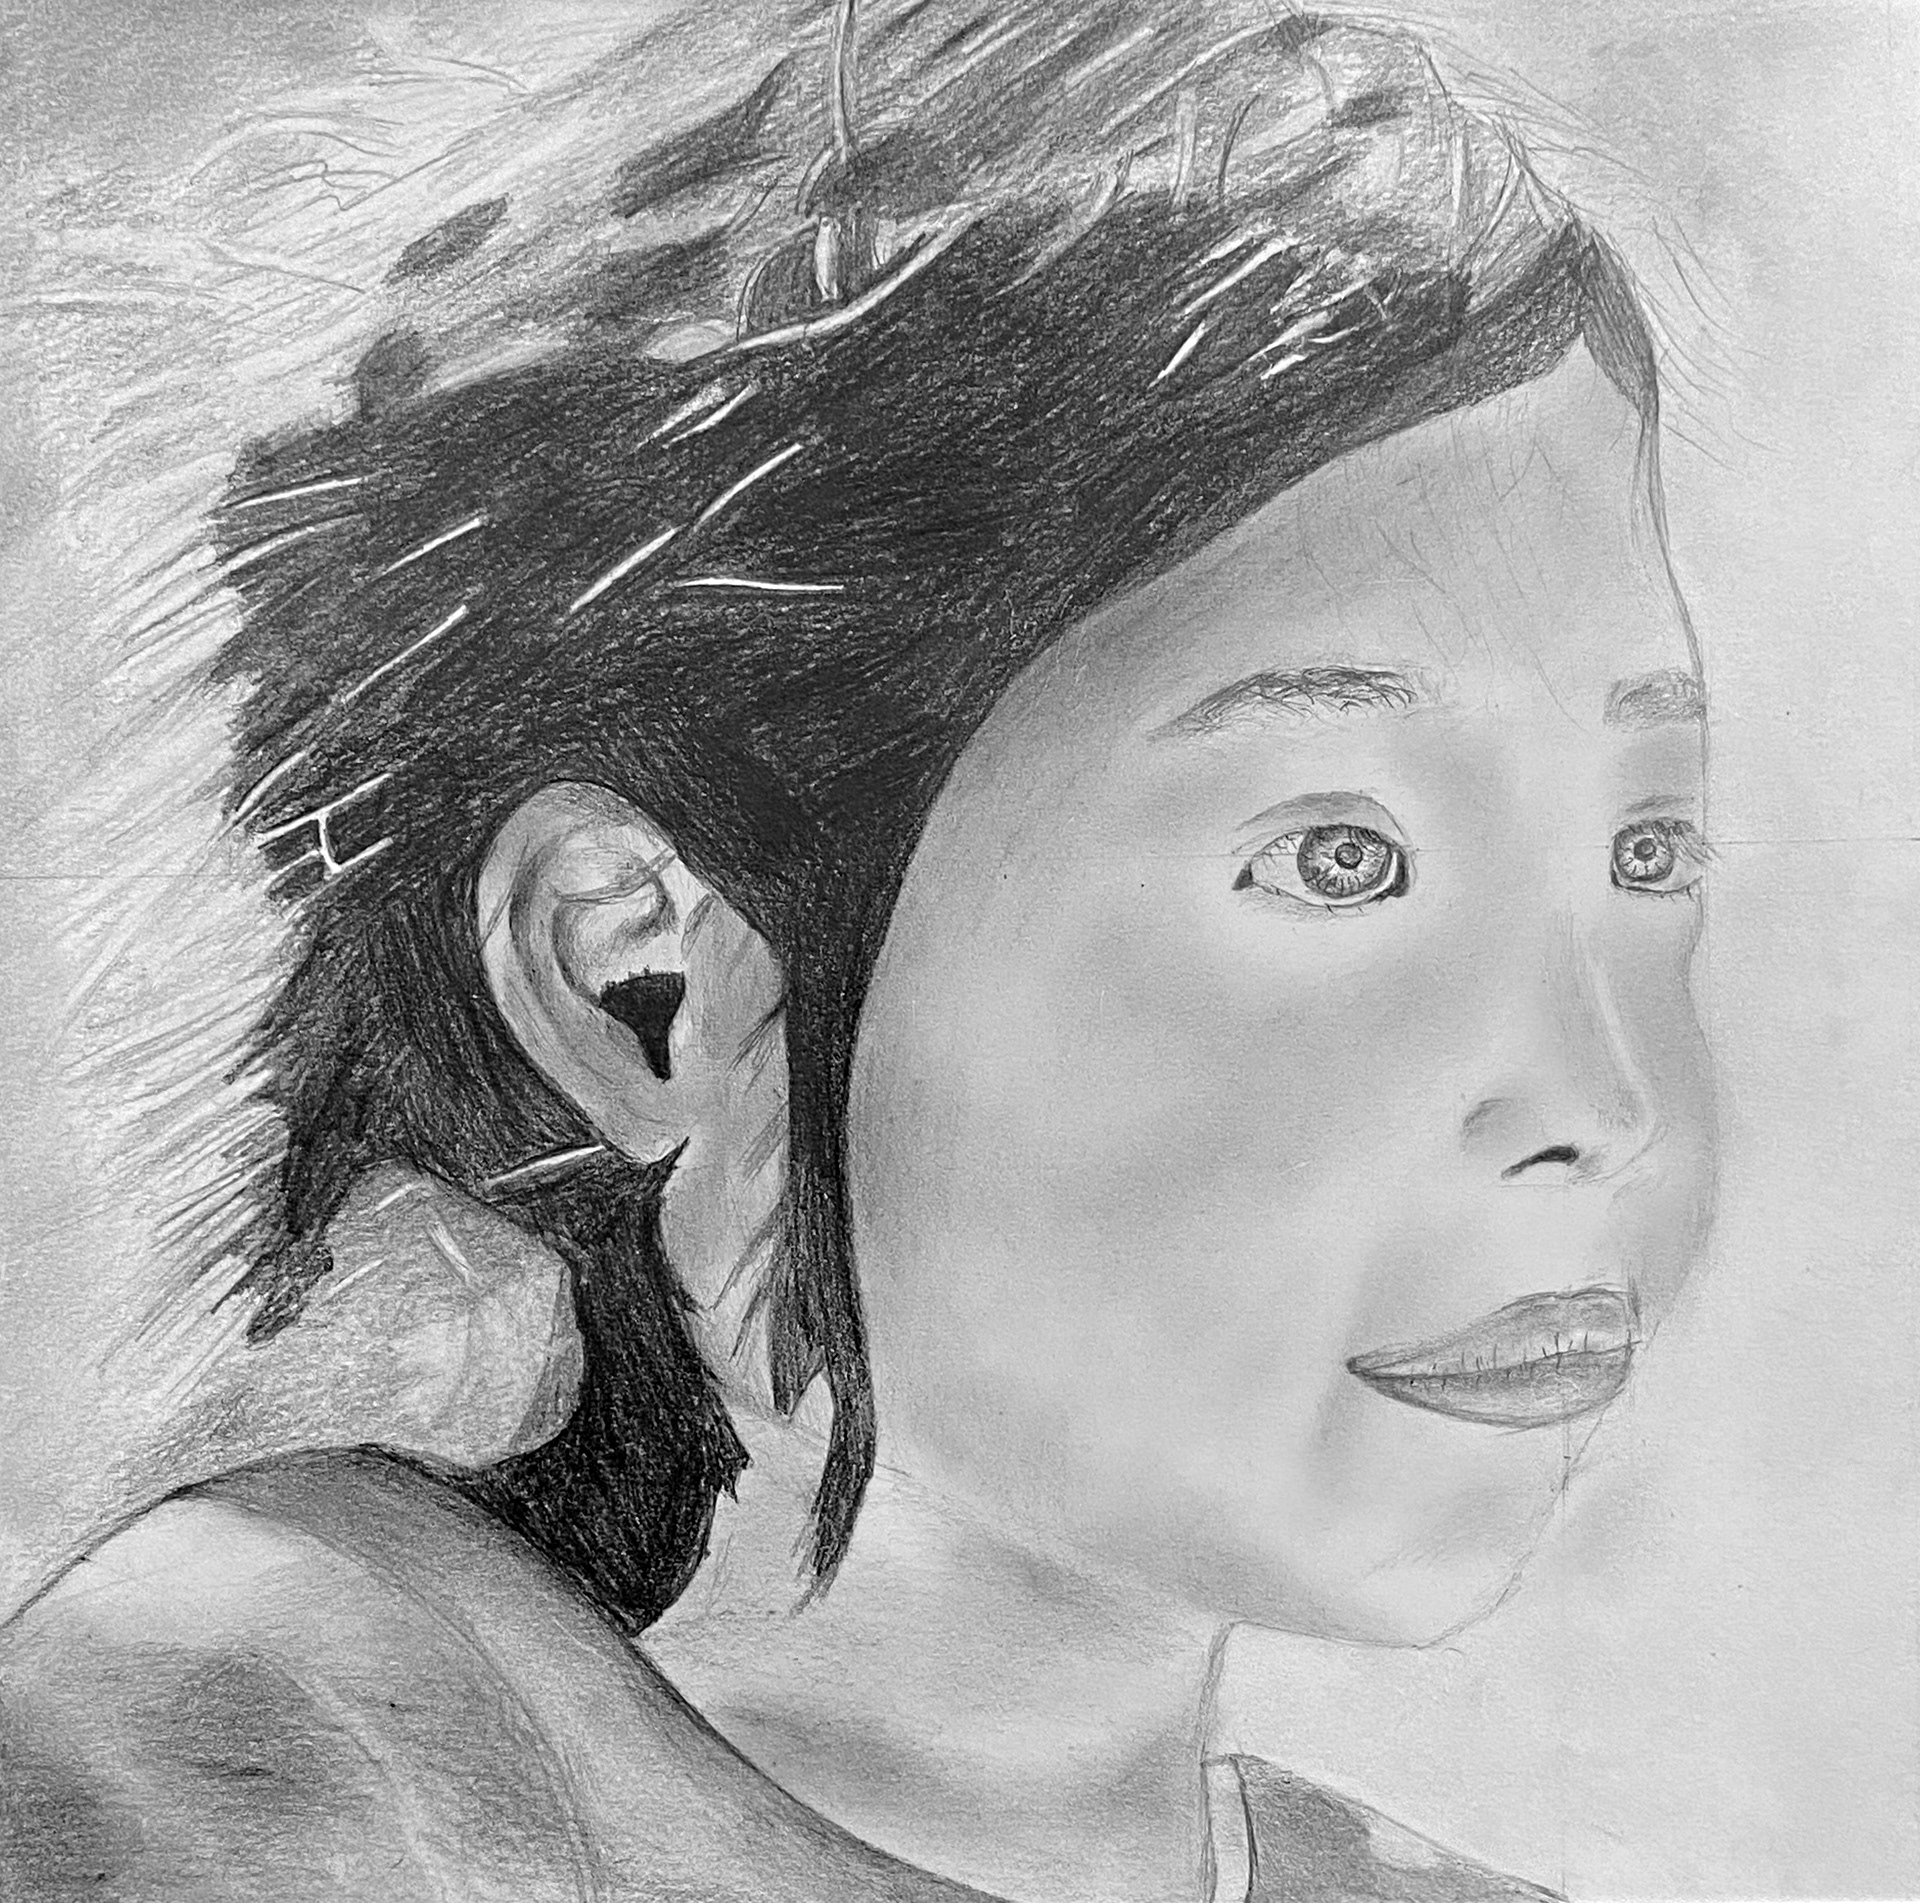
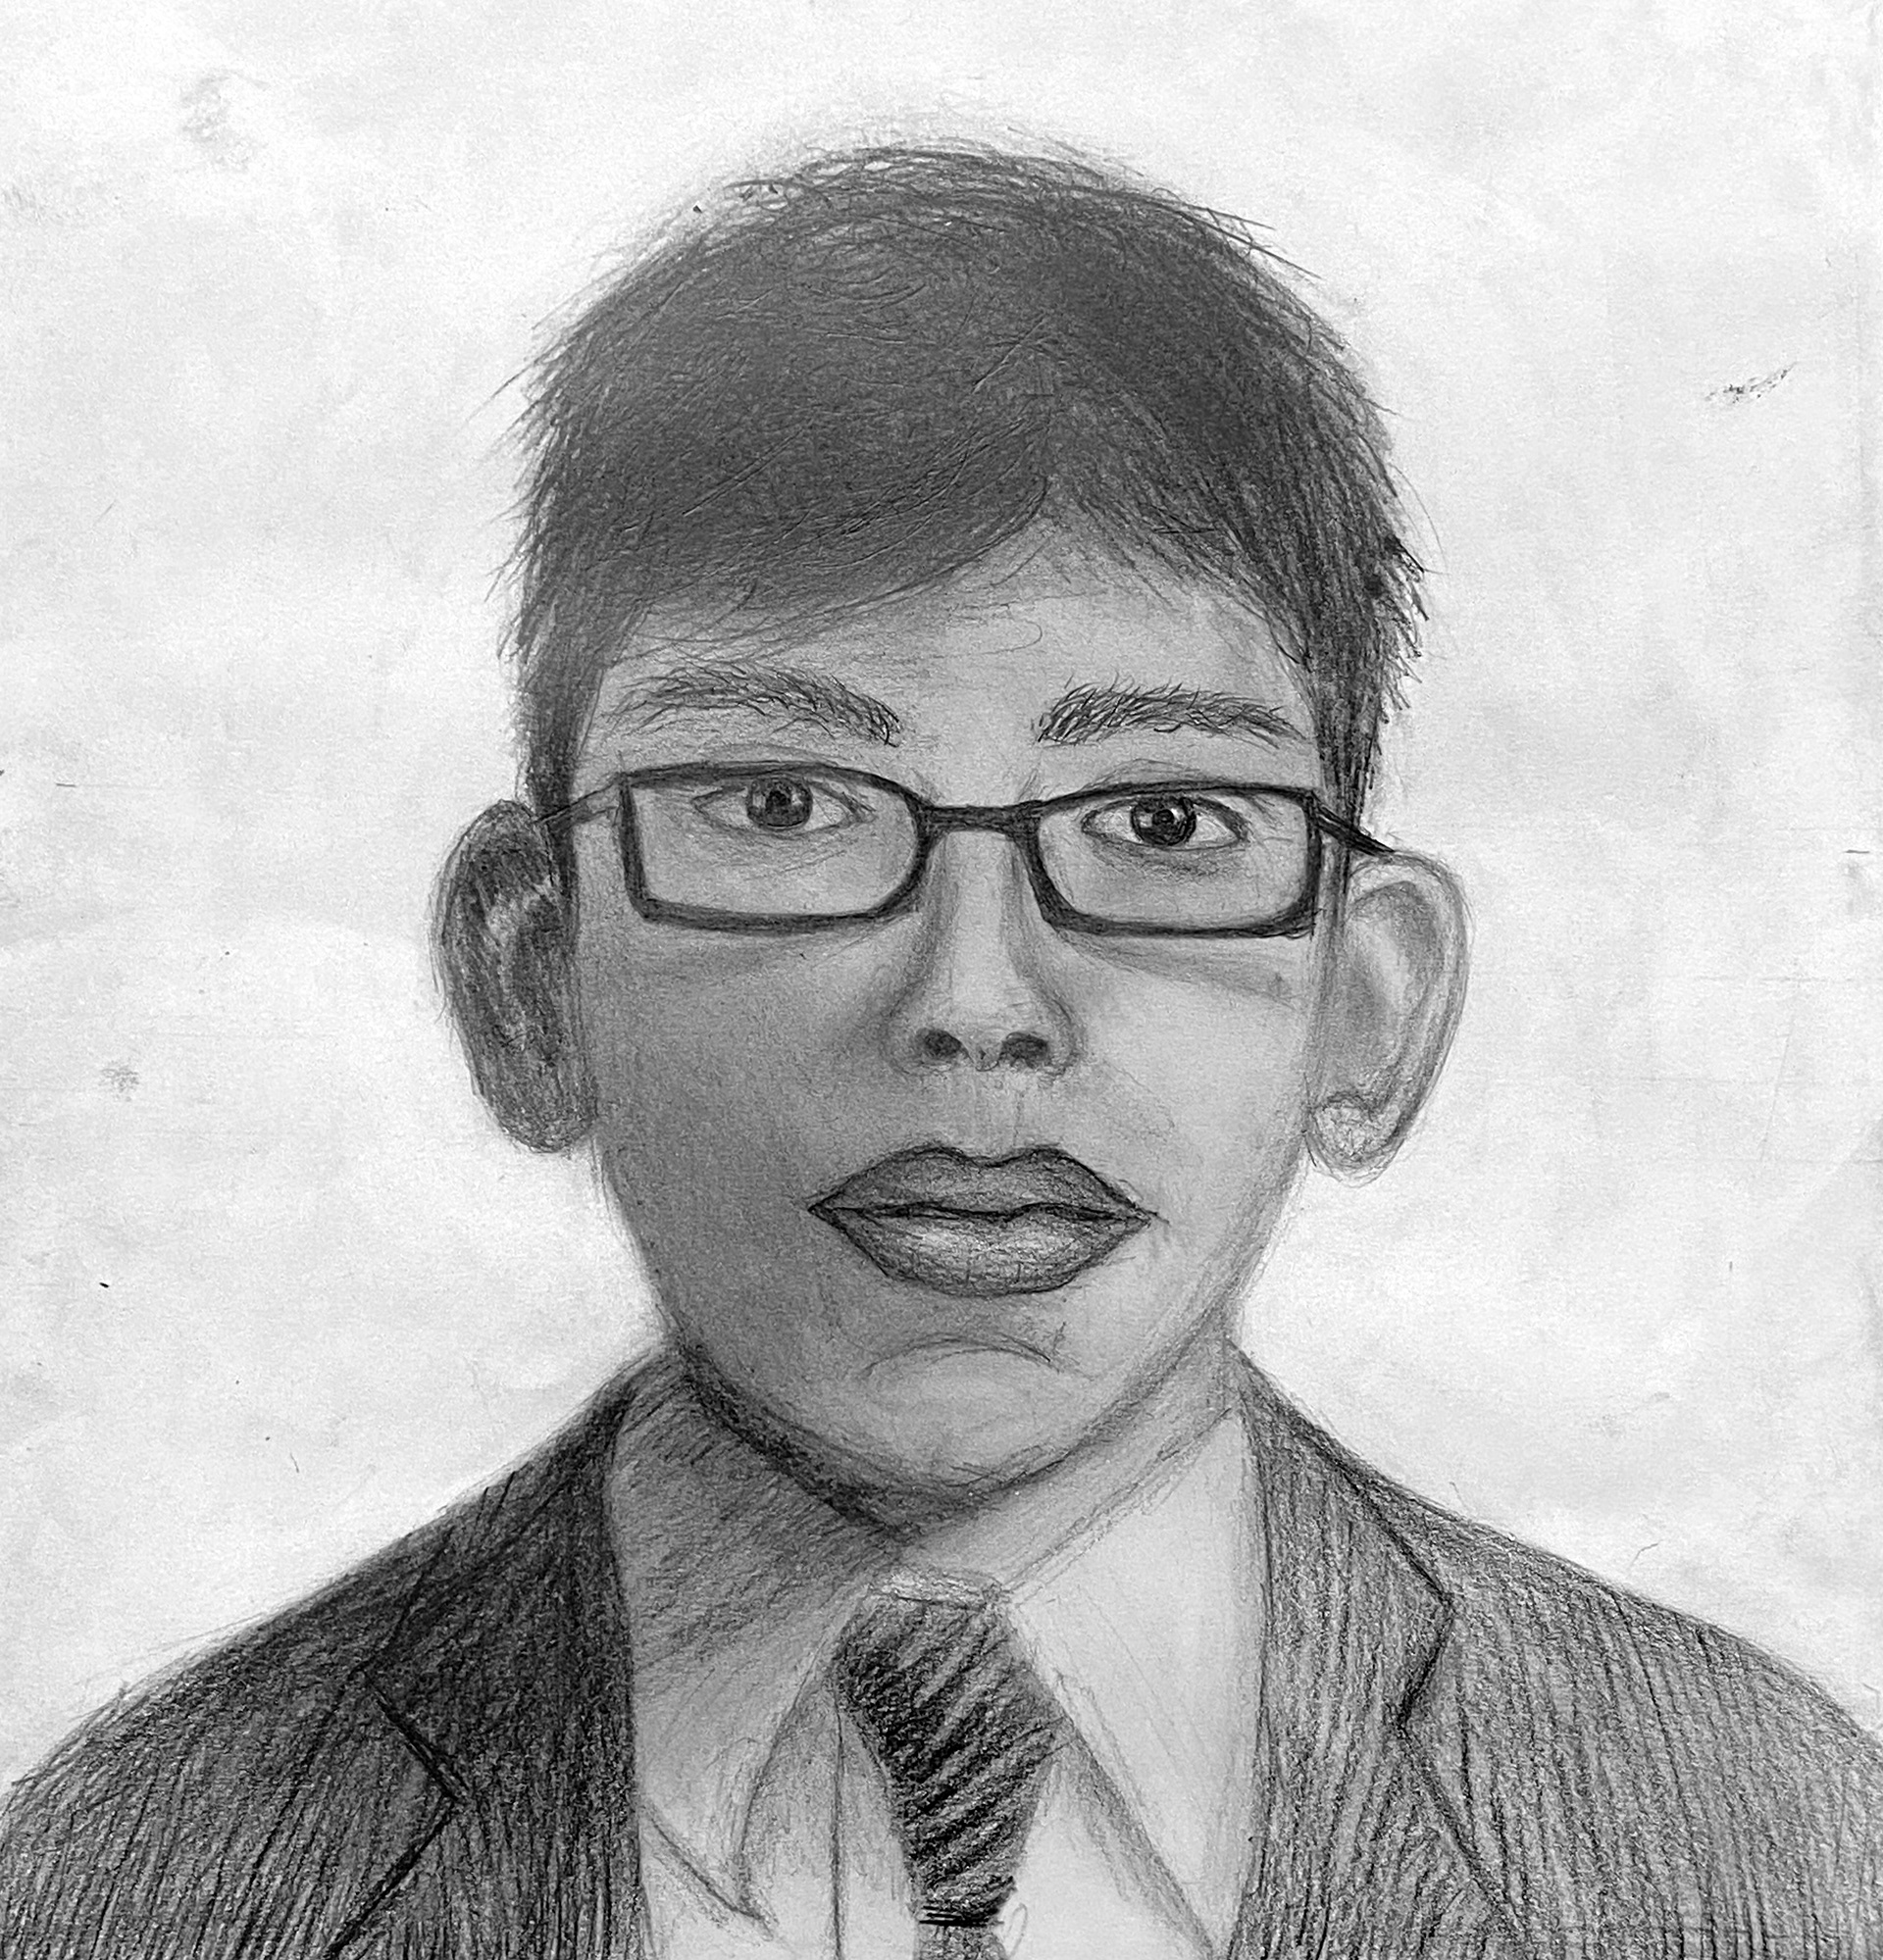
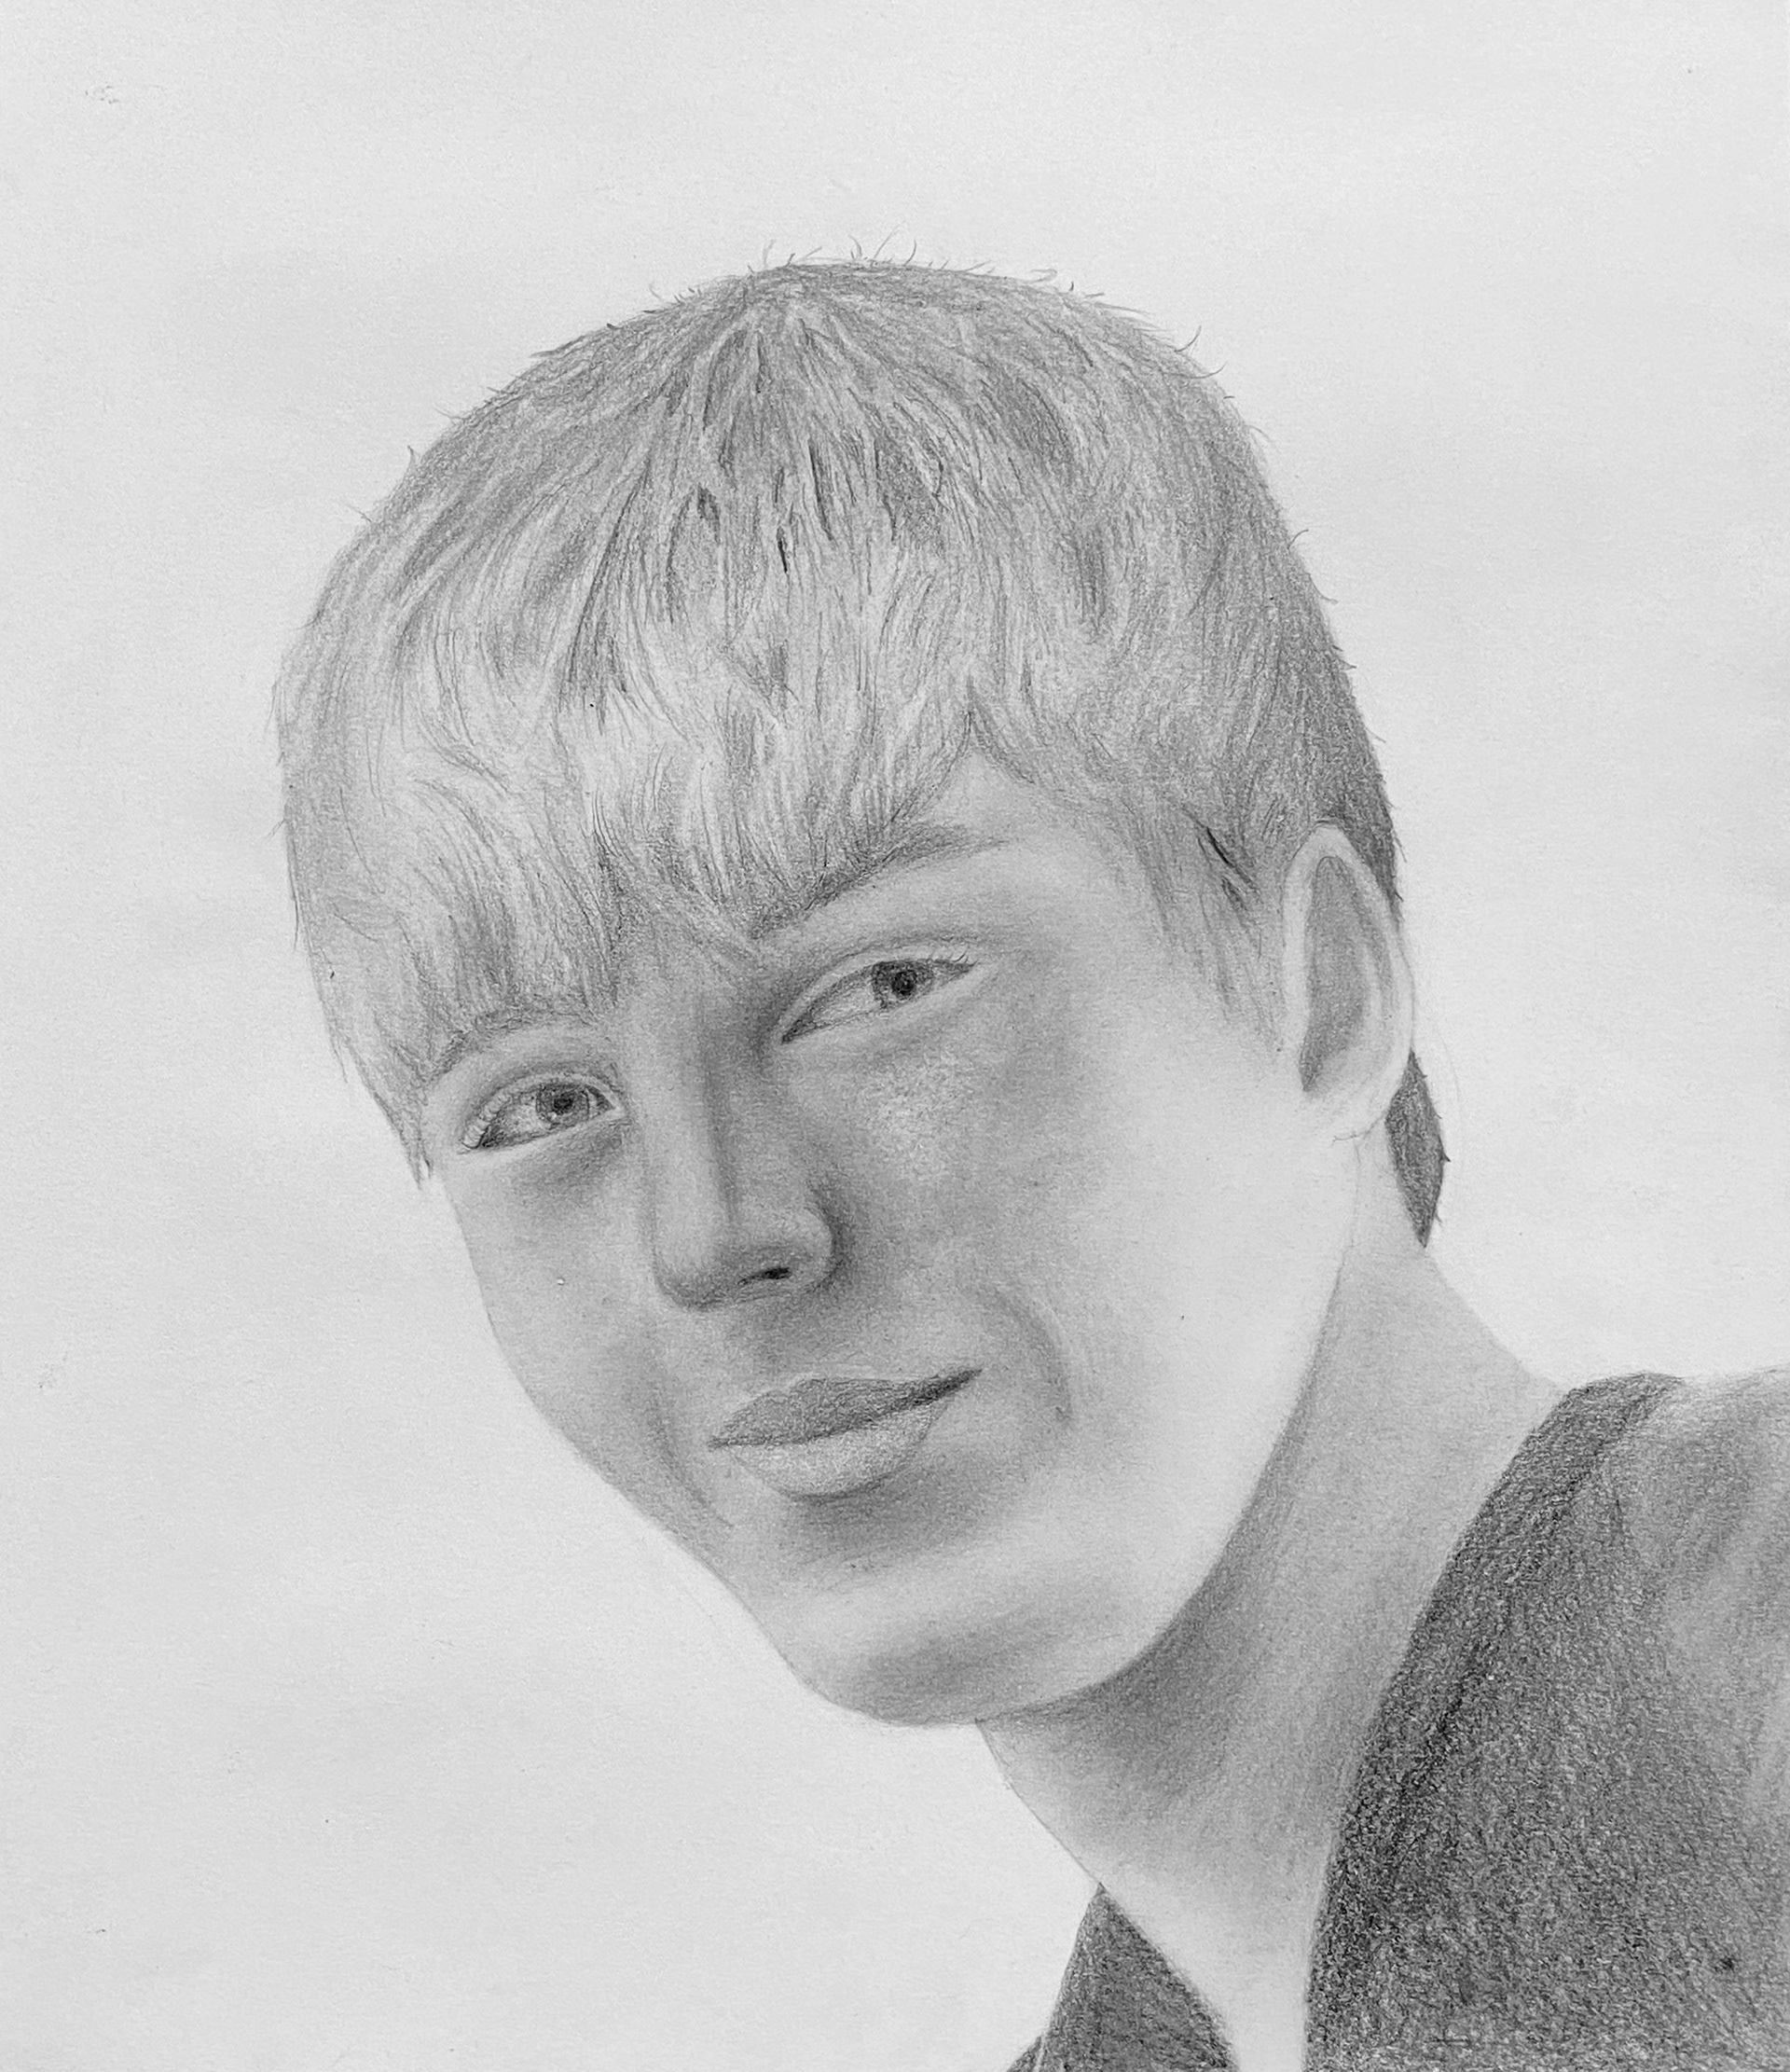
Examples of previous students' drawings:
What have each of these students done well in their drawings and what might they have improved on?
'Children who have changed the world' (2021):

'Refugees' (2022):