Your task:
Try to complete as many of these photography experiments as you can and present you best shots online using Google Sites.
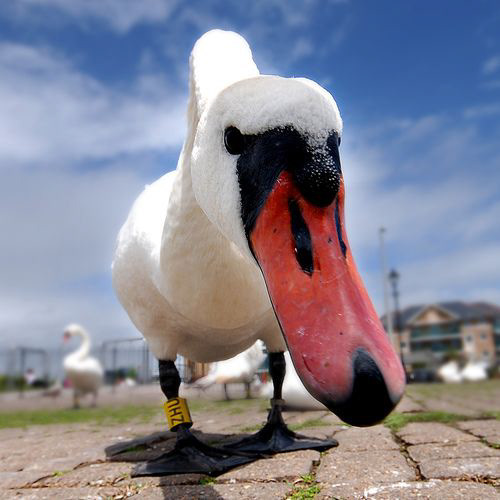
1. An ant's perspective
Take photos from the perspective of an ant, i.e. with your camera as close to the ground as possible.
Tip: Try to think about your foreground, mid-ground and background
2. Textures
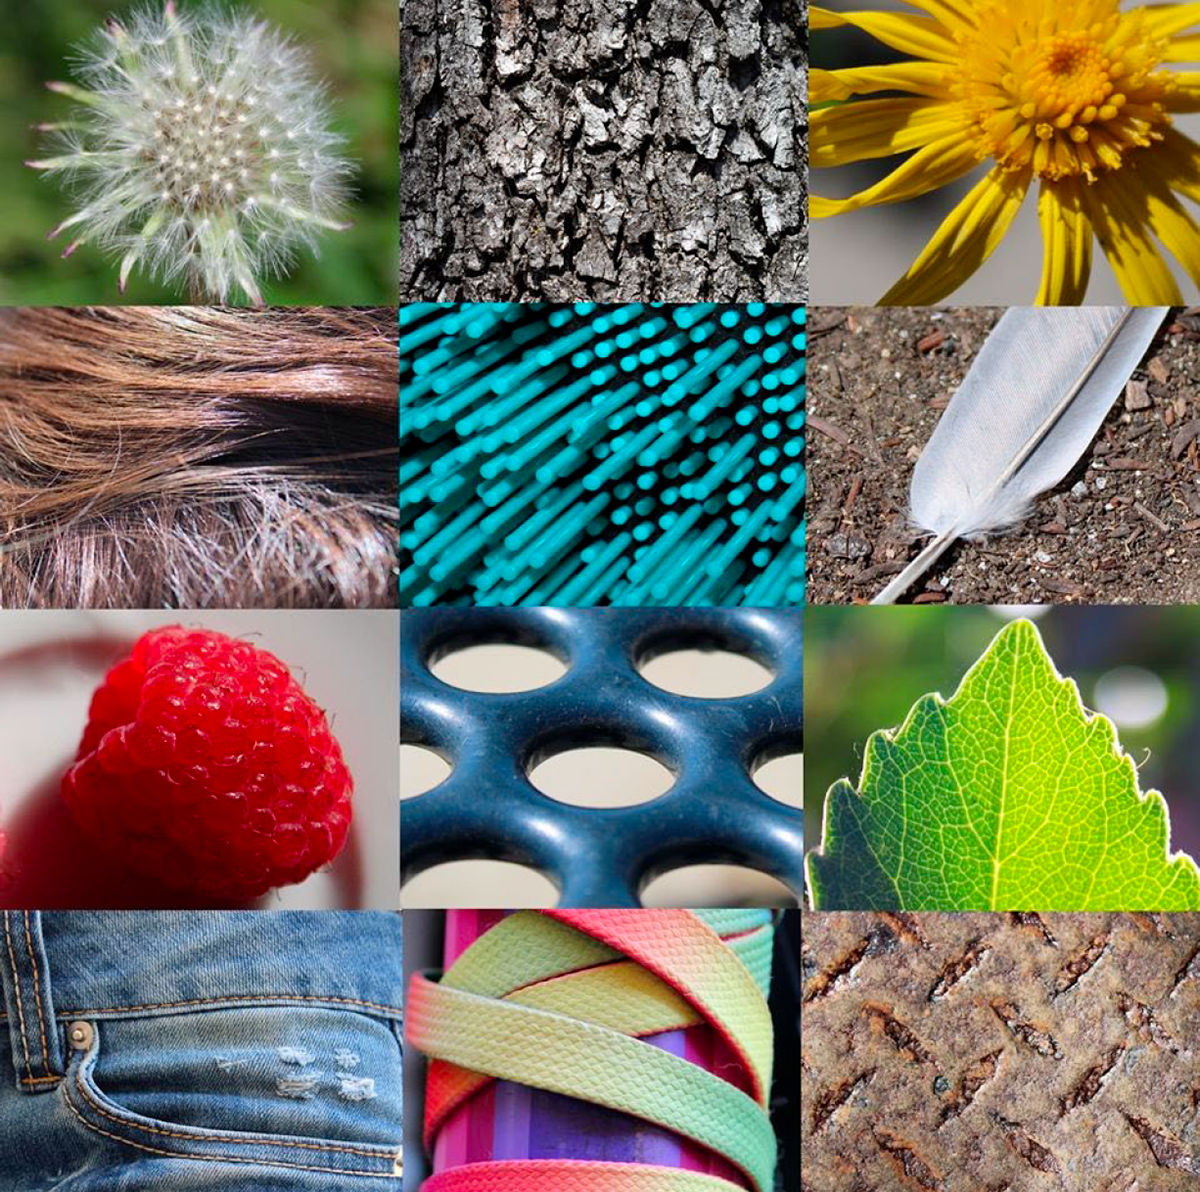
Create a grid of photos that all capture different textures from around your house, garden or on a local walk.
Tip: Emphasise textures by lighting objects from the side. Try to avoid colours becoming distracting. You may convert all your images into black and white if you wish.
3. The Eye
Take a creative photo of an eye.
Tip: Try to think outside of the box. Consider the angle and intensity of your lighting, shadows cast onto the face and eye and any props that you could use to frame the image.

4. Shadows
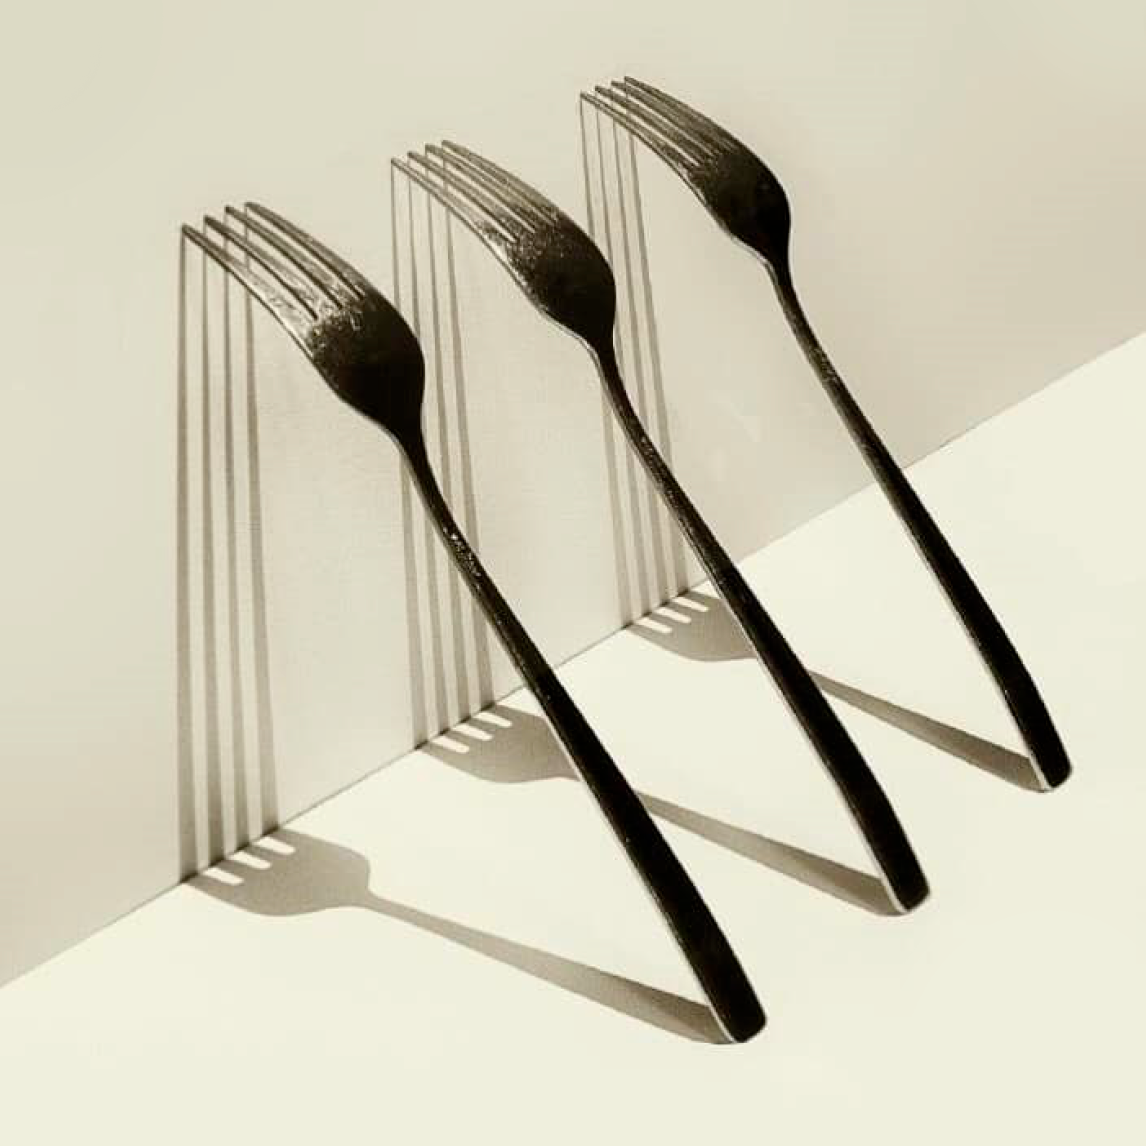
Cast shadows to make a person/space/object look more dramatic.
Tip: Avoid light coming from many different directions. Consider what you are casting shadows onto, as dark or patterned surfaces sometimes don't work.
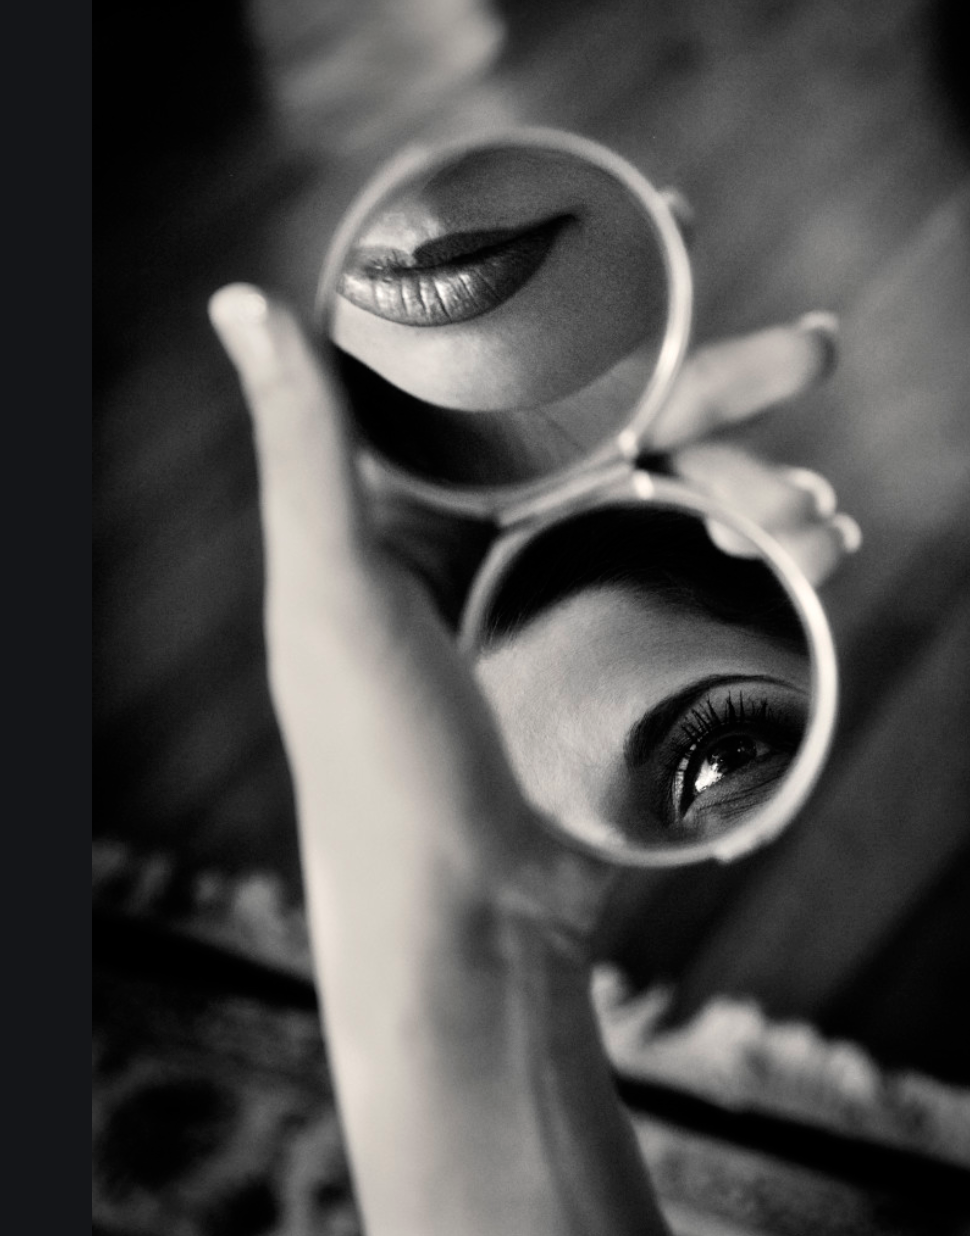
5. Reflect Yourself
Take a selfie with an unusual reflection.
Tip: Think about how the reflective surface might distort, frame or disguise your face, rather than offer a true likeness of it. Think about how you might light the scene to create a contrast between the reflection and the background.
6. Multiple Perspectives
Take multiple photos of the same object, all from different perspectives.
Tip: Choose an interesting object. This exercise would be very difficult if you chose a ping pong ball!
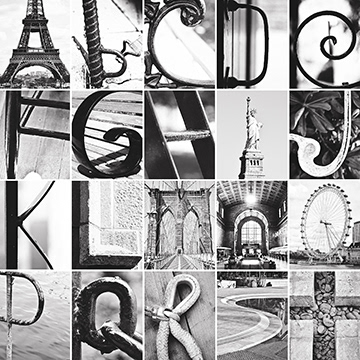
7. Alphabet Photography
Take close-up photos of objects, framing them to resemble letters of the alphabet. Convert them into black and white so that the emphasis is on shape and form, rather than colour. Combine them to form a word or sentence.
Tip: Frame your shots a bit wider than you want so that you have full flexibility to perfect your cropping later, on the computer.
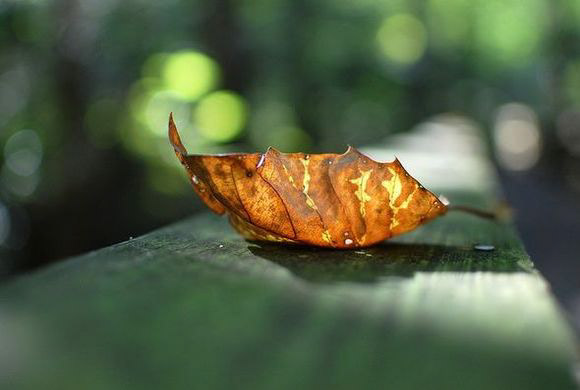
8. Abstract Macro Photography
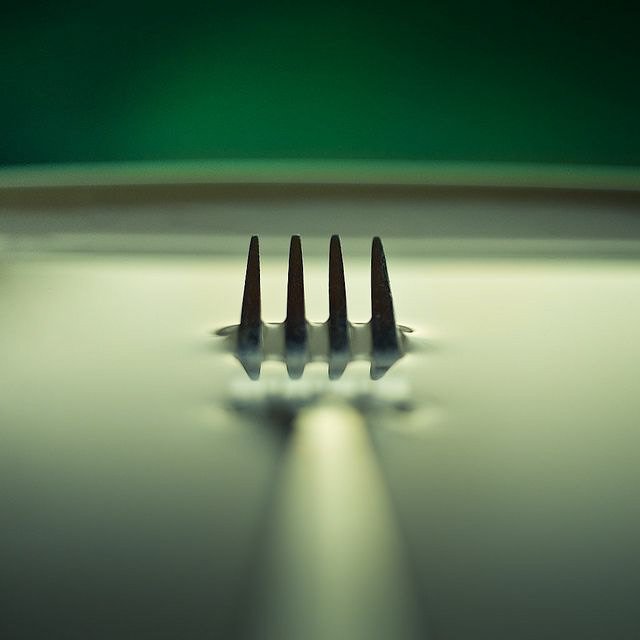
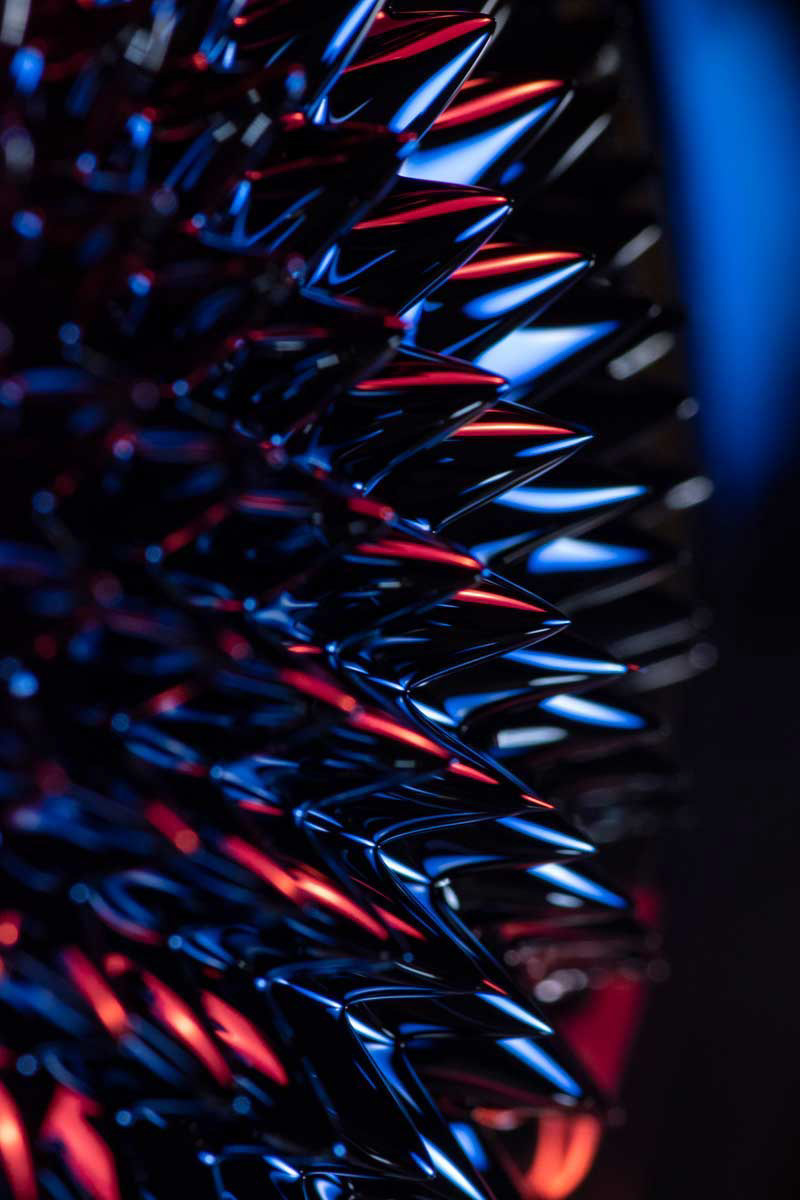
Get so close to your subject that you can't tell what it is anymore.
Tip: Think about the lighting on the object, rather than just the object itself. Your camera might struggle to focus if you get too close, so step back a bit and zoom in using the lens instead.
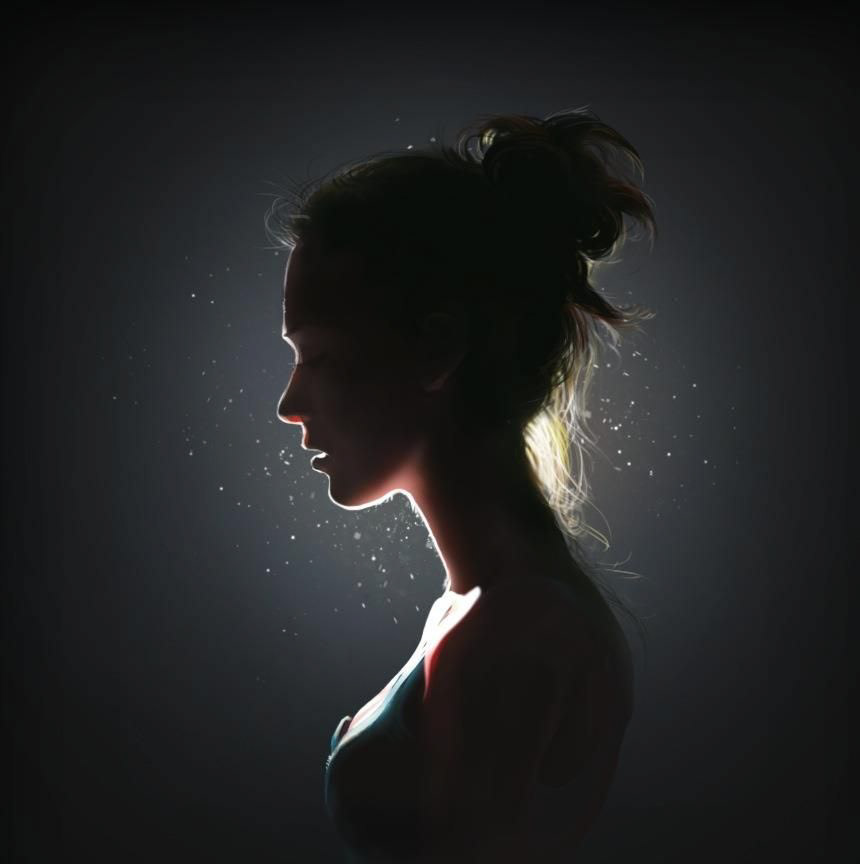
9. Backlighting
Light your subject from behind.
Tip: There are two approaches to this. If all the light is coming from behind, you may create a silhouette. If there is also some light reflecting back onto the person or object, you may just get a glow coming from behind. Be careful not to capture the light source itself in your shot as it can cause lens flare (especially if it's the sun).
10. Bubble Distortions
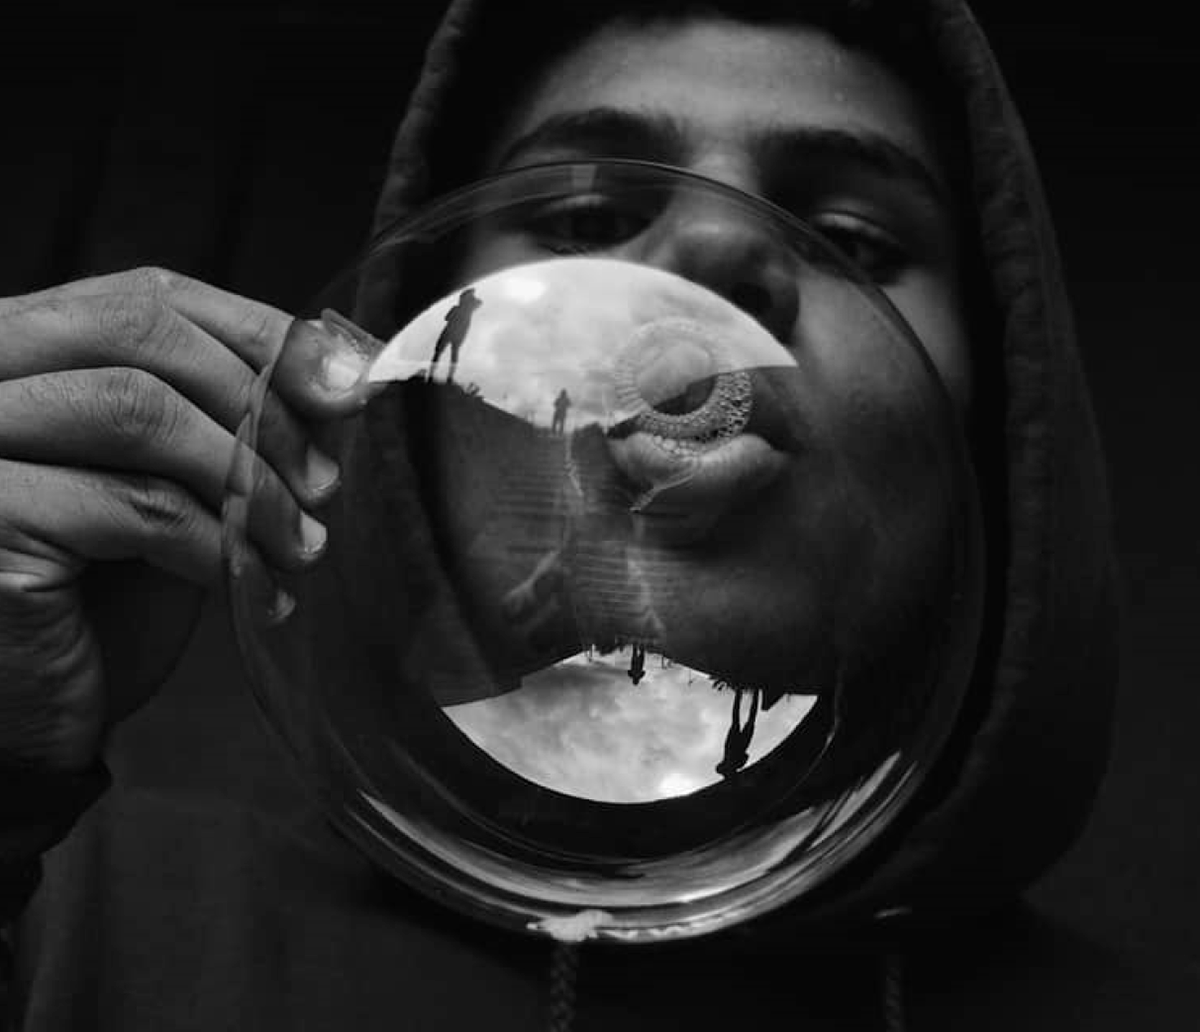
Blow some bubbles and capture distortions of people or objects in them.
Tip: Take the photos in a dark space with the bubbles and subject lit from the side with a bright light.
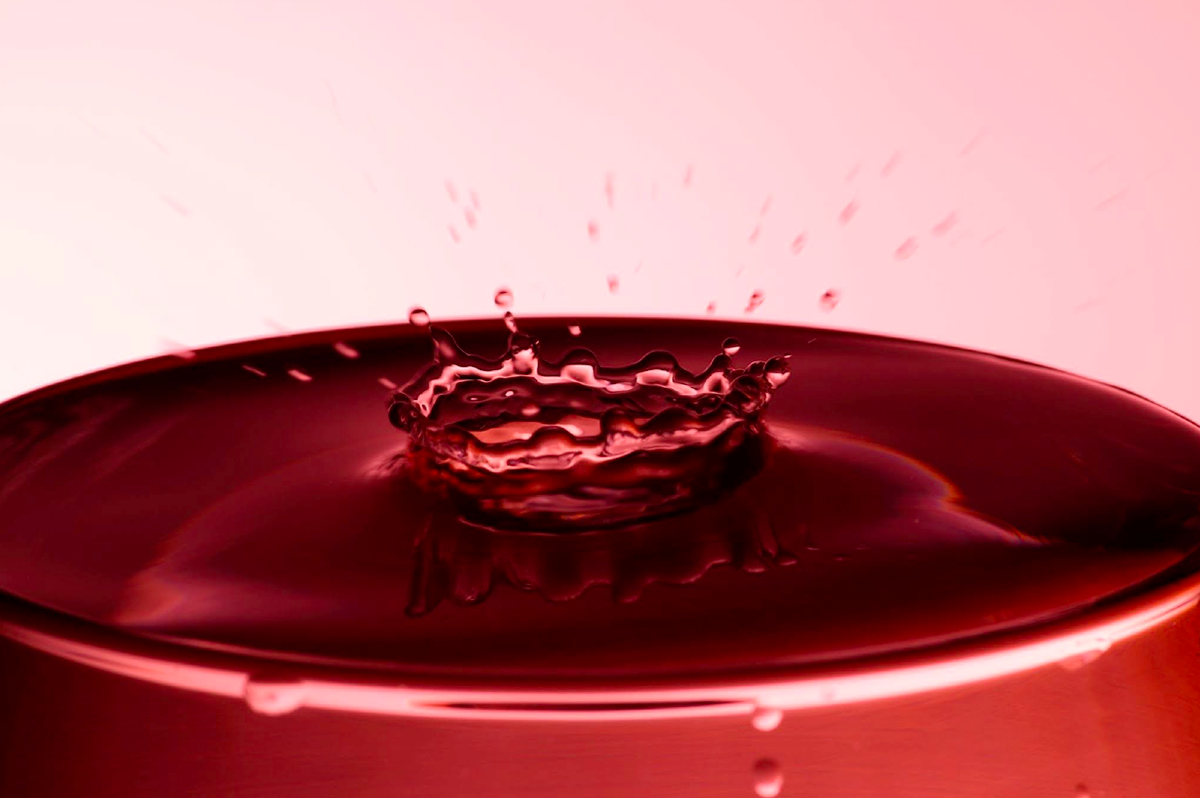
11. Splashes
Use a really fast shutter speed to capture splashes in a liquid so that they look frozen.
Tip: You might need quite a lot of light to get a fast-enough shutter speed without any grain.
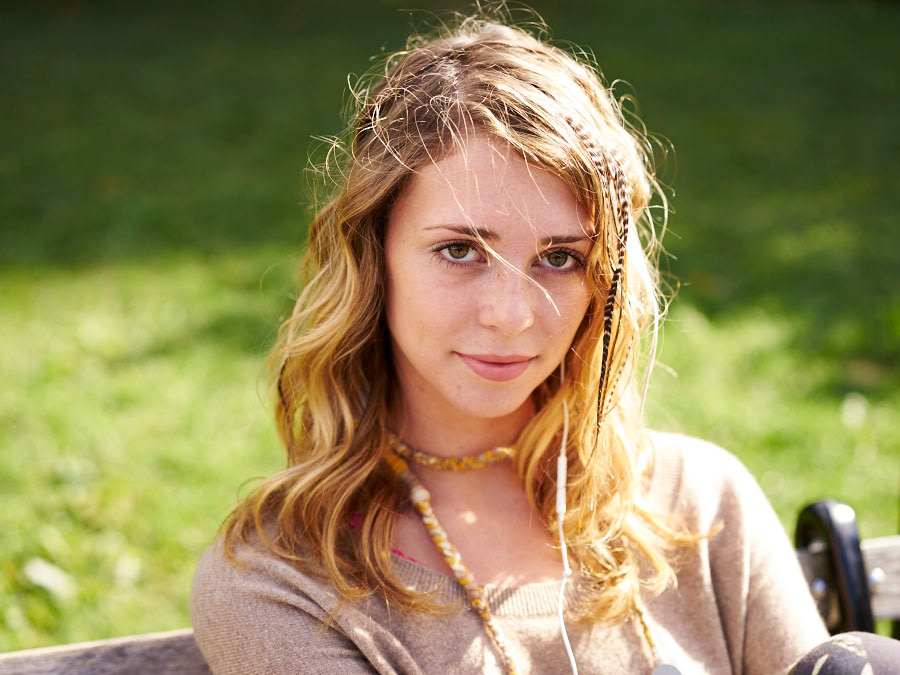
12. Blur your Background
Use a really large aperture (e.g. F1.4) to make the background of your image really blurred.
Tip: It can also help to shoot close to the object while placing the object itself quite far from the background.
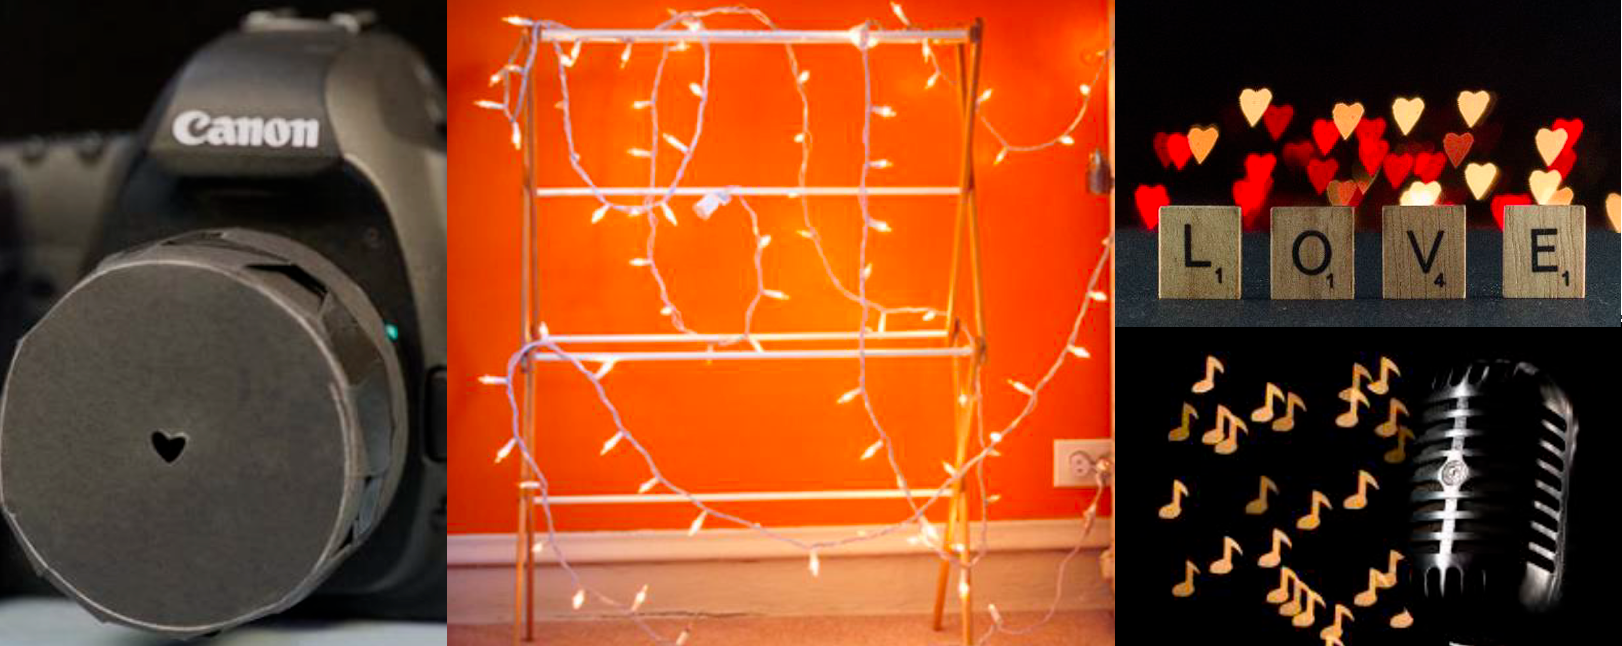
13. Bokeh shapes
Cut a small shape in a piece of black card and place it over the end of your lens. Using manual focus, take completely out of focus photos of bright lights, e.g. fairy lights. Watch as the lights change to the shape of your cut-out.
Tip: If you can't cut out shapes, you can still create circular bokeh effects using your lens normally.
14. Motion blur
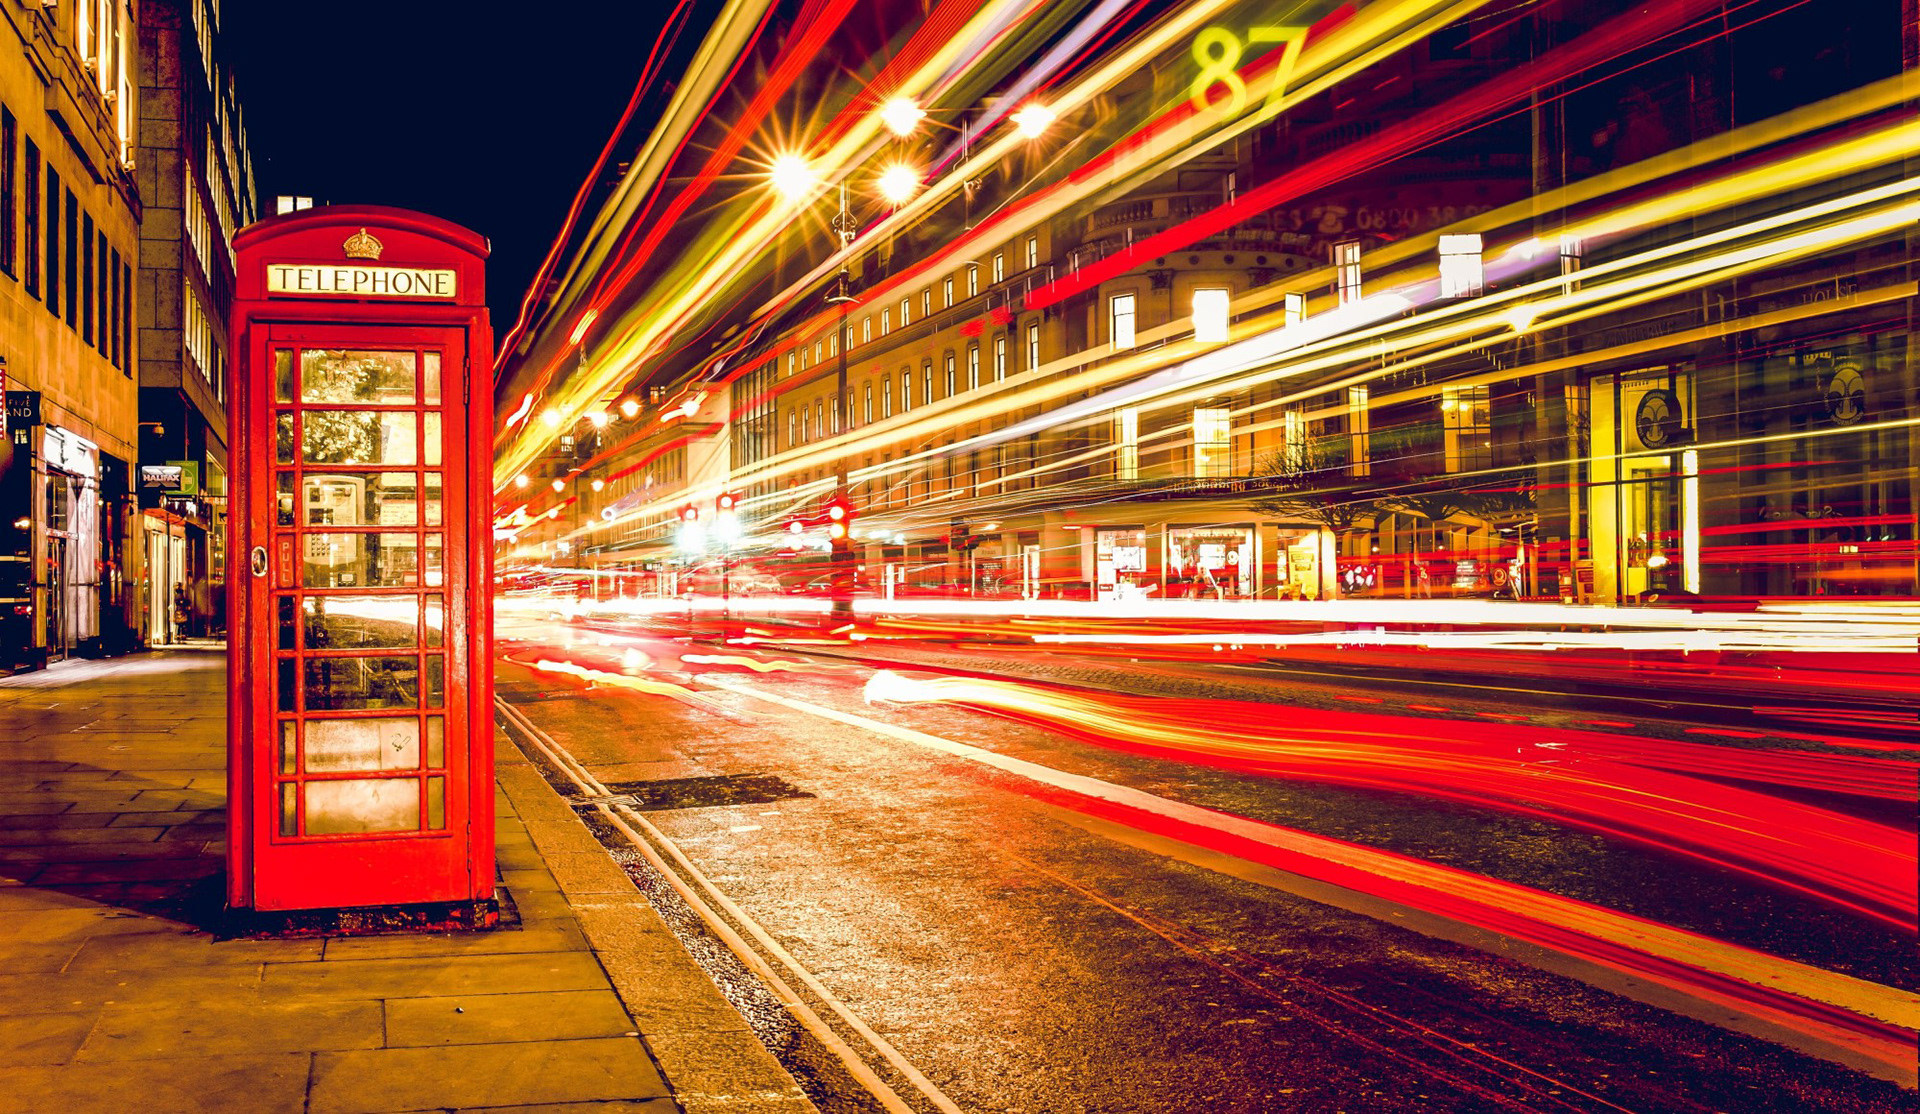
Take photos of moving people/objects with a long exposure to create motion blur.
Tip: Use a tripod so that only the moving objects are blurred, not the whole image. Use a relatively low ISO to avoid grain appearing.
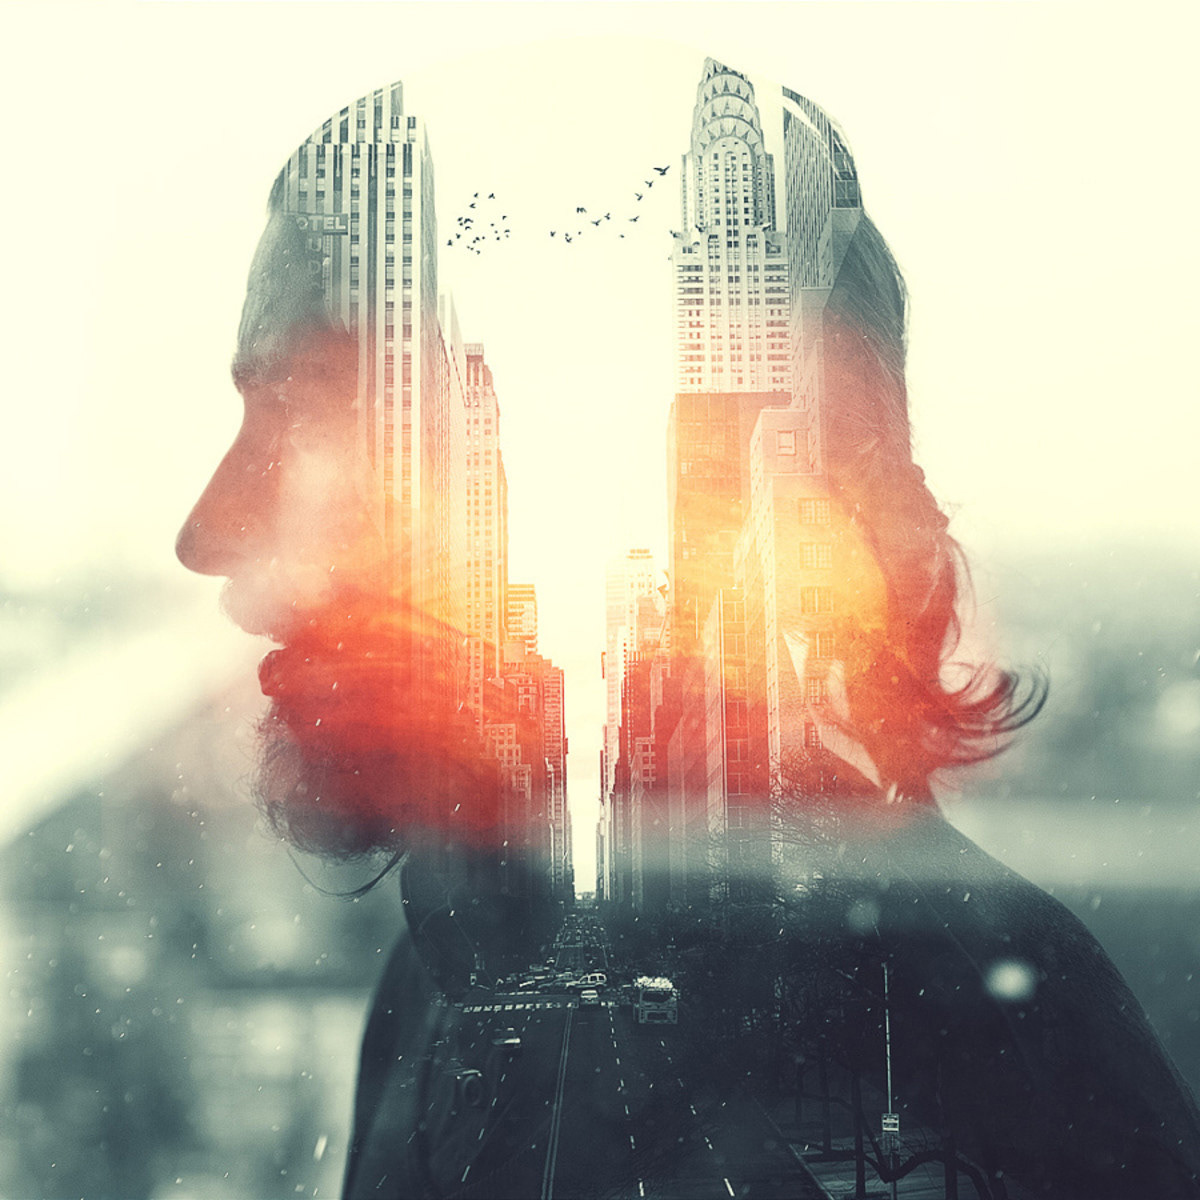
15. Multiple exposures
Take 2 or more photos and layer them on top of each other in post-processing (e.g. Photoshop). Use the different blending modes and adjust the opacity to make them merge into one another.
Tip: If you layer two busy images over one another, you get a very different effect than if you layer a busy image over a simple image. It helps if one of the images has large dark silhouettes that the light details of the second image can fill. You can layer as many photos up as you like, but it may quickly get too busy and confusing, so use your own judgment.
16. Overlay images
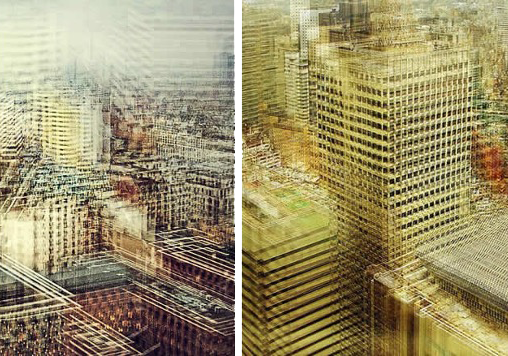
Layer two photos that were taken of the same scene but from slightly different angles
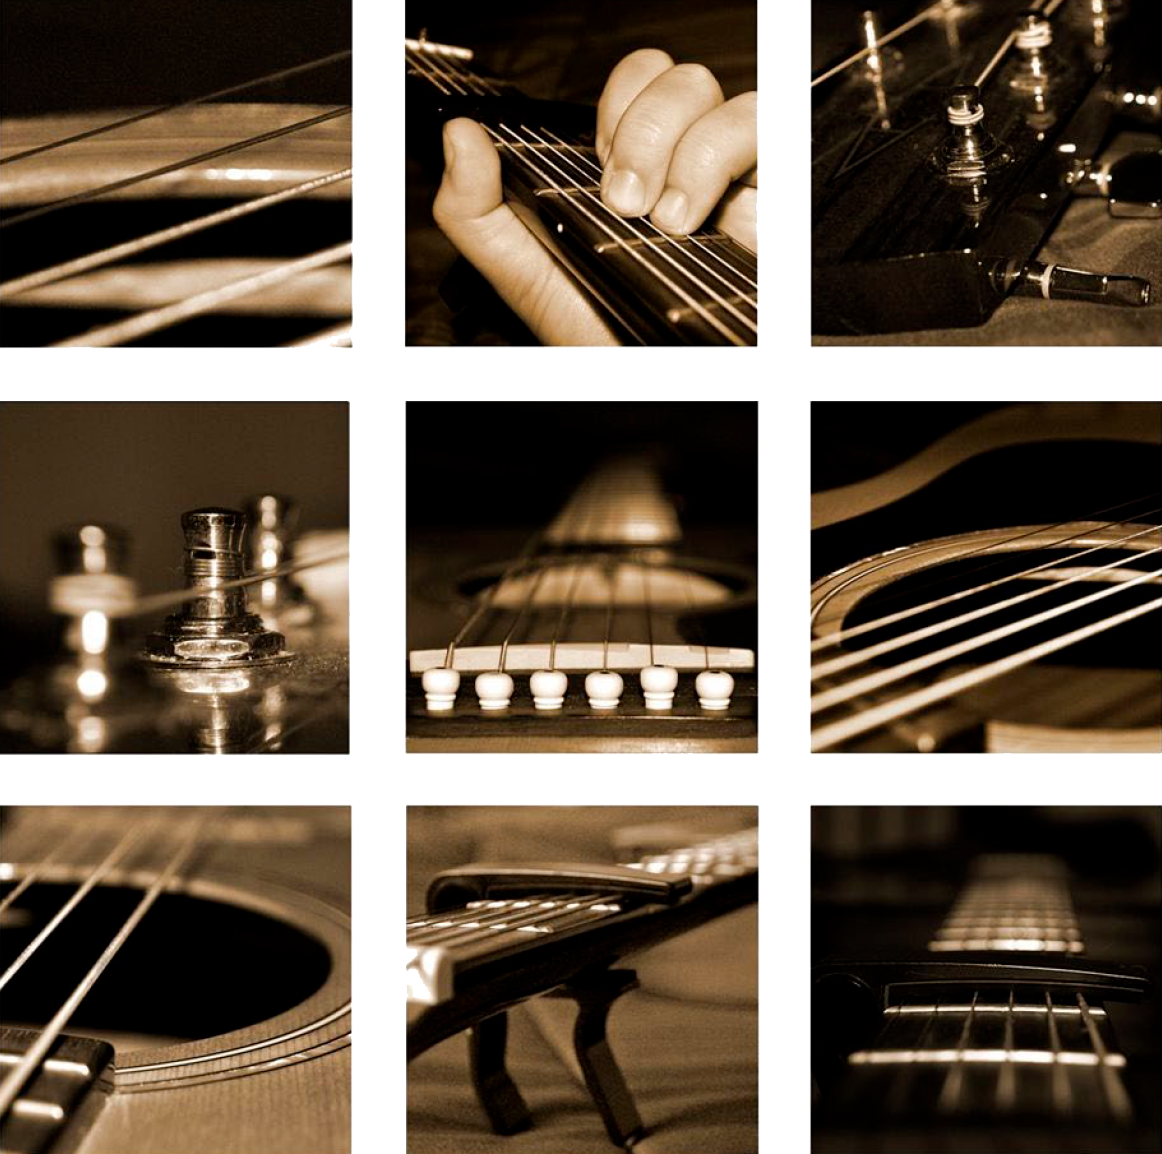
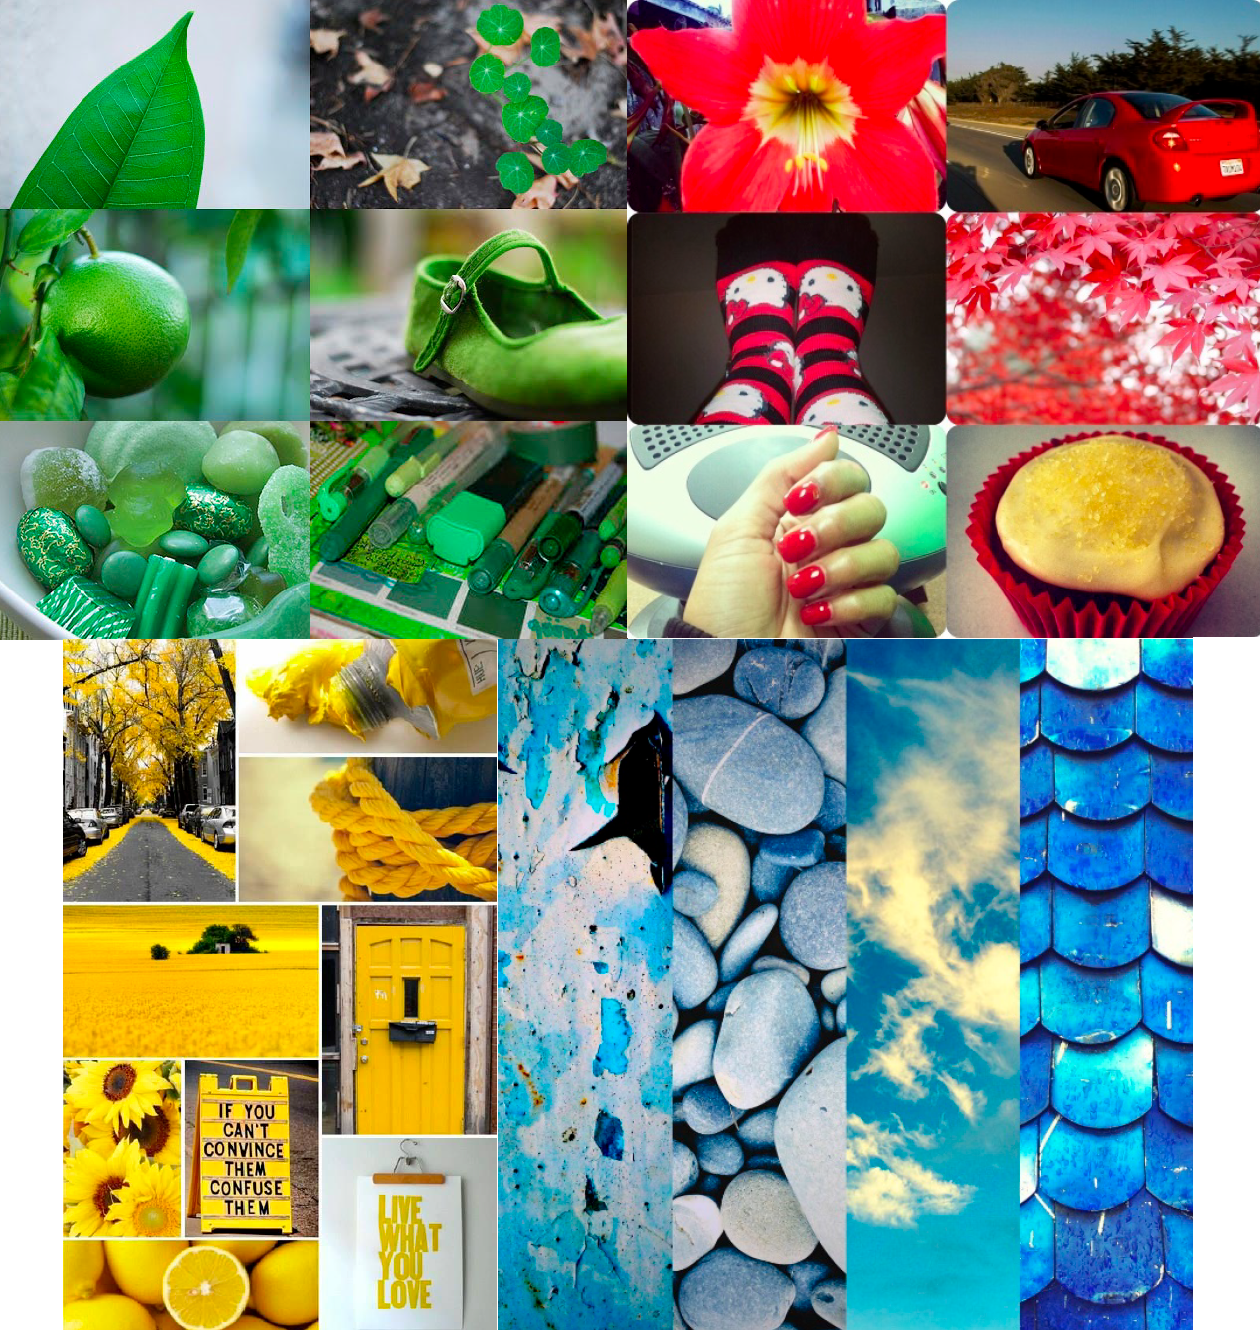
17. Pick a colour
Take a series of photos of objects that are all the same colour. Place them in a grid so that they are seen as a collection. When you're done, repeat the exercise with a different colour. Editing your images to change the colours of things is not allowed.
Tip: If you like, you can have a theme going between the photos, e.g. music. Sometimes this is more effective when you have many more than 9 photos in your grid.
18. Inside out
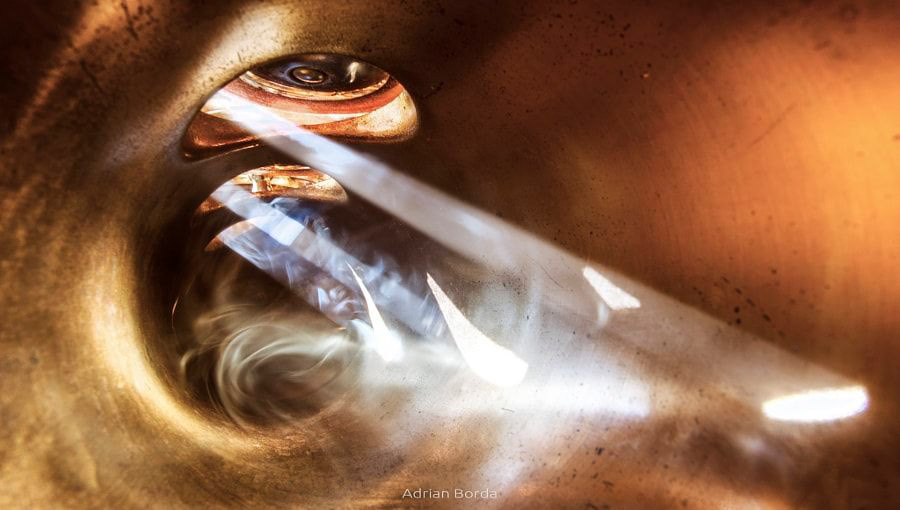
Take a photo of the inside of something, preferably creating a perspective you don't usually see. Try to arouse curiosity in the viewer by not making it immediately obvious what the object is.
Tip: Try to shoot inside an object that has holes in it, so that you can shine light through a different hole to the one you are looking through. It may help to use a macro lens if you have one.
19. Water refractions using a computer screen
#
Capture
20. Glass bottle shadows
#
21. Triptych portrait of a person
#
22. Product photography using a computer screen
#
23. Recreate a work of art
#
24. Looking through
Try to frame your images by looking through different objects.
Tip: Bonus points for framing a view within a view within a view... etc.

25. Stitch-Over
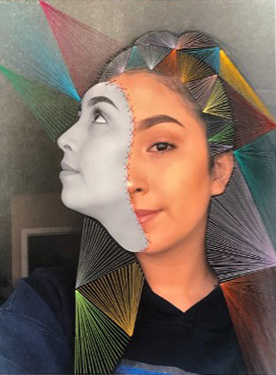
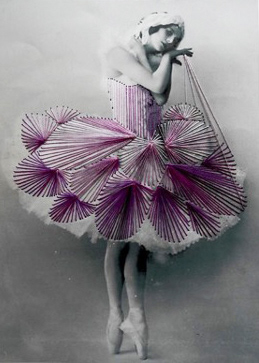
Stitch on top of a printed photograph, either by hand or by free-machining.
Tip: Consider creating geometrical shapes if stitching by hand and think about which colour thread will look most effective against the colours in the photograph.
26. Stitch many photos together
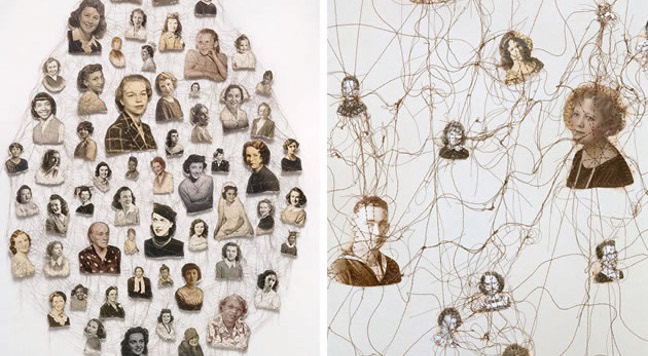
Stitch many photos together to create a web of images.
Tip: You could stick them onto dissolvable fabric.
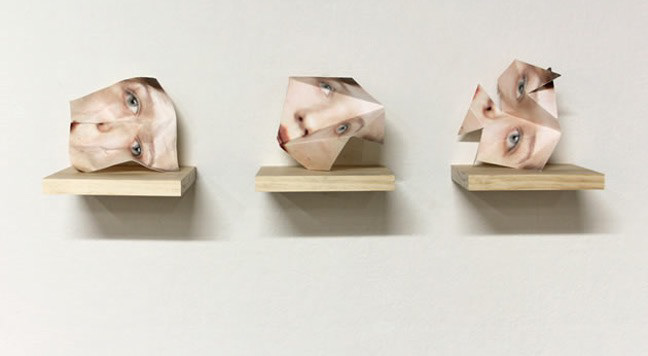
27. Folded
Fold your photos to create a 3D installation.
Tip: How you photograph the installation is even more important than the folded photograph itself.
28. Objects on top of photos
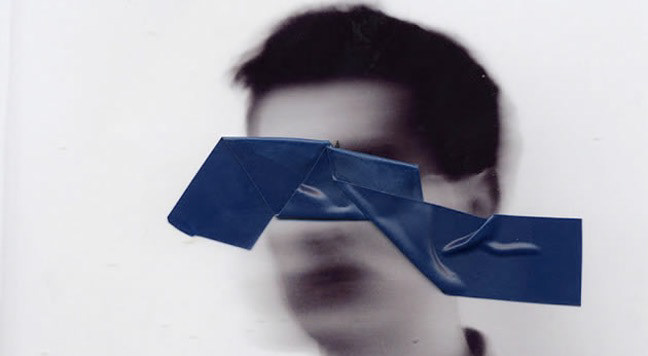
Place objects on top of your printed photos and then scan them (or photograph them again).
Tip: Think about your lighting to avoid unwanted shadows or reflections (athough sometimes shadows and/or reflections can improve your shot!).
29. Create an abstract tin-foil background